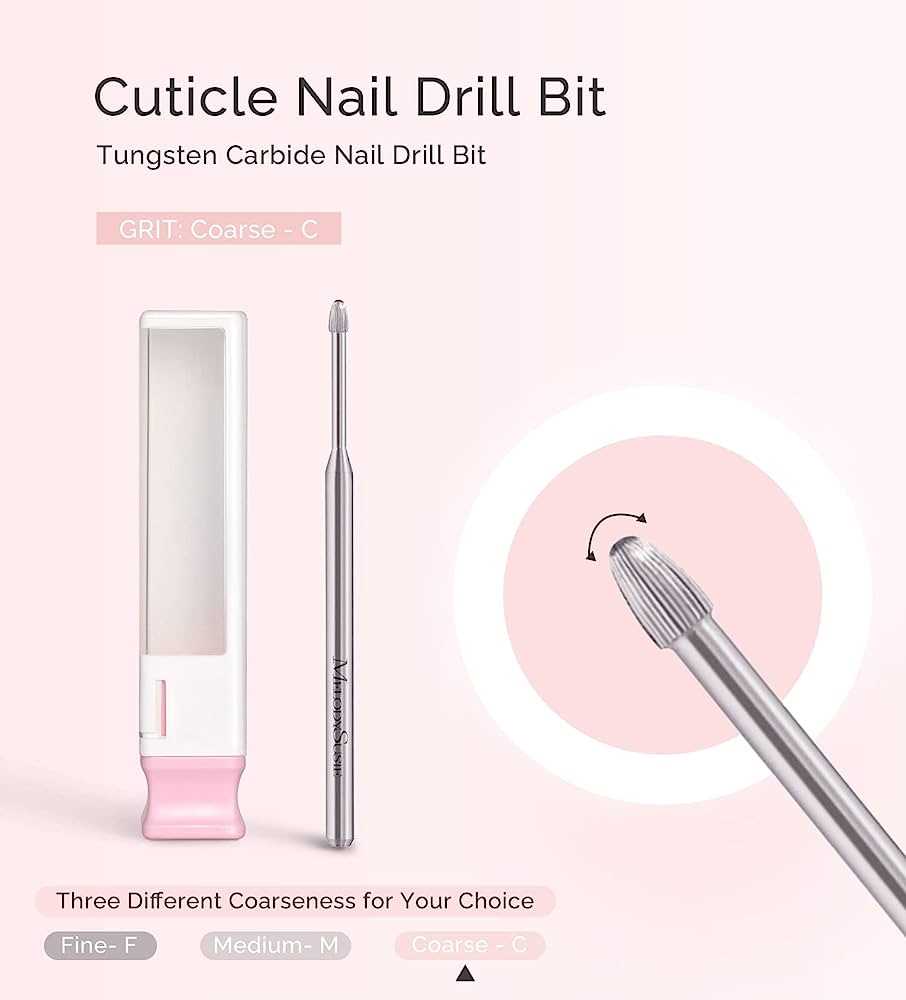
Step-by-Step Guide: How to Clean Nail Drill Bits

Having clean and sanitized nail drill bits is essential for maintaining good hygiene and preventing the spread of bacteria and infections. Regular cleaning of your drill bits not only ensures their longevity but also keeps your nails healthy and free from any unwanted bacteria that may accumulate.
Here is a step-by-step guide on how to clean your nail drill bits:
- Remove the drill bit from the machine: Before you begin the cleaning process, make sure to switch off your nail drilling machine and remove the drill bit carefully.
- Prepare a cleaning solution: Fill a small bowl with warm water and add a few drops of liquid soap. You can also use a disinfectant solution specially formulated for nail tools if you prefer.
- Soak the drill bits: Place the drill bits into the bowl of cleaning solution and let them soak for about 10-15 minutes. This will help loosen any debris or build-up on the surface of the bits.
- Scrub the bits: After soaking, take a soft brush or an old toothbrush and gently scrub the drill bits to remove any remaining dirt or residue. Pay close attention to the grooves and edges of the bits, as these areas can often trap debris.
- Rinse thoroughly: Once you have scrubbed all the bits, rinse them under running water to remove any soap or cleaning solution residue. Make sure to rinse them well, as any residue left behind can potentially harm your nails or skin during future use.
- Dry completely: After rinsing, pat dry the bits with a clean towel or paper towel. Allow them to air dry completely before safely storing them in a clean and dry container.
By following these simple steps, you can keep your nail drill bits clean and safe for future use. Remember to clean your drill bits regularly, especially after each use, to maintain proper hygiene and prevent any potential infections.
Tip: It’s a good idea to have multiple sets of nail drill bits on hand so that you can easily rotate them and have a clean set ready to use while the others are being cleaned and dried.
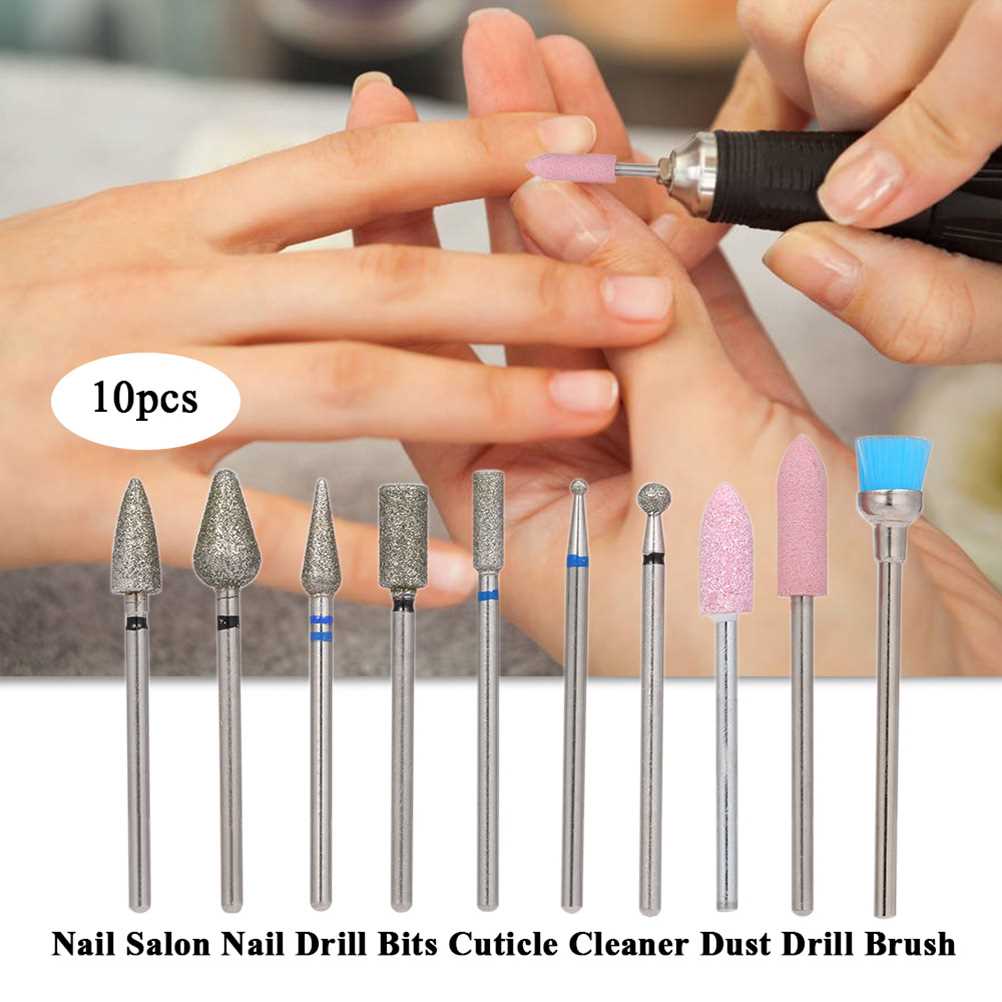
Gather the necessary supplies
Before you begin cleaning your nail drill bits, it’s important to gather all the necessary supplies. Having these items easily accessible will make the cleaning process much smoother and more efficient.

List of supplies:
- Dirty nail drill bits
- Disposable gloves
- Small cleaning brush or toothbrush
- Cotton pads or paper towels
- Isopropyl alcohol or nail drill bit cleaner solution
- Container for soaking the bits
- Soft cloth or towel for drying
- Optional: nail drill bit sterilizer or UV sterilization light
Make sure to choose a well-ventilated area for cleaning your nail drill bits to avoid inhaling any fumes from the cleaning agents.
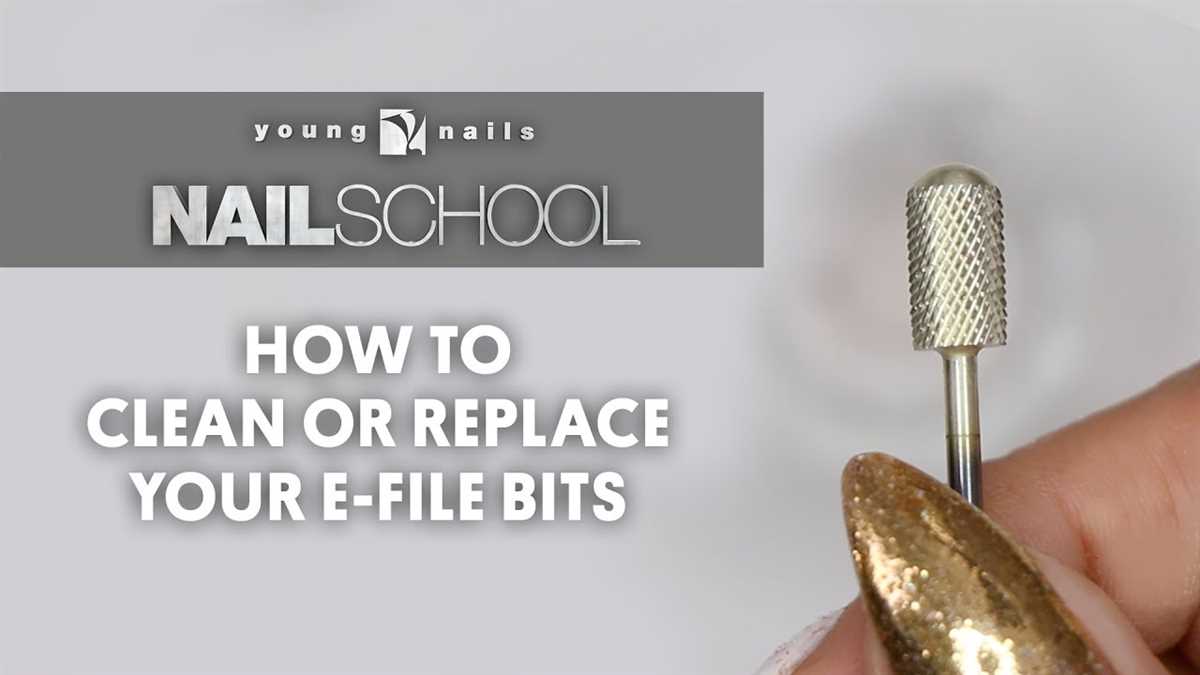
Disassemble the nail drill bits
To effectively clean your nail drill bits, it is important to disassemble them first. This will allow you to thoroughly clean each component and remove any buildup or residue that may be on the bits. Follow these steps to disassemble your nail drill bits:
- Prepare a clean, well-lit workspace where you can easily disassemble and clean your nail drill bits.
- Remove the bit from the nail drill by twisting it counterclockwise. Some nail drills may have a locking mechanism that needs to be released before twisting the bit.
- If your nail drill has a removable handpiece, detach it from the main unit by unscrewing or releasing the locking mechanism.
- Inspect the bit for any visible debris or product buildup. Use a soft brush or toothbrush to gently remove any loose particles.
- For bits with removable components, such as sanding bands or cuticle bits, carefully remove them from the main bit. Some bits may have a small screw or locking mechanism that needs to be undone.
- Place all the disassembled parts in a small dish or bowl filled with warm soapy water or a specialized cleaning solution.
By disassembling the nail drill bits, you will be able to clean each part thoroughly and ensure proper hygiene and maintenance of your nail drill accessories.

Soak the nail drill bits in cleaning solution
Once you have removed any debris or residue from your nail drill bits, it’s time to soak them in a cleaning solution. This will help to sanitize and disinfect the bits, ensuring that they are clean and ready for use.
There are several cleaning solutions that you can use to soak your nail drill bits, depending on what you have available. Some popular options include:
- Rubbing alcohol or isopropyl alcohol: This is a common and effective option for cleaning and sanitizing nail drill bits. It’s readily available and can be found at most drugstores or pharmacies.
- Disinfectant solution: You can also use a disinfectant solution specifically designed for cleaning salon tools. These can be found at beauty supply stores or online.
- Mild soap and water: If you don’t have any specialized cleaning solutions on hand, you can also use a mild soap and water mixture to soak your nail drill bits.
Regardless of the cleaning solution you choose, the process for soaking the nail drill bits is the same:
- Fill a small bowl or container with the cleaning solution of your choice. Make sure there is enough liquid to fully submerge the nail drill bits.
- Place the nail drill bits into the solution, making sure that each bit is completely covered.
- Let the nail drill bits soak in the cleaning solution for at least 10-15 minutes. This will give the solution enough time to penetrate and clean the bits.
- After the soaking time is up, remove the nail drill bits from the cleaning solution.
- Use a clean and dry cloth or paper towel to pat the drill bits dry. Ensure that there is no moisture left on the bits, as this can lead to rust or damage.
Once you have soaked and dried your nail drill bits, they are now clean and ready for use. Remember to regularly clean and sanitize your nail drill bits to maintain their performance and extend their lifespan.
Use a brush to scrub off residue
After soaking your nail drill bits in the cleaning solution, you’ll want to use a brush to scrub off any remaining residue. This will help ensure that your nail drill bits are thoroughly cleaned and ready for future use.

Here’s how to use a brush to scrub off residue from your nail drill bits:
- Remove the nail drill bits from the cleaning solution and rinse them under running water to remove any loosened debris.
- Take a soft-bristled brush (such as a toothbrush or a nail brush) and apply a small amount of liquid soap or gentle cleanser to the bristles.
- Gently scrub the surface of each nail drill bit, paying special attention to any areas with stubborn residue.
- Rinse the nail drill bits under running water to remove the soap and loosened residue.
- Inspect each nail drill bit to ensure that all residue has been removed. If necessary, repeat the cleaning process or use a smaller brush to reach crevices and tight spots.
- Once all the residue has been scrubbed off, pat the nail drill bits dry with a clean towel or cloth.
- Store the clean and dry nail drill bits in a clean container or pouch until you’re ready to use them again.
Regularly using a brush to scrub off residue from your nail drill bits will help maintain their performance and extend their lifespan. It’s important to clean your nail drill bits after each use to prevent the buildup of debris and bacteria.
Rinse the nail drill bits with clean water
After scrubbing the nail drill bits with a brush and soap, the next step is to rinse them thoroughly with clean water. This will help to remove any soap residue or debris that may have been left behind.
Here’s how to rinse the nail drill bits with clean water:

- Fill a clean basin or bowl with lukewarm water.
- Place the nail drill bits in the water, ensuring that they are fully submerged.
- Gently swish the nail drill bits around in the water to loosen any remaining dirt or particles.
- Allow the nail drill bits to soak in the water for a few minutes to further loosen any stubborn debris.
- Using clean fingers or a soft brush, scrub the nail drill bits once again to ensure that any remaining residue is removed.
- Empty the dirty water from the basin or bowl and refill it with fresh, clean water.
- Rinse the nail drill bits once more in the clean water to remove any soap or residue.
- Inspect each nail drill bit to ensure it is completely clean and free of any debris.
By rinsing the nail drill bits with clean water, you are ensuring that they are thoroughly cleaned and ready to be sterilized before their next use.
Dry the nail drill bits thoroughly
After properly cleaning the nail drill bits, it is essential to dry them thoroughly to prevent any moisture buildup that could lead to rust or damage to the bits. Properly drying the nail drill bits will also help extend their overall lifespan.
To dry the nail drill bits, follow these steps:
- Pat dry: Start by patting dry the nail drill bits using a clean, dry towel or cloth. Gently remove any excess water or cleaning solution from the surface of the bits.
- Air dry: Set the nail drill bits aside on a clean paper towel or cloth and allow them to air dry completely. Avoid using any heat sources or hairdryers, as they can cause damage to the bits and affect their performance.
- Check for moisture: Once the nail drill bits have air dried, carefully inspect each one to ensure there is no moisture remaining. If you notice any remaining moisture spots, repeat the drying process or use a different cloth to remove the moisture.
It is crucial to allow enough time for the nail drill bits to dry completely before storing them away. Storing damp or wet nail drill bits can lead to bacteria growth and damage the bits over time.
By properly drying the nail drill bits after cleaning, you can maintain their performance, prevent rusting, and ensure their longevity.

Reassemble the nail drill bits
After cleaning your nail drill bits, it’s important to reassemble them properly before using them again. Here is a step-by-step guide on how to reassemble your nail drill bits:
- Start by gathering all the components of your nail drill bits: the shank, the drill bit, and any additional pieces or attachments.
- Inspect each component to ensure they are clean and free from any residue or debris. If you notice any remaining dirt or residue, clean it again using the appropriate cleaning method.
- If your nail drill bit has separate parts, such as a drill bit head and a base, apply a small amount of nail drill bit cleaner or alcohol to the base and twist the drill bit head onto it until it is secure.
- If your nail drill bit has additional attachments, such as sanding bands or diamond bits, follow the instructions provided to properly attach them to the base of the nail drill bit. Make sure they are securely fastened.
- Once all the components are assembled, double-check that everything is tightly secured and aligned. Loose or misaligned components can cause the nail drill bits to spin unevenly or even become dislodged during use.
- Place the reassembled nail drill bit into your nail drill machine and ensure it is inserted properly and securely. You may need to refer to the user manual of your specific machine for guidance on how to insert the nail drill bit correctly.
- Finally, turn on your nail drill machine to test the reassembly. Make sure the nail drill bit spins smoothly and does not wobble or make any unusual noises. If there are any issues, disassemble and reassemble the nail drill bit again to ensure proper alignment.
By following these steps, you can safely and effectively reassemble your nail drill bits after cleaning them. Taking the time to properly maintain and clean your nail drill bits will help prolong their lifespan and ensure optimal performance during use.
Store the clean nail drill bits in a dry place
After cleaning your nail drill bits, it is important to store them properly to maintain their cleanliness and prevent them from getting damaged or contaminated. Here are some steps to follow for proper storage:

- Dry the nail drill bits: Before storing the cleaned drill bits, make sure they are completely dry. Use a clean cloth or towel to remove any excess moisture from the bits. Moisture can lead to rust or other damage, so it’s important to ensure they are thoroughly dried.
- Use a dedicated storage container: It’s best to have a separate container for storing your nail drill bits. This can be a small plastic box, a case designed specifically for nail tools, or even a nail drill bit organizer. The container should be clean, dry, and large enough to accommodate all your drill bits.
- Arrange the drill bits: Place the cleaned nail drill bits in the storage container. You can arrange them in a single layer or use dividers to separate them. This will prevent them from rubbing against each other and causing damage.
- Label the container: To easily identify the different types or sizes of nail drill bits, consider labeling the storage container. This can be done with small stickers, markers, or by using a labeling machine. It is helpful to have the bits organized and labeled when it comes time to use them.
- Store in a dry place: It is essential to store the clean nail drill bits in a dry place. Moisture can lead to rust or bacterial growth, which can damage the bits. Find a cool, dry area where the container can be kept away from water, humidity, and direct sunlight.
- Keep the container closed: When not in use, make sure to keep the storage container closed to prevent dust, dirt, or other contaminants from entering. This will help maintain the cleanliness of the drill bits and ensure they are ready for use whenever needed.
By following these steps, you can properly store your clean nail drill bits and prolong their lifespan. Good storage practices will help maintain the cleanliness and functionality of the bits, ensuring a successful and sanitary nail drilling experience every time.
FAQ:
Why is it important to clean nail drill bits?
It is important to clean nail drill bits because they can harbor bacteria, dirt, and product residue. Failure to clean them regularly can lead to infection, nail damage, and a decrease in the performance of the drill bits.
How often should nail drill bits be cleaned?
Nail drill bits should be cleaned after each use to ensure optimal hygiene and performance. Regularly cleaning them will help prevent the buildup of bacteria and product residue.
What is the best way to clean nail drill bits?
The best way to clean nail drill bits is to first remove any remaining product residue using a brush. Then, soak the bits in a disinfectant solution, such as rubbing alcohol, for at least 10 minutes. After soaking, scrub the bits with a clean brush to remove any remaining debris. Finally, rinse the bits with water and allow them to air dry.
Can I use a nail drill bit cleaner instead of rubbing alcohol?
Yes, you can use a nail drill bit cleaner instead of rubbing alcohol. Nail drill bit cleaners are specifically formulated to remove product residue and kill bacteria, making them an effective alternative to rubbing alcohol. Just make sure to follow the instructions on the cleaner for best results.

Video:


Meet Harrison Clayton, a distinguished author and home remodeling enthusiast whose expertise in the realm of renovation is second to none. With a passion for transforming houses into inviting homes, Harrison's writing at https://thehuts-eastbourne.co.uk/ brings a breath of fresh inspiration to the world of home improvement. Whether you're looking to revamp a small corner of your abode or embark on a complete home transformation, Harrison's articles provide the essential expertise and creative flair to turn your visions into reality. So, dive into the captivating world of home remodeling with Harrison Clayton and unlock the full potential of your living space with every word he writes.


