Step-by-Step Guide: How to Change Out a Drill Bit

Whether you’re a seasoned contractor or a DIY enthusiast, knowing how to change out a drill bit is an essential skill for anyone who works with power tools. A drill bit is the part of the drill that actually cuts into the material, and different projects require different types and sizes of drill bits. Having the ability to quickly and easily swap out drill bits can save you time and frustration, allowing you to tackle a wide range of jobs with ease.
To change out a drill bit, you’ll need a few basic tools and a clear understanding of the process. This step-by-step guide will walk you through the process, making it easy for you to change out drill bits without any hassle. Whether you’re replacing a dull bit or switching to a different size, these instructions will ensure you can get back to work in no time.
Before getting started, it’s important to note that safety should always be your top priority when working with power tools. Be sure to wear proper safety gear, such as safety glasses and gloves, and follow all manufacturer instructions for your specific drill model. Additionally, make sure your drill is unplugged or the battery is disconnected before attempting to change out the drill bit.
Once you have your safety gear on and your drill is disconnected from power, you’re ready to begin changing out the drill bit. Follow these simple steps to complete the process:
Step 1: Gather the Necessary Tools

Before you can start changing out a drill bit, it’s important to gather all the necessary tools. Having everything you need on hand will make the process much smoother and quicker. Here are the essential tools you’ll need:
- A drill with the current drill bit
- The new drill bit that you want to replace it with
- A chuck key (if applicable)
- Safety goggles or glasses
- Work gloves (optional)
Make sure to choose a drill bit that is compatible with your drill and the type of material you’ll be drilling into. Some common types of drill bits include twist bits, spade bits, and hole saws.
Step 2: Prepare the Drill
Before changing out the drill bit, you will need to prepare the drill for the process. Follow the steps below to ensure that the drill is safe and ready to use:
- Turn off the drill: Before doing anything, make sure that the drill is turned off and unplugged from the power source. This will prevent any accidental startup during the bit change process.
- Secure the drill: Place the drill on a stable surface, such as a workbench or table. This will provide a solid base and prevent the drill from moving around during the bit change.
- Inspect the chuck: The chuck is the part of the drill that holds the bit in place. Check the chuck for any damage or debris that may impede the bit change. If there is any damage or debris, clean or repair the chuck before proceeding.
- Gather the necessary tools: To change out the drill bit, you will need a chuck key or a pair of pliers, depending on the type of chuck on your drill. Make sure you have the appropriate tool on hand before moving forward.
By taking the time to prepare the drill properly, you will ensure a smooth and safe process for changing out the drill bit.
Step 3: Remove the Existing Bit

- Before removing the existing drill bit, make sure the drill is turned off and unplugged from any power source. This is important for your safety.
- Locate the chuck on the drill. The chuck is the part of the drill that holds the bit in place.
- Depending on the type of drill you have, there are different ways to loosen and remove the existing drill bit:
- If you have a keyless chuck, you can usually loosen the chuck by rotating it counterclockwise. You can do this by hand or by using a chuck key that may have come with your drill.
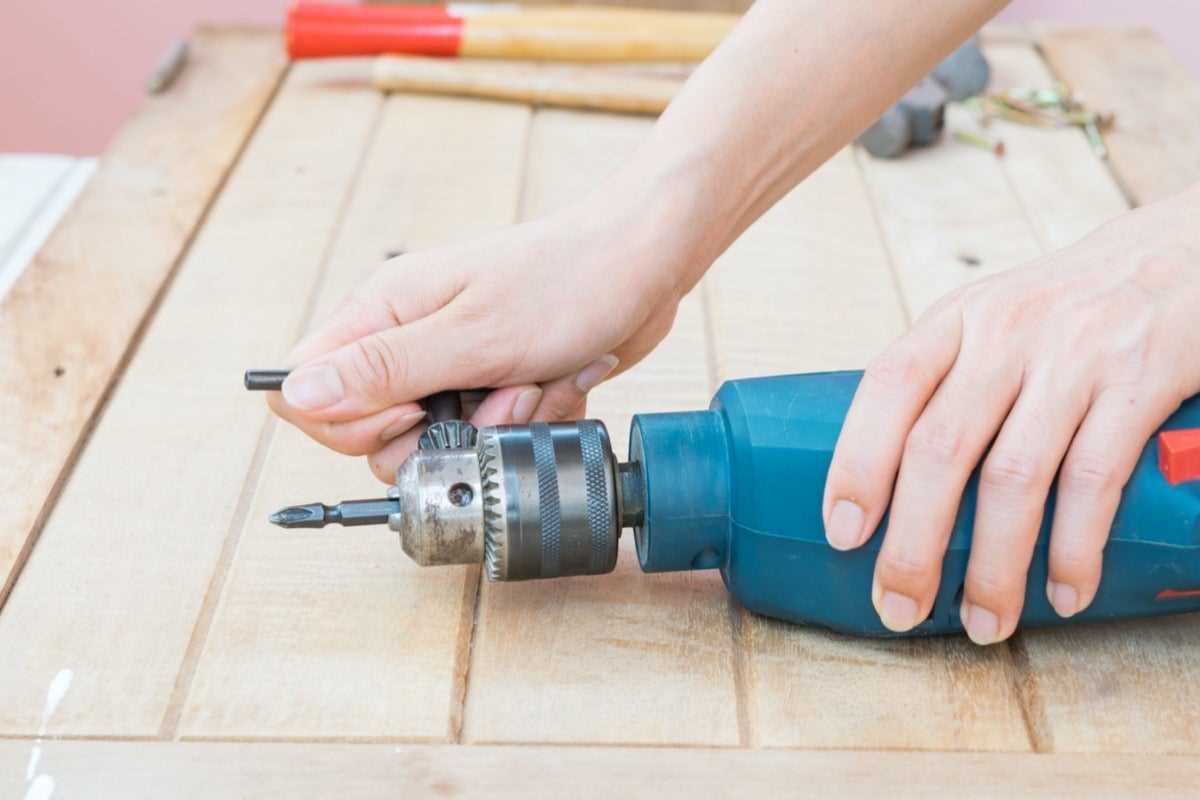
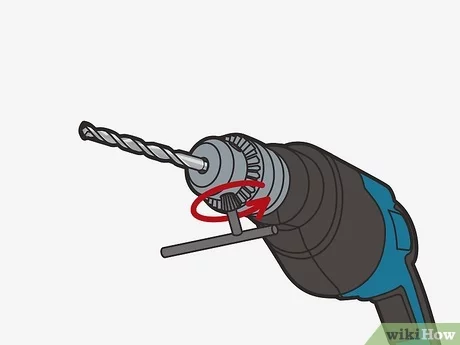
- If you have a keyed chuck, insert the chuck key into the small hole located on the side of the chuck. This hole is typically used to loosen or tighten the chuck. Once inserted, rotate the key counterclockwise to loosen the chuck and remove the bit.
- Once the chuck is loosened, gently remove the existing drill bit from the chuck. Be careful not to touch the sharp edges, as they can cause injury.
- Set the removed drill bit aside in a safe place. It’s a good idea to have a designated container or box to keep your drill bits organized and easily accessible.
Now that you have successfully removed the existing drill bit, you are ready to move on to the next step: choosing and inserting a new drill bit.
Step 4: Choose the New Bit
Now that you have removed the old bit, it’s time to choose a new one that is appropriate for your drilling needs. There are a wide variety of drill bits available, each designed for different materials and tasks. Consider the following factors when selecting a new bit:
1. Material
Determine the type of material you will be drilling into. Common materials include wood, metal, masonry, and plastic. Different bits are designed to work best with specific materials.
2. Bit Type
Choose the appropriate bit type for your drilling task. Some common types include twist bits, spade bits, hole saws, and masonry bits. Each type has its own unique design and purpose.

3. Size
Select the correct size for your new bit. Drill bits come in a range of sizes, typically measured in fractions of an inch or millimeters. The size you choose should match the width of the hole you want to create.
4. Shank Type
Determine the shank type that is compatible with your drill. Most drill bits have a round shank that fits into the chuck of a standard drill. However, some drills may require a different shank type, such as a hex shank or SDS shank.
5. Special Features
Consider any special features or additional capabilities you may need. Some drill bits have special coatings to reduce friction or increase durability. Others may have serrated edges for faster cutting or specific designs for specific tasks.
Take your time to research and select the right bit for your drilling project. Using the correct bit will ensure better performance and longer bit life.

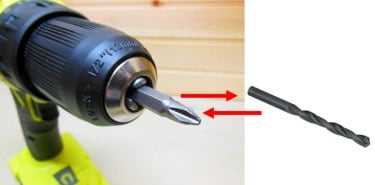
Step 5: Insert the New Bit
- Make sure the drill is turned off before attempting to insert the new bit.
- Choose the appropriate bit for the task at hand. Different projects may require different types of drill bits such as twist bits, spade bits, or masonry bits.
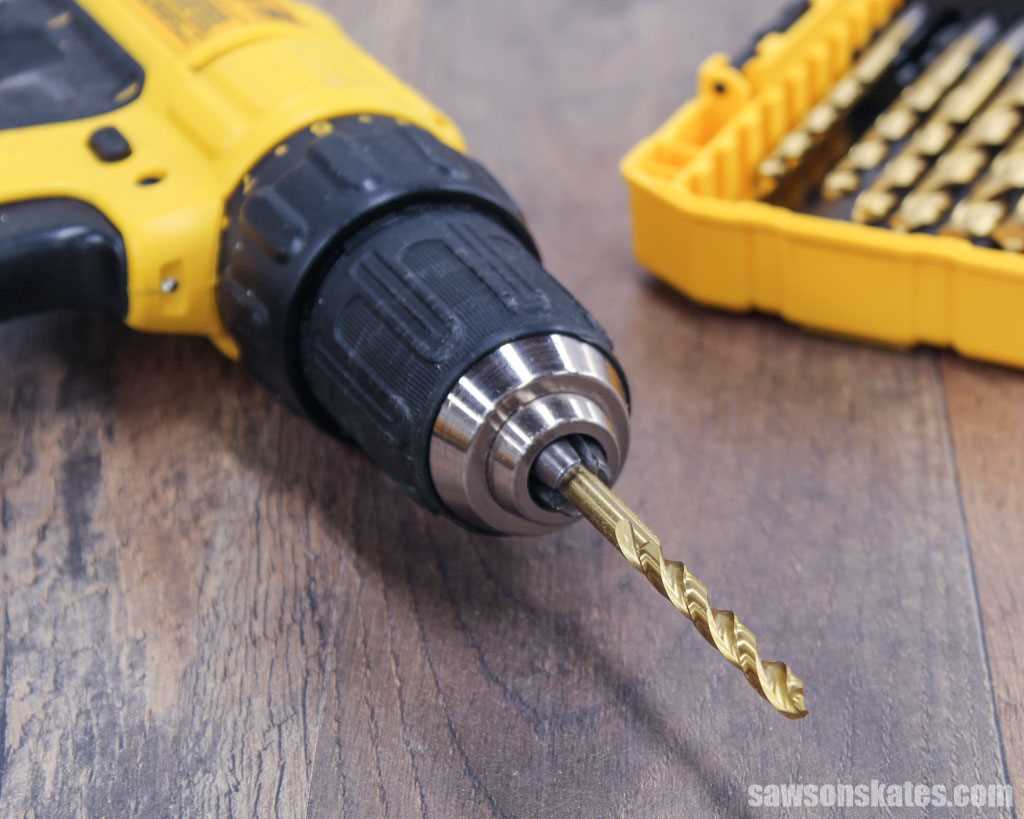
- Hold the new bit by the shank and align the hole in the chuck with the jaws of the drill.
- Insert the bit into the chuck, making sure it is seated securely.
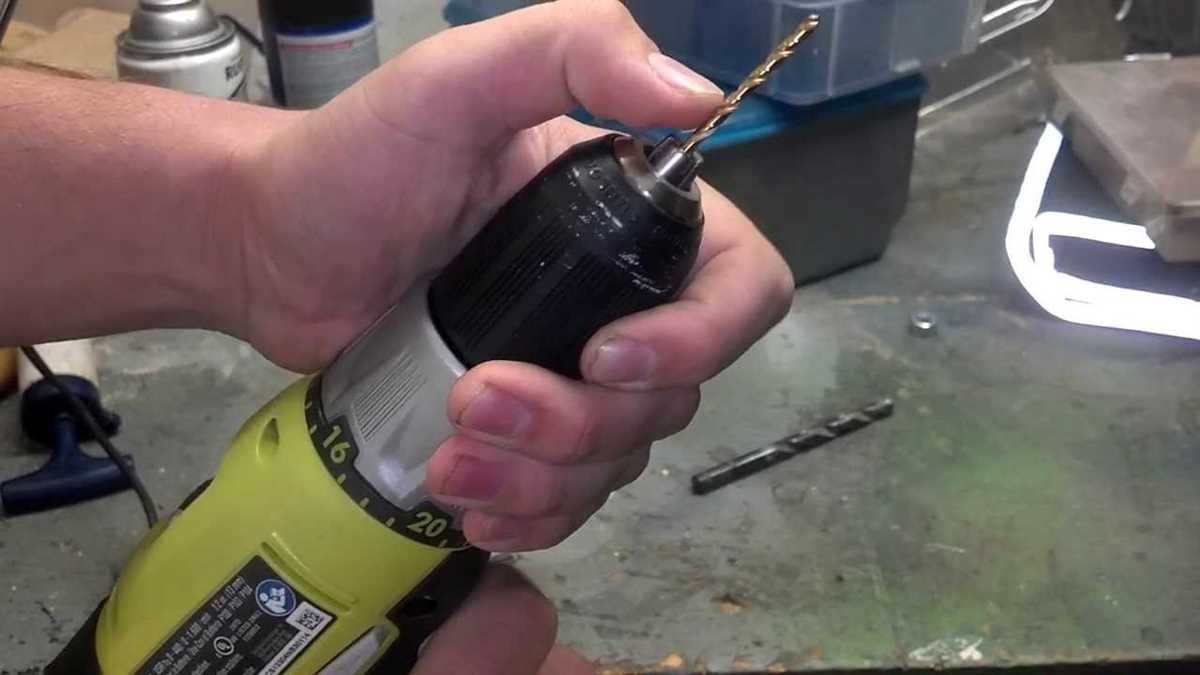
- Tighten the chuck by turning it clockwise. Use a chuck key if necessary, or if you have a keyless chuck, simply tighten it by hand.
- Gently pull on the bit to ensure it is secured tightly in the chuck.
Once the new bit is inserted and securely fastened, you are ready to move on to the next step of your project. Always double-check that the bit is properly secured before proceeding to avoid accidents or damage to the drill.
Step 6: Secure the Bit
Once you have inserted the new drill bit into the chuck, it is important to properly secure it before using the drill. Follow these steps to securely fasten the drill bit:
- Tighten the chuck by hand: Hold the drill bit in place with one hand while using your other hand to tighten the chuck clockwise. Make sure to keep the bit centered as you tighten.
- Use a chuck key (if applicable): If your drill is equipped with a key-operated chuck, insert the chuck key into the holes on the side of the chuck. Turn the key clockwise to tighten the jaws of the chuck and secure the bit.
- Check for tightness: Once the chuck is tightened, give the bit a gentle tug to ensure it is secure. If it moves or wobbles, repeat step 1 or 2 to tighten the chuck further.
It is important to securely fasten the drill bit to prevent it from slipping or coming loose during use. This will ensure accurate drilling and help to prevent accidents or damage to the workpiece.

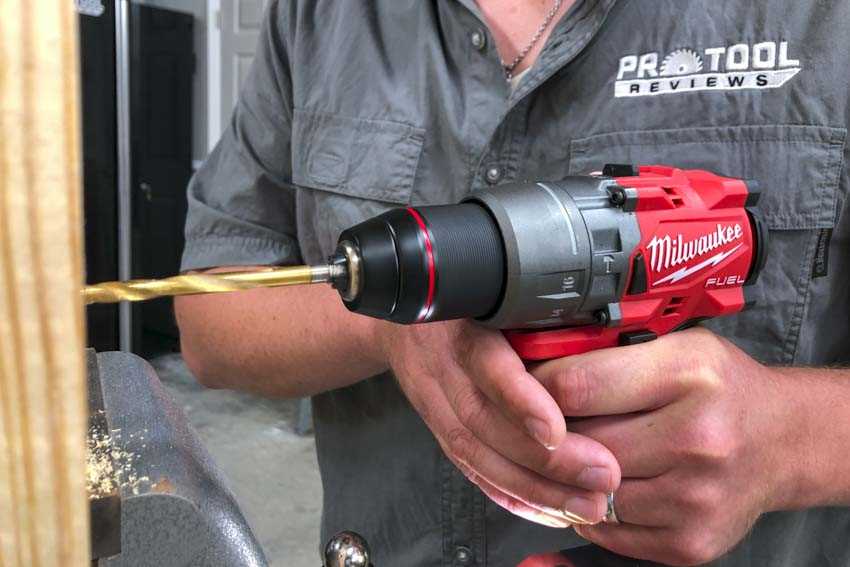
Step 7: Test the Drill
Once you have successfully changed out the drill bit, it is important to test the drill to ensure that everything is working properly before you start using it for your intended purpose.
To test the drill, follow these steps:
- Make sure the drill is properly plugged into a power source or that the battery is fully charged.
- Hold the drill with a firm grip and turn on the power.
- Engage the trigger and listen for any unusual noises or vibrations. If you notice anything out of the ordinary, immediately turn off the power and inspect the drill for any issues.
- Once you are confident that the drill is functioning correctly, you can test it by drilling a small hole into a piece of scrap wood or a similar material.
- Keep an eye out for any issues while drilling, such as difficulty in drilling or the drill bit becoming loose. These could indicate that the drill is not set up correctly or that there are further issues that need to be addressed.
If everything seems to be in order during the testing process, you can proceed to use the drill for your intended project. However, if you encounter any issues or are unsure about the drill’s performance, it is advisable to consult the manufacturer’s instructions or seek professional assistance.
FAQ:
Why would I need to change out a drill bit?
Changing drill bits is necessary when you want to switch between different sizes or types of holes, or when the current bit is dull or damaged.
What tools do I need to change a drill bit?
You will need a chuck key or a keyless chuck system that is compatible with your drill, and a new drill bit to replace the old one.
Can I change a drill bit without a chuck key?
If your drill has a keyless chuck system, you can change the drill bit without a chuck key. Simply twist the chuck counterclockwise to loosen it, replace the old bit with a new one, and then twist the chuck clockwise to tighten it.
What should I do if the drill bit is stuck?
If the drill bit is stuck in the chuck, you can try tapping the chuck lightly with a mallet or hammer to loosen it. If that doesn’t work, you may need to use a pair of pliers to grip the bit and twist it out.
How do I choose the right drill bit?
The right drill bit depends on the material you are drilling into. For wood, use a twist bit. For masonry, use a masonry bit. For metal, use a metal drill bit. Make sure to choose the correct size as well.
Should I wear safety goggles when changing a drill bit?
It is always a good idea to wear safety goggles when working with power tools, including when changing a drill bit. This will protect your eyes from any debris that may be released during the process.
Video:


Meet Harrison Clayton, a distinguished author and home remodeling enthusiast whose expertise in the realm of renovation is second to none. With a passion for transforming houses into inviting homes, Harrison's writing at https://thehuts-eastbourne.co.uk/ brings a breath of fresh inspiration to the world of home improvement. Whether you're looking to revamp a small corner of your abode or embark on a complete home transformation, Harrison's articles provide the essential expertise and creative flair to turn your visions into reality. So, dive into the captivating world of home remodeling with Harrison Clayton and unlock the full potential of your living space with every word he writes.


