Step-by-Step Guide: How to Attach a Socket to a Drill

Attaching a socket to a drill is a simple process that can greatly expand the capabilities of your drill. With the right socket and a few simple steps, you can turn your drill into a versatile tool for a wide range of tasks.
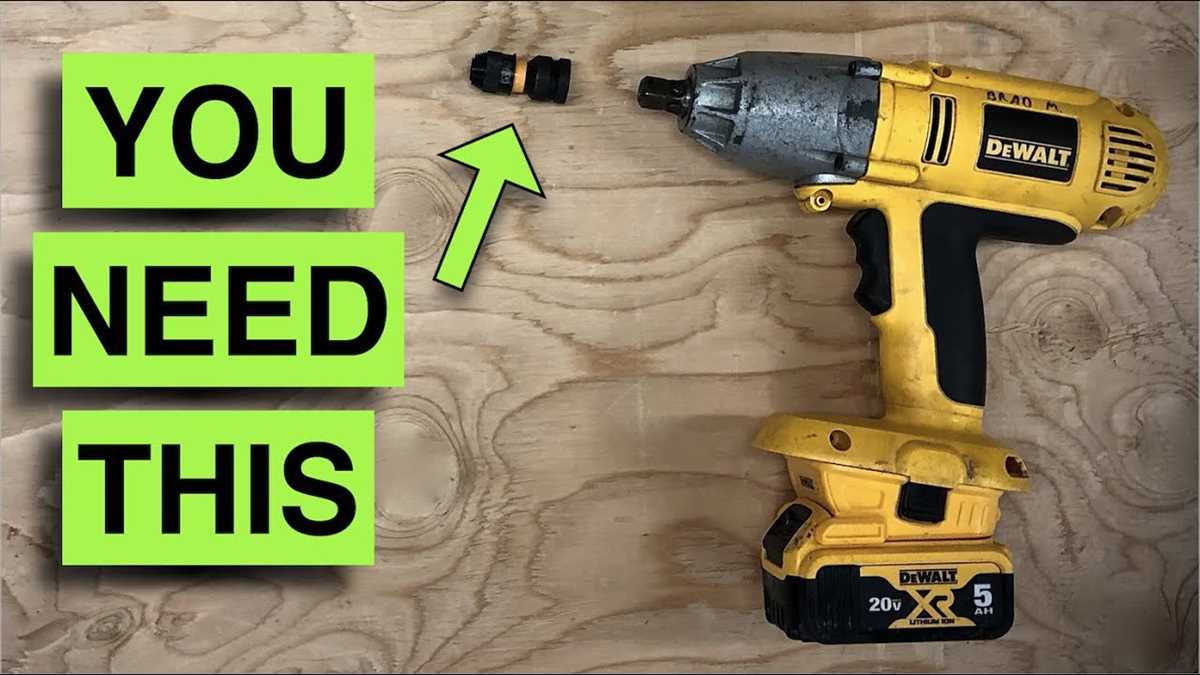
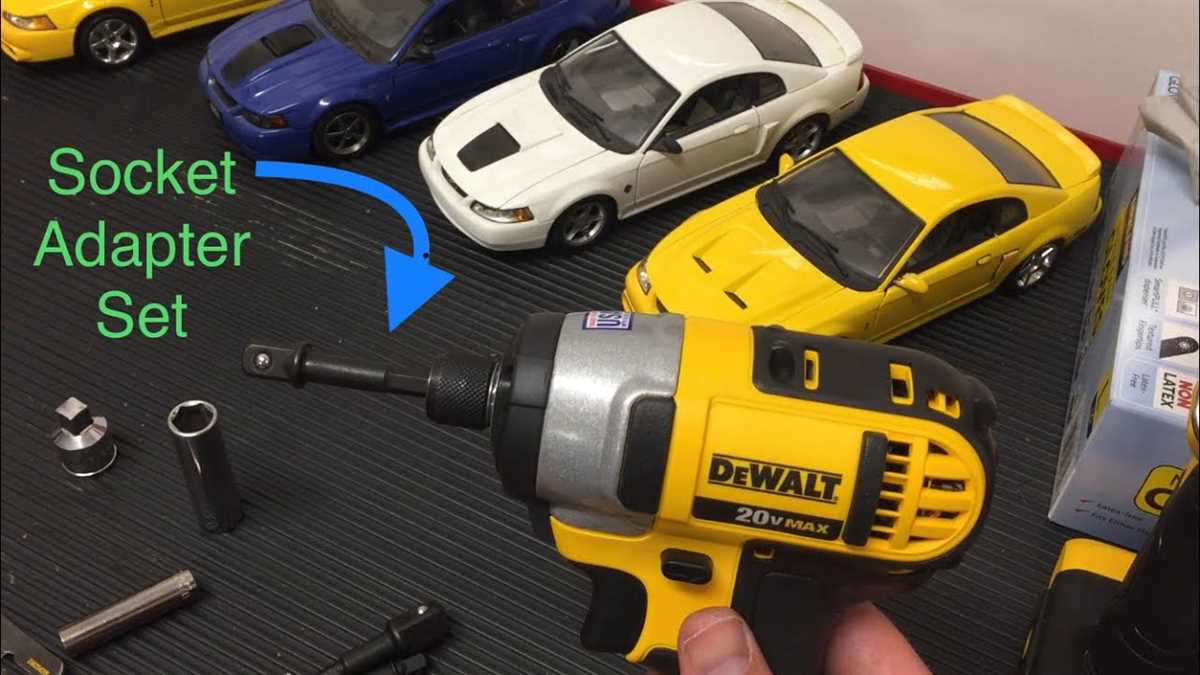
To begin, you will need a socket adapter that is compatible with your drill. This adapter will allow you to connect a socket to the drill’s chuck. Check the specifications of your drill and purchase an adapter that matches the chuck size.
Once you have the socket adapter, you are ready to attach the socket. Start by inserting the adapter into the chuck of your drill. Tighten the chuck securely to ensure that the adapter is properly attached.
Next, select the appropriate socket for the task at hand. The socket should match the size of the bolt, nut, or fastener you are working with. Slide the socket onto the adapter until it clicks into place.
With the socket attached, you can now use your drill to tighten or loosen bolts, nuts, and fasteners with ease. Simply place the socket over the bolt or nut and engage the drill. Be sure to use the appropriate level of torque for the task at hand to avoid damage or injury.

When you are finished using the socket, remove it by pulling it off the adapter. Then, loosen the chuck on your drill to remove the adapter. Store the socket and adapter in a safe place until you need them again.
Attaching a socket to a drill is a quick and easy process that can greatly expand the capabilities of your tool. Whether you need to tighten bolts or loosen nuts, using a socket with your drill can make the job faster and more efficient. Follow these simple steps to attach a socket to your drill and tackle a wide range of tasks with ease.
Step 1: Gather the Required Tools
Before you can attach a socket to a drill, you will need to gather the necessary tools. Having these tools ready will ensure a smooth and efficient process.
Here are the tools you will need:

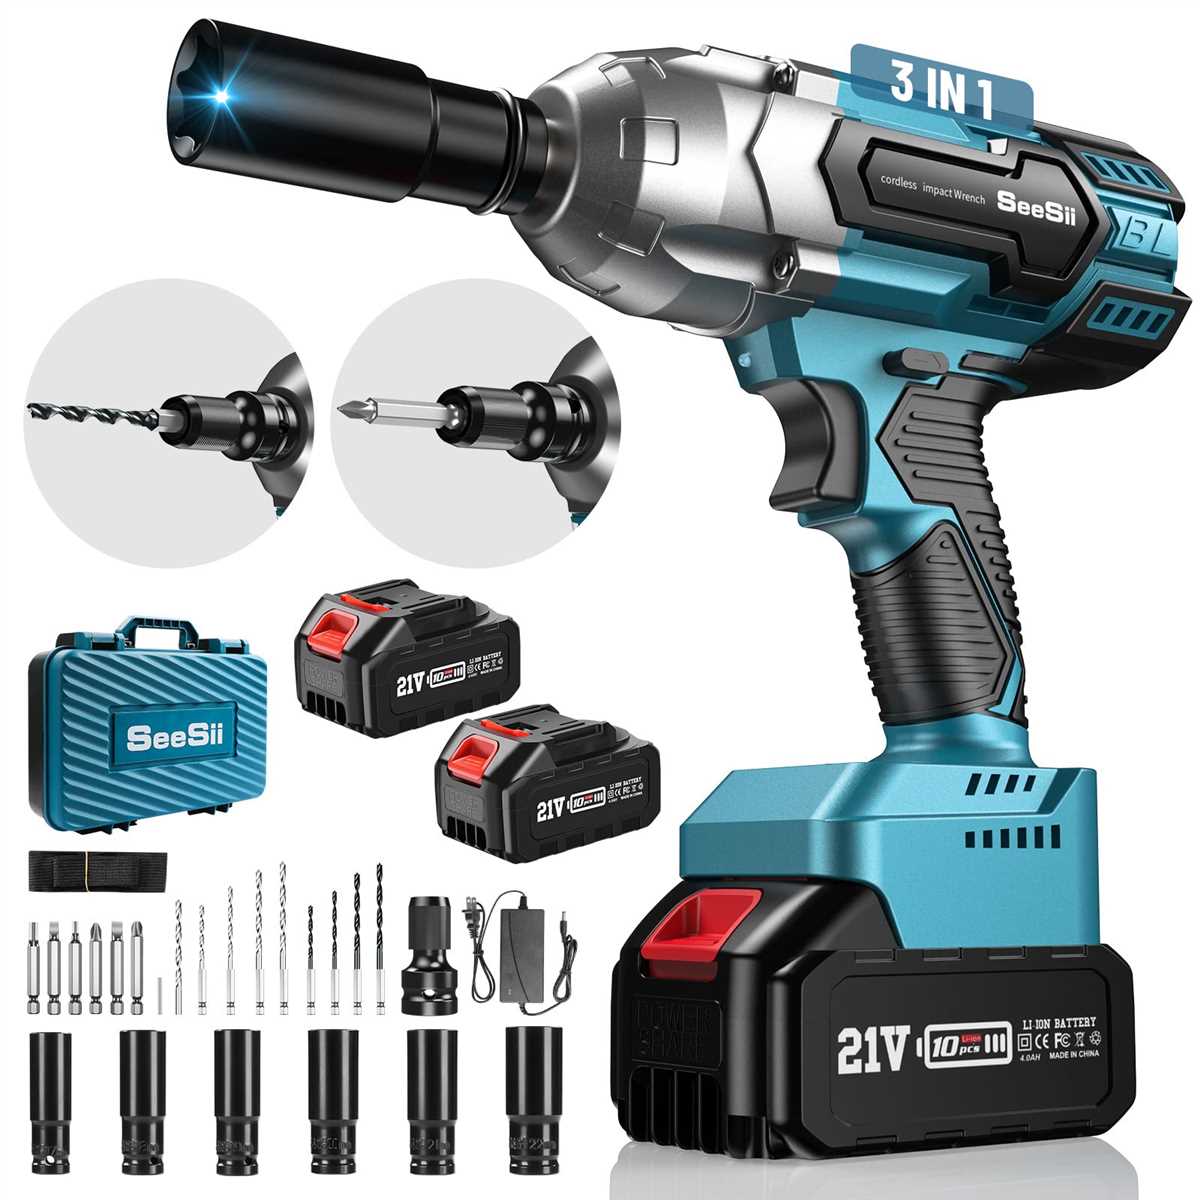
- A drill – the main tool that you will be attaching the socket to.
- A socket – the attachment that will allow you to use different drill bits or accessories.
- A socket adapter – if the socket and drill have different sizes, an adapter can be used to connect them.
- Drill bits or accessories – depending on the task, you will need the appropriate bits or accessories for the socket.
- Safety goggles – to protect your eyes from any debris or sparks that may be generated during the drilling process.
It is important to have these tools ready before starting the attachment process to avoid any delays or interruptions. Now that you have all the necessary tools, you can move on to the next step.
Step 2: Prepare the Drill
Before attaching a socket to a drill, it is important to properly prepare the drill for the task. Follow these steps to ensure your drill is ready:
- Gather the necessary tools: You will need a socket set, a drill with a chuck key, and the appropriate socket size for your project. Make sure all tools are clean and in good condition.
- Inspect the drill: Check the drill for any damage or wear that may affect its performance or safety. Look for any loose parts, frayed cords, or signs of overheating. If any issues are found, do not proceed with the attachment process and have the drill repaired or replaced.
- Ensure the drill is turned off: Before attaching a socket, make sure the drill is powered off and unplugged from any electrical sources. This will prevent accidental startup during the attachment process.
- Remove any existing attachments: If there are any existing attachments or drill bits in the chuck, remove them before attaching the socket. This will ensure a secure and proper fit for the socket.
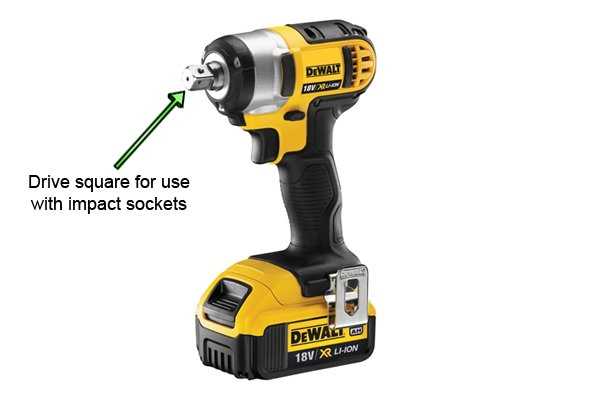
- Insert the appropriate socket: Select the socket size that corresponds to the nut or bolt you will be working with. Insert the square end of the socket into the drill chuck, making sure it is seated securely.
- Tighten the chuck: Use the chuck key to tighten the chuck around the socket. Insert the chuck key into the holes on the chuck and turn it clockwise to secure the socket in place. Make sure the socket is tightly held and does not wobble.
- Check for proper fit: Once the socket is attached, visually inspect it to ensure it is aligned properly and fully inserted into the chuck. Gently tug on the socket to confirm that it is securely attached and will not come loose during use.
With the drill properly prepared, you are now ready to move on to the next step of attaching the socket to the drill.
Step 3: Choose the Proper Socket Size

Choosing the proper socket size is crucial for getting the job done right. Using the wrong size socket can cause damage to the bolt or nut you’re working on, and it can also damage your socket and drill.
Here are the steps to follow when choosing the correct socket size:
- Identify the bolt or nut size: Measure the diameter of the bolt or nut using a measuring tape or calipers. If the bolt has standard measurements, it will be labeled with a size number (such as 1/4″, 3/8″, 1/2″, etc.). If the bolt is metric, it will be labeled with a size in millimeters (such as 6mm, 10mm, 13mm, etc.).
- Match the socket size: Once you know the size of the bolt or nut, find a socket that matches that size. Sockets are labeled with both metric and standard sizes, so make sure to choose the correct one.
- Check the socket type: Sockets come in different types, such as deep sockets, shallow sockets, impact sockets, etc. Choose the socket type that is appropriate for the job you’re doing. For example, if you’re working with a bolt in a deep recess, you may need a deep socket to reach it.
- Consider the material: Sockets are made from different materials, such as chrome vanadium steel, carbon steel, or impact-grade steel. The material you choose will depend on the level of durability and strength you need for your specific task.
Once you have selected the correct socket size, you are ready to move on to the next step in attaching it to your drill.
Step 4: Insert the Socket onto the Drill
Now that you have selected the appropriate socket for your task, it’s time to attach it to the drill. Follow these steps to safely and securely insert the socket onto the drill:

- Ensure that the drill is turned off and unplugged from any power source. Safety should always be a top priority.
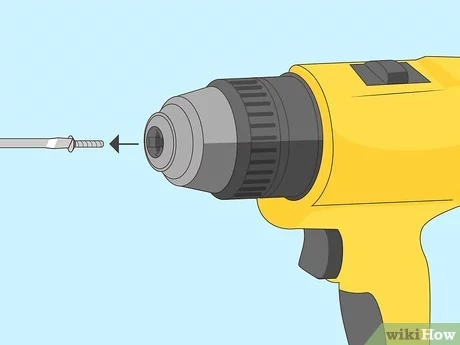
- Locate the chuck on the drill. This is the part of the drill that holds the socket and allows it to rotate.
- Open the chuck by twisting the outer ring counterclockwise. This will loosen the jaws of the chuck and create a larger opening.
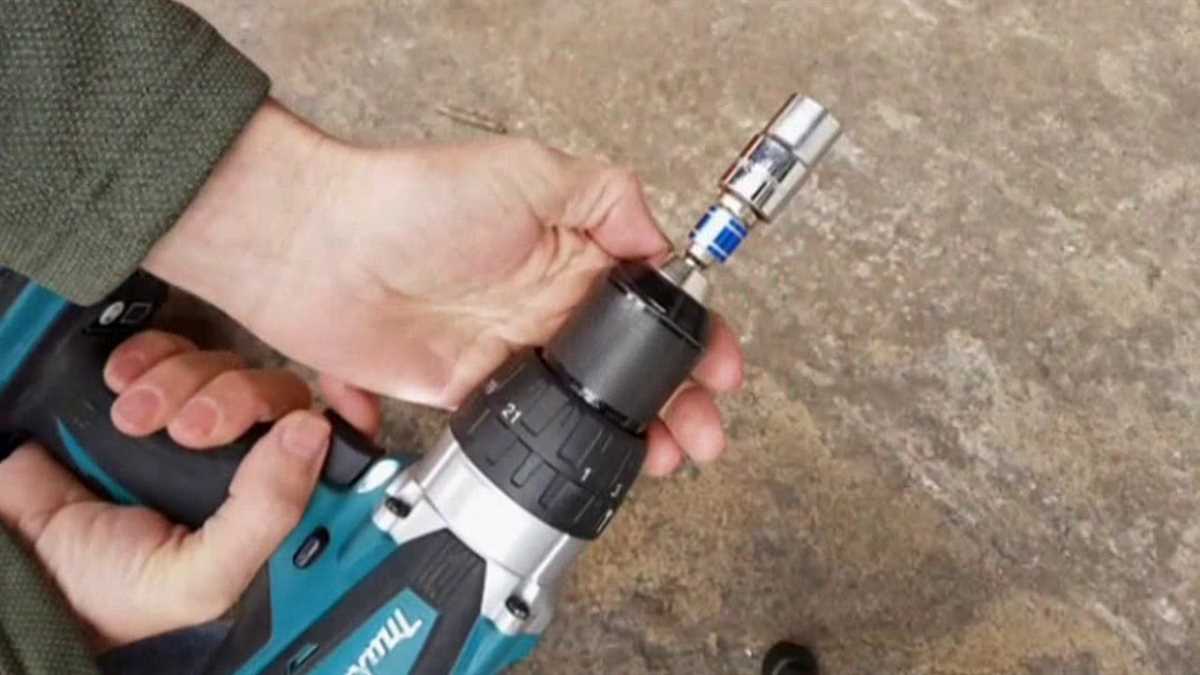
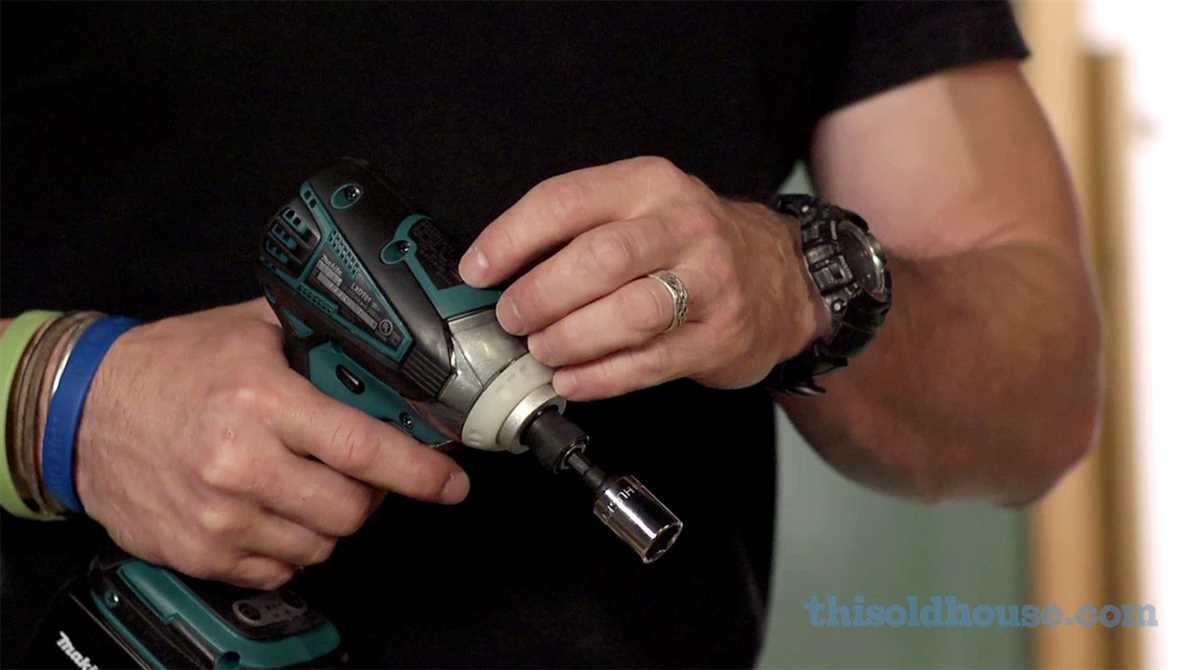
- Insert the socket into the chuck. Make sure that the square drive end of the socket is fully inserted into the chuck. The socket should fit snugly and not be loose.
- Tighten the chuck by twisting the outer ring clockwise. This will close the jaws of the chuck and secure the socket in place.
- Once the chuck is tightened, give the socket a light tug to ensure it is securely attached to the drill.
- You are now ready to use the socket and drill combination for your project.
It’s important to note that some drills may have a keyless chuck, which means you can tighten the chuck by hand without the need for a key. If your drill has a keyless chuck, simply twist the outer ring clockwise to tighten the chuck.
Always double-check that the socket is properly inserted and secured before using the drill. A loose socket can cause the drill to malfunction or even become a safety hazard.
Following these steps will ensure that the socket is securely attached to the drill, allowing you to confidently and effectively complete your drilling tasks.
Step 5: Secure the Socket in Place
Once you have inserted the socket onto the drill bit, it is important to secure it in place to ensure a safe and effective drilling experience. Follow the steps below to properly secure the socket:

- Tighten the chuck: Use the chuck key or the drill’s built-in chuck tightening mechanism to tighten the chuck around the drill bit. Make sure it is secure and will not slip during use.
- Test the socket: Before starting the drilling operation, give the socket a gentle tug to make sure it is firmly attached to the drill bit. If it feels loose, remove the socket and repeat step 4 to ensure a proper fit.
- Secure additional components: If your drill bit requires additional components, such as a washer or collar, make sure they are securely in place. These components can help provide stability and prevent the socket from moving during use.
Once you have completed these steps, you can proceed with using the drill as intended. Remember to always wear safety goggles and follow all appropriate safety precautions when using power tools.
Step 6: Test the Socket Attachment
Once you have securely attached the socket to your drill, it is important to test it before using it for any actual tasks. Testing the socket attachment will ensure that it is properly secured and will not come loose while in use.
Instructions:
- Select a test object, such as a bolt or nut, that matches the size of the socket you have attached to your drill.
- Hold the test object in one hand and bring the socket attached to the drill towards it.
- Align the socket with the test object and apply some pressure to create a firm connection.
- Turn the drill on and slowly increase the speed to test the stability of the socket attachment.
- If the socket remains securely attached and does not come loose, it has been successfully attached to your drill.
Note: If the socket attachment does come loose or fails the stability test, you should reattach it following the previous steps or seek professional assistance to ensure the safety of your drilling tasks.

Step 7: Detach the Socket from the Drill
Once you have completed your drilling or screwdriving task, it is important to detach the socket from the drill. This will allow you to safely store your drill and socket and prevent any damage to the tool or socket.
To detach the socket from the drill, follow these steps:
- Turn off the drill by switching off the power button or releasing the trigger.
- Place the drill on a stable surface, ensuring that it is not in contact with any loose objects.
- Hold the socket firmly with one hand while using your other hand to rotate the drill in the opposite direction of the socket’s attachment.
- Apply gentle pressure and twist until the socket becomes loose and detaches from the drill.
- Once the socket is detached, remove it from the drill and set it aside.
It is important to handle the detached socket with care, as it may still be hot or have sharp edges. Consider using gloves or wait for it to cool down before handling it.
After detaching the socket, you can now store your drill and socket in a safe place. It is recommended to store them separately to prevent any damage or loss.

Remember to always follow safety precautions when working with power tools and consult the manufacturer’s instructions for specific guidelines on attaching and detaching sockets.
Step 8: Clean and Store the Socket
After using the socket with your drill, it is important to clean it properly and store it in a secure place to ensure its longevity and performance. Follow these steps to clean and store your socket:
- Unplug the drill: Before cleaning the socket, make sure the drill is unplugged to avoid any accidents.
- Remove any debris: Check the socket for any dirt, dust, or debris that may have accumulated during use. Use a small brush or compressed air to remove any particles.
- Clean with a cloth: Dampen a cloth with a mild detergent or cleaning solution. Gently wipe the socket to remove any remaining dirt or grease.
- Dry thoroughly: After cleaning, pat the socket dry with a clean cloth. Make sure it is completely dry before storing to prevent rust or corrosion.
- Inspect for damage: Check the socket for any signs of wear or damage. Look for any cracks, chips, or deformities that may affect its performance. If you notice any issues, consider replacing the socket.
- Store in a secure place: Find a designated storage area for your socket, such as a toolbox or a drawer. Make sure it is secure and protected from any potential damage or moisture.
By following these steps, you can maintain the cleanliness and functionality of your socket, ensuring it remains in good condition for future use.
FAQ:
What is a socket?
A socket is a tool that is used to attach to a drill and allows for loosening or tightening of bolts or nuts.
Why would I need to attach a socket to a drill?
Attaching a socket to a drill provides the user with additional torque and power to easily loosen or tighten bolts or nuts.
Can I attach any socket to a drill?
No, you must ensure that the socket is compatible with the drill chuck. The socket size and shape should match the specifications of the drill chuck for a secure attachment.
Are there any safety precautions I should take when attaching a socket to a drill?
Yes, it is important to wear safety goggles and gloves to protect your eyes and hands from potential injury. Additionally, make sure the drill is turned off and unplugged before attaching the socket.
Can I attach a socket to a cordless drill?
Yes, as long as the socket is compatible with the chuck of the cordless drill, you can attach it and use it for your desired application.
Video:


Meet Harrison Clayton, a distinguished author and home remodeling enthusiast whose expertise in the realm of renovation is second to none. With a passion for transforming houses into inviting homes, Harrison's writing at https://thehuts-eastbourne.co.uk/ brings a breath of fresh inspiration to the world of home improvement. Whether you're looking to revamp a small corner of your abode or embark on a complete home transformation, Harrison's articles provide the essential expertise and creative flair to turn your visions into reality. So, dive into the captivating world of home remodeling with Harrison Clayton and unlock the full potential of your living space with every word he writes.


