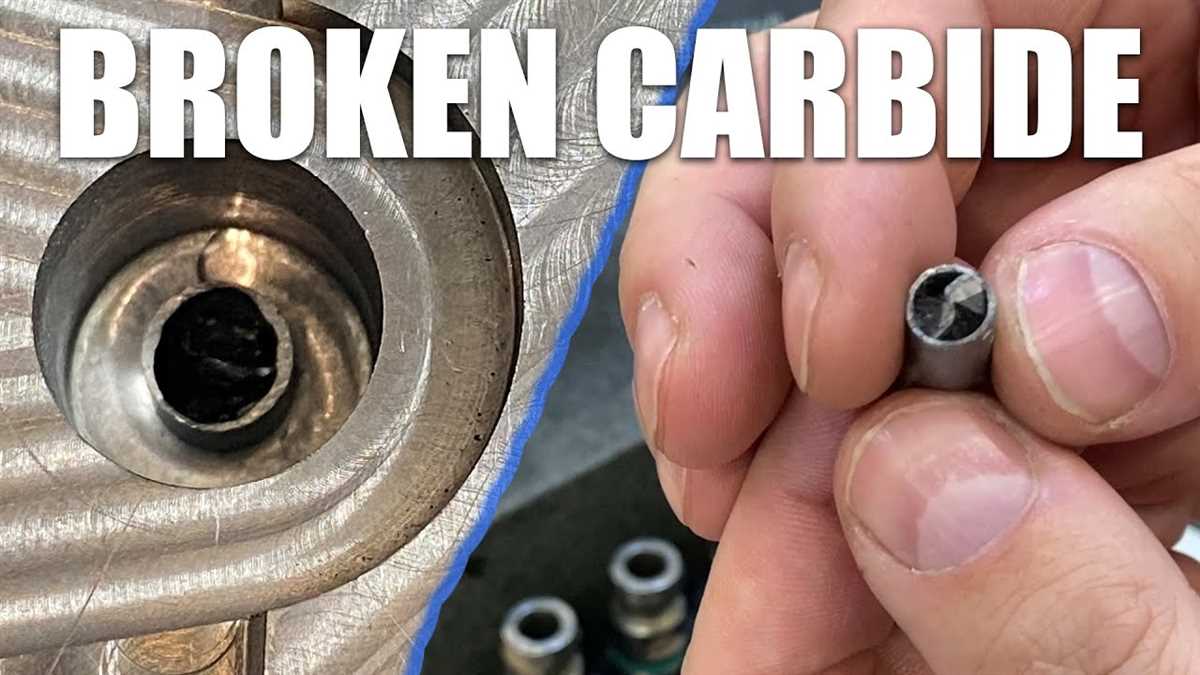
Simple steps to remove a broken carbide drill bit

Breaking a carbide drill bit can be frustrating, but it doesn’t have to be the end of your project. With a little bit of patience and some basic tools, you can easily remove the broken bit and get back to work. In this article, we will guide you through the simple steps to remove a broken carbide drill bit.
Step 1: Assess the situation
The first thing you need to do is assess the situation. Determine how much of the bit is still embedded in the material and how accessible it is. If there is only a small portion of the bit left and it’s easily accessible, you may be able to remove it using a pair of pliers or tweezers. However, if a significant portion of the bit is still embedded or if it’s difficult to reach, you may need to use different techniques.
Step 2: Lubricate the area
Before attempting any method, it’s important to lubricate the area around the broken bit. This will help reduce friction and make it easier to remove the bit. You can use a lubricant such as WD-40 or a penetrating oil. Apply the lubricant and let it sit for a few minutes to penetrate the material.

Step 3: Use pliers or tweezers
If there is a small portion of the broken bit left and it’s easily accessible, you can try using a pair of pliers or tweezers to remove it. Grip the bit firmly with the pliers or tweezers and gently pull it out. Be careful not to apply too much force, as this can cause the bit to break further or damage the material.
Step 4: Drill it out
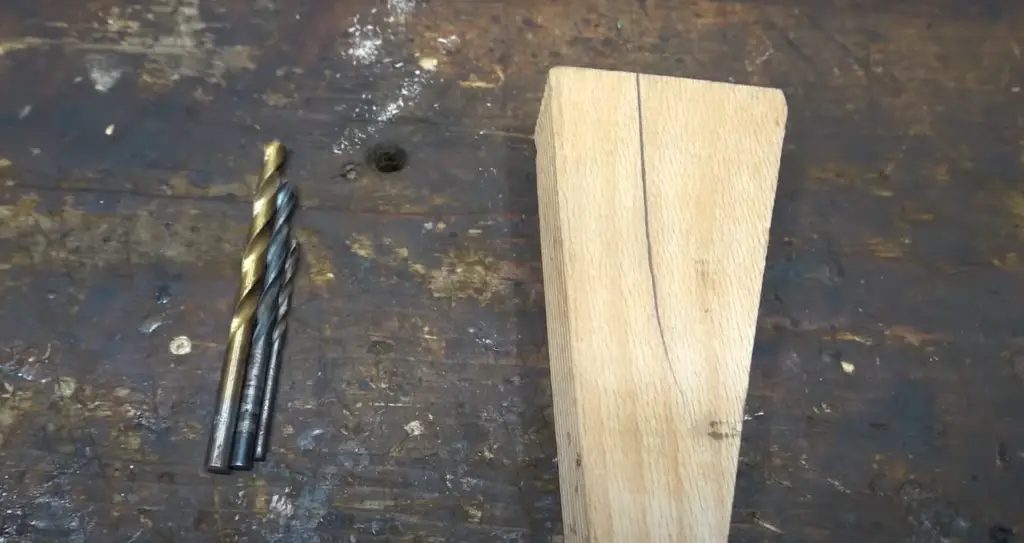
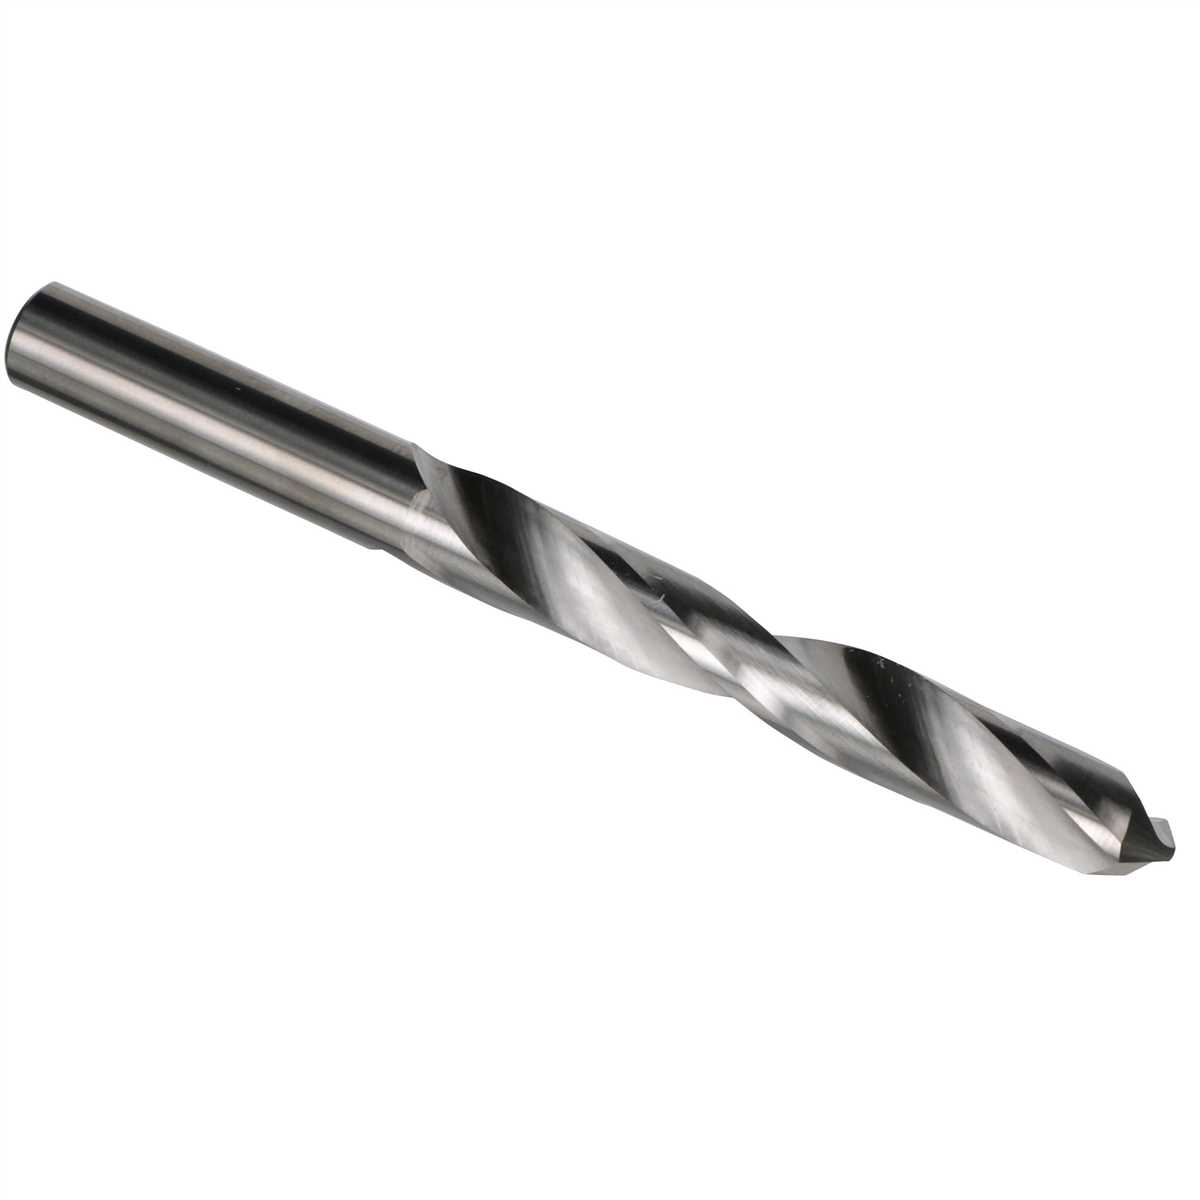
If the broken bit is deeply embedded or difficult to reach, you may need to drill it out. Start by selecting a drill bit that is slightly smaller than the broken bit. Carefully drill into the broken bit, applying gentle pressure. Once you have created a hole, switch to a larger drill bit and continue drilling. Gradually increase the size of the drill bit until the broken bit is fully removed.
Step 5: Seek professional help if needed

If you are unable to remove the broken bit using the above steps, it may be time to seek professional help. A professional with the right tools and experience will be able to safely remove the broken bit without causing further damage. Don’t hesitate to reach out to a professional if you’re unsure or don’t feel comfortable attempting the removal yourself.
By following these simple steps, you can effectively remove a broken carbide drill bit and get back to completing your project. Remember to always exercise caution and use the appropriate tools for the job. Good luck!
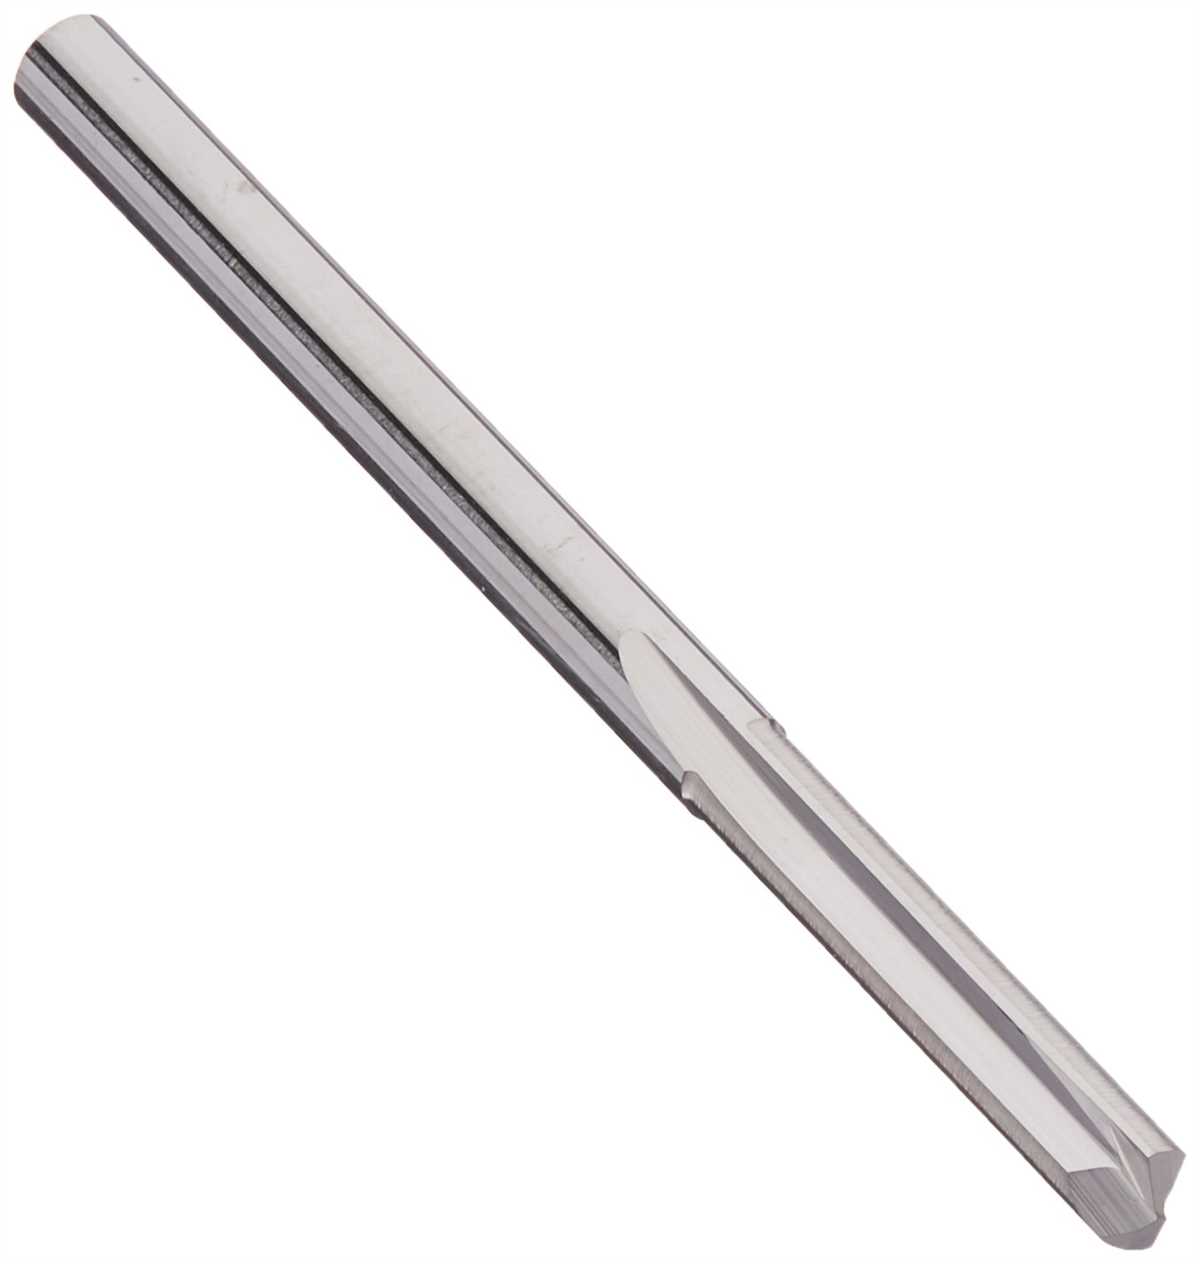
What is a carbide drill bit?
A carbide drill bit is a type of cutting tool used for drilling holes in various materials. It is made from a combination of tungsten carbide particles and a metal binder, usually cobalt or nickel. The carbide particles provide high hardness and wear resistance, while the metal binder ensures the integrity of the bit.
Carbide drill bits are commonly used in industries such as metalworking, woodworking, and construction. They are known for their ability to drill through tough materials, including hardened steel, cast iron, and concrete.

The design of a carbide drill bit typically consists of a fluted body, which serves to remove chips from the hole during drilling, and a pointed tip for accurate drilling. The flutes on the body of the bit are often coated with a thin layer of titanium nitride (TiN) or another similar material to further enhance the hardness and reduce friction.
Carbide drill bits come in various sizes and shapes, including twist drills, spade drills, and hole saws. They can be used with hand drills, drill presses, or specialized drilling machines, depending on the application and the material being drilled.
Overall, carbide drill bits are highly durable and efficient tools that are essential for many drilling operations. They offer excellent performance, allowing users to drill precise and clean holes in a wide range of materials.
Why do carbide drill bits break?
Carbide drill bits are known for their strength, durability, and ability to drill through hard materials. However, even the toughest drill bits can break under certain conditions. Understanding the reasons why carbide drill bits break can help prevent future damage and extend the lifespan of your tools.

Inadequate tool selection
One common reason for carbide drill bit breakage is using the wrong type or size of drill bit for the job. Carbide drill bits come in various styles, each designed for specific materials and drilling applications. Using a drill bit that is not suited for the material being drilled can cause excessive heat and stress on the bit, leading to breakage.
Excessive heat
Heat is another factor that can contribute to carbide drill bit failure. When drilling at high speeds or for extended periods of time, the heat generated can cause the carbide bit to become dull and brittle, making it more susceptible to breaking. Cooling the drill bit with cutting fluid or periodically pausing to allow it to cool can help mitigate this issue.
Improper drilling technique
The technique used while drilling can also affect the lifespan of carbide drill bits. Applying excessive pressure, using excessive speed, or drilling at an improper angle can put excessive stress on the bit and cause it to break. It is important to use the proper technique, including using a steady and controlled drilling motion.

Material hardness
The hardness of the material being drilled can also play a role in carbide drill bit breakage. Drill bits designed for softer materials may not be suitable for drilling through harder materials, such as metal or concrete. Using a drill bit that is not designed for the specific material being drilled can lead to breakage.
Poor bit maintenance
Lastly, poor bit maintenance can contribute to carbide drill bit failure. Failing to clean and properly store drill bits can cause them to become dull or damaged. Regular cleaning, sharpening, and storage in a protective case can help prolong the life of carbide drill bits and reduce the risk of breakage.
Step 1: Assess the situation
Before attempting to remove a broken carbide drill bit, it is important to assess the situation and determine the extent of the damage. This will help you plan the best course of action and avoid further complications.
Here are a few things to consider when assessing the situation:

- Examine the broken drill bit: Check the location and angle of the break. If the bit is broken close to the surface, it may be easier to remove. However, if it is broken deep inside the material, it will require more effort.
- Assess the material being drilled: Different types of materials require different removal methods. For example, removing a broken carbide drill bit from wood may be easier compared to removing it from metal or concrete.
- Consider the accessibility: Determine how easily you can access the broken drill bit. If it is in a tight or hard-to-reach spot, you may need special tools or techniques to remove it.
- Evaluate your skills and equipment: Assess your own capabilities and the tools you have at your disposal. Removing a broken carbide drill bit can be challenging and may require specific knowledge or tools.
By carefully assessing the situation, you can make an informed decision on the best approach to remove the broken carbide drill bit.
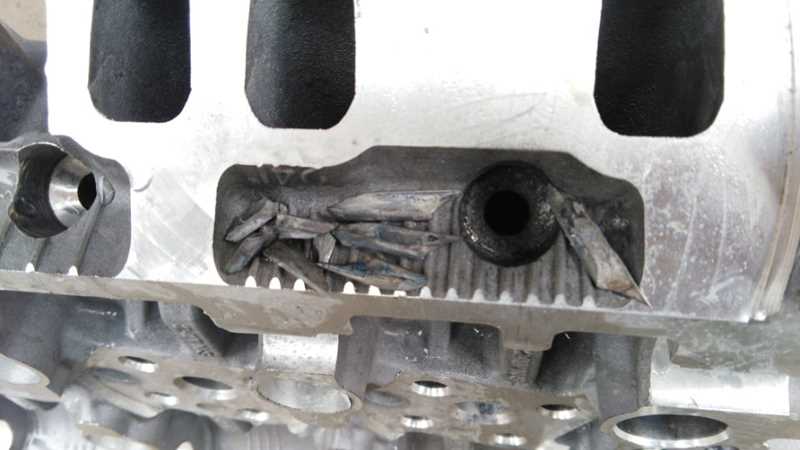
Inspect the broken drill bit
Before attempting to remove a broken carbide drill bit, it’s important to inspect the broken bit to understand the extent of the damage and plan the best course of action. Here are some steps to inspect the broken drill bit:
- Start by carefully examining the broken end of the drill bit. Look for any signs of wear, damage, or breakage on the carbide tip.
- Check if the broken bit is securely stuck in the material or if it’s loose. This will determine the level of difficulty in removing the broken bit.
- Inspect the drill chuck or collet to see if it shows any signs of damage or wear. A damaged chuck or collet may have contributed to the bit breakage.
- Measure the length of the broken drill bit that’s still sticking out of the material. This will give you an idea of how much of the bit needs to be removed.
- Look for any debris or metal shavings around the broken bit. This can indicate if the bit broke due to excessive heat or a cutting problem.
- If possible, try to identify the cause of the bit breakage. Did you apply excessive pressure, use the wrong speed, or encounter any other issues that may have caused the bit to break?
By inspecting the broken drill bit thoroughly, you can gather important information that will help you choose the appropriate method to remove the broken bit. It will also help you prevent similar accidents in the future by identifying any factors that contributed to the breakage.
Check the drill chuck and spindle

Before attempting to remove a broken carbide drill bit, it’s important to first check the drill chuck and spindle to make sure they are in good working condition. This will ensure that the drill is properly aligned and secure for the removal process.
Here are a few steps to check the drill chuck and spindle:
- Inspect the chuck: Look for any signs of damage or wear on the chuck, such as cracks, chips, or missing parts. Ensure that the chuck is tight and secure.
- Check the jaws: Open and close the chuck jaws to make sure they move freely and grip the drill bit securely. If the jaws are stuck or not gripping properly, they may need to be cleaned or replaced.
- Examine the spindle: Inspect the spindle for any signs of damage or corrosion. Ensure that it rotates smoothly and there is no excessive play or wobbling.
- Clean the chuck and spindle: If there is any dirt, debris, or rust on the chuck or spindle, clean it thoroughly using a brush or cloth. This will help improve the grip and alignment of the drill bit.
If you notice any significant issues or abnormalities during this inspection, it’s best to consult the drill’s user manual or contact a professional for further guidance. It’s important to have a properly functioning drill before attempting to remove a broken carbide drill bit to avoid any additional damage or injury.
Step 2: Gather the necessary tools
Before you begin the process of removing a broken carbide drill bit, it is important to have the right tools on hand. Here are the essential tools you will need:
- Safety goggles: These will protect your eyes from any flying debris while you work.
- Gloves: Wearing gloves will provide an extra layer of protection and improve your grip.
- Pliers: Pliers will come in handy for gripping and removing the broken drill bit.
- Drill: Having a drill on hand will make it easier to remove the broken bit, especially if it is still embedded in the material.
- Cutting oil or lubricant: Applying a lubricant to the broken drill bit can help loosen it and make it easier to remove.
- Center punch: A center punch can be used to create an indentation on the broken drill bit for easier removal.
- Hammer: A hammer can be used alongside the center punch to create the indentation or to gently tap the broken bit out of the material.
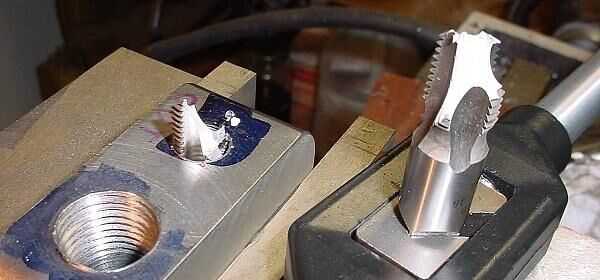
- Extractor set: An extractor set, specifically designed for removing broken drill bits, can be used if the bit is completely stuck and cannot be removed using other methods.
Make sure to gather all these tools before you proceed to the next step to ensure a smooth and efficient removal process.
Choose the right tools for the job
Removing a broken carbide drill bit can be a challenging task, but having the right tools for the job can make it much easier. Here is a list of essential tools you will need:
- Safety goggles: Protect your eyes from flying debris.
- Gloves: Ensure your hands are well protected.
- Pliers: Use pliers to grip and remove any large portions of the broken drill bit.
- Center punch: Use a center punch to create a small indentation on the broken drill bit. This will help guide the drill bit removal tool.
- Drill bit removal tool: Depending on the size and type of broken drill bit, you may need a specific tool designed for its removal. Common options include screw extractors, easy-outs, and left-hand drill bits.
- Drill: If using a drill bit removal tool, you will need a drill to create a hole for the tool to grip onto.
- Lubricant: Applying a lubricant to the broken drill bit can help loosen it and make the removal process smoother.
- Hammer: A hammer may be necessary for gently tapping the drill bit removal tool into place or providing additional force when needed.
Having these tools on hand will give you the best chance of successfully removing a broken carbide drill bit.
Ensure safety equipment is available
Before attempting to remove a broken carbide drill bit, it is important to ensure that you have the appropriate safety equipment on hand. This will help protect you from any potential hazards and minimize the risk of injuries. The following safety equipment is recommended:
- Safety glasses: Protect your eyes from flying debris and particles that may be ejected during the removal process.
- Gloves: Wear gloves to protect your hands from sharp edges and potential cuts while handling the broken drill bit.
- Dust mask: If you are working with materials that may produce dust or fine particles, wearing a dust mask can help prevent inhalation of harmful substances.
- Ear protection: Some removal methods may involve using tools or machinery that produce loud noises. Wearing ear protection can help prevent hearing damage.
Having these safety items readily available before starting the removal process will ensure that you can effectively protect yourself and minimize the risk of accidents or injuries.
Step 3: Remove the chuck
The chuck is the part of the drill that holds the drill bit in place. In order to remove the broken carbide drill bit, you’ll need to remove the chuck from the drill. Here are the steps to do so:
- Disconnect the drill from the power source to ensure safety.
- Locate the chuck key that came with your drill. This is a small tool that is used to loosen the chuck.
- Insert the chuck key into the hole located on the side of the chuck.
- Rotate the chuck key counterclockwise to loosen the chuck.
- Continue rotating the chuck key until the chuck is loose enough to be removed by hand.
- Once the chuck is loose, remove it from the drill by pulling it straight out.
Be careful when removing the chuck, as it may be heavy and could potentially fall off if not held securely. If you’re unsure of how to remove the chuck or don’t feel comfortable doing it yourself, consider seeking assistance from a professional or consulting the drill’s instruction manual.
Release the chuck from the spindle
Once you have identified and confirmed that the carbide drill bit is broken, the next step is to release the chuck from the spindle. The chuck is the part of the drill that holds the drill bit in place.
To release the chuck, follow these steps:
- Switch off the power to the drill to ensure safety.
- If your drill has a keyless chuck, which is the most common type, grip the chuck with one hand and turn it counterclockwise to loosen it.
- If your drill has a keyed chuck, locate the chuck key that came with the drill. Insert the key into the holes on the side of the chuck and turn it counterclockwise to loosen the chuck.
- Once the chuck is loose, continue turning it counterclockwise with your hand until it is completely released from the spindle.
Note: Be careful not to apply too much force when loosening the chuck, as this can damage the drill.
By releasing the chuck from the spindle, you have now prepared the drill for the next step in removing the broken carbide drill bit.
FAQ:
What can I do if I accidentally break a carbide drill bit?
If you accidentally break a carbide drill bit, there are several steps you can take to remove it from the material you were drilling. First, try using a pair of pliers to grip onto the broken piece and gently twist it out. If that doesn’t work, you can try using a small drill bit to make a hole in the broken piece and then insert a screw into the hole to create leverage for pulling it out. Another option is to use a carbide drill bit extractor, which is specifically designed for removing broken drill bits.
Is it possible to remove a broken carbide drill bit without damaging the material?
It is possible to remove a broken carbide drill bit without damaging the material, but it requires careful techniques and patience. The key is to avoid putting too much pressure on the broken piece or using excessive force, as this can cause further damage. By using the steps mentioned earlier, such as using pliers or a drill bit extractor, and being gentle in your approach, you can minimize the risk of damaging the material.
Can I reuse a broken carbide drill bit?
Unfortunately, a broken carbide drill bit cannot be reused. Once a carbide drill bit breaks, it loses its structural integrity and its cutting edge becomes compromised. Trying to reuse a broken carbide drill bit can result in poor drilling performance and potential damage to the material being drilled. It is best to discard the broken bit and replace it with a new one for optimal drilling results.
Are there any precautions I can take to avoid breaking a carbide drill bit?
There are several precautions you can take to avoid breaking a carbide drill bit. Firstly, make sure to use the appropriate drill bit size and type for the material you are drilling. Using too much force or drilling at a high speed can increase the risk of breakage, so it is important to use steady and controlled movements. Additionally, periodically checking the condition of your drill bits and replacing them if they show signs of wear or damage can help prevent breakage.
Are there any alternative methods for removing a broken carbide drill bit?
If the methods mentioned earlier do not work, there are alternative methods you can try to remove a broken carbide drill bit. One option is to use a rotary tool with a cutting disc to carefully grind away the broken piece of the drill bit. Another option is to use a small chisel and hammer to carefully chip away at the broken piece until it can be removed. These methods require precision and caution, so it is important to take your time and proceed carefully to avoid causing further damage.
Video:


Meet Harrison Clayton, a distinguished author and home remodeling enthusiast whose expertise in the realm of renovation is second to none. With a passion for transforming houses into inviting homes, Harrison's writing at https://thehuts-eastbourne.co.uk/ brings a breath of fresh inspiration to the world of home improvement. Whether you're looking to revamp a small corner of your abode or embark on a complete home transformation, Harrison's articles provide the essential expertise and creative flair to turn your visions into reality. So, dive into the captivating world of home remodeling with Harrison Clayton and unlock the full potential of your living space with every word he writes.


