Simple Steps to Fixing a Drill Chuck

Drill chucks are essential components of power drills, allowing users to securely fasten drill bits and other accessories. Over time, however, a drill chuck may become loose or malfunction, leading to reduced performance and accuracy. If you’re experiencing issues with your drill chuck, don’t worry – fixing it is often a straightforward process that can be done at home with just a few simple steps.
Step 1: Identify the Problem
The first step in fixing a drill chuck is to determine what exactly is wrong with it. Common issues include a loose chuck, a stuck chuck, or a chuck that won’t open or close properly. Once you’ve identified the problem, you can proceed with the appropriate repair.
Step 2: Tighten a Loose Chuck
If your drill chuck is loose, it’s important to tighten it to prevent any wobbling or slipping of the drill bit. Start by opening the chuck as wide as possible and using a pair of pliers to grip the chuck firmly. Turn the chuck clockwise to tighten it, taking care not to overtighten. Once the chuck is securely tightened, the wobbling should be eliminated.

Step 3: Free a Stuck Chuck
If your drill chuck is stuck, it may be due to debris or rust buildup. To free a stuck chuck, start by spraying a lubricant into the chuck, such as WD-40. Allow the lubricant to penetrate the stuck chuck for a few minutes. Then, use a rubber mallet or a block of wood and a hammer to gently tap the chuck in a counterclockwise direction. This should help loosen any debris or rust and free the chuck.
Step 4: Repair or Replace a Malfunctioning Chuck
If your drill chuck is not opening or closing properly, it may be a sign of a malfunctioning chuck. In this case, you may need to dismantle the chuck to inspect and repair any internal components. If the chuck is beyond repair, it may need to be replaced. Consult the manufacturer’s instructions or seek professional assistance if necessary.
Note: Always remember to disconnect your power drill from its power source and wear appropriate safety gear, such as safety goggles, when working on your drill chuck.
By following these simple steps, you can easily fix most common issues with a drill chuck and restore your power drill back to optimal performance. With a properly functioning chuck, you’ll be able to tackle your DIY projects with confidence and precision.

Step-by-Step Guide to Repairing a Drill Chuck
1. Gather the necessary tools
Before you begin repairing your drill chuck, make sure you have the following tools:
- Allen wrench
- Hammer
- Pliers
2. Remove the chuck
Use the Allen wrench to remove the screw holding the chuck in place. Once the screw is removed, firmly grasp the chuck and turn it counterclockwise to loosen and remove it from the drill.
3. Inspect the chuck
Examine the chuck for any signs of damage or wear. Look for any loose or broken parts that may need to be replaced.
4. Clean the chuck
Use a cloth or brush to remove any dirt, debris, or rust from the chuck. Clean both the inside and outside of the chuck thoroughly.
5. Lubricate the chuck
Apply a small amount of lubricant to the chuck to ensure smooth operation. Use a light machine oil or recommended lubricant for your specific drill model.

6. Replace or repair any damaged parts
If you identified any broken or worn-out parts during your inspection, now is the time to replace or repair them. Follow the manufacturer’s instructions or consult a professional if necessary.
7. Reinstall the chuck
Align the chuck with the drill and turn it clockwise until it is securely in place. Use the Allen wrench to tighten the screw and secure the chuck to the drill.
8. Test the chuck
Turn on the drill and test the chuck’s functionality. Ensure that it operates smoothly and securely holds the drill bit in place.
9. Clean up
Finally, clean up any tools or debris you used during the repair process. Store your tools properly for future use.
By following these step-by-step instructions, you can easily repair a drill chuck and save money on costly replacements or repairs.
Determine the Issue
Insufficient Chuck Grip

If your drill chuck isn’t gripping the drill bit tightly enough, the first step is to check if the chuck is fully tightened. Use a chuck key or a drill chuck tool to tighten the chuck as much as possible. If the chuck still doesn’t grip the bit tightly, there may be a problem with the chuck itself.
Chuck Jaws Misalignment
An issue with the chuck jaws can cause misalignment and prevent the chuck from gripping the drill bit securely. To check for this issue, inspect the jaws for any debris, such as dirt or metal shavings, that may be causing obstructions. Clean out the chuck jaws using a brush or cloth. If the jaws look damaged or worn, they may need to be replaced.
Worn Chuck Key or Chuck Thread
If your drill chuck still doesn’t grip the drill bit tightly even after tightening, the chuck key or the chuck itself may be worn. Check the chuck key for any signs of wear, such as rounded edges or stripped teeth. If the chuck key is worn, it may not be able to fully engage with the chuck, resulting in a loose grip. Similarly, a worn chuck thread can prevent the chuck from tightening properly. In this case, the chuck may need to be replaced.
Drill Bit Compatibility
Make sure that the drill bit you are using is compatible with the chuck. Some drill chucks are designed for specific types of drill bits, such as those with a certain shank size or shape. Using an incompatible drill bit can cause the chuck to have a loose grip. Check the drill bit’s shank size and shape to ensure that it matches the chuck’s specifications.
Chuck Replacement
If none of the above steps resolve the issue and your drill chuck continues to have a weak grip on the drill bit, it may be necessary to replace the chuck. Consult your drill’s user manual or contact the manufacturer for guidance on finding and installing a compatible replacement chuck. Be sure to follow all safety precautions and instructions provided by the manufacturer when replacing the chuck.
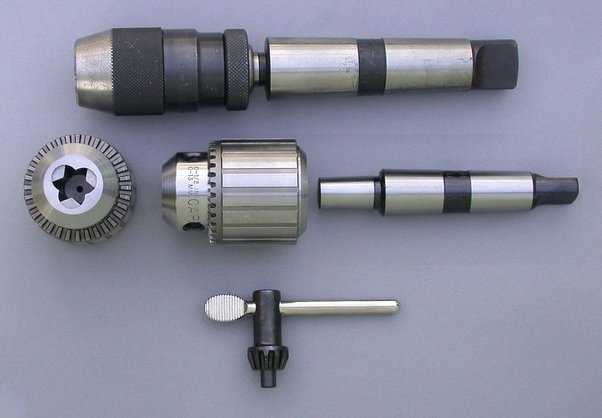
Prepare the Tools
- Adjustable wrench or chuck key
- Hammer
- Large screwdriver or pry bar
- Hex key set
- Lubricating oil or grease
- Protective gloves
Before you start fixing the drill chuck, it is important to gather all the necessary tools. Here are the tools you will need:
1. Adjustable wrench or chuck key: This tool will be used to remove the chuck from the drill. Make sure you have the right size wrench or the appropriate chuck key for your drill.
2. Hammer: A hammer can be used to tap the chuck if it is stuck or difficult to remove.
3. Large screwdriver or pry bar: This tool can be used to assist in removing the chuck by applying leverage.
4. Hex key set: Sometimes, the chuck is secured with a screw or bolt that requires a hex key to loosen or remove. Make sure you have the right size hex key for your drill.
5. Lubricating oil or grease: It is recommended to have lubricating oil or grease on hand to lubricate the chuck parts after cleaning or adjusting.
6. Protective gloves: Working with tools and machinery can be hazardous. It is important to wear protective gloves to protect your hands from any potential injuries.
Having these tools ready will ensure that you have everything you need to successfully fix your drill chuck.
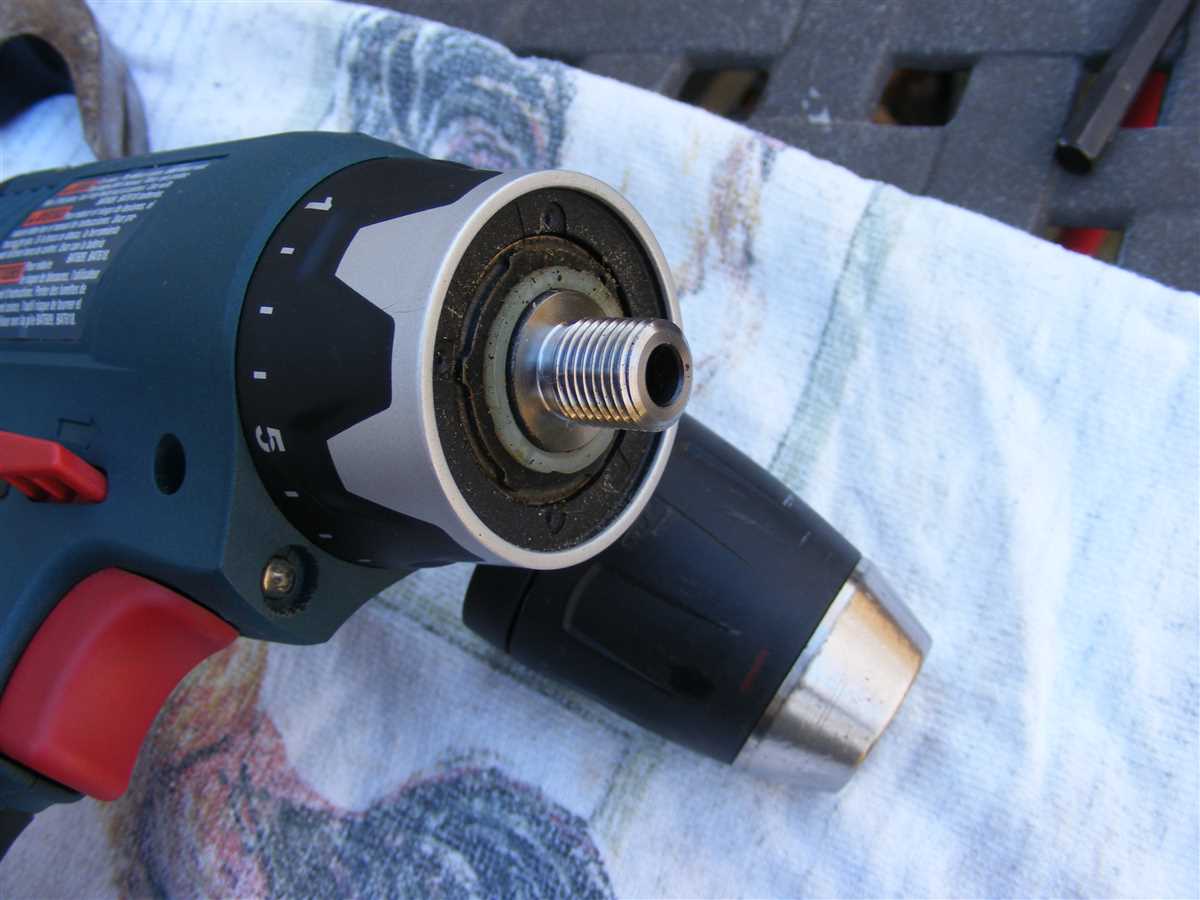
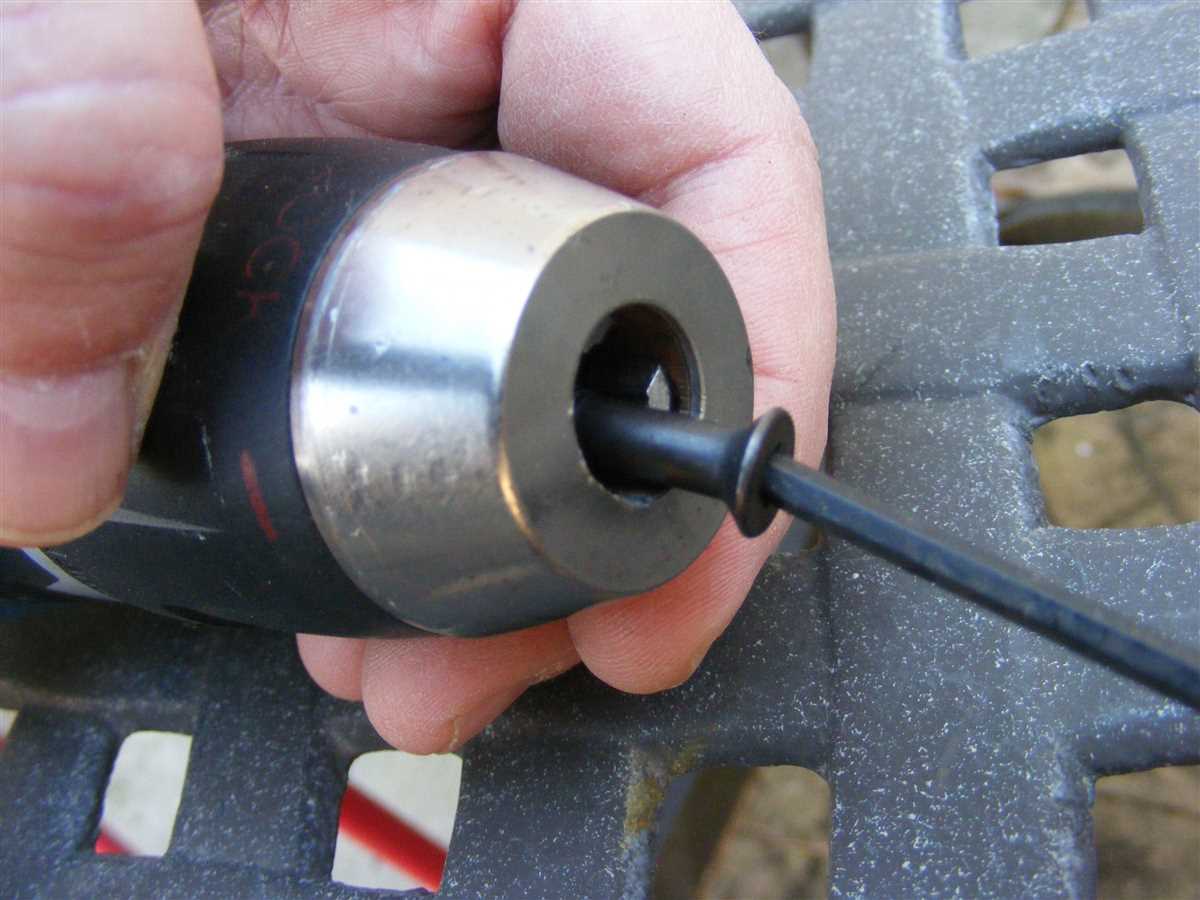
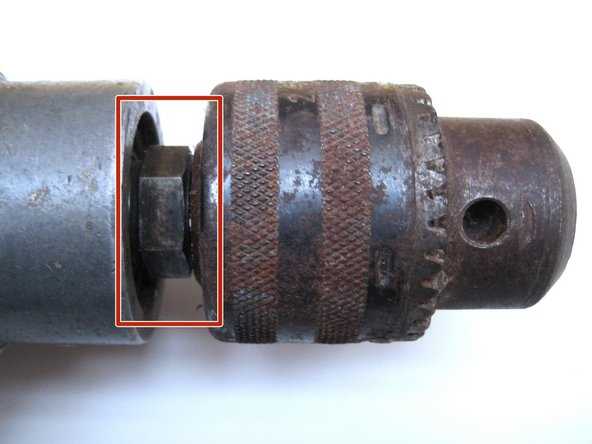
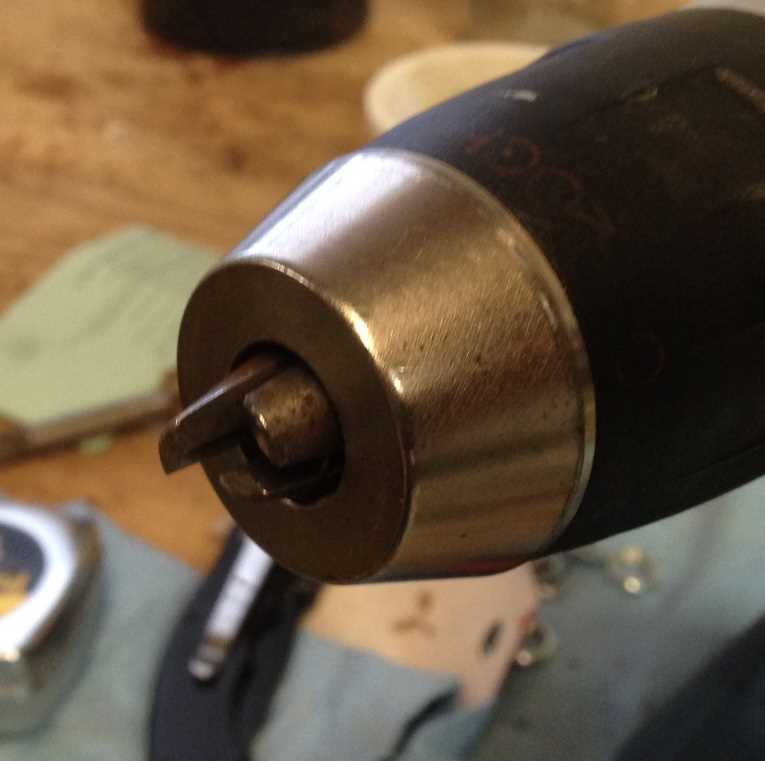
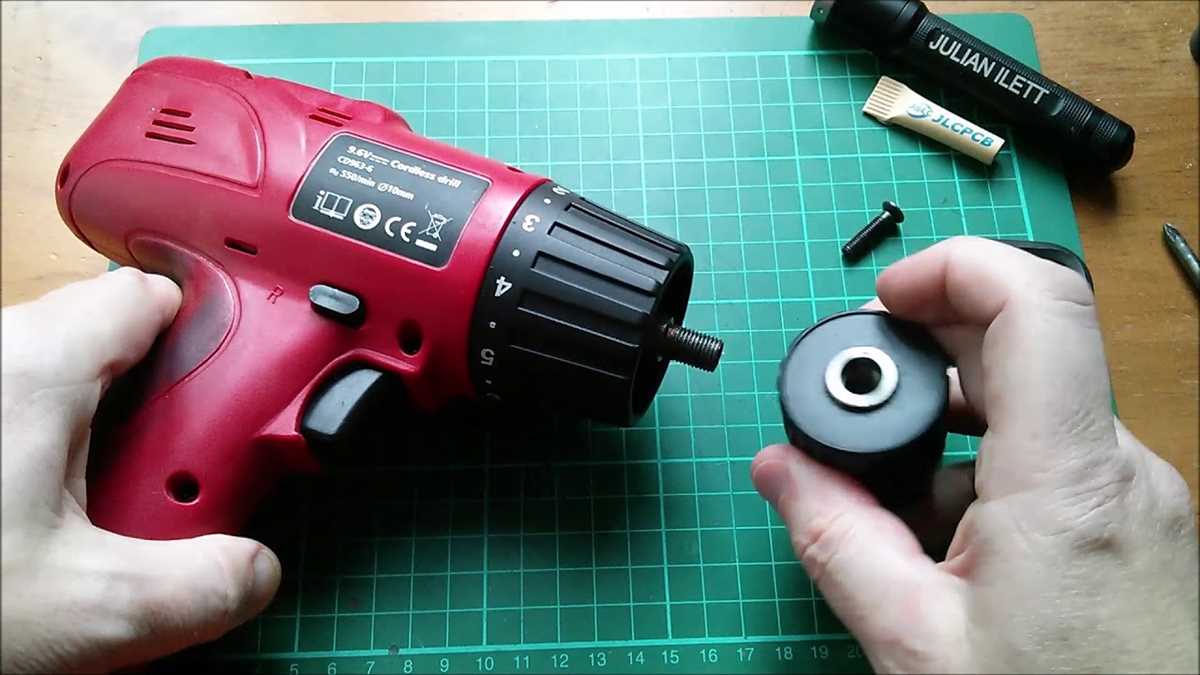
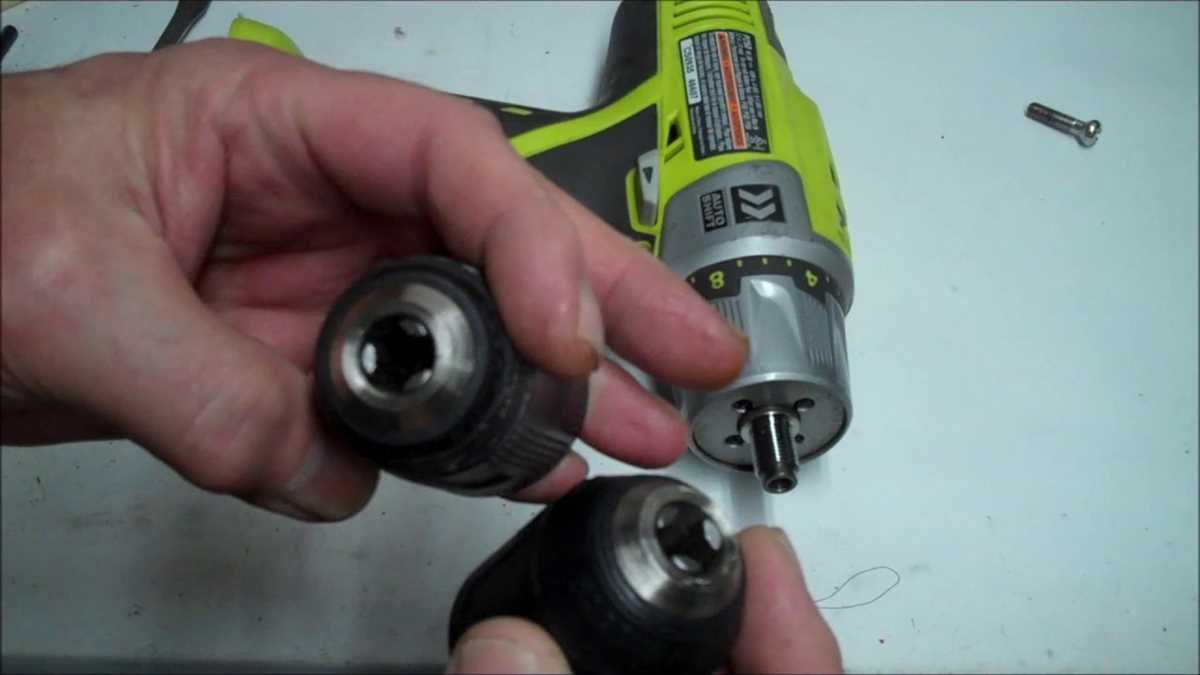
Remove the Chuck
Removing the chuck is the next step in fixing a drill chuck. Here’s how you can do it:
- Make sure the drill is unplugged or the battery is removed to prevent any accidents.
- Loosen the chuck screw. This is usually located in the center of the chuck and may have a left-hand thread. Use a flathead screwdriver or an Allen wrench to loosen the screw by turning it counterclockwise.
- Open the jaws of the chuck fully. This will expose the chuck spindle.
- Use a rubber mallet or a block of wood and a hammer to tap on the chuck spindle. This will loosen the chuck from the spindle.
- If the chuck is still not coming off, you can use a chuck removal tool. Insert the removal tool into the chuck and then strike it with a hammer to loosen the chuck.
- Once the chuck is loose, remove it by hand. Be careful as it might be heavy or have sharp edges.
Now that you have successfully removed the chuck, you can proceed to the next step in fixing or replacing it.
Disassemble the Chuck
To begin fixing your drill chuck, start by disassembling it. Here are the steps to follow:
- Make sure your drill is unplugged and turned off.
- Using a chuck key or an adjustable wrench, open the chuck as wide as it can go.
- Look for a set screw on the side of the chuck. If there is one, loosen it using a screwdriver.
- If there is no set screw, proceed to the next step.
- Using a rubber mallet, tap the end of the chuck key counterclockwise to loosen the chuck from the spindle of the drill.
- If the chuck is still difficult to remove, you can try using a bench vise to hold the chuck while you use a hammer to tap the end of the chuck key.
- Once the chuck is loose, unscrew it completely from the spindle of the drill.
By following these steps, you will disassemble the chuck of your drill, allowing you to further inspect and fix any issues that may be present.
Clean and Lubricate the Chuck
The chuck of a drill can accumulate dirt, debris, and excess lubricant over time, which can affect its performance. Cleaning and lubricating the chuck regularly can help maintain its functionality. Here are some simple steps to clean and lubricate the chuck:
- Disconnect the power: Before starting any cleaning or maintenance work on your drill chuck, always make sure to disconnect the power source. This will ensure your safety while working on the tool.
- Remove the chuck: Depending on the model of your drill, you may need to remove the chuck to clean and lubricate it properly. Consult the instruction manual of your drill for specific steps on how to remove the chuck.
- Wipe off dirt and debris: Use a clean cloth or paper towel to wipe off any visible dirt or debris from the chuck. Pay attention to the jaws and threads of the chuck, as these areas tend to accumulate the most dirt.
- Clean with a brush: Use a small brush, such as a toothbrush, to clean the chuck more thoroughly. Gently scrub the jaws and threads of the chuck to remove any stubborn dirt or debris.
- Inspect for damage: While cleaning, take the opportunity to inspect the chuck for any signs of damage or wear. Look for cracks, chips, or any other visible abnormalities that may affect its functionality.
- Apply lubricant: Once the chuck is clean and dry, apply a small amount of lubricant, such as silicone grease or a light machine oil, to the jaws and threads. Be careful not to use too much lubricant, as this can cause excessive friction or attract more dirt.
- Reassemble the chuck: If you had to remove the chuck, carefully reassemble it according to the instructions provided in the manual. Make sure all components are properly aligned and tightened.
- Test the chuck: After cleaning and lubricating the chuck, test its functionality by tightening and loosening it with the drill. If the chuck operates smoothly and securely holds drill bits, you have successfully cleaned and lubricated it.
By regularly cleaning and lubricating your drill chuck, you can ensure it remains in good working condition and extends its lifespan. Remember to always follow the manufacturer’s instructions and safety guidelines when performing maintenance on your power tools.
Inspect and Replace Parts
- Start by inspecting the chuck for any visible damage or wear. Look for cracks, chips, or any signs of metal fatigue. Any damaged parts should be replaced to ensure proper functioning of the drill.
- Check the chuck jaws for any signs of wear or misalignment. If the jaws are not gripping the drill bits securely or if there is excessive play, the chuck jaws may need to be replaced.
- Inspect the chuck key for any signs of damage or wear. If the teeth on the chuck key are worn down, it may not properly engage with the chuck, leading to slipping or difficulty tightening. Replace the chuck key if necessary.
- Examine the chuck’s internal mechanism. If the collar or the ratcheting mechanism is worn or damaged, it may not hold the drill bit securely. In this case, the chuck assembly may need to be replaced.
When replacing parts, refer to the manufacturer’s instructions or consult a professional. Ensure that you are using compatible replacement parts that are specifically designed for your drill model.
Reassemble the Chuck
Once you have finished cleaning and lubricating the chuck, it’s time to reassemble it. Follow these steps to properly reassemble the chuck:
- Insert the jaws: Take the jaws that you removed earlier and insert them back into the chuck. Make sure they are properly aligned and secure.
- Tighten the retaining screw: Locate the retaining screw and tighten it to secure the jaws in place. Use a screwdriver to ensure a tight fit.
- Replace the chuck sleeve: Place the chuck sleeve back onto the chuck body. Make sure it is aligned correctly and fits securely.
- Tighten the chuck sleeve: Use your hands or a wrench to tighten the chuck sleeve. Ensure it is tight enough to hold the jaws firmly in place.
- Test the chuck: After reassembly, test the chuck by opening and closing it several times. Make sure it operates smoothly and holds objects securely.
Now that you have successfully reassembled the chuck, you can insert a drill bit or other accessory and continue using your drill. Remember to recheck the chuck periodically for any signs of wear or damage, and perform regular cleaning and lubrication to maintain its functionality.
Test and Fine-Tune the Chuck
After reassembling the chuck, it is important to test it to ensure that it is functioning properly. Follow these steps to test and fine-tune the chuck:
- Insert a drill bit: Insert a drill bit into the chuck and tighten it securely. Ensure that the drill bit is centered and not wobbling.
- Test for wobble: Secure the drill in a vise or hold it firmly with your hands. Activate the drill and observe the drill bit for any wobbling or side-to-side movement. If there is any wobble, remove the drill bit and reassemble the chuck, ensuring that the jaws are aligned properly.
- Check for smooth rotation: Activate the drill again and check for any roughness or grinding sounds during rotation. Smooth and quiet rotation indicates that the chuck is properly tightened and aligned.
- Testing for slippage: Apply pressure on the drill bit while the drill is running to check for any slippage. If the chuck slips, tighten it further or consider replacing the chuck.
- Repeat with different drill bits: Repeat the above steps with different sizes of drill bits to ensure that the chuck holds them securely and functions smoothly.
If you encounter any issues during the testing process, refer to the previous steps to troubleshoot the problem. It may be necessary to disassemble the chuck again and make adjustments until it functions properly.
FAQ:
What is a drill chuck?
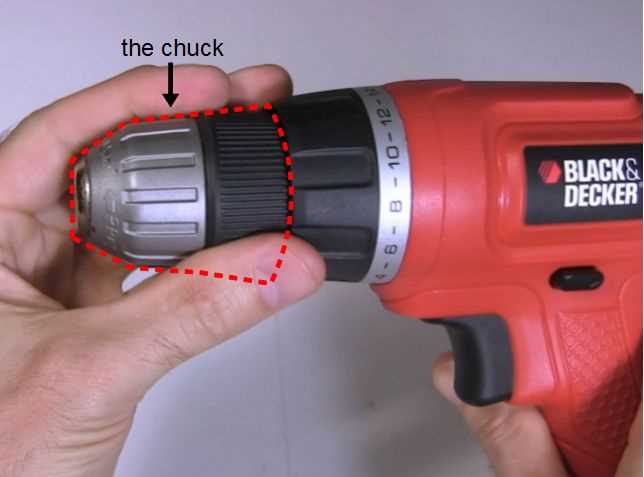
A drill chuck is a device that holds the drill bit securely in place and allows it to rotate. It is an essential component of a drill machine.
What can cause a drill chuck to become loose?
There are several possible causes of a loose drill chuck. It could be due to normal wear and tear over time, or it could be caused by excessive force applied while drilling. It is also possible that the chuck was not tightened properly in the first place.
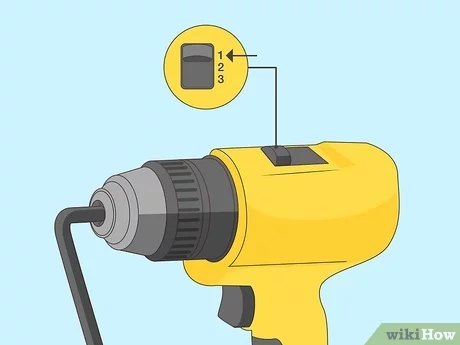
How can I tighten a loose drill chuck?
To tighten a loose drill chuck, you can use a wrench or a pair of pliers. First, make sure the drill is turned off and unplugged. Then, insert the key or wrench into the holes on the sides of the chuck and turn it clockwise to tighten the chuck. Make sure to tighten it securely, but be careful not to overtighten it.
What should I do if the drill chuck is damaged?
If the drill chuck is damaged and cannot be fixed by tightening it, you may need to replace it. You can purchase a new drill chuck from a hardware store or online. Make sure to choose a drill chuck that is compatible with your drill machine. Installation instructions should be included with the new chuck.
Video:


Meet Harrison Clayton, a distinguished author and home remodeling enthusiast whose expertise in the realm of renovation is second to none. With a passion for transforming houses into inviting homes, Harrison's writing at https://thehuts-eastbourne.co.uk/ brings a breath of fresh inspiration to the world of home improvement. Whether you're looking to revamp a small corner of your abode or embark on a complete home transformation, Harrison's articles provide the essential expertise and creative flair to turn your visions into reality. So, dive into the captivating world of home remodeling with Harrison Clayton and unlock the full potential of your living space with every word he writes.


