Repairing Drill Holes in Cabinets: A Step-by-Step Guide
Have you ever found yourself staring at unsightly drill holes in your kitchen cabinets, wondering how to fix them? Whether you’re a DIY enthusiast or just someone trying to save a few bucks, repairing drill holes in cabinets is a skill that can come in handy.
Drill holes can be caused by a variety of reasons – from repositioning hardware to mounting shelves or hanging cabinets. But no matter the cause, it’s important to know how to repair them properly to maintain the aesthetics and functionality of your cabinets.
In this step-by-step guide, we’ll walk you through the process of repairing drill holes in cabinets, starting from gathering the necessary tools and materials to finishing touches. With a little time and effort, you can make those unsightly drill holes disappear and restore the beauty of your cabinets.
How to Repair Drill Holes in Cabinets: Step-by-Step Guide
Materials Needed:
- Wood filler or putty
- Putty knife or scraper
- Sandpaper (fine and coarse grit)
- Paint or stain matching the cabinet
- Paintbrush or foam brush
- Cloth or rag
Step 1: Prepare the Cabinet
Before you begin the repair process, make sure to prepare the cabinet by removing any hardware that might get in the way. This includes handles, knobs, or any other attachments. Clean the area around the drill holes to remove any dirt, dust, or grease.

Step 2: Fill the Drill Holes
Using wood filler or putty, fill the drill holes in the cabinet. Apply the filler using a putty knife or scraper, making sure to fill the holes completely. Smooth out the surface of the filler to ensure the cabinet is level.
Step 3: Sand the Filler
Once the filler has dried, use sandpaper to smooth the surface. Start with a coarse grit sandpaper, then move to a finer grit for a smoother finish. Sand in a circular motion, making sure to blend the filler with the surrounding cabinet surface.
Step 4: Clean the Surface
After sanding, clean the surface of the cabinet to remove any dust or debris. Use a damp cloth or rag to wipe away any residue. Allow the cabinet to dry completely before proceeding to the next step.
Step 5: Paint or Stain the Cabinet
If your cabinet is painted, use a paint that matches the existing color. If it is stained, use a stain that matches the wood tone. Apply the paint or stain using a paintbrush or foam brush, making sure to blend it with the surrounding cabinet surface. Allow the paint or stain to dry completely before reattaching any hardware.

Step 6: Reattach Hardware
Once the paint or stain has dried, reattach the hardware to the cabinet using a screwdriver or drill. Make sure each attachment is secure and properly aligned with the drill holes.
Step 7: Final Touches
Inspect the repaired drill holes for any remaining imperfections. If necessary, sand the area again and reapply paint or stain. Once the repair is complete, clean the cabinet surface again to remove any residue or fingerprints.
Conclusion
Repairing drill holes in cabinets is a straightforward process that can be done with basic materials and tools. Following these steps will ensure a seamless repair that blends in with the rest of the cabinet, leaving it looking as good as new.
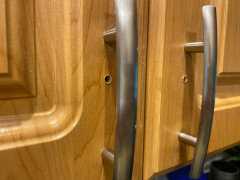
Assessing the Damage
Before you start repairing drill holes in cabinets, it’s important to assess the damage to determine the best approach for the repair. Here are a few steps to help you assess the damage:
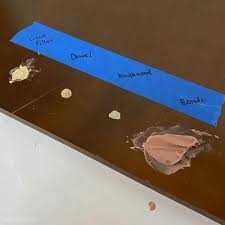
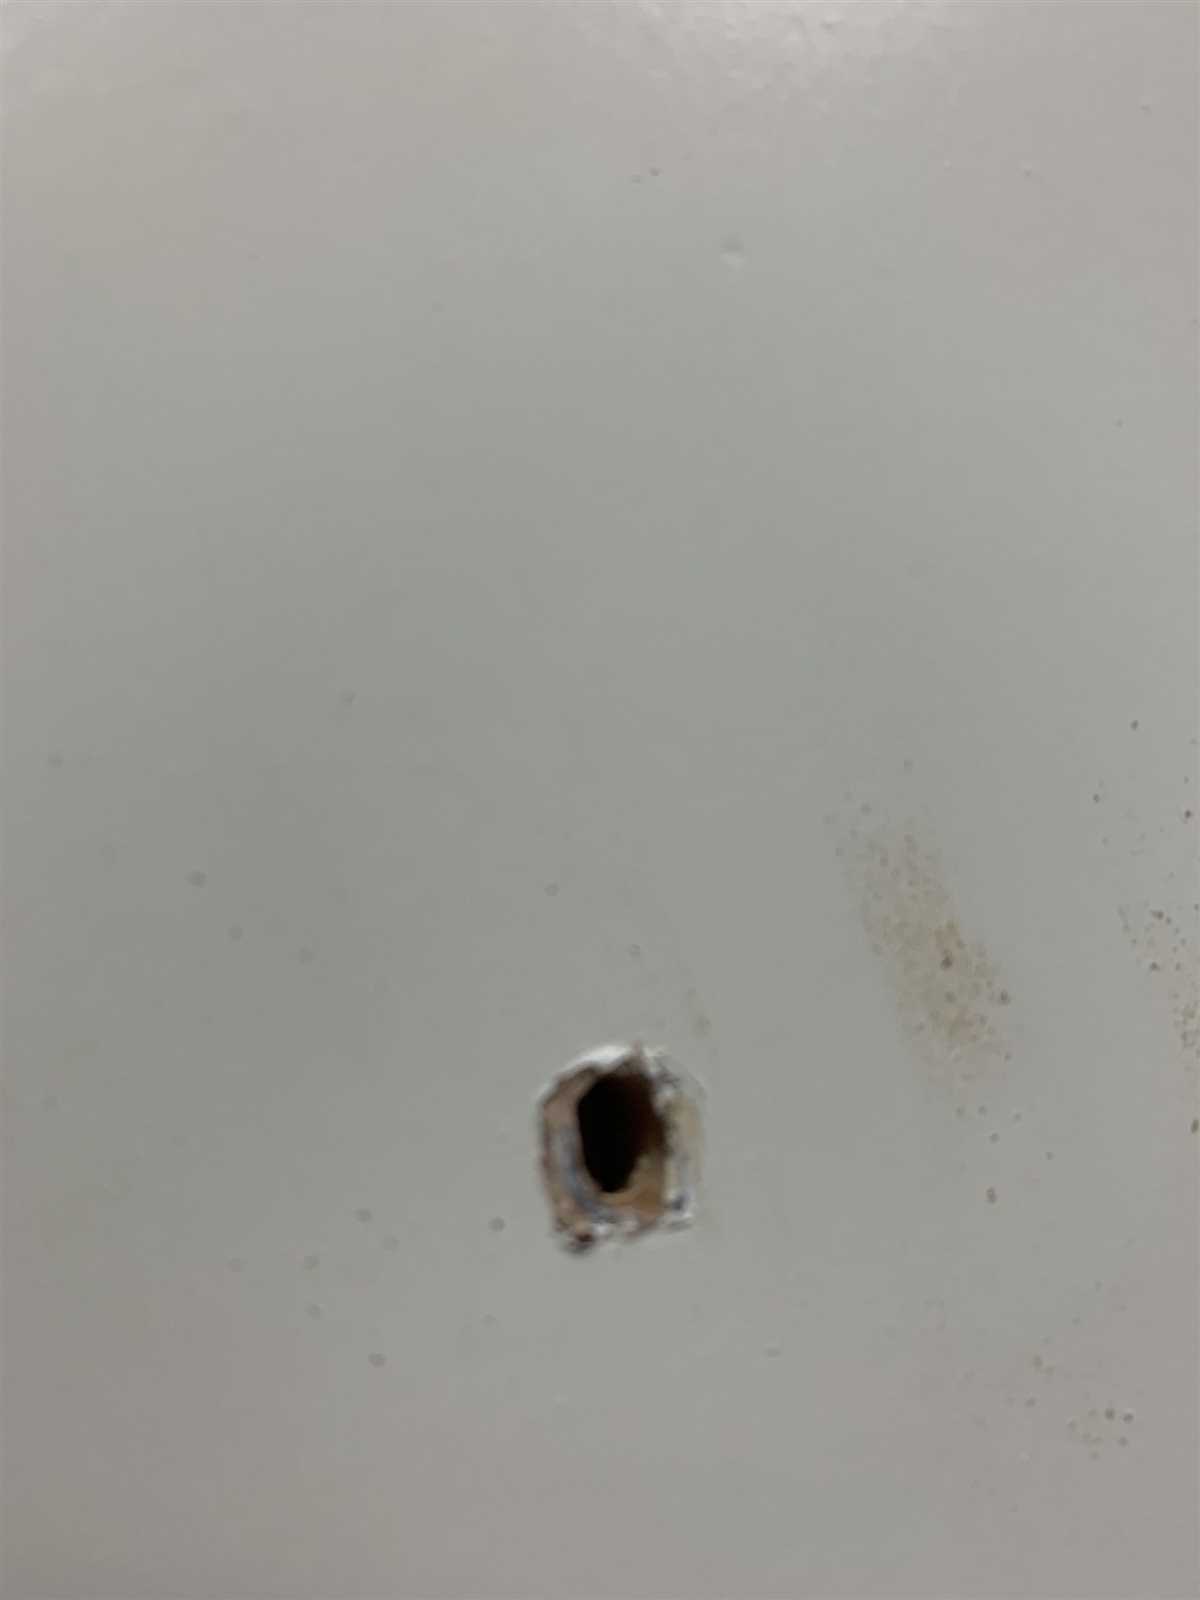
- Inspect the hole size: The size of the hole will determine the type of repair you need. Smaller holes may only require simple filling, while larger holes may require more extensive repairs.
- Check the cabinet material: The material of your cabinet will also impact the repair process. Different materials may require different repair techniques and materials.
- Assess the surrounding area: Look at the surrounding area of the drill hole to see if there are any additional damages, such as scratches or dents. These damages may need to be addressed during the repair process.
- Consider the cabinet finish: Take note of the cabinet finish, such as paint, stain, or laminate. This will help you choose the right products and techniques to match the existing finish.
- Identify the location of the hole: Where the hole is located on the cabinet can also impact the repair. Holes on visible surfaces may require more attention to detail to ensure a seamless repair.
By carefully assessing the damage, you can determine the best course of action for repairing drill holes in your cabinets. This will help you achieve professional-looking results and extend the lifespan of your cabinets.

Gathering the Required Tools and Materials
Tools
- Drill
- Screwdriver
- Spackle or wood filler
- Sanding block
- Putty knife
- Paintbrush or foam brush
Materials
- Matching cabinet paint or stain
- Primer
- Painter’s tape
- Clean cloth or sponge
- Lint-free cloth
- Touch-up paint or stain
Before you start repairing the drill holes in your cabinets, it’s important to gather all the necessary tools and materials. Having everything you need on hand will make the process easier and ensure that you can complete the repair effectively.
First, you will need a drill to remove any screws or hardware from the cabinet. This will allow you to access the drill holes more easily.
A screwdriver will also be necessary to remove any screws that may be securing the cabinets. Some cabinets may require a screwdriver with a specific type or size of bit, so make sure to check before beginning the repair.
Spackle or wood filler is needed to fill in the drill holes and create a smooth surface. This will help ensure that the repaired area is indistinguishable from the rest of the cabinet.
A sanding block will be useful to smooth out the filled drill holes and any other rough patches on the cabinet’s surface. This will help prepare the surface for painting or staining.

A putty knife is needed to apply the spackle or wood filler to the drill holes. It will help create an even layer and allow for precise application.
To apply paint or stain to the repaired area, you will need a paintbrush or foam brush. This will help ensure that the color matches the rest of the cabinets and that the repair is seamless.
When choosing paint or stain, make sure to select a shade that matches the existing cabinetry. This will help to ensure a cohesive look once the repair is complete.
Other materials you will need include primer, painter’s tape, a clean cloth or sponge for cleaning the cabinet surface, a lint-free cloth for wiping away excess paint or stain, and touch-up paint or stain for any final touch-ups.
Gathering all of these tools and materials before starting the repair will help make the process smoother and more efficient.

Removing Cabinet Hardware
Before you can begin repairing drill holes in your cabinets, you first need to remove the cabinet hardware. Follow the step-by-step guide below to safely remove the hardware:
- Gather the necessary tools: You will need a screwdriver, pliers, and a cloth or towel to protect the cabinet surface.
- Identify the type of hardware: Take a look at the cabinet hardware to determine the type of screws or fasteners used.
- Remove the screws: Using the appropriate screwdriver, begin loosening and removing the screws that hold the hardware in place.
- Use pliers if necessary: If the screws are stuck or difficult to remove, use pliers to provide additional grip and leverage.
- Place screws in a safe place: As you remove the screws, carefully set them aside in a container or on a cloth to prevent loss.
- Protect the cabinet surface: To avoid damaging the cabinet surface, place a cloth or towel underneath the area where you will be working.
- Remove the hardware: Once all the screws have been removed, gently pull or pry the hardware away from the cabinet surface.
- Clean the hardware: If necessary, take the opportunity to clean the hardware while it is removed from the cabinet.
By following these steps, you can safely remove the cabinet hardware and prepare the cabinets for the next steps in repairing the drill holes.
Preparing the Cabinet Surface
Before you begin repairing drill holes in your cabinets, it’s important to properly prepare the cabinet surface. This will ensure that the repair is successful and the finished result looks seamless.
Step 1: Clean the Area
First, clean the area around the drill holes using a mild detergent and warm water. This will remove any grease, dirt, or grime that may be present. Use a soft cloth or sponge to gently scrub the surface, being careful not to damage the cabinet material.
Step 2: Sand the Surface
Next, lightly sand the area around the drill holes using fine-grit sandpaper. This will create a smooth surface for the repair compound to adhere to. Use a circular motion and apply gentle pressure to remove any rough edges or imperfections.
Step 3: Fill any Larger Holes
If you have any larger drill holes or gaps in the cabinet surface, you may need to fill them before proceeding. Use a wood filler or epoxy putty that matches the color of your cabinet to fill the holes. Follow the manufacturer’s instructions for mixing and applying the filler, and use a putty knife to smooth it out.
Step 4: Allow the Filler to Dry
After filling any larger holes, allow the filler to dry completely. This can take several hours or overnight, depending on the product used. Follow the manufacturer’s instructions for drying times.
Step 5: Sand the Filled Areas
Once the filler is dry, sand the filled areas using fine-grit sandpaper. This will ensure that the surface is smooth and level with the rest of the cabinet. Again, use a circular motion and be careful not to damage the surrounding cabinet material.
Step 6: Dust and Clean the Surface
Finally, use a soft cloth or tack cloth to remove any dust or debris from the sanded areas. This will ensure a clean surface for applying the repair compound.
By following these steps to prepare the cabinet surface, you’ll be well on your way to repairing drill holes in your cabinets effectively and efficiently.
Filling the Drill Holes
After you have drilled into your cabinets, you will need to fill the holes to ensure a seamless and professional-looking finish. Follow these steps to fill the drill holes:
Materials You Will Need:
- Wood filler or putty
- Putty knife or scraper
- Sandpaper (fine grit)
- Paint or stain (matching your cabinet color)
- Paintbrush or sponge
Step 1: Clean the Drill Holes
Before filling the drill holes, make sure that they are clean and free of any debris or dust. Use a damp cloth or a small brush to remove any particles that may be inside the holes.
Step 2: Apply the Wood Filler
Using a putty knife or a scraper, take some wood filler or putty and press it into the drill holes. Ensure that the holes are completely filled and the filler is level with the surface of the cabinet. Smooth out any excess filler with the putty knife.
Step 3: Let the Filler Dry
Allow the wood filler to dry completely according to the manufacturer’s instructions. This usually takes 24 hours, but it’s best to check the label for the recommended drying time.
Step 4: Sand the Filled Areas
Once the filler is dry, use fine grit sandpaper to gently sand the filled areas. This will smooth out any rough edges and create a seamless finish. Be careful not to sand too aggressively, as this may damage the surrounding cabinet surface.
Step 5: Apply Paint or Stain
If your cabinets are painted, use a paintbrush or sponge to apply a thin coat of matching paint to the filled areas. Allow the paint to dry, and then apply additional coats if necessary to achieve a consistent color.
If your cabinets are stained, apply a matching stain to the filled areas using a paintbrush or sponge. Wipe away any excess stain and allow it to dry completely.
Step 6: Final Touches
Once the paint or stain is dry, inspect the filled areas for any imperfections. If needed, sand the areas again to achieve a smooth finish. You can also apply a clear topcoat or sealer to protect the filled areas and add extra durability.
By following these steps, you can effectively fill drill holes in cabinets and restore the appearance of your kitchen or bathroom cabinets.
Sanding and Smoothing the Surfaces
After filling the drill holes in your cabinets with wood filler, it’s important to sand and smooth the surfaces to achieve a seamless and professional finish. Follow these steps to sand and smooth the surfaces:
- Start by using a medium-grit sandpaper, such as 120 grit, to sand down the filled drill holes. Sand in a circular motion, focusing on the area surrounding the holes. This will help to blend the wood filler with the rest of the cabinet surface.
- Next, switch to a fine-grit sandpaper, such as 220 grit, to further smooth the surfaces. Sand in the same circular motion, gradually moving away from the filled holes to blend the surrounding area.
- Be sure to sand the entire cabinet surface, not just the filled holes. This will ensure a uniform finish and eliminate any visible transitions.
- Pay attention to the edges and corners of the cabinet as well. Use a sanding block or folded sandpaper to reach these areas and create a smooth transition.
- As you sand, periodically wipe away the dust with a clean cloth or tack cloth. This will help you better assess the smoothness of the surfaces and ensure a clean finish.
- Once you are satisfied with the smoothness of the surfaces, use a damp cloth to remove any remaining dust and debris.
By following these steps and taking your time to sand and smooth the surfaces, you will be able to achieve a professional-looking repair job and restore the appearance of your cabinets.
Priming and Painting the Cabinet
After patching and sanding the drill holes, the next step is to prime and paint the cabinet to achieve a seamless finish. This process involves applying a layer of primer to prepare the surface and then applying paint for the desired color or finish.
Materials Needed:
- Primer
- Paint
- Paintbrush
- Painter’s tape
- Drop cloth or newspaper
- Sandpaper (optional)
- Clean cloth
Step 1: Prepare the Cabinet
Before priming and painting, make sure to clean the cabinet surface thoroughly. Use a clean cloth to remove any dust or debris. If there are any greasy or sticky spots, you may need to use mild soap or a gentle cleanser to clean the surface. Let the cabinet dry completely before moving on to the next step.
Step 2: Protect Surrounding Areas
Use painter’s tape to cover any areas adjacent to the cabinet that you don’t want to get primer or paint on, such as walls or countertops. Lay down a drop cloth or newspaper to protect the floor or any other surfaces underneath the cabinet.
Step 3: Apply Primer
- Stir the primer thoroughly to ensure an even consistency.
- Using a paintbrush or a roller, apply an even coat of primer to the cabinet surface. It’s important to follow the manufacturer’s instructions regarding drying time between coats and whether sanding is necessary.
- If there are any visible brushstrokes after the first coat, you may lightly sand the surface with fine-grit sandpaper and then apply another coat of primer.
- Allow the primer to dry according to the manufacturer’s instructions before proceeding to the next step.
Step 4: Paint the Cabinet
- Choose the paint color or finish that you desire for the cabinet. Make sure to select a paint that is suitable for cabinets and can withstand moisture and frequent cleaning.
- Using a clean paintbrush or a roller, apply an even coat of paint to the cabinet surface. It’s recommended to apply multiple thin coats rather than one thick coat for better coverage and durability.
- Follow the manufacturer’s instructions regarding drying time between coats. You may need to lightly sand the surface between coats if necessary.
- Allow the final coat of paint to dry completely before removing the painter’s tape and drop cloth.
Once the paint has dried, your cabinet will look refreshed and the drill holes will be virtually indistinguishable. Be sure to clean your brushes and other tools properly after use, and enjoy your newly repaired and freshly painted cabinet!
Reinstalling Cabinet Hardware
Once you have repaired the drill holes in your cabinets, it is time to reinstall the cabinet hardware. Follow these step-by-step instructions to ensure a proper reinstallation:
1. Gather your materials
Before you begin, gather all the necessary materials for the reinstallation. This includes the cabinet hardware (handles, knobs, hinges, etc.), a screwdriver or drill, screws, and a level.
2. Determine the placement
Decide on the placement of your cabinet hardware. Use a measuring tape or ruler to ensure even spacing between each piece. Mark the desired locations with a pencil or masking tape.
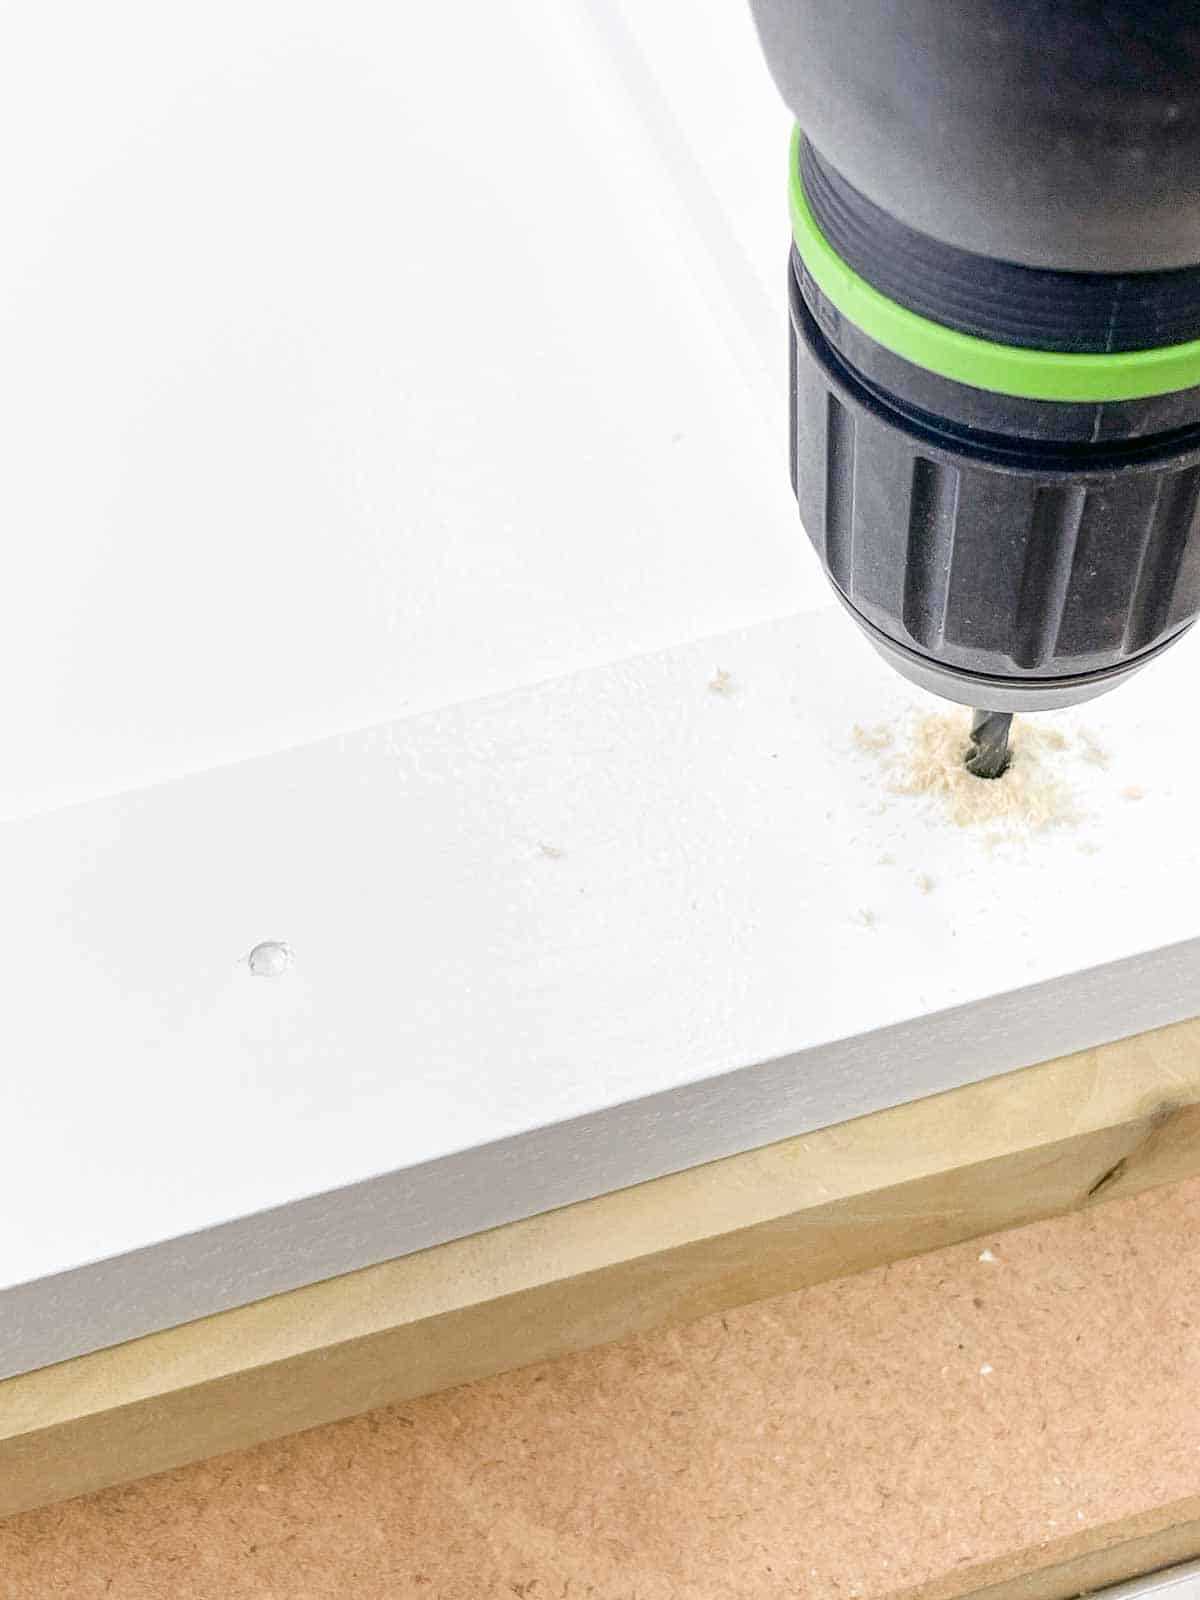
3. Pre-drill new holes
Using the pencil marks as a guide, pre-drill new holes for the screws. Make sure the drill bit is slightly smaller than the screws to ensure a snug fit.
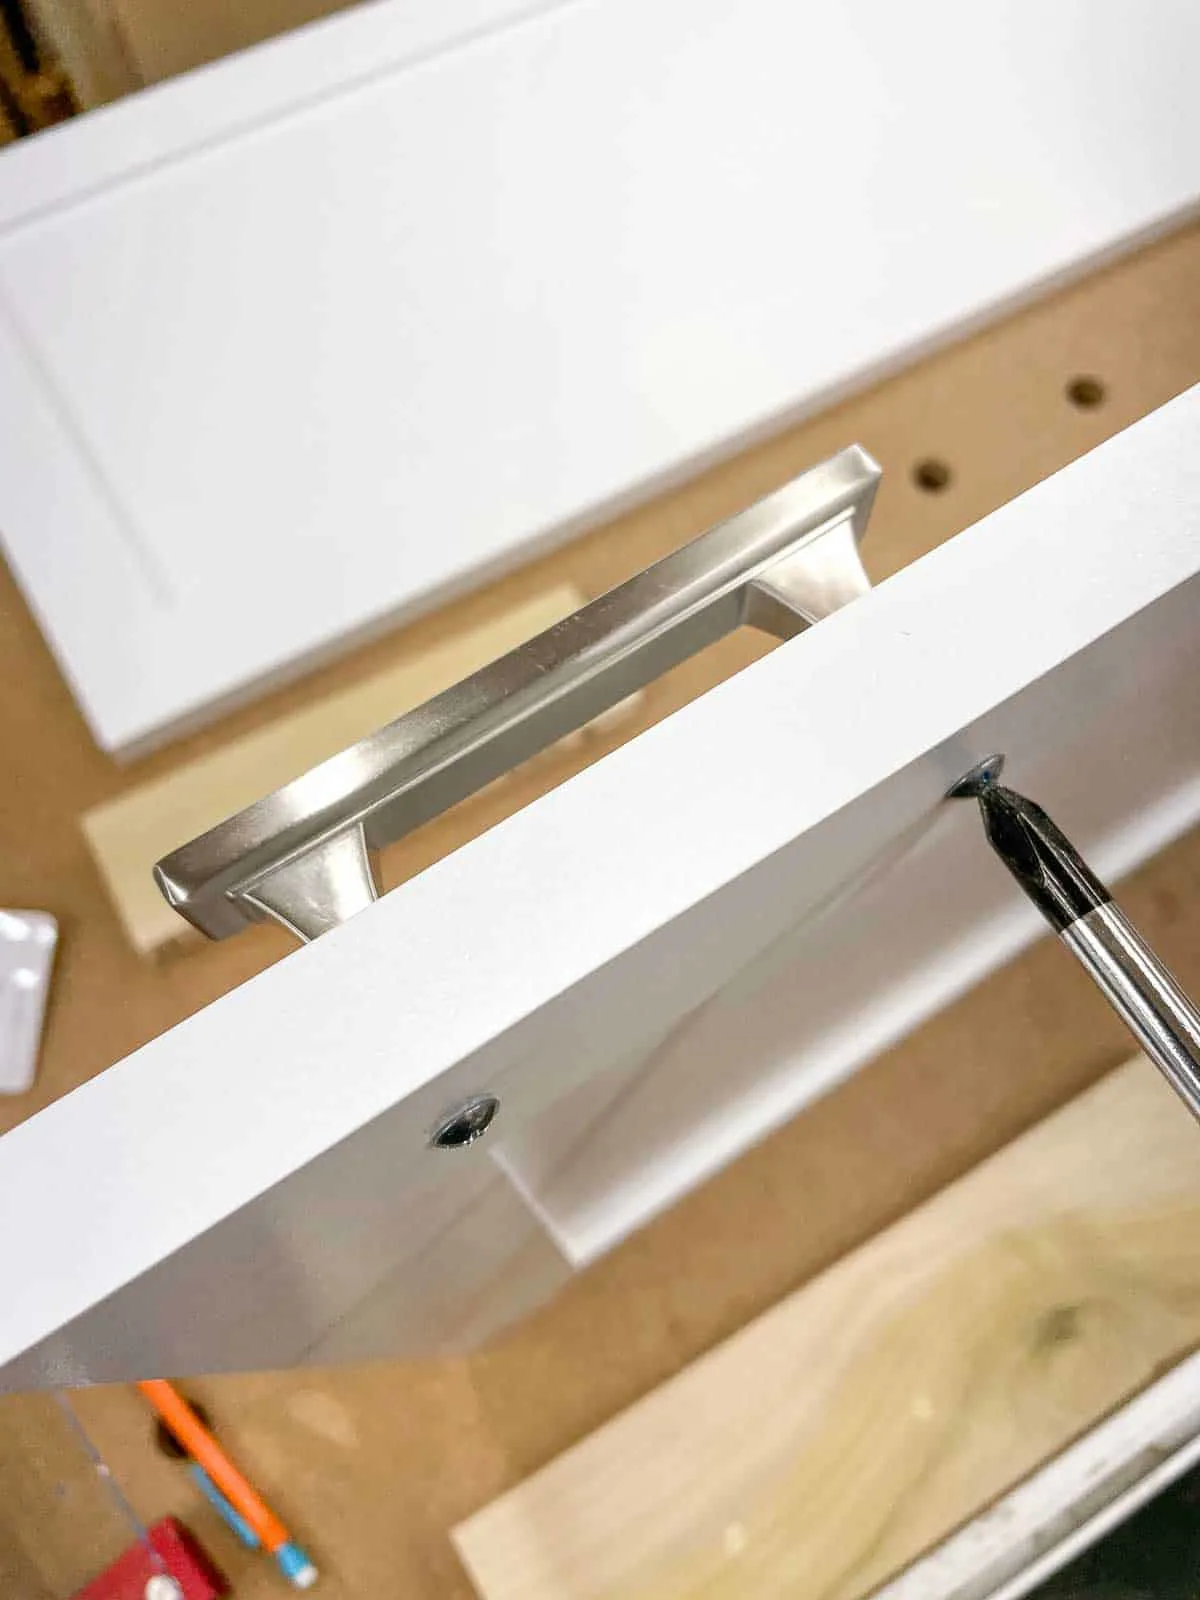
4. Attach the hardware
Align the cabinet hardware with the pre-drilled holes and attach them using the screws. Use a screwdriver or drill to tighten the screws securely, but be careful not to overtighten and damage the cabinets.
5. Check for levelness
Once all the hardware is attached, use a level to check if they are level. Make any necessary adjustments by loosening the screws and repositioning the hardware. Then, tighten the screws again.
6. Clean up
After reinstalling the cabinet hardware, clean up any dust or debris that may have accumulated during the process. Use a soft cloth or brush to wipe away any dirt or particles.
7. Enjoy your newly repaired cabinets!
Now that you have successfully reinstalled the cabinet hardware, take a step back and admire your handiwork. Your cabinets are now ready to use and look as good as new!
FAQ:
What tools do I need to repair drill holes in cabinets?
To repair drill holes in cabinets, you will need a few tools such as a drill bit, wood filler, putty knife, sandpaper, and matching paint or stain.
How do I select the right kind of wood filler for the repair?
To select the right kind of wood filler for the repair, consider the type of wood your cabinets are made of and choose a filler that matches the color and grain of the wood.
Can I use toothpaste to fill in small drill holes in cabinets?
While toothpaste can be used as a temporary measure for filling small drill holes in cabinets, it is not a long-term solution. It is best to use a proper wood filler or putty for a more durable and professional-looking repair.
How long does it take for wood filler to dry?
The drying time for wood filler can vary depending on the brand and type. Generally, it takes about 1-2 hours for wood filler to dry. However, it is recommended to wait at least 24 hours before sanding and painting the repaired area.
Can I use a different color paint for touch-ups on my cabinets?
It is best to use a matching paint or stain color for touch-ups on your cabinets. Using a different color may result in a noticeable patch or uneven finish. If you cannot find an exact match, you can try mixing paint colors to achieve a closer match.
How can I prevent drill holes from happening in the first place?
To prevent drill holes from happening in your cabinets, be sure to measure and mark your drilling locations accurately before drilling. Use a drill stop or masking tape to prevent drilling too deep. Additionally, practice good control and stability when drilling to avoid accidental slippage.
Video:


Meet Harrison Clayton, a distinguished author and home remodeling enthusiast whose expertise in the realm of renovation is second to none. With a passion for transforming houses into inviting homes, Harrison's writing at https://thehuts-eastbourne.co.uk/ brings a breath of fresh inspiration to the world of home improvement. Whether you're looking to revamp a small corner of your abode or embark on a complete home transformation, Harrison's articles provide the essential expertise and creative flair to turn your visions into reality. So, dive into the captivating world of home remodeling with Harrison Clayton and unlock the full potential of your living space with every word he writes.


