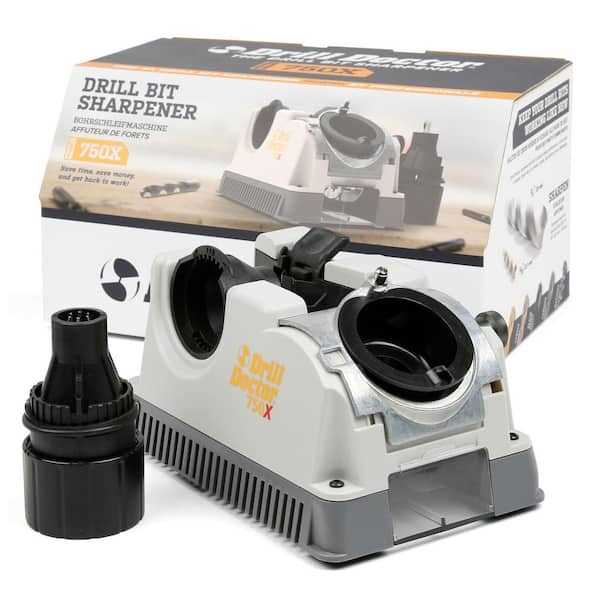
Mastering the Drill Doctor 750x: A Step-by-Step Guide

Are you tired of struggling to keep your drill bits sharp? Do you find yourself constantly buying new ones because the old ones have become dull? If so, then the Drill Doctor 750x is the tool for you. This innovative sharpening system allows you to quickly and easily restore the cutting edge of your drill bits, saving you time and money in the long run.
But how do you use the Drill Doctor 750x effectively? In this step-by-step guide, we will walk you through the process of mastering this tool. We will cover everything from setting it up to sharpening different types of drill bits. By the end, you will be able to confidently and efficiently sharpen your own drill bits, ensuring that you always have the tools you need to get the job done.
Before we dive into the details of using the Drill Doctor 750x, let’s take a moment to understand why it’s important to keep your drill bits sharp. A sharp drill bit not only makes drilling easier and faster, but it also produces cleaner and more precise holes. Dull drill bits, on the other hand, can cause your work to take longer and result in less effective drilling. By regularly sharpening your drill bits with the Drill Doctor 750x, you can maintain their cutting performance and extend their lifespan.
So, if you’re ready to take your drilling game to the next level, let’s get started with our step-by-step guide to mastering the Drill Doctor 750x.
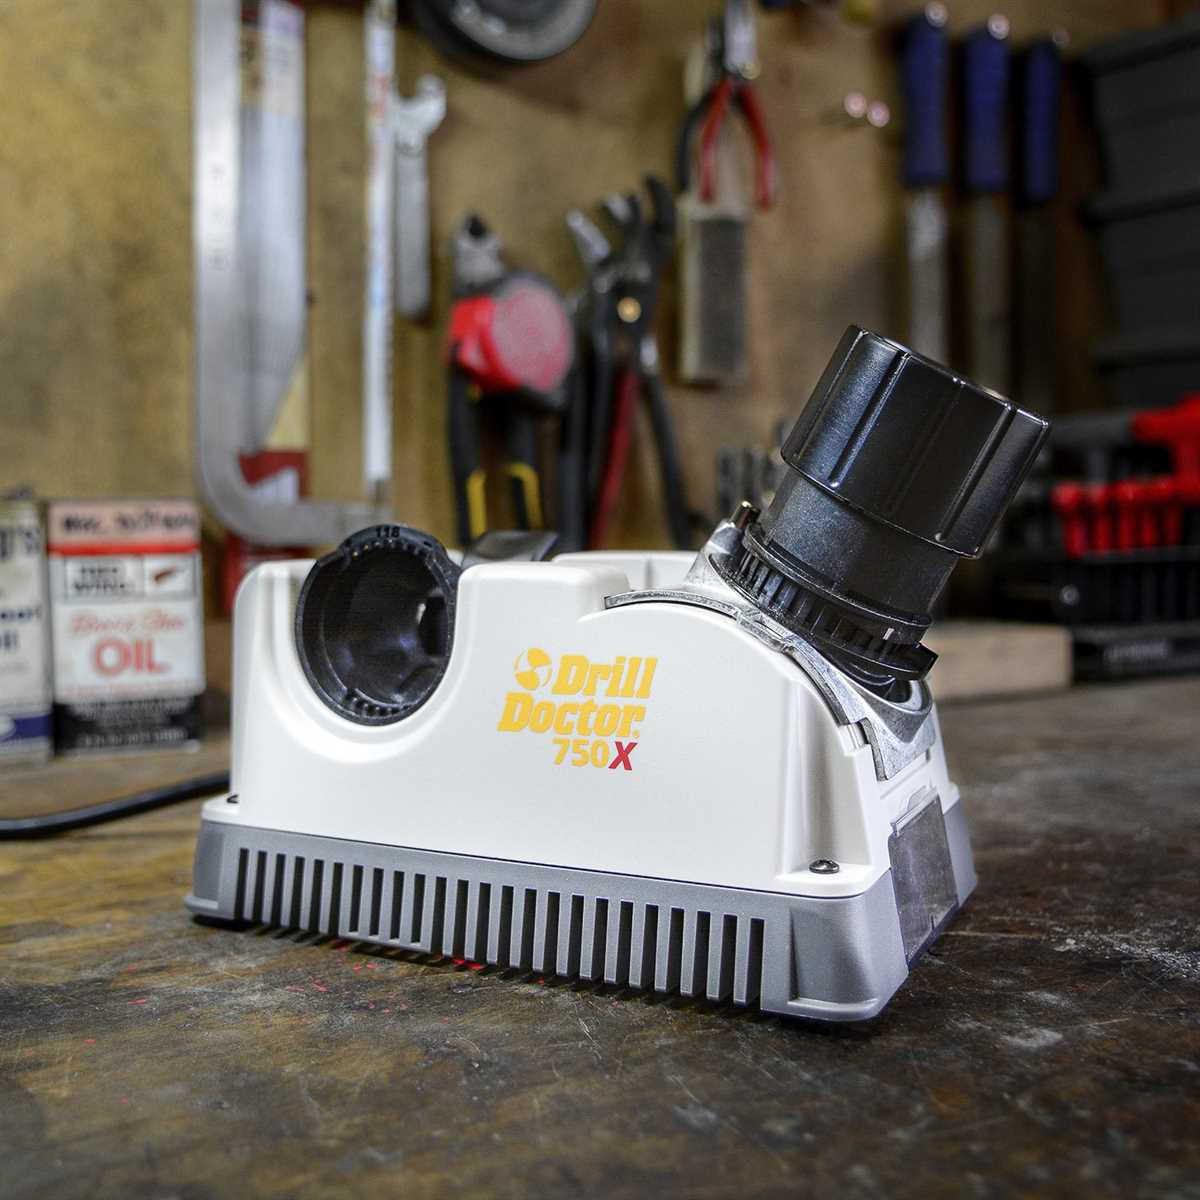
Understanding the Features of the Drill Doctor 750x


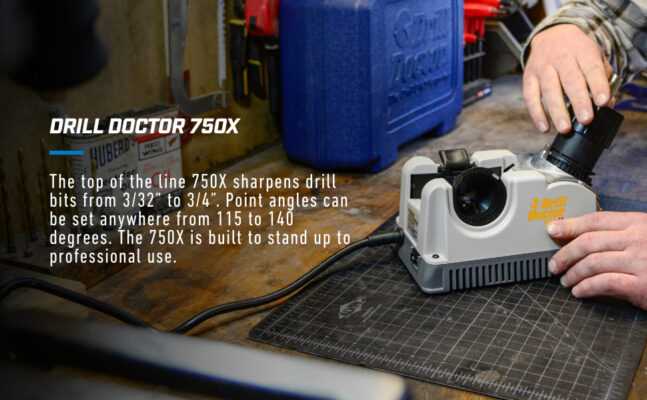
The Drill Doctor 750x is a versatile tool designed to sharpen drill bits, ensuring they maintain their cutting performance. It is equipped with several features that make it easy to use and produce professional results. Here are some of the key features of the Drill Doctor 750x:
1. Adjustable Alignment System
The Drill Doctor 750x features an adjustable alignment system that allows you to achieve precise alignment between the drill bit and the sharpening wheel. This ensures that the cutting edges of the drill bit are sharpened evenly, resulting in optimal drilling performance.
2. Diamond Sharpening Wheel
Equipped with a diamond sharpening wheel, the Drill Doctor 750x is capable of sharpening high-speed steel, carbide, cobalt, and tin-coated drill bits. The diamond abrasive material provides superior sharpening efficiency and durability, allowing you to maintain the sharpness of your drill bits for extended periods.
3. Easy-to-Use Chuck
![Dalek (Art): A Purge Of Dissidents [DVD] [2007]](https://m.media-amazon.com/images/I/51HAbODFHFL._SS520_.jpg)
The chuck of the Drill Doctor 750x is designed to securely hold the drill bit during the sharpening process. It features an easy-to-use design that allows you to quickly and effortlessly clamp the drill bit in place. This eliminates the need for complex setups and ensures that the drill bit remains stable throughout the sharpening process.
4. Variable Speed Motor
With its variable speed motor, the Drill Doctor 750x allows you to adjust the speed of the sharpening process to suit the type and size of the drill bit being sharpened. This enables you to achieve optimal sharpening results for different drill bit materials and sizes, enhancing the overall effectiveness of the tool.
5. Onboard Instructional DVD
To assist users in mastering the sharpening process, the Drill Doctor 750x comes with an onboard instructional DVD. This DVD provides step-by-step guidance on how to use the tool effectively and achieve professional sharpening results. It offers valuable tips and techniques that can help both beginners and experienced users sharpen their drill bits with confidence.
6. Long-Lasting Construction
The Drill Doctor 750x is built to withstand the rigors of regular use. It features a durable construction that ensures longevity and reliability. This means you can count on the tool to consistently sharpen your drill bits, even under heavy workloads.
7. Portability and Storage
The Drill Doctor 750x is designed to be easily portable and stored. It features a compact size that allows for convenient transportation between job sites. Additionally, it comes with a storage compartment where you can keep accessories and spare parts organized.
| Feature | Benefit |
|---|---|
| Adjustable alignment system | Ensures precise sharpening |
| Diamond sharpening wheel | Capable of sharpening various drill bit materials |
| Easy-to-use chuck | Securely holds drill bits during sharpening |
| Variable speed motor | Allows for optimal sharpening results |
| Onboard instructional DVD | Provides guidance on using the tool effectively |
| Long-lasting construction | Ensures durability and reliability |
| Portability and storage | Convenient for transportation and organization |
In conclusion, the Drill Doctor 750x offers a range of features that make it a versatile and efficient tool for sharpening drill bits. Its adjustable alignment system, diamond sharpening wheel, easy-to-use chuck, variable speed motor, instructional DVD, long-lasting construction, and portability and storage options all contribute to its effectiveness and user-friendly design.
Tools Required for Operating the Drill Doctor 750x
When it comes to using the Drill Doctor 750x, there are a few tools that you will need to have on hand in order to operate it effectively. These tools include:
- Drill bits: You will need the drill bits that you want to sharpen using the 750x. Make sure you have a variety of sizes and types of bits, as the 750x is able to sharpen a wide range of them.
- Safety glasses: Whenever you are working with tools, it is important to prioritize safety. Safety glasses will protect your eyes from any flying debris that may be generated during the sharpening process.
- Drill Doctor 750x manual: Having the manual on hand is essential for familiarizing yourself with the operation of the 750x. It provides detailed instructions and tips for using the machine effectively.
- Pen and paper: Keeping a pen and paper nearby will allow you to take notes and keep track of any important information or adjustments you make during the sharpening process.
- Optional accessories: While not necessary, there are a few optional accessories that can enhance your experience with the 750x. These include the Drill Doctor chuck, which allows you to sharpen smaller drill bits, and the Drill Doctor diamond sharpening wheel, which provides even more precise sharpening results.
With these tools on hand, you will be well-equipped to operate the Drill Doctor 750x and effectively sharpen your drill bits. Remember to always follow the manufacturer’s instructions and take proper safety precautions when using any power tool.
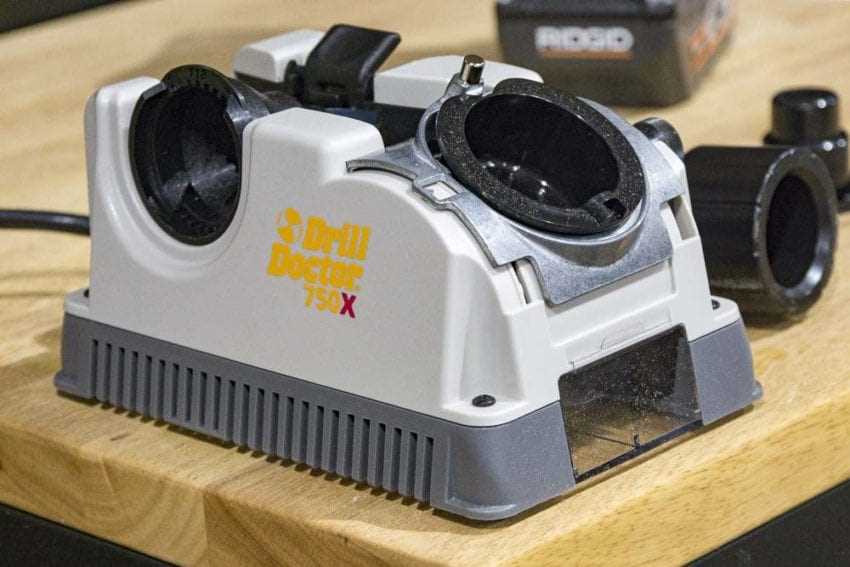
Step 1: Setting up the Drill Doctor 750x
Before you can start using the Drill Doctor 750x to sharpen your drills, you need to set it up properly. Follow the steps below to get the tool ready for use:
- Unbox the Drill Doctor 750x and remove all packaging materials.
- Find a suitable workbench or table to set up the tool. Make sure the surface is stable and provides enough space for the tool and the drills you’ll be sharpening.
- Locate the power cord and plug it into a power outlet. Ensure that the voltage matches the voltage rating of the Drill Doctor 750x, which is usually 110-120V.
- Inspect the grinding wheel. Check for any visible damage or signs of wear. If the wheel is damaged or worn out, replace it with a new one before using the tool.
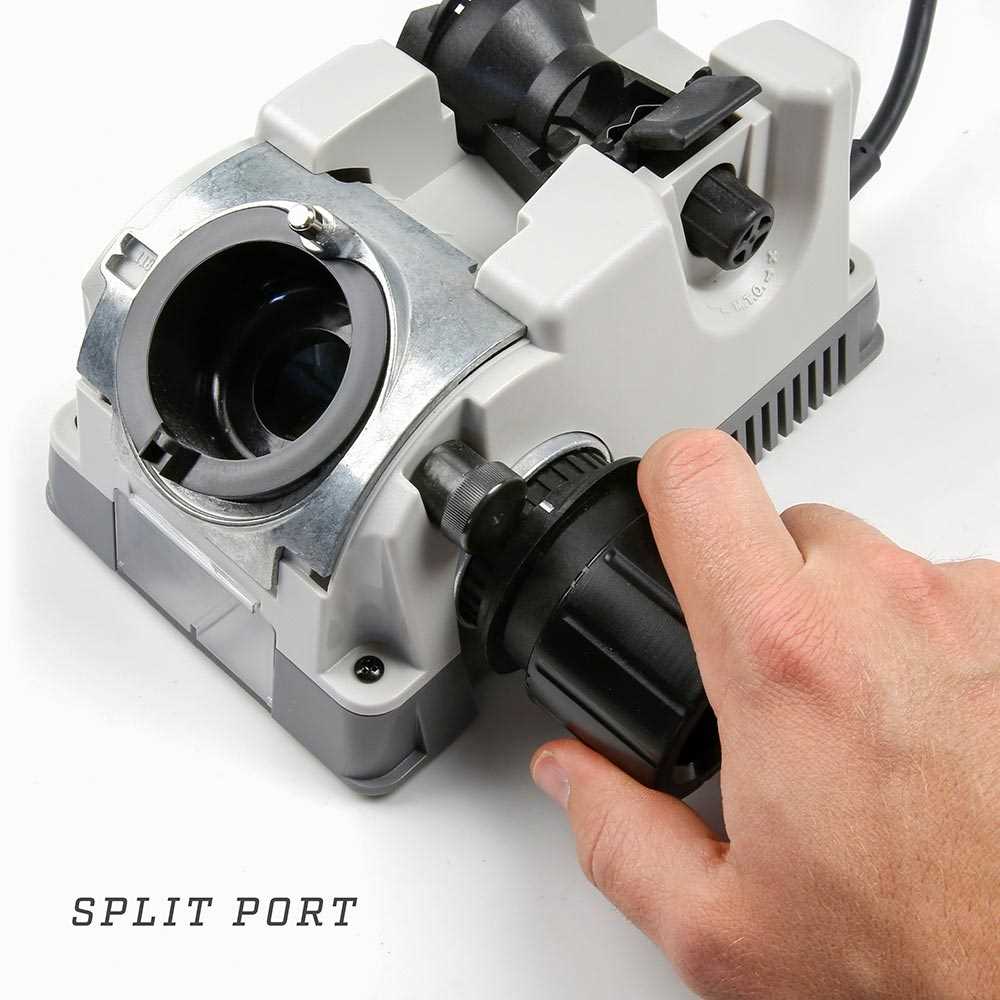
- Attach the alignment collar to the chuck. The collar helps ensure that your drill bits are properly aligned during the sharpening process. Make sure it is securely attached and tightened.
- Adjust the alignment of the chucks by rotating the adjustment knob. This step is crucial to ensure that your drills will be sharpened accurately. Refer to the user manual for detailed instructions on aligning the chucks.
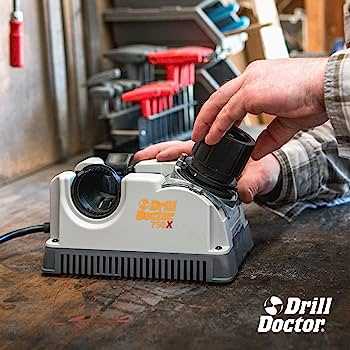
- Place the Drill Doctor 750x on the workbench, ensuring that it is stable and won’t move during operation.
- Prepare your drills for sharpening by cleaning them with a wire brush or a cloth. Remove any debris or rust that may affect the sharpening process.
Once you have completed these steps, your Drill Doctor 750x should be set up and ready for use. You can now proceed to the next step in the sharpening process, which involves adjusting the grinding angles for different drill bit types.
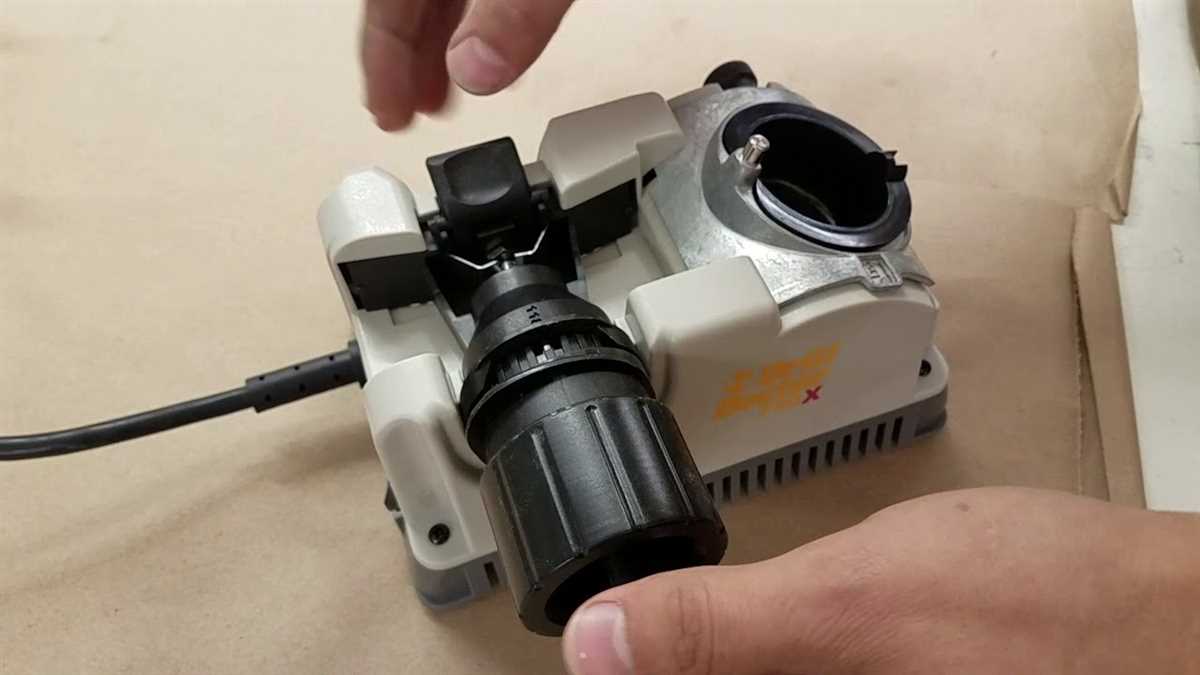
Step 2: Inserting the Drill Bit
Now that you have familiarized yourself with the Drill Doctor 750x and its features in Step 1, it’s time to learn how to insert the drill bit into the machine.
Tools and Materials Needed:
- Drill Doctor 750x
- Drill bit to be sharpened
Instructions:
- Start by selecting the correct size collet for your drill bit. The collet holds the drill bit securely in place during the sharpening process.
- Locate the collet tray on the front of the Drill Doctor 750x. The tray has various collet sizes marked on it.
- Refer to the chart or the markings on your drill bit to determine the correct collet size. The collet size should match the diameter of your drill bit.
- Once you have determined the correct size, slide the collet tray to the corresponding marking and lock it in place.
- Take your drill bit and insert it into the collet until it seats firmly. Ensure that the cutting edge is facing towards the front of the machine.
- Apply light pressure to hold the drill bit securely in place.
Troubleshooting Tips:
If you find it difficult to insert the drill bit into the collet or if it doesn’t seat firmly, check for the following:
- Ensure that you have selected the correct size collet for your drill bit.
- Make sure the collet tray is locked in place and not loose.
- Inspect the collet for any dirt or debris that may be preventing the drill bit from seating properly. Clean the collet if necessary.
- If the drill bit still doesn’t seat properly, contact the manufacturer for further assistance.
Now that you have successfully inserted the drill bit into the Drill Doctor 750x, you are ready to move on to the next step in the sharpening process.
Step 3: Aligning the Drill Bit
After determining the correct drill bit size and selecting the appropriate drill bit, it is important to ensure that the drill bit is properly aligned in the Drill Doctor 750x. This step is crucial for achieving accurate and consistent sharpening results.
Tools and Materials Needed
- Drill Doctor 750x
- Properly sized drill bit
Instructions
- Insert the drill bit into the Drill Doctor 750x chuck, making sure it is securely held in place.
- Turn on the Drill Doctor 750x by pressing the power switch.
- Adjust the alignment guide to the desired angle. The alignment guide helps ensure that the drill bit is sharpened at the correct angle.
- Bring the drill bit towards the grinding wheel, allowing it to make light contact.
- Slowly rotate the chuck by hand, ensuring that the drill bit stays in contact with the grinding wheel at all times. This will help maintain a consistent and even grind across the entire cutting edge of the drill bit.
- Continue rotating the chuck until the entire cutting edge of the drill bit has been sharpened. Be careful not to apply too much pressure, as this can result in overheating and damaging the drill bit.
- Once the sharpening process is complete, turn off the Drill Doctor 750x and remove the sharpened drill bit from the chuck.
By following these steps, you can ensure that your drill bit is properly aligned in the Drill Doctor 750x, resulting in accurately sharpened drill bits that will provide optimal drilling performance.
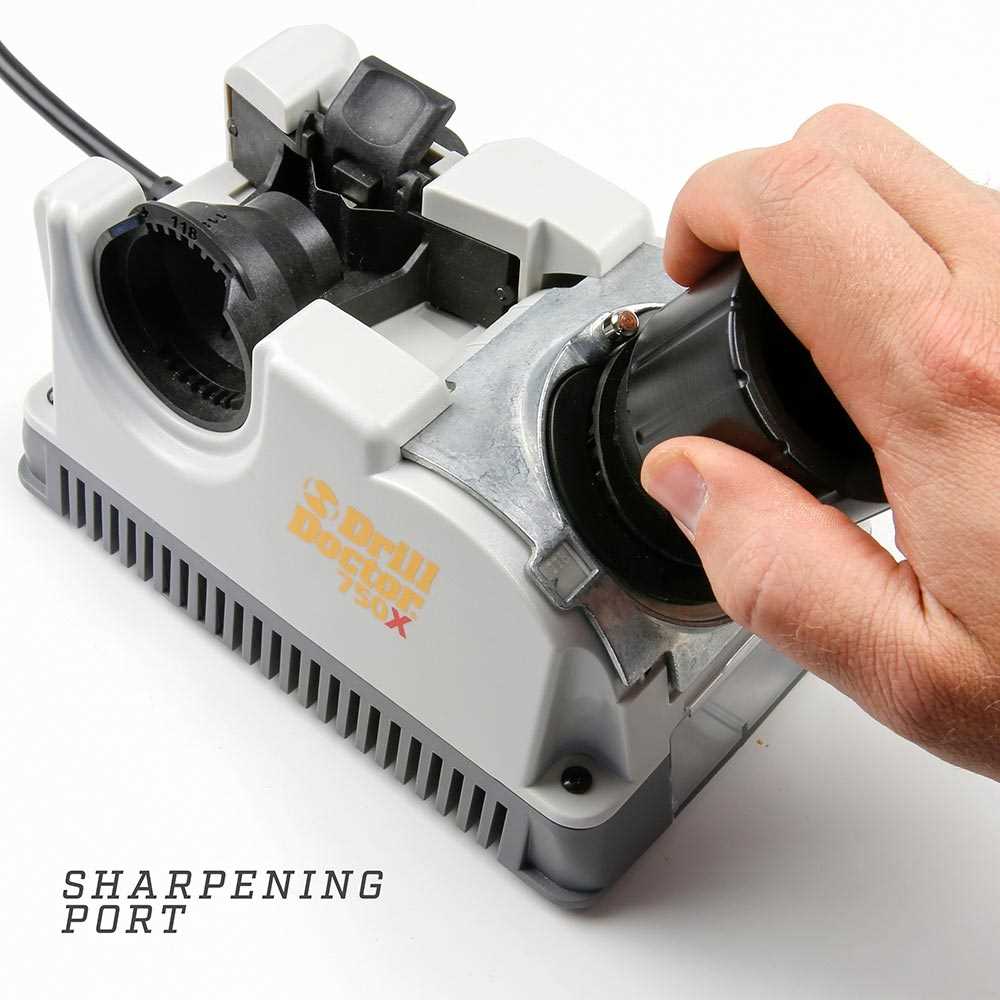
Step 4: Sharpening the Drill Bit
Once you have set up your Drill Doctor 750x according to the previous steps, you are now ready to start sharpening your drill bit. Follow the steps below to ensure a sharp and efficient drill bit:
- Insert the drill bit into the Drill Doctor, making sure it is secure and held firmly in place.
- Turn on the Drill Doctor and select the desired sharpening angle. Refer to the manufacturer’s instructions or the drill bit packaging for the recommended angle.
- Hold the drill bit steady and push it forward into the sharpening slot until it touches the grinding wheel.
- Move the drill bit back and forth along the grinding wheel, also known as the flute relief area, ensuring even contact with the wheel throughout.
- Continue sharpening for a few seconds, applying light and consistent pressure to achieve the desired sharpness.
- Check the progress frequently by carefully observing the drill bit. Look for a clean and even cutting edge without any nicks or chips.
- Once you are satisfied with the sharpening, turn off the Drill Doctor and remove the sharp drill bit from the machine.
It is important to note that proper sharpening technique and attention to detail will greatly affect the outcome of the sharpened drill bit. Always follow the manufacturer’s instructions and take your time to ensure a high-quality sharpening job.
Remember to always wear safety goggles and work in a well-ventilated area when using the Drill Doctor or any power tools.
Now that your drill bit is sharpened, you are ready to tackle your drilling projects with confidence and precision!
Safety Precautions and Maintenance for the Drill Doctor 750x
Safety Precautions
- Read the instruction manual thoroughly before operating the Drill Doctor 750x.
- Always wear safety glasses and gloves when using the machine.
- Ensure that the machine is placed on a stable and level surface before use.
- Keep the work area clean and free from clutter.
- Do not touch the grinding wheel or any moving parts while the machine is in operation.
- Avoid wearing loose clothing or accessories that could get caught in the machine.
- Only use the Drill Doctor 750x for its intended purpose and with compatible drill bits.
- Keep children and bystanders at a safe distance from the machine.
- Do not operate the machine if you are tired or impaired in any way.
Maintenance
Proper maintenance is necessary to ensure the longevity and optimal performance of the Drill Doctor 750x.
- Regularly inspect the machine for any signs of damage or wear.
- Clean the machine after each use to remove any metal shavings or debris.
- Inspect the grinding wheels for any signs of wear or damage. Replace if necessary.
- Check the alignment of the drill bit guide and adjust if needed.
- Inspect the power cord for any fraying or damage. Replace if necessary.
- Keep the machine in a dry and dust-free environment when not in use.
Additional Tips
Here are some additional tips to keep in mind when using the Drill Doctor 750x:
- Start with a slow speed when grinding drill bits and gradually increase the speed as needed.
- Use the drill point splitter for optimal drill bit performance.
- Refer to the instruction manual for specific sharpening angles and techniques.
- Store the machine and accessories in a secure and organized manner.
- Consider wearing a dust mask when grinding to minimize inhalation of metal particles.
| Issue | Possible Solution |
|---|---|
| The grinding wheel is not spinning. | Check the power connection and ensure the machine is properly plugged in. |
| The drill bit is not sharpening evenly. | Check the alignment of the drill bit guide and adjust if needed. |
| The machine is making unusual noises. | Inspect the machine for any signs of damage or loose components. |
| The drill bit is not gripping properly. | Ensure the chuck is properly tightened and aligned with the drill bit. |
FAQ:
What is the Drill Doctor 750x?
The Drill Doctor 750x is a drill bit sharpening tool that allows you to sharpen and restore dull drill bits.
How does the Drill Doctor 750x work?
The Drill Doctor 750x works by aligning and sharpening the cutting edges of a drill bit using a diamond grinding wheel.
Is the Drill Doctor 750x easy to use?
Yes, the Drill Doctor 750x is designed to be easy to use, even for beginners. It comes with an easy-to-follow step-by-step guide that walks you through the sharpening process.
Can the Drill Doctor 750x sharpen different types of drill bits?
Yes, the Drill Doctor 750x can sharpen a wide range of commonly used drill bit types, including high-speed steel, cobalt, and masonry bits.
How long does it take to sharpen a drill bit with the Drill Doctor 750x?
The sharpening process with the Drill Doctor 750x typically takes just a few minutes per drill bit. However, the exact time may vary depending on the condition of the bit and your experience with the tool.
Can the Drill Doctor 750x fix broken or damaged drill bits?
No, the Drill Doctor 750x is designed to sharpen dull drill bits, not to restore broken or damaged ones. If a drill bit is broken or significantly damaged, it is best to replace it.
Video:


Meet Harrison Clayton, a distinguished author and home remodeling enthusiast whose expertise in the realm of renovation is second to none. With a passion for transforming houses into inviting homes, Harrison's writing at https://thehuts-eastbourne.co.uk/ brings a breath of fresh inspiration to the world of home improvement. Whether you're looking to revamp a small corner of your abode or embark on a complete home transformation, Harrison's articles provide the essential expertise and creative flair to turn your visions into reality. So, dive into the captivating world of home remodeling with Harrison Clayton and unlock the full potential of your living space with every word he writes.


