Learn How to Drill and Tap Your Rifle for Scope Mounts

Mounting a scope on your rifle can greatly enhance your shooting accuracy and precision. It allows you to zoom in on your target and make precise adjustments to your aim. However, not all rifles come with pre-drilled and tapped holes for scope mounts. In this article, we will guide you through the process of drilling and tapping your rifle to install scope mounts.
Before you begin, it’s important to choose the right scope and scope mounts for your rifle. Make sure the scope is compatible with your rifle’s caliber and that the mounts are designed to fit your particular model. Once you have the right equipment, you can move on to the drilling and tapping process.
The first step is to secure your rifle in a vise to prevent it from moving during the drilling and tapping process. Use protective pads to avoid any damage to the rifle’s finish. Next, carefully measure the correct position for your scope mounts. It’s important to take your time and ensure that the mounts will be properly aligned.
Once you have determined the correct position, mark the spots where you will need to drill. Use a center punch to make a small indentation at each marked spot. This will prevent your drill bit from slipping. Next, choose the appropriate drill bit size for your scope mount screws and carefully drill into the marked spots. Be sure to drill straight and avoid applying excessive pressure.
After drilling the holes, it’s time to tap them. Choose the right tap size for your scope mount screws and thread the tap into each drilled hole. Apply a lubricant to make the tapping process smoother. Slowly turn the tap clockwise, making sure it stays perpendicular to the drilled hole. Take your time and avoid forcing the tap, as it can break inside the hole.
Once you have tapped all the holes, clean any metal shavings and debris from the drilled and tapped holes. Finally, attach your scope mounts to the rifle using the correct screws. Make sure the mounts are securely tightened and that the scope is properly aligned.
It’s important to note that drilling and tapping your rifle for scope mounts should be done with caution and precision. If you are uncomfortable performing this procedure yourself, it is recommended to seek the assistance of a professional gunsmith.
Learning how to drill and tap your rifle for scope mounts opens up a new world of shooting possibilities. It allows you to customize your rifle to your specific needs and improve your shooting accuracy. With the right equipment and a careful approach, you can easily install scope mounts on your rifle and take your shooting skills to the next level.
Why You Should Drill and Tap Your Rifle for Scope Mounts
Drilling and tapping your rifle for scope mounts is a critical step in improving accuracy and precision when using a scope. While some rifles come with pre-drilled and tapped holes for scope mounts, many do not. Adding these holes allows you to easily and securely attach a scope to your rifle, enhancing your shooting experience.
Improved Accuracy
Mounting a scope on your rifle provides you with a clear and magnified view of your target. This allows for better target acquisition and increases your chances of hitting your mark accurately. When the scope is securely attached to the rifle through drilling and tapping, it stays in place even during recoil. This stability significantly improves your accuracy, especially over long distances.
Enhanced Precision
A drilled and tapped rifle ensures that the scope is aligned correctly with the barrel. This alignment is crucial for precise aiming and shooting. When the scope is properly mounted, you can easily adjust the windage and elevation settings to zero in on your target. This precision is essential for activities such as hunting, target shooting, and competitive shooting.
Versatility
By drilling and tapping your rifle for scope mounts, you open up a world of possibilities when it comes to choosing scopes. With a securely attached scope, you can easily swap out different scopes depending on your shooting needs and preferences. This versatility allows you to use your rifle for various purposes, from long-range shooting to close-quarters hunting.
Long-Term Investment
Drilling and tapping your rifle for scope mounts is a long-term investment that improves the overall value of your rifle. This modification allows you to easily upgrade and customize your rifle as new scopes and technologies become available. Additionally, a properly mounted scope can withstand the recoil forces generated by powerful ammunition, ensuring the longevity of both the scope and your rifle.
Professional Assistance
If you are not familiar with drilling and tapping rifles, it is recommended to seek professional assistance to ensure the job is done accurately and safely. While it may add some additional cost, the end result will be a securely mounted scope that enhances the performance of your rifle.
Overall, drilling and tapping your rifle for scope mounts is a worthwhile investment that improves accuracy, precision, versatility, and the overall value of your rifle. With a securely mounted scope, you can take your shooting skills to the next level and enjoy a more rewarding shooting experience.
Benefits of Drilling and Tapping
Drilling and tapping your rifle for scope mounts offers several benefits that can greatly improve your shooting experience. Here are some of the advantages of this process:
1. Enhanced Accuracy
Drilling and tapping your rifle allows you to securely mount a scope, which can greatly enhance your accuracy. The scope provides a clear and magnified view of your target, making it easier to aim and shoot with precision. With a properly mounted scope, you can consistently hit your target at various distances.
2. Increased Versatility
By adding scope mounts to your rifle, you increase its versatility. A scope allows you to effectively engage targets at long distances, whether you’re hunting or participating in shooting competitions. This versatility opens up new opportunities for you as a shooter and expands the capabilities of your rifle.
3. Easy Target Acquisition
When you drill and tap your rifle for scope mounts, you create a stable platform for your scope. This stability makes it easier to acquire targets quickly, especially when compared to iron sights. With a scope, you can quickly aim and shoot at targets, even in low light conditions or when the target is moving.
4. Improved Shot Placement
A scope provides a magnified view of your target, allowing you to see finer details and make precise adjustments to your aim. This leads to improved shot placement, reducing the chances of missing your target or making an inaccurate shot. With a properly mounted scope, you can consistently hit vital areas for a more humane and effective shot.
5. Better Eye Relief
Drilling and tapping your rifle for scope mounts allows you to set the scope at the appropriate eye relief for your shooting style. Eye relief is the distance from the scope to your eye, and having the proper distance is important for comfortable and safe shooting. With the ability to adjust the scope position, you can find the optimal eye relief for improved shooting comfort and reduced recoil impact.
In conclusion, drilling and tapping your rifle for scope mounts offers significant benefits in terms of accuracy, versatility, target acquisition, shot placement, and eye relief. It is a worthwhile investment for any shooter looking to improve their shooting performance and experience.
Understanding the Basics of Drilling and Tapping
Introduction
Drilling and tapping is a crucial process when it comes to mounting scopes on rifles. It allows you to create threaded holes that can securely hold scope mounts and provide stability for your optic. Whether you are a professional gunsmith or a DIY enthusiast, understanding the basics of drilling and tapping is essential for successful scope mounting.
Drilling
Drilling is the first step in the process of creating holes for scope mounts. It involves using a drill bit to remove material from the rifle’s receiver or barrel to create the hole. Here are a few key points to consider when drilling:
- Choose the right size of drill bit for the scope mount screws. The hole should be slightly smaller than the diameter of the screws to ensure a tight fit.
- Use a center punch to mark the spot where you want to drill. This will prevent the drill bit from wandering and ensure accurate placement of the hole.
- Start with a small pilot hole before using a larger drill bit. This helps to guide the larger drill bit and prevents it from wandering.
- Keep the drill bit lubricated to reduce friction and prevent overheating. Use cutting oil or a suitable lubricant for the specific type of material you are drilling.
- Drill slowly and steadily, applying consistent pressure. This will help to prevent the drill bit from binding or breaking.
Tapping
Tapping is the process of creating internal threads in the holes you drilled, allowing you to screw in the scope mounts. Here are some important considerations when tapping:
- Choose the correct tap size and thread pitch for your scope mount screws. It should match the hole size and thread specifications provided by the manufacturer.
- Use a tap handle or wrench to turn the tap clockwise into the hole. Apply steady pressure to create the threads, but be careful not to overtighten and strip the threads.
- Use a tap lubricant to reduce friction and make the tapping process smoother. This will also help to prolong the life of the tap.
- Turn the tap a few turns clockwise, then one turn counterclockwise to break off the metal chips and prevent them from binding the tap.
- Clean the hole and tap regularly to remove metal chips and debris. This will ensure clean threads and prevent any issues with the scope mount installation.
Conclusion
Understanding the basics of drilling and tapping is essential for successfully mounting scopes on rifles. Taking the time to properly drill and tap your rifle will result in a secure and stable scope mount, allowing you to achieve accurate and consistent shots. Remember to always follow safety precautions and use the appropriate tools and techniques for your specific rifle and scope mount setup.
Necessary Tools and Equipment for Drilling and Tapping
1. Power Drill
A power drill is an essential tool for drilling and tapping your rifle for scope mounts. Make sure you have a drill that is powerful enough to drill through the metal of your rifle receiver. Consider using a drill with variable speed settings to maintain control and prevent overheating the metal.
2. Tap Set
A tap set is used to create threads inside the holes drilled in your rifle receiver. Look for a tap set specifically designed for firearms, as these will have the appropriate dimensions and thread patterns. Choose a tap set that matches the size and pitch of the scope mount screws you plan to use.
3. Drill Bits
High-quality drill bits are crucial for drilling clean and precise holes in your rifle receiver. Use drill bits that are specifically designed for metal, such as HSS (high-speed steel) or cobalt drill bits. Make sure to choose drill bits that are the correct size for the scope mount screws you plan to use.
4. Cutting Oil
Cutting oil is used during the drilling and tapping process to reduce friction and heat. Apply cutting oil to the drill bit and tap to keep them lubricated and cool. This will help extend the life of your tools and promote cleaner and more accurate drilling and tapping.
5. Vice or Workbench
A vice or workbench is necessary for securely holding your rifle receiver while drilling and tapping. Make sure you have a solid surface that can be clamped down to provide stability and prevent movement during the drilling and tapping process. This will help ensure precise and accurate results.
6. Safety Equipment
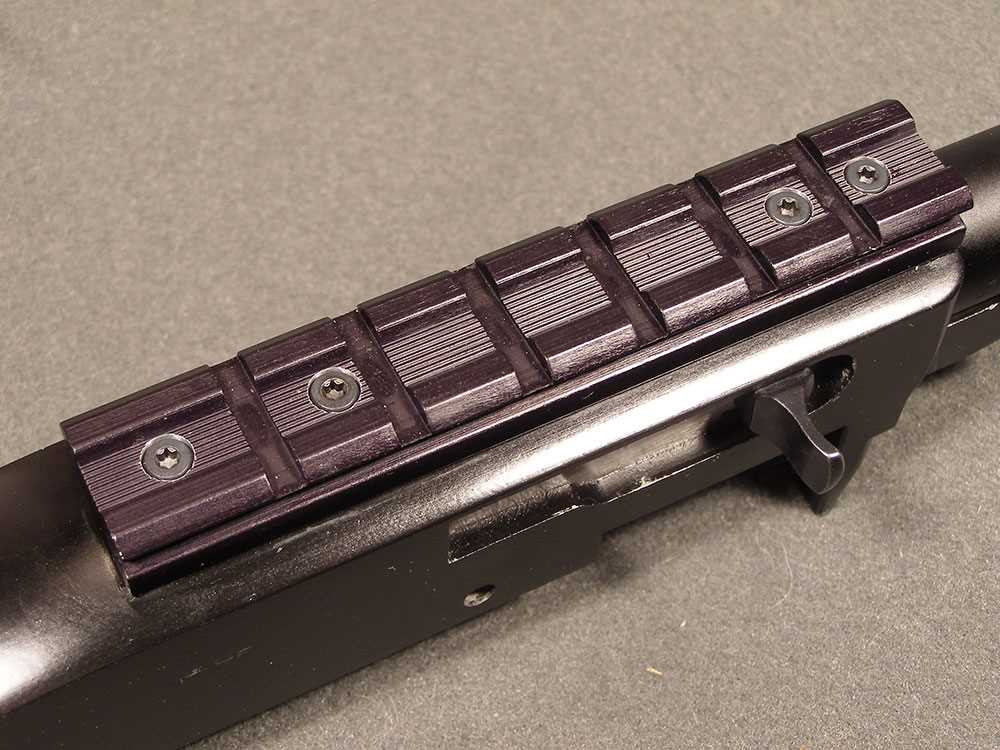
Always prioritize safety when working with power tools and metal. Wear safety goggles to protect your eyes from flying debris, as well as gloves and ear protection. Additionally, make sure to follow all safety guidelines and instructions provided with your tools.
7. Measuring Tools
Measuring tools, such as a caliper or ruler, are essential for accurately measuring and marking the drill and tap locations on your rifle receiver. Take precise measurements and mark the spots where you will drill and tap to ensure proper alignment and fitment of your scope mounts.
8. Cleaning Supplies
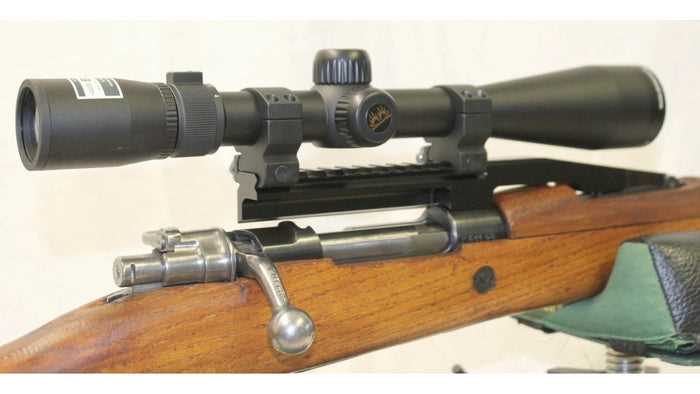
After drilling and tapping, it is important to clean any metal shavings, debris, or cutting oil residue from your rifle receiver. Use a cleaning brush and solvent to remove any contaminants. This will help maintain the integrity of your rifle receiver and prevent any potential issues with the scope mount installation.
9. Thread-locking Compound
Once the scope mounts are installed, it is recommended to apply a thread-locking compound to the screws. This will help secure the screws in place and prevent them from loosening over time due to recoil or vibration. Choose a thread-locking compound that is specifically formulated for firearms.
Having these necessary tools and equipment will ensure that you have everything you need to drill and tap your rifle for scope mounts properly. Remember to always follow the manufacturer’s instructions and take the necessary safety precautions when working with power tools and firearms.
Step-by-Step Guide to Drilling and Tapping Your Rifle
1. Gather the Necessary Tools and Materials
Before you begin drilling and tapping your rifle for scope mounts, make sure you have all the required tools and materials. Here is what you will need:
- Rifle
- Scope mounts
- Drill press
- Tapping kit
- Center punch
- Drill bits
- Tapping fluid
- Cleaning supplies (brushes, solvent, rags)
2. Prepare the Rifle
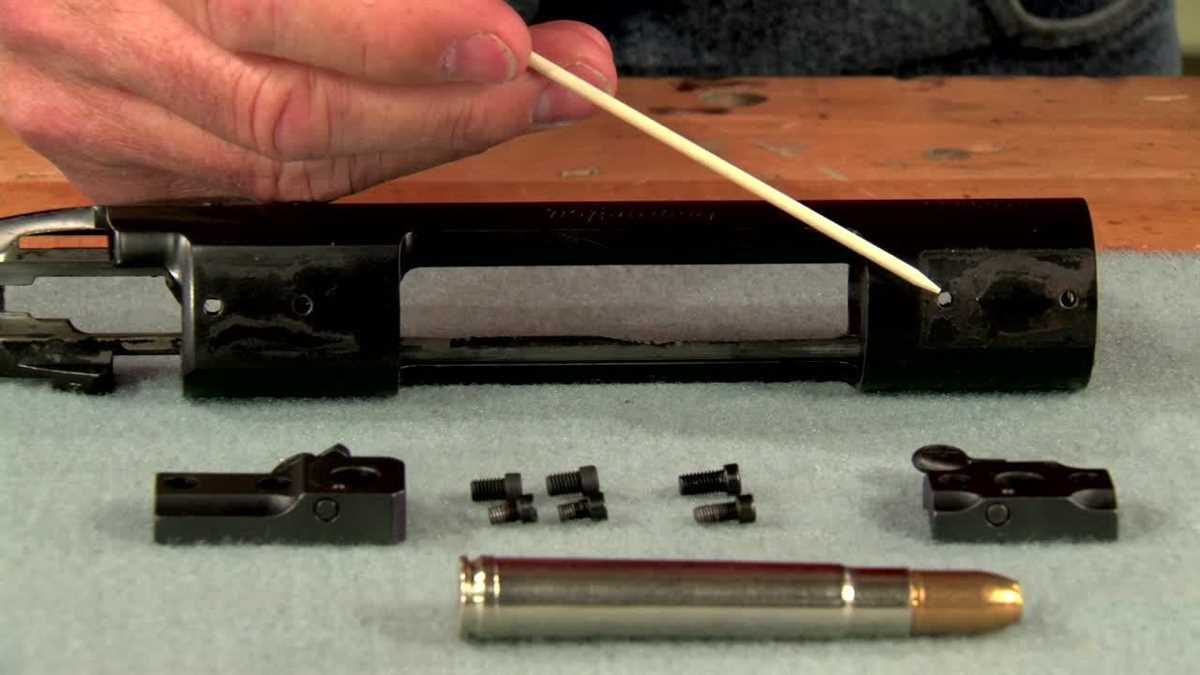
Ensure the rifle is unloaded. Remove any existing scope mounts or accessories. Clean the area where the new scope mounts will be installed using a brush and solvent. Dry the area thoroughly.
3. Mark the Hole Locations
Using a center punch, carefully mark the desired locations for the holes on the rifle. These marks will serve as guides for drilling.
4. Set up the Drill Press
Secure the rifle onto the drill press table using clamps or a vise. Make sure it is stable and firmly in place. Adjust the drill press speed and depth according to the instructions provided with the tapping kit.
5. Drill the Holes
Using the appropriate drill bit size, drill the holes at the marked locations. Keep the drill steady and apply gentle pressure. Take your time to ensure accuracy and prevent damage to the rifle.
6. Apply Tapping Fluid
Once the holes are drilled, apply tapping fluid to the holes. This will lubricate the threads and make it easier to tap.
7. Tap the Holes
Attach the appropriate tap to the tapping handle. Carefully align the tap with the drilled holes and start tapping. Use steady and controlled pressure to create clean threads. Make sure to periodically remove metal chips to prevent jamming.
8. Clean the Threads
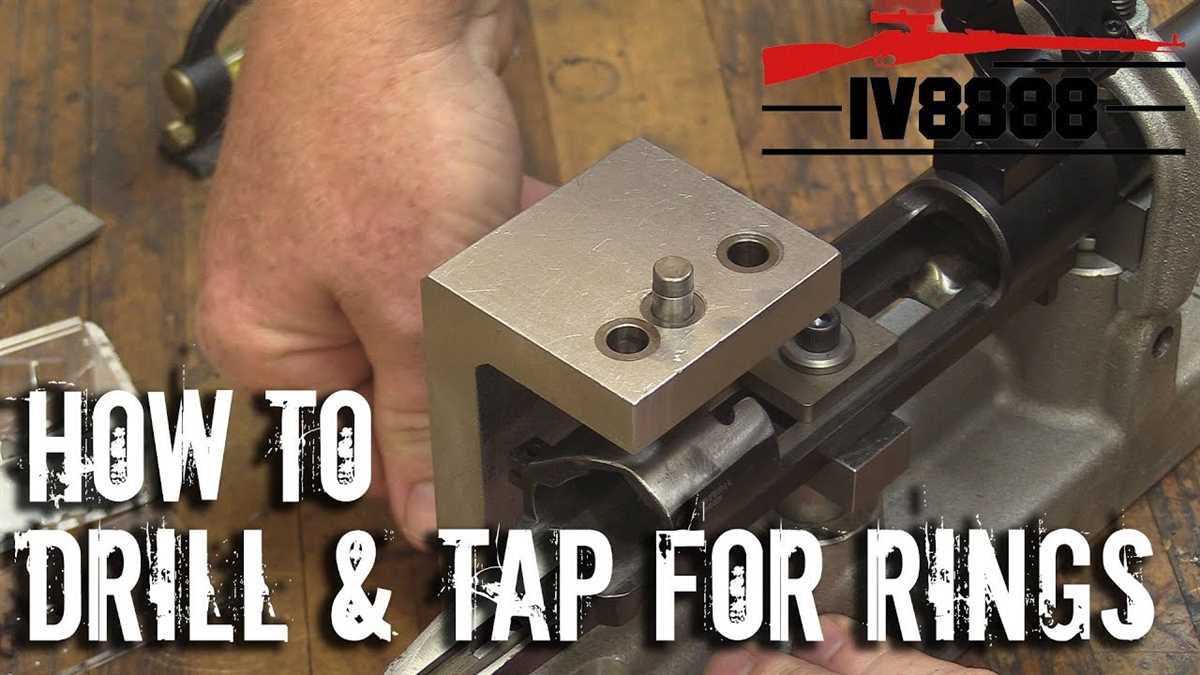
After tapping the holes, clean the threads using a cleaning brush and solvent. This will remove any debris or metal shavings, ensuring smooth thread engagement.
9. Install the Scope Mounts
Once the threads are clean and dry, carefully screw in the scope mounts. Use a torque wrench or screwdriver to tighten the screws to the recommended specifications provided by the manufacturer.
10. Test and Adjust
With the scope mounts installed, attach the scope and ensure it is properly aligned. Make any necessary adjustments to achieve the desired positioning. Tighten the scope rings securely.
11. Final Checks and Safety
Inspect the rifle and scope mounts for any signs of damage or loose screws. Ensure all fasteners are tightened properly. Before firing the rifle, perform safety checks and follow all applicable firearm safety guidelines.
Following these step-by-step instructions will help you drill and tap your rifle for scope mounts correctly and safely. Always exercise caution and consult the rifle manufacturer or a gunsmith if you have any doubts or concerns.
Tips to Ensure a Successful Drilling and Tapping Process
1. Choose the Right Tools
Using the right tools is crucial for a successful drilling and tapping process. Ensure that you have a quality drill press, tap wrench, drill bits, and taps specifically designed for your rifle’s scope mount. Using improper tools can result in damage to your rifle and an ineffective mounting process.
2. Measure and Mark Carefully
Precision is key when drilling and tapping for scope mounts. Before drilling, carefully measure and mark the exact location where you want to install the mounts. Use a center punch to create a small indentation at the center of each mark. This will help prevent the drill bit from wandering and ensure accurate hole placement.
3. Start with a Pilot Hole
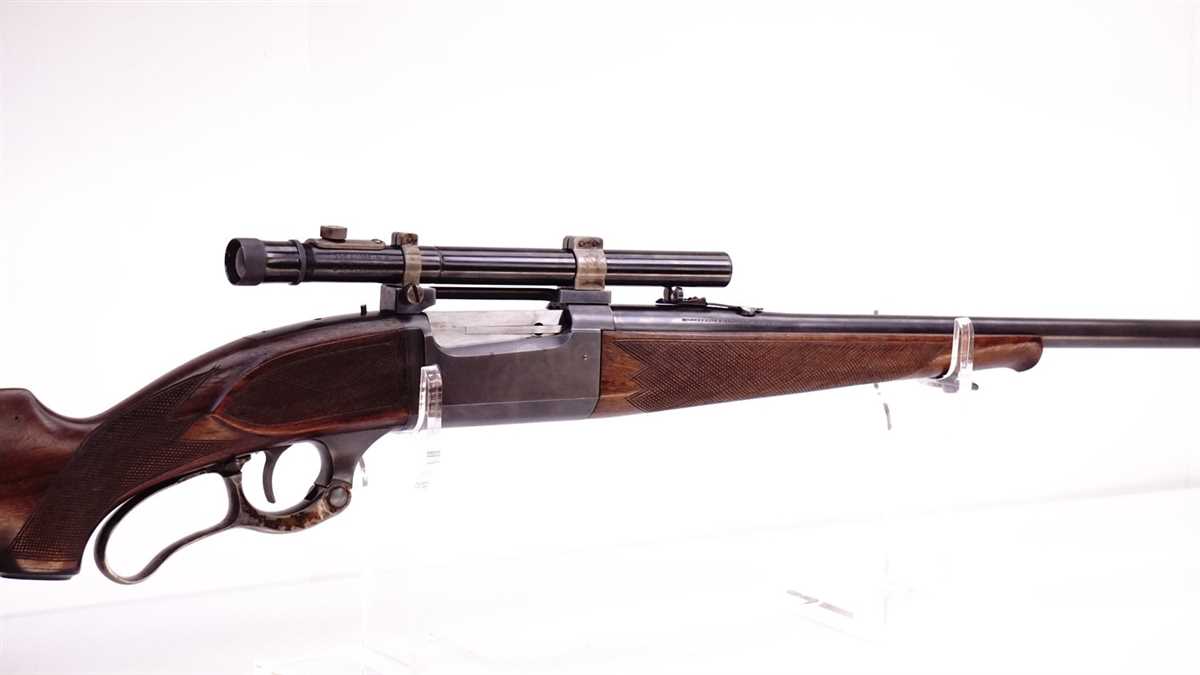
When drilling, it’s best to start with a pilot hole. A pilot hole is a small-diameter hole that serves as a guide for the larger drill bit. Start with a smaller drill bit, usually around 1/8 inch, and drill through the marked indentation. This will help to maintain accuracy and prevent the larger drill bit from wandering.
4. Use Cutting Fluid
When tapping, it’s important to use cutting fluid to lubricate the tap and reduce friction. This will prevent overheating and extend the life of your tap. Apply cutting fluid to the tap and the hole before starting the tapping process. Remember to periodically add more cutting fluid as needed.
5. Take Your Time
Drilling and tapping requires patience and precision. Take your time and go slowly to ensure accurate hole placement and tapping process. Rushing through the process can result in mistakes and damage to your rifle. Use a slow feed rate and light pressure when drilling and tapping.
6. Clean Thoroughly
After drilling and tapping, it’s important to clean the holes thoroughly. Use a brush or compressed air to remove any metal shavings or debris. Clean both the drilled holes and the tapped threads. This will help ensure a proper fit for your scope mounts and prevent any issues with installation.
7. Test Fit Before Final Installation
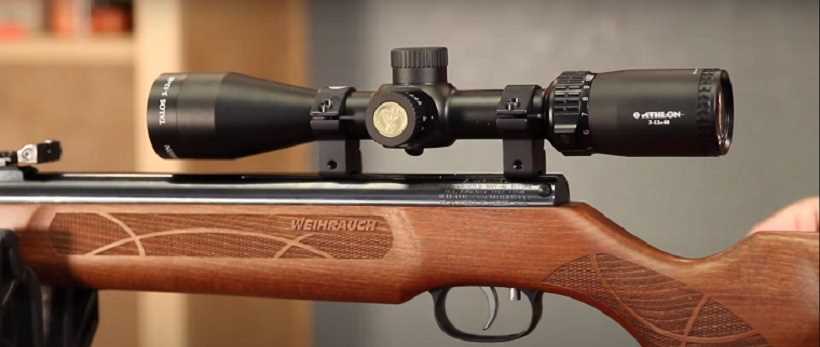
Before finalizing the installation of your scope mounts, test fit them to ensure a proper fit. Insert the screws into the tapped holes and check that they thread smoothly and securely. Make any necessary adjustments before fully tightening the screws.
8. Seek Professional Assistance if Needed
If you are unsure about your ability to properly drill and tap your rifle for scope mounts, it’s best to seek professional assistance. A gunsmith or experienced individual can help ensure a successful and accurate installation process.
Conclusion
By following these tips, you can ensure a successful drilling and tapping process for your rifle’s scope mounts. Remember to use the right tools, measure and mark carefully, start with a pilot hole, use cutting fluid, take your time, clean thoroughly, test fit before final installation, and seek professional assistance if needed. With the proper preparation and technique, you’ll have your rifle ready for mounting a scope in no time.
Removing and Reinstalling Scope Mounts: Best Practices
1. Gather the Necessary Tools
Before removing or reinstalling scope mounts, it is important to gather all the necessary tools. This will help ensure that the process goes smoothly and without any hitches. The tools you will need include:
- Allen wrenches or screwdrivers (depending on the type of mount)
- Torque wrench
- Thread locker (optional)
- Clean cloth
2. Unmounting the Scope
When removing scope mounts, start by unmounting the scope itself. This involves loosening the screws or nuts that hold the scope rings in place. Use the appropriate tool, such as an Allen wrench or screwdriver, to loosen and remove the screws.
Take care not to bump or drop the scope during this process, as it can cause damage to the optics or other components.
3. Removing the Scope Mounts
Once the scope is unmounted, you can proceed to remove the scope mounts from the rifle. Again, use the appropriate tool to loosen and remove the screws holding the mounts in place. Depending on the type of mounts, there may be multiple screws to remove.
Make sure to keep track of all the screws and other small parts, as they can be easily lost. Consider using a small tray or container to hold the screws during the process.
4. Cleaning and Inspecting
With the scope mounts removed, take the opportunity to clean the mounting surfaces on the rifle. Use a clean cloth to remove any dirt, debris, or old thread locker.
Inspect the mounts, screws, and mounting surfaces for any signs of damage or wear. If anything looks questionable, it may be necessary to repair or replace the affected components before reinstalling the mounts.
5. Reinstalling the Scope Mounts
When reinstalling the scope mounts, it is important to ensure that they are properly aligned and tightened to the recommended torque specifications. Refer to the manufacturer’s instructions for the specific torque values.
Apply thread locker to the screws if desired, to prevent them from loosening during recoil. Use the appropriate tool to tighten the screws, being careful not to overtighten and damage the threads or mounts.
6. Remounting the Scope
Finally, remount the scope on the newly installed mounts. Place the rings around the scope and align them with the mounts on the rifle. Use the appropriate tool to tighten the screws and securely fasten the scope in place.
Before taking the rifle out for shooting, it is advisable to ensure that the scope is properly aligned and the reticle is level. This can be done using a scope leveling tool and adjusting the windage and elevation settings if necessary.
Following these best practices will help ensure a successful and hassle-free process of removing and reinstalling scope mounts on your rifle. It is always a good idea to refer to the specific instructions provided by the manufacturer of your rifle and scope mounts for any additional guidance or precautions.
Common Mistakes to Avoid When Drilling and Tapping
When drilling and tapping your rifle for scope mounts, it is important to avoid certain mistakes that can lead to costly damage or poor performance. By being aware of these common pitfalls, you can ensure a successful and professional installation. Here are some mistakes to avoid:
1. Incorrect Measurement
One of the biggest mistakes is taking incorrect measurements for the hole placement. It is crucial to accurately measure the mounting hole spacing on your rifle’s receiver before drilling. Failing to do so can result in misalignment of the scope mounts, making it difficult to zero in your scope and affecting overall accuracy.
2. Wrong Drill Bit Size
Using the wrong drill bit size can cause several issues. You may end up with oversized holes that weaken the receiver or undersized holes that prevent proper threading. It is important to use the recommended drill bit size specified in the scope mount instructions or consult a gunsmith for guidance.
3. Insufficient Lubrication
Lubrication is crucial during the drilling and tapping process to prevent overheating, prolong the life of the drill bit, and ensure clean cuts. Failure to use an appropriate cutting fluid or oil can result in excessive heat buildup, tool wear, and poorer thread quality.
4. Incorrect Tapping Alignment
When tapping the holes, it is important to ensure the tap is aligned properly with the hole to create accurate threads. Misalignment can result in cross-threading, weak threads, or stripped threads. Take your time and use a tap guide or tap handle to maintain a straight and perpendicular alignment.
5. Over-tightening of Scope Mount Screws
Over-tightening the screws can damage the threads or distort the receiver, leading to a poor fit or loss of zero. Use a torque wrench or screwdriver with a torque limiting feature to apply the recommended tightening torque specified by the scope mount manufacturer.
6. Skipping the Cleaning and Inspection Steps
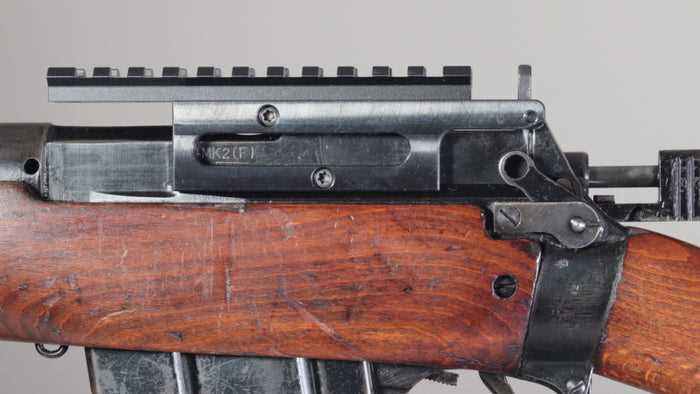
Before mounting the scope, it is important to thoroughly clean the drilled and tapped holes of any chips, debris, or cutting fluid residue. Additionally, inspect the threads and surfaces for any damage or irregularities that can affect the fit and performance of the scope mounts.
7. Lack of Patience
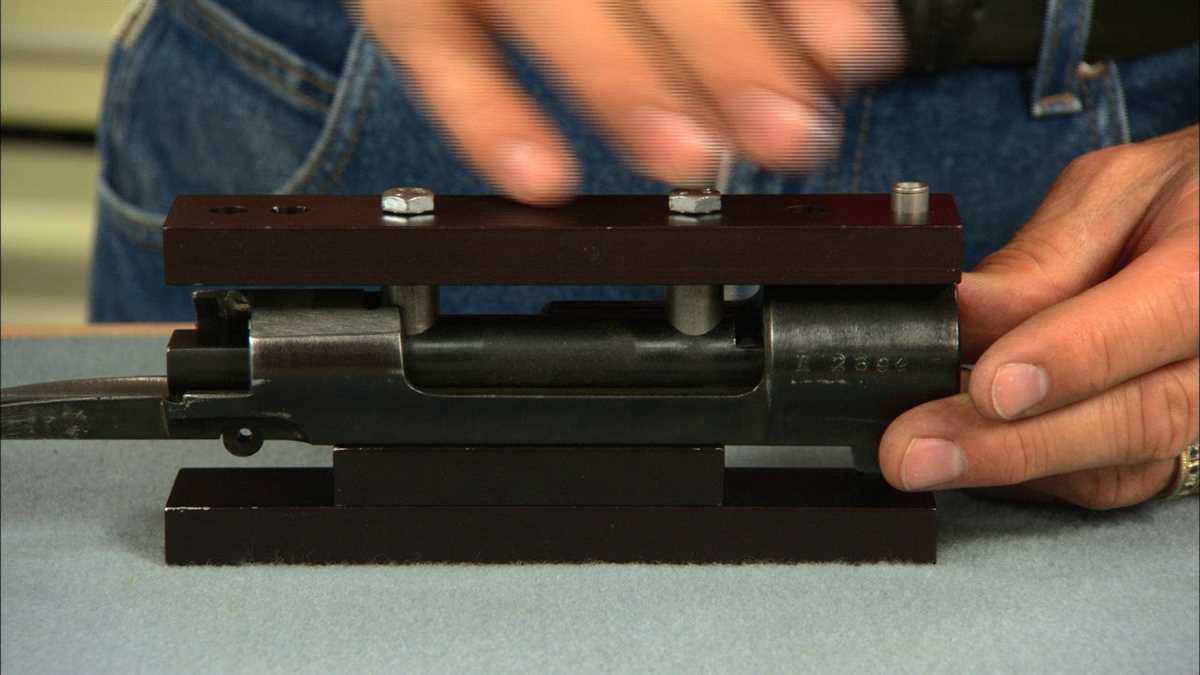
Drilling and tapping requires precision and patience. Rushing the process can lead to mistakes and poor results. Take your time, follow the instructions carefully, and make small adjustments as needed to ensure a proper installation.
By avoiding these common mistakes, you can improve the success and durability of your drilled and tapped scope mounts. If you are unsure or uncomfortable with the process, it is always a good idea to consult a professional gunsmith for assistance.
Expert Advice: When to Seek Professional Help for Drilling and Tapping
- Complex Task: If you are new to drilling and tapping or if the task at hand is particularly complex, it may be best to seek professional help. Drilling and tapping require precision and expertise, and any mistakes can result in irreversible damage to your rifle.
- Unfamiliar Equipment: If you don’t have the necessary tools or equipment for drilling and tapping, it’s recommended to consult a professional. Using improper tools can lead to poor results, such as stripped threads or misaligned holes.
- Specialized Services: Some rifles may require specialized drilling and tapping techniques due to their unique design or materials. In such cases, it is advisable to consult a professional gunsmith who has experience working with your specific rifle model.
- Safety Concerns: Drilling and tapping involve working with firearms, which can be dangerous if not handled properly. If you are not confident in your abilities to safely carry out the task, it is better to entrust the job to someone with the expertise and experience to ensure safety.
- Warranty Concerns: If your rifle is still under warranty, attempting to drill and tap it yourself may void the warranty. It is important to review your rifle’s warranty policy before attempting any modifications and to seek professional help if necessary.
- Time and Convenience: If you are short on time or simply prefer to have someone else handle the task, seeking professional help for drilling and tapping can save you time and effort. Gunsmiths are trained to perform these tasks efficiently and accurately.
Knowing when to seek professional help for drilling and tapping is essential to ensure the safety and integrity of your rifle. While some enthusiasts may enjoy the challenge of DIY projects, it is important to recognize your own limitations and seek expert assistance when needed.
FAQ:
Why is it important to drill and tap a rifle for scope mounts?
Drilling and tapping your rifle allows you to securely attach a scope mount, which provides greater accuracy and targeting capabilities when shooting.
Can I drill and tap my rifle by myself, or do I need to take it to a gunsmith?
While it is possible to drill and tap your rifle by yourself, it is recommended to consult a gunsmith if you are not familiar with the process. A gunsmith can ensure that the drilling and tapping is done correctly and does not damage the rifle.
What tools do I need to drill and tap my rifle for scope mounts?
To drill and tap your rifle, you will need a drill press, a tap set, drill bits, cutting oil, and a torque wrench. Additionally, you may need a gun vise or a rest to securely hold your rifle in place during the drilling and tapping process.
Are there any potential risks or drawbacks to drilling and tapping a rifle for scope mounts?
There are some risks involved in drilling and tapping a rifle, especially if you are not experienced with this process. The main risk is that you could damage the rifle if you drill or tap in the wrong location or at the wrong angle. Additionally, drilling and tapping may void any warranty or affect the resale value of your rifle. It is important to weigh the benefits of attaching a scope mount against these potential risks.
Is it possible to drill and tap any type of rifle for scope mounts?
In general, most rifles can be drilled and tapped for scope mounts. However, it is important to check the specific make and model of your rifle to ensure that it has the necessary mounting points for drilling and tapping. Some rifles may require specialized mounting systems or may not be suitable for drilling and tapping.
Video:


