Learn How to Drill a Well by Hand and Ensure a Reliable Water Source

Having a reliable source of water is essential for any household or community. However, traditional methods of drilling wells can be expensive and time-consuming. If you are looking for an alternative solution, learning how to drill a well by hand can be a cost-effective and sustainable option.
Drilling a well by hand involves using manual tools and techniques to reach the groundwater source. This method has been used for centuries in various parts of the world, and it can be an excellent skill to learn, especially in areas where access to modern drilling equipment is limited.
One of the key advantages of drilling a well by hand is the ability to have control over the entire process. From choosing the location to drilling the hole, you can ensure that the well is constructed to your specifications and needs. Additionally, by learning how to drill a well by hand, you can become self-reliant and independent when it comes to accessing water.
While drilling a well by hand requires physical effort and patience, the rewards are numerous. Once you have successfully drilled a well, you can have a constant and reliable water source for drinking, irrigation, and other essential needs. Whether you are a homesteader, a farmer, or someone who values self-sufficiency, learning how to drill a well by hand can be a valuable skill that provides long-lasting benefits.
Why is it important to have a reliable water source?
A reliable water source is essential for human survival and the overall well-being of communities. Without access to clean and safe water, people are at risk of various health issues and reduced quality of life. Here are some reasons why having a reliable water source is important:

1. Drinking and Hydration
Water is crucial for staying hydrated and maintaining overall health. It is essential for proper digestion, nutrient absorption, and regulating body temperature. Without access to a reliable water source, individuals may face dehydration, which can lead to fatigue, decreased cognitive function, and even organ failure.
2. Sanitation and Hygiene
A reliable water source is necessary for maintaining proper sanitation and hygiene practices. It enables people to wash their hands, bathe, and clean their homes, which helps prevent the spread of diseases and infections. Without access to clean water, diseases like cholera, dysentery, and typhoid can thrive and become major health risks.
3. Agriculture and Food Production
Water is vital for agricultural purposes and food production. Reliable access to water allows farmers to irrigate their fields, ensuring the growth and productivity of crops. It is also needed for the welfare and hydration of livestock. Without a reliable water source, food shortages and increased prices can occur, leading to food insecurity and malnutrition.
4. Economic Development
A reliable water source is essential for economic development and growth. Industries and businesses require water for manufacturing, processing, and other activities. Additionally, tourism and recreational activities often depend on water sources like lakes, rivers, and beaches. Without access to water, economic opportunities can be limited, leading to poverty and stagnation.
5. Environmental Impact
Having a reliable water source is crucial for preserving the environment and ecosystems. It ensures the survival of aquatic life and maintains the balance of ecosystems. Water scarcity or pollution can lead to the destruction of habitats and the loss of biodiversity. By having a reliable water source, we can protect and sustain the natural environment.

In conclusion, a reliable water source is essential for human health, sanitation, agriculture, economic development, and environmental preservation. It is a fundamental need that every individual and community should have access to, and efforts should be made to ensure its reliability and sustainability.
Choosing the right location
One of the most important steps in drilling a well by hand is choosing the right location. The success and reliability of your well will greatly depend on the location you choose.
Here are some factors to consider when selecting a location:
- Groundwater Availability: Research and gather information about the groundwater availability in your area. Look for records or local knowledge about water wells in the vicinity to determine the likelihood of finding water at a certain depth.
- Geological Survey: Consult a geological survey map or website to identify ideal locations for drilling a well. Look for areas with permeable rocks, fractures, or faults as these can indicate the presence of groundwater.
- Proximity to Contaminants: Ensure that your chosen location is away from potential sources of contamination such as septic tanks, livestock yards, and chemical storage areas. This will help prevent groundwater contamination and ensure the safety of your water source.
- Accessibility: Consider the accessibility of the location. Make sure it is easy to reach with drilling equipment and that there is enough space for the drilling operation.
- Legal Requirements: Check local regulations and permits required for drilling a well. Some areas may have restrictions or guidelines in place that you need to follow.
Once you have considered these factors, you can mark the location and proceed with the drilling process. It is always a good idea to consult with professionals or seek guidance from experienced well drillers to ensure the best location for your well.
Remember, choosing the right location is crucial for a successful well that provides a reliable water source for your needs.

Factors to consider when selecting a location for a well
When drilling a well by hand, it is important to carefully choose the location to ensure a reliable water source. Here are some factors to consider when selecting a location for a well:
1. Water availability:
Before drilling a well, it is crucial to assess the water availability in the area. Look for signs of groundwater such as nearby streams, rivers, or wetlands. Additionally, consult with local experts or well drillers to gather information about the water table depth and the likelihood of finding water in the chosen location.
2. Contamination risks:
Consider potential sources of contamination that may affect the water quality. Avoid areas near industrial sites, septic tanks, and chemical storage facilities. Also, take into account the proximity to agricultural fields where pesticides and fertilizers may be used, as these can easily seep into the groundwater. Ensuring a clean water source is crucial for the health and well-being of those using the well.
3. Access and convenience:
Choose a location that provides easy access for drilling equipment and maintenance. Consider the topography of the area, road access, and the distance from the drilling site to the intended use of the water. It is important to have a well that is easily accessible for maintenance and repairs.
4. Legal requirements:
Check with local authorities for any legal requirements or permits needed for drilling a well. Each region may have specific regulations and guidelines when it comes to well drilling. It is important to comply with these regulations to avoid any legal issues in the future.

5. Geological considerations:
Understand the geological characteristics of the area to increase the chances of finding a reliable water source. Consult with geologists or local experts to identify the types of aquifers present in the region and their potential for providing water. Soil composition, rock formations, and the presence of natural springs can also play a role in determining the location.
6. Future land use:
Consider any future plans for the land when selecting a location for a well. Think about potential construction projects or changes in land use that may impact the well’s accessibility and water quality. Planning for the future will help ensure a long-term and reliable water source.
By carefully considering these factors, you can choose a suitable location for a well that provides clean and reliable water for your needs.
Gathering the necessary tools and equipment
Before you start drilling a well by hand, it is important to gather all the necessary tools and equipment. Here is a list of items you will need:

- Hand auger: A hand auger is the primary tool used for drilling a well by hand. It is a long metal rod with a helical bit at one end that is used to dig into the ground.
- Winch system: A winch system is necessary to pull up the hand auger once it has dug deep into the ground. It consists of a pulley, rope, and handles for pulling.
- Drilling pipes: Drilling pipes are used to extend the length of the hand auger. They are typically made of PVC or steel and are connected together to reach the desired depth.
- Well screen: A well screen is a filter that prevents sand and debris from entering the well. It is typically made of PVC or stainless steel and fits around the drilling pipes.
- Well cap: A well cap is a cover that is placed on top of the well to keep out insects, animals, and contaminants. It is usually made of durable plastic or metal.
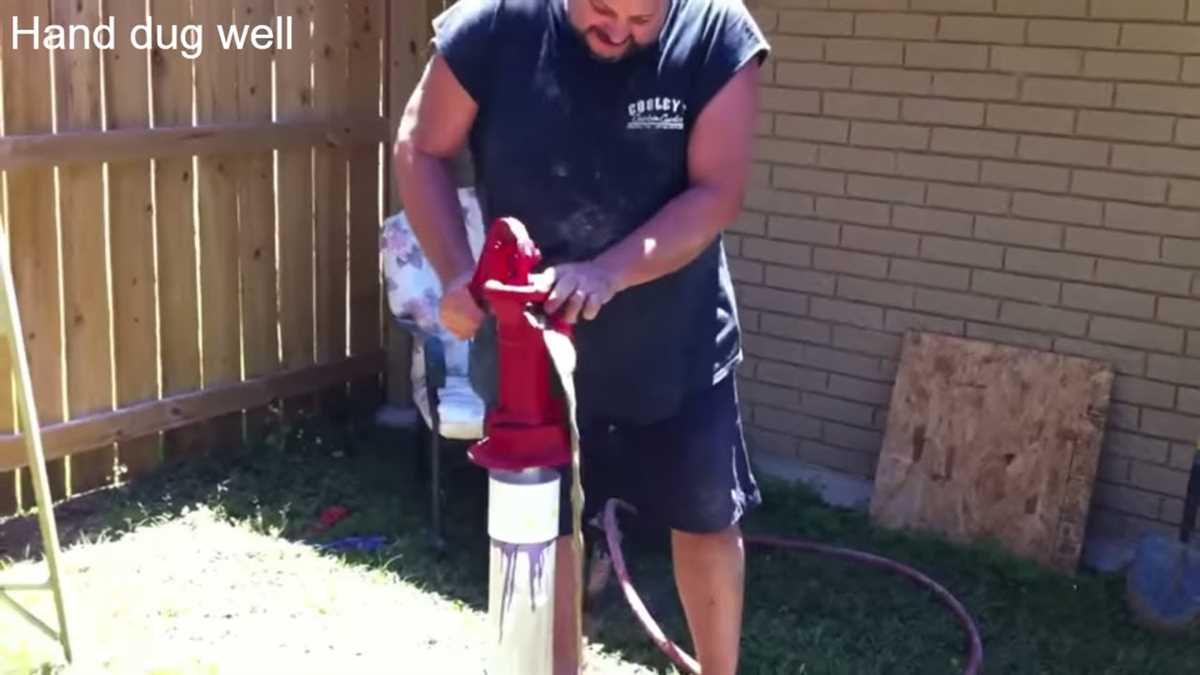
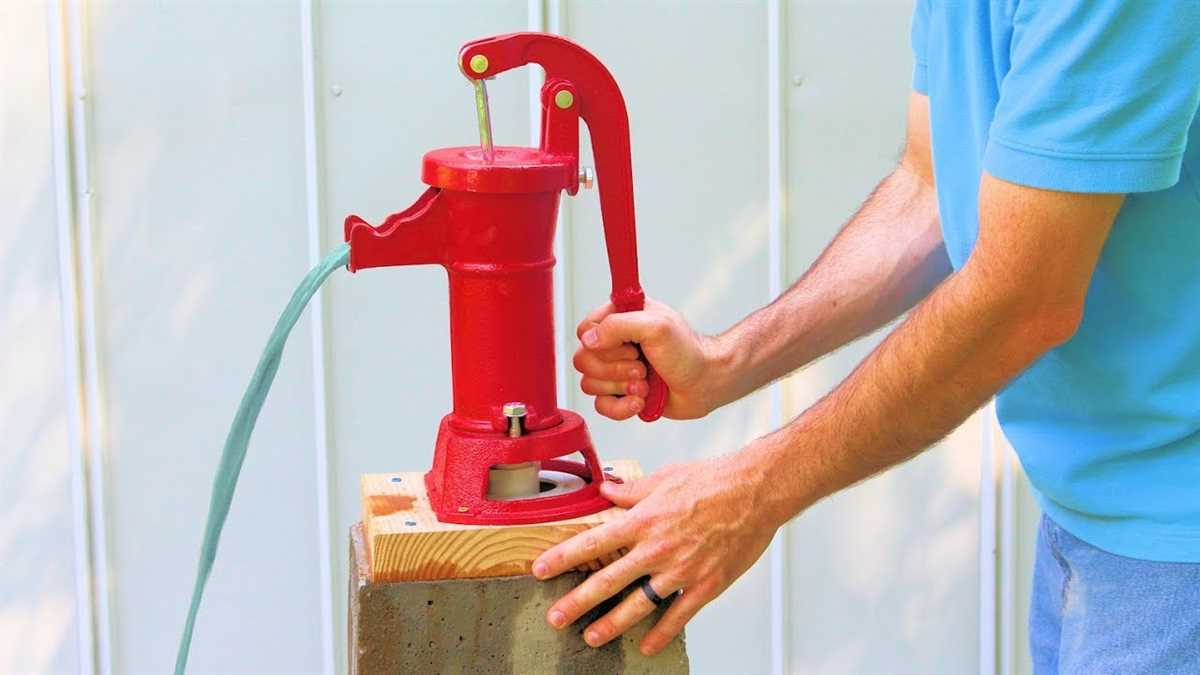
- Water pump: Once the well is drilled, a water pump is used to extract water from the well. There are different types of water pumps available, including hand pumps and electric pumps.
- Sealant: A sealant, such as bentonite clay or grout, is used to seal the well and prevent water from flowing between the well casing and the surrounding soil.
- Safety equipment: It is important to have safety equipment on hand, such as gloves, goggles, and a hard hat, to protect yourself during the drilling process.
Make sure to check that all the tools and equipment are in good working condition before you begin drilling. It is also a good idea to have spare parts and extra supplies on hand in case anything breaks or gets damaged during the drilling process.
What tools do you need to drill a well by hand?
Drilling a well by hand requires a specific set of tools to ensure the process is successful. While the specific tools needed may vary depending on the type of well you are drilling, there are certain basic tools that are commonly required. These tools include:
- Drill Pipe: A drill pipe is a long, hollow tube used to create a borehole in the ground. It is used to remove the earth and rock as the well is drilled deeper.
- Drill Bit: The drill bit is the cutting tool attached to the end of the drill pipe. It is designed to break up the ground and create the borehole.
- Well Screen: A well screen is a perforated pipe that is placed at the bottom of the well to allow water to enter while preventing debris and larger particles from entering the well.
- Well Casing: The well casing is a larger pipe that is installed in the well after it is drilled. It provides structural support and helps prevent the well from collapsing.
- Hand Auger: A hand auger is a manual drilling tool that is used to create the initial borehole. It is often used in shallow wells or as a precursor to using a drill pipe.
- Well Cap: A well cap is a protective cover that is placed on top of the well casing. It helps prevent contaminants from entering the well and also provides a secure seal.
- Well Pump: A well pump is used to extract water from the well. There are different types of well pumps available depending on the depth and specific requirements of the well.
These are some of the basic tools that are essential for drilling a well by hand. Depending on the specific requirements and conditions, additional tools and equipment may be necessary to ensure a successful and reliable water source.
Preparing the drilling site
Choose the location
Before beginning the drilling process, it is essential to select an appropriate location for your well. Consider the following factors when choosing a site:
- Proximity to the main water source
- Potential underground water sources
- Suitability of the ground for drilling
- Accessibility for equipment and maintenance
Obtain necessary permits
In many areas, drilling a well requires obtaining the appropriate permits and complying with local regulations. Contact your local authorities to determine the permits needed and the steps to follow to obtain them. It is important to ensure that all legal requirements are met before starting the drilling process.
Clear the area
Once you have selected the drilling site and obtained the necessary permits, clear the area of any debris, vegetation, or structures that may interfere with the drilling process. Clearing the area will provide a safe and unobstructed space for drilling and ensure that no debris falls into the well during construction.
Mark the location
Mark the chosen location for the well on the ground to indicate the drilling spot and avoid any confusion. Use stakes or markers to clearly indicate the boundaries of the drilling site.
Prepare the drilling equipment
Before starting the drilling process, make sure you have all the necessary drilling equipment. This may include a drilling rig, drill pipes, drill bits, water supply system, and other tools required for the drilling process. Ensure that all equipment is in good working condition and properly maintained before beginning.
Steps to follow before starting the drilling process
1. Obtain necessary permits and permissions
Before you begin drilling a well, it is important to make sure you have obtained all the necessary permits and permissions from the local authorities. Contact your local government or water department to understand the regulations and requirements for well drilling in your area.
2. Conduct a thorough site assessment
It is crucial to assess the site where you plan to drill your well. Look for signs of natural water sources such as wetlands, springs, or seeps. Additionally, consider factors like accessibility, proximity to potential contamination sources, and the geology of the area. This assessment will help you choose the best location for your well.
3. Determine the water needs
Before drilling a well, it is essential to determine your water needs. Calculate the estimated water demand based on the number of people using water, livestock, irrigation requirements, and other factors. This will help you determine the required yield and size of the well.
4. Hire a professional well driller or seek expert advice
Although drilling a well by hand is possible, it is recommended to hire a professional well driller or seek expert advice, especially if you lack experience. They can provide guidance, assess the feasibility of drilling a well at your location, and ensure the proper construction and safety of the well.
5. Obtain necessary equipment and tools
Before starting the drilling process, gather all the necessary equipment and tools required for well drilling. This may include drilling rigs, casing, PVC pipes, screens, gravel pack, drilling mud, and hand tools such as hammers, chisels, and buckets. Make sure you have all the equipment and tools ready to avoid delays during the drilling process.
6. Identify and mark underground utilities
Prior to drilling a well, it is important to identify and mark any underground utilities in the area to prevent accidental damage. Contact your local utility companies or use underground utility detection services to locate any buried cables, pipes, or other infrastructure that may be present.
7. Develop a drilling plan
Before starting the drilling process, develop a detailed plan. This includes determining the drilling method, depth and diameter of the well, casing and screen specifications, and the type of drilling mud to be used. Having a well-developed plan will help ensure a smooth and efficient drilling process.
Digging the well
Digging tools
Before you begin digging your well, you will need to gather the necessary tools. These tools will help you efficiently and effectively dig through the soil and reach the water source beneath.
- Shovel: A sturdy, hand-held shovel will be your primary tool for digging. Look for a shovel with a pointed tip to easily break through the hard ground.
- Pickaxe: For tougher soil or rocky terrain, a pickaxe can be very useful. It has a pointed end for breaking up ground and a wide end for digging out loose soil.
- Bucket or container: You will need a container to hold the soil and rocks that you dig out. A bucket with a handle is ideal for easily removing the excavated material.
- Tape measure: Accurate measurements are crucial when digging a well. A tape measure will help you ensure the depth and diameter of your well are appropriate for a reliable water source.
Digging process
Once you have your tools ready, you can begin the process of digging your well. Follow these steps:
- Location: Select a suitable location for your well. Consider the distance from potential contamination sources like septic tanks or chemicals. Also, make sure the area is accessible and not obstructed by trees or structures.
- Marking: Use markers or stakes to mark the exact spot where you want to dig the well. This will help you maintain a consistent location and depth.
- Start digging: Begin digging with your shovel, breaking through the topsoil and digging deeper into the ground. Remove the soil and rocks from the hole using your bucket or container.
- Measure and check: Regularly measure the depth of the hole to ensure you are progressing as planned. Use a tape measure to confirm the diameter of the well is suitable for the type of well you are constructing.
- Continue digging: Keep digging until you reach the water table or an appropriate depth. Depending on the soil conditions and the water source depth, this can vary.
- Well walls: Once you reach the desired depth, you may need to line the well walls with a well casing or tiles to prevent collapse and contamination. Consult local regulations and guidelines for well construction.
- Final checks: Before using the well, conduct water tests to ensure its safety and quality. Seek advice from professionals if needed.
Remember to take breaks when needed and stay hydrated during the digging process. Digging a well by hand can be physically demanding, so pace yourself and work at a comfortable rhythm.
| Tool | Function |
|---|---|
| Shovel | Primary tool for digging |
| Pickaxe | Useful for tough soil or rocky terrain |
| Bucket or container | Holds excavated material |
| Tape measure | Measures depth and diameter of the well |
Techniques for manual well digging
Manual well digging can be a labor-intensive process, but with the right techniques, it can be done effectively and efficiently. Here are some techniques to consider when manually digging a well:
1. Site selection
Before beginning the digging process, it’s important to select the right site for your well. Look for areas that are likely to have a water source, such as near a creek or in a low-lying area. Avoid areas that are prone to flooding or have a high water table, as these can make it more difficult to dig.
2. Digging tools
Having the right tools is essential for manual well digging. Some common tools include:
- Shovel: A sturdy shovel with a pointed tip is necessary for breaking through soil and clay.
- Pickaxe: A pickaxe can be useful for breaking through rocks and hard soil.
- Bailer: Bailing buckets or bailers are used to remove water and sediment from the well.
- Auger: An auger can be used to help dig through tough soil or clay.
3. Digging process
When digging a well by hand, it’s important to take it one step at a time. Here’s a general step-by-step process:
- Dig a narrow hole to start, using the shovel or auger.
- Continue digging deeper, removing soil and debris as you go.
- If you encounter rocks or hard soil, use the pickaxe to break them up.
- Periodically check for water by lowering a bailer into the hole and seeing if it fills with water.
- Continue digging until you reach a reliable water source.
4. Well reinforcement
Once you’ve reached a water source, it’s important to reinforce the well to prevent collapse. This can be done by lining the well with PVC pipes or concrete rings. These reinforcements help to stabilize the well and ensure its longevity.
5. Well maintenance
After the well is dug, it’s important to regularly maintain it to ensure a reliable water source. This includes periodically checking the well for any signs of damage or contamination, as well as cleaning the well to remove sediment and debris.
Conclusion
Manual well digging can be a challenging task, but with the right techniques and tools, it can be successfully accomplished. By following these guidelines, you can ensure a reliable water source for your needs.
Installing the well casing
Step 1: Measure and cut the casing pipe
Before installing the well casing, you need to determine the depth of your well. Measure the distance from the ground level to the desired depth, and add a few extra feet for the casing to extend above the ground.
Once you have the measurement, cut the casing pipe to the appropriate length using a hacksaw or pipe cutter. Make sure to remove any burrs or sharp edges from the cut end.
Step 2: Clean the inside of the casing pipe
After cutting the casing pipe, it’s important to clean the inside to remove any dirt, debris, or rust. Use a wire brush or sandpaper to scrub the inside of the pipe, ensuring a smooth and clean surface. This will prevent any obstructions or clogging in the future.
Step 3: Lower the casing pipe into the well
Carefully lower the casing pipe into the well hole, ensuring that it is vertical and straight. Make sure to guide the casing pipe as it goes down to prevent it from bending or getting stuck.
Step 4: Secure the casing pipe
Once the casing pipe is in place, you need to secure it to protect it from shifting or collapsing. Use well casing clamps or brackets to fasten the pipe to the well hole walls. Make sure to tighten the clamps or brackets securely to provide adequate support.
Step 5: Seal the annular space
To prevent any contamination or seepage, it’s important to seal the annular space between the casing pipe and the well hole walls. This can be done by pouring bentonite clay or grout into the space, ensuring a tight seal.
Step 6: Install the well cap
Finally, install a well cap on top of the casing pipe to protect the well from dirt, debris, and insects. The well cap should be securely fastened and provide a tight seal.
It’s important to follow local regulations and guidelines when installing a well casing. Make sure to consult with professionals or your local water department for any specific requirements or regulations in your area.
FAQ:
What materials do I need to drill a well by hand?
To drill a well by hand, you will need a water well hand pump, PVC pipes, a drilling stem, a drive cap, a digging bar, a hand auger, a hand pump, and a screen.
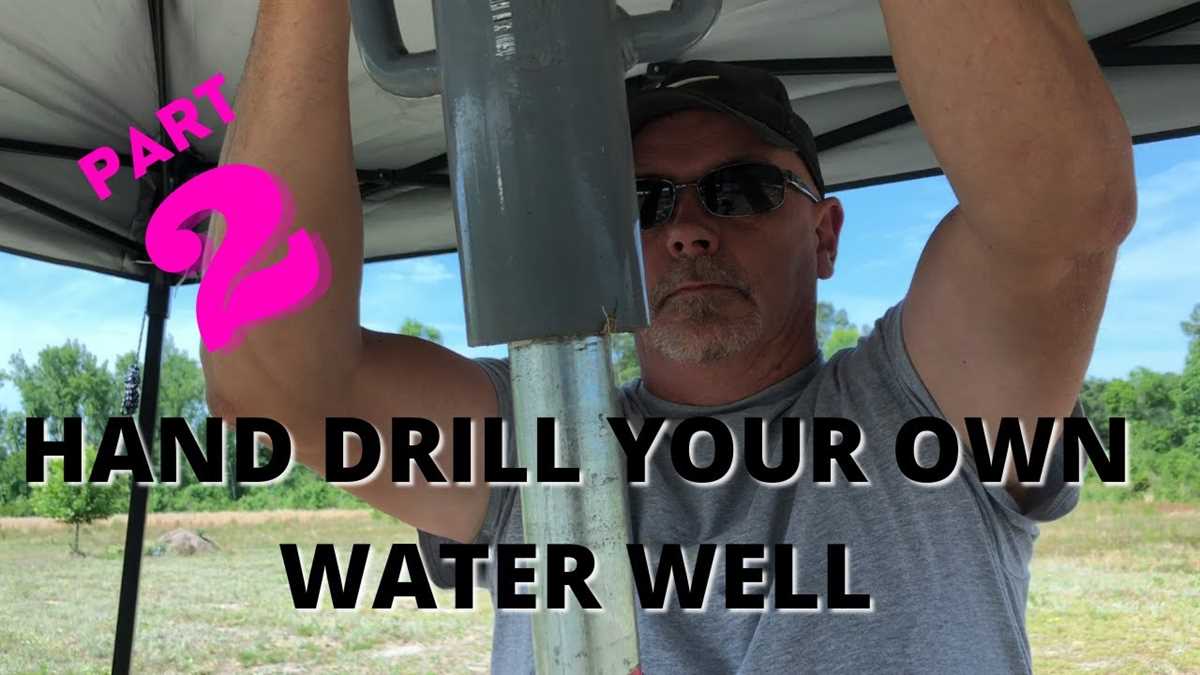
What is the process of drilling a well by hand?
Drilling a well by hand involves several steps. First, you need to locate a suitable spot for the well. Then, you will need to dig a hole and insert the PVC pipes to stabilize the well. Next, you will use a drilling stem and a drive cap to create a borehole. After that, you can use a hand auger to deepen the hole and remove the cuttings. Finally, you can install a hand pump and a screen to ensure a reliable water source.
Why would someone choose to drill a well by hand?
There are several reasons why someone might choose to drill a well by hand. One reason is that it can be a cost-effective option, as it requires less equipment and doesn’t require hiring a drilling contractor. Additionally, drilling a well by hand allows for more control over the process and can offer a sense of self-sufficiency.
Is it difficult to drill a well by hand?
Drilling a well by hand can be physically demanding and requires a certain level of skill and knowledge. It involves hard labor and can take a significant amount of time and effort. However, with the right tools and guidance, it is possible for individuals with average strength and determination to successfully drill a well by hand.
What are the benefits of having a reliable water source?
Having a reliable water source is crucial for various reasons. It provides access to clean and safe drinking water, which is essential for maintaining good health and hygiene. Additionally, a reliable water source can be used for irrigation and livestock, which can support agriculture and other livelihood activities. It also ensures independence from municipal water supplies, which can be vulnerable to disruptions or contamination.
Video:


Meet Harrison Clayton, a distinguished author and home remodeling enthusiast whose expertise in the realm of renovation is second to none. With a passion for transforming houses into inviting homes, Harrison's writing at https://thehuts-eastbourne.co.uk/ brings a breath of fresh inspiration to the world of home improvement. Whether you're looking to revamp a small corner of your abode or embark on a complete home transformation, Harrison's articles provide the essential expertise and creative flair to turn your visions into reality. So, dive into the captivating world of home remodeling with Harrison Clayton and unlock the full potential of your living space with every word he writes.


