How to Use a Power Drill as a Screwdriver: Tips and Tricks

Do you have a power drill sitting idle in your toolbox? Did you know that you can use it as a screwdriver? Using a power drill for screwing can save you time and effort, especially when dealing with large projects or stubborn screws. In this article, we will share some tips and tricks on how to effectively use a power drill as a screwdriver.
Choosing the right drill bit: The first step in using a power drill as a screwdriver is selecting the right drill bit. For screwdriving, you will need a bit that matches the head of your screw. Phillips-head screws require a Phillips bit, while flat-head screws need a flat-head bit. Make sure to use the correct size to avoid damaging the screw or the material you are working with.
Adjusting the drill speed: Power drills come with different speed options, usually adjustable with a switch or a button. When using a power drill as a screwdriver, it is important to set the correct speed. Start with a low speed to avoid stripping the screw or overtightening it. You can gradually increase the speed as needed, but be careful not to go too fast.
Tips for better control: Holding the power drill properly is crucial for accurate screwdriving. Grip the drill firmly with one hand on the handle and the other hand on the top or side of the drill. This will give you better control and prevent the drill from slipping. You can also use an additional handle attachment for extra stability.
Inserting the screw: Before driving the screw, it is important to create a pilot hole using a drill bit slightly smaller than the screw’s diameter. This will prevent the wood from splitting or the screw from getting stuck. Place the tip of the screw into the pilot hole and apply gentle pressure while slowly activating the drill. Make sure the screw is going in straight to avoid any mishaps.
By following these tips and tricks, you can effectively use a power drill as a screwdriver for various projects. Remember to always prioritize safety and take your time to ensure accurate results. With a bit of practice, you will soon become a pro at using a power drill for screwdriving.
What is a Power Drill?
A power drill, also known as an electric drill or a corded drill, is a versatile tool used for drilling holes and driving screws or other fasteners. It is powered by an electric motor and is one of the most common tools found in home workshops, construction sites, and other DIY projects.
Power drills come in various sizes, styles, and power ratings to accommodate different projects and user preferences. They are typically handheld and feature a robust chuck that holds and secures drill bits or screwdriver bits.
Main Components of a Power Drill
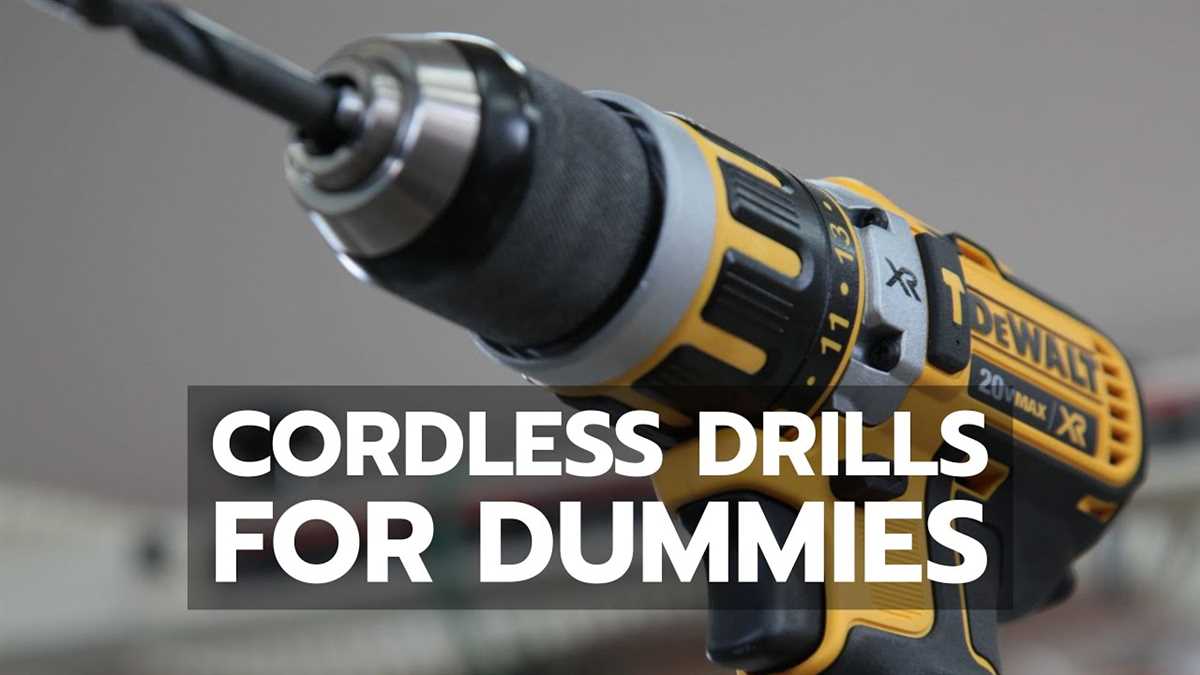
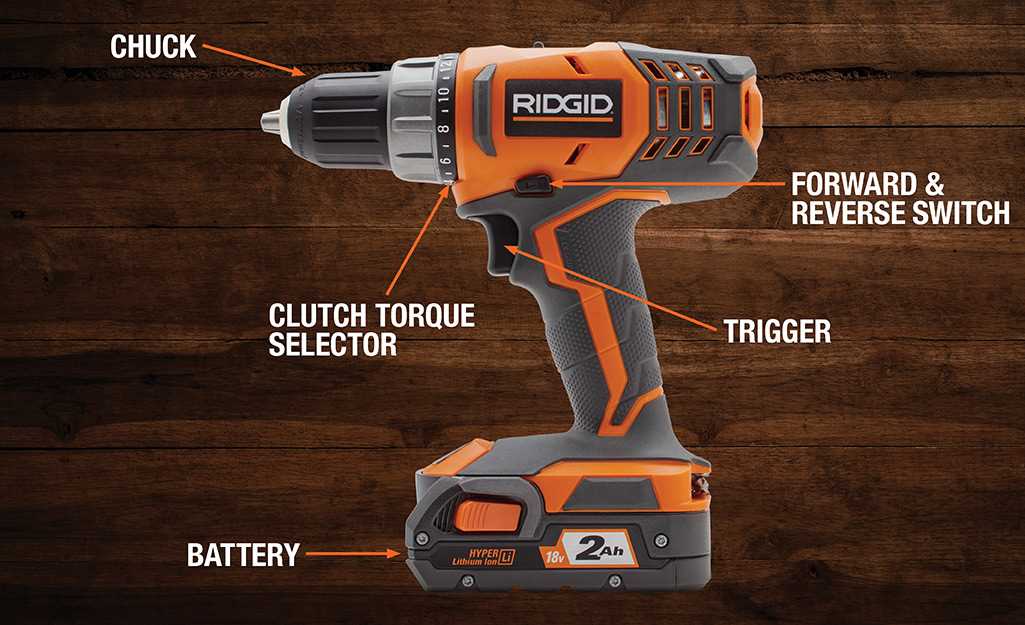
- Motor: The motor is responsible for generating the power needed to rotate the drill bit or screwdriver bit. It converts electrical energy into mechanical energy.
- Chuck: The chuck is the mechanism that holds and tightens the drill bit or screwdriver bit. It allows for quick and easy bit changes.
- Trigger: The trigger is the on/off switch for the drill. By pressing and releasing the trigger, the user can control the rotation of the drill bit.
- Handle: The handle provides a comfortable grip and control over the drill during operation. It is usually ergonomically designed to reduce user fatigue.
- Forward/Reverse Switch: This switch allows the user to change the direction of rotation of the drill bit. It is useful for both drilling and removing screws.
- Battery (for cordless drills): Cordless power drills are powered by rechargeable batteries instead of being plugged into an electrical outlet. The battery provides the necessary power for the drill to function.
Types of Power Drills
There are several types of power drills available, each designed for specific purposes. Some of the common types include:
- Drill/driver: This is the most basic type of power drill and is used for both drilling holes and driving screws. It is suitable for general-purpose use and is often the best choice for household tasks.
- Hammer drill: Hammer drills have a hammering action in addition to rotary motion. They are primarily used for drilling into hard materials like concrete and masonry.
- Impact driver: Impact drivers are specifically designed for driving screws and other fasteners. They deliver high torque and are ideal for heavy-duty fastening tasks.
- Right-angle drill: Right-angle drills have a compact design and a 90-degree angled chuck, allowing for drilling in tight spaces and corners.
- Rotary drill: Rotary drills are powerful and versatile tools used for heavy-duty drilling in materials like metal and wood. They have a larger motor and drill bit capacity compared to regular drills.
Understanding the different types of power drills and their specific features can help you choose the right tool for your needs and ensure successful outcomes for your projects.
What is a Screwdriver?
A screwdriver is a hand tool used to tighten or loosen screws. It consists of a handle and a shaft with a specially designed tip, called a blade, which fits into the head of a screw or bolt. Screwdrivers are widely used in various applications, such as construction, carpentry, electrical work, and household repairs.
There are different types of screwdrivers, each designed for a specific type of screw. The most common types include:
- Flathead screwdrivers: These have a flat, straight blade that fits into the slot on the head of a slotted screw.
- Phillips screwdrivers: These have a pointed, cross-shaped blade that fits into the cross-shaped head of a Phillips screw.
- Torx screwdrivers: These have a star-shaped tip that fits into the corresponding star-shaped head of a Torx screw.
- Hex screwdrivers: These have a hexagonal-shaped tip that fits into the hexagonal head of a hex screw.
Each type of screwdriver is designed to provide maximum grip and torque to ensure proper tightening or loosening of the screw. Using the wrong type of screwdriver can result in damaging the screw or the screwdriver itself.
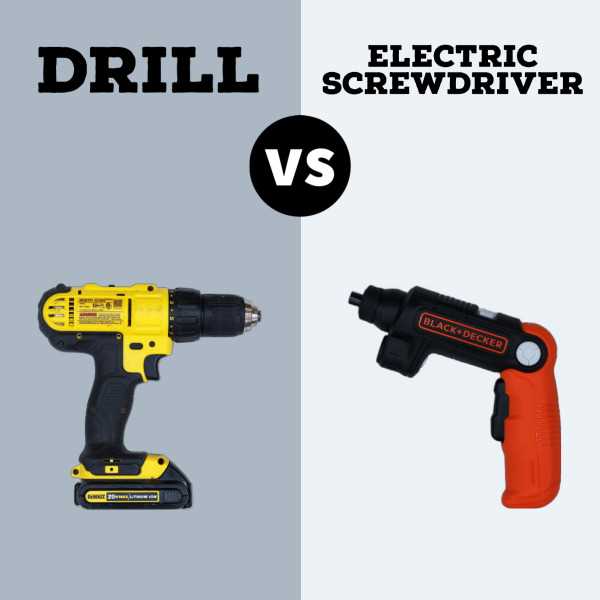
Screwdrivers can be manually operated by hand, but power drills can also be utilized as screwdrivers. This allows for faster and easier screw-driving, especially when dealing with large quantities of screws or tightening screws in hard-to-reach areas.
When using a power drill as a screwdriver, it is important to adjust the drill’s settings to the appropriate torque and speed for the task at hand. This helps prevent overtightening or stripping the screw. Additionally, using a magnetic bit holder can help hold the screw securely in place while driving it in.
Using a Power Drill as a Screwdriver
Power drills are incredibly versatile tools that can be used for a wide range of tasks, including drilling holes and driving screws. While it may be more common to use a dedicated screwdriver for simple screwing tasks, using a power drill can save you time and effort. In this article, we will explore the various benefits and techniques of using a power drill as a screwdriver.
Benefits of Using a Power Drill as a Screwdriver
- Efficiency: Using a power drill as a screwdriver allows you to drive screws much faster compared to using a manual screwdriver. The drill’s motor provides rotational force, reducing the effort required on your part.
- Versatility: By using different drill bits, you can easily switch between drilling holes and driving screws with the same tool. This makes a power drill a convenient option for both DIY projects and professional work.
- Power: Power drills have adjustable torque settings that allow you to control the amount of rotational force applied when driving screws. This helps prevent over-tightening or stripping of screws, especially when working with delicate materials.
Techniques for Using a Power Drill as a Screwdriver
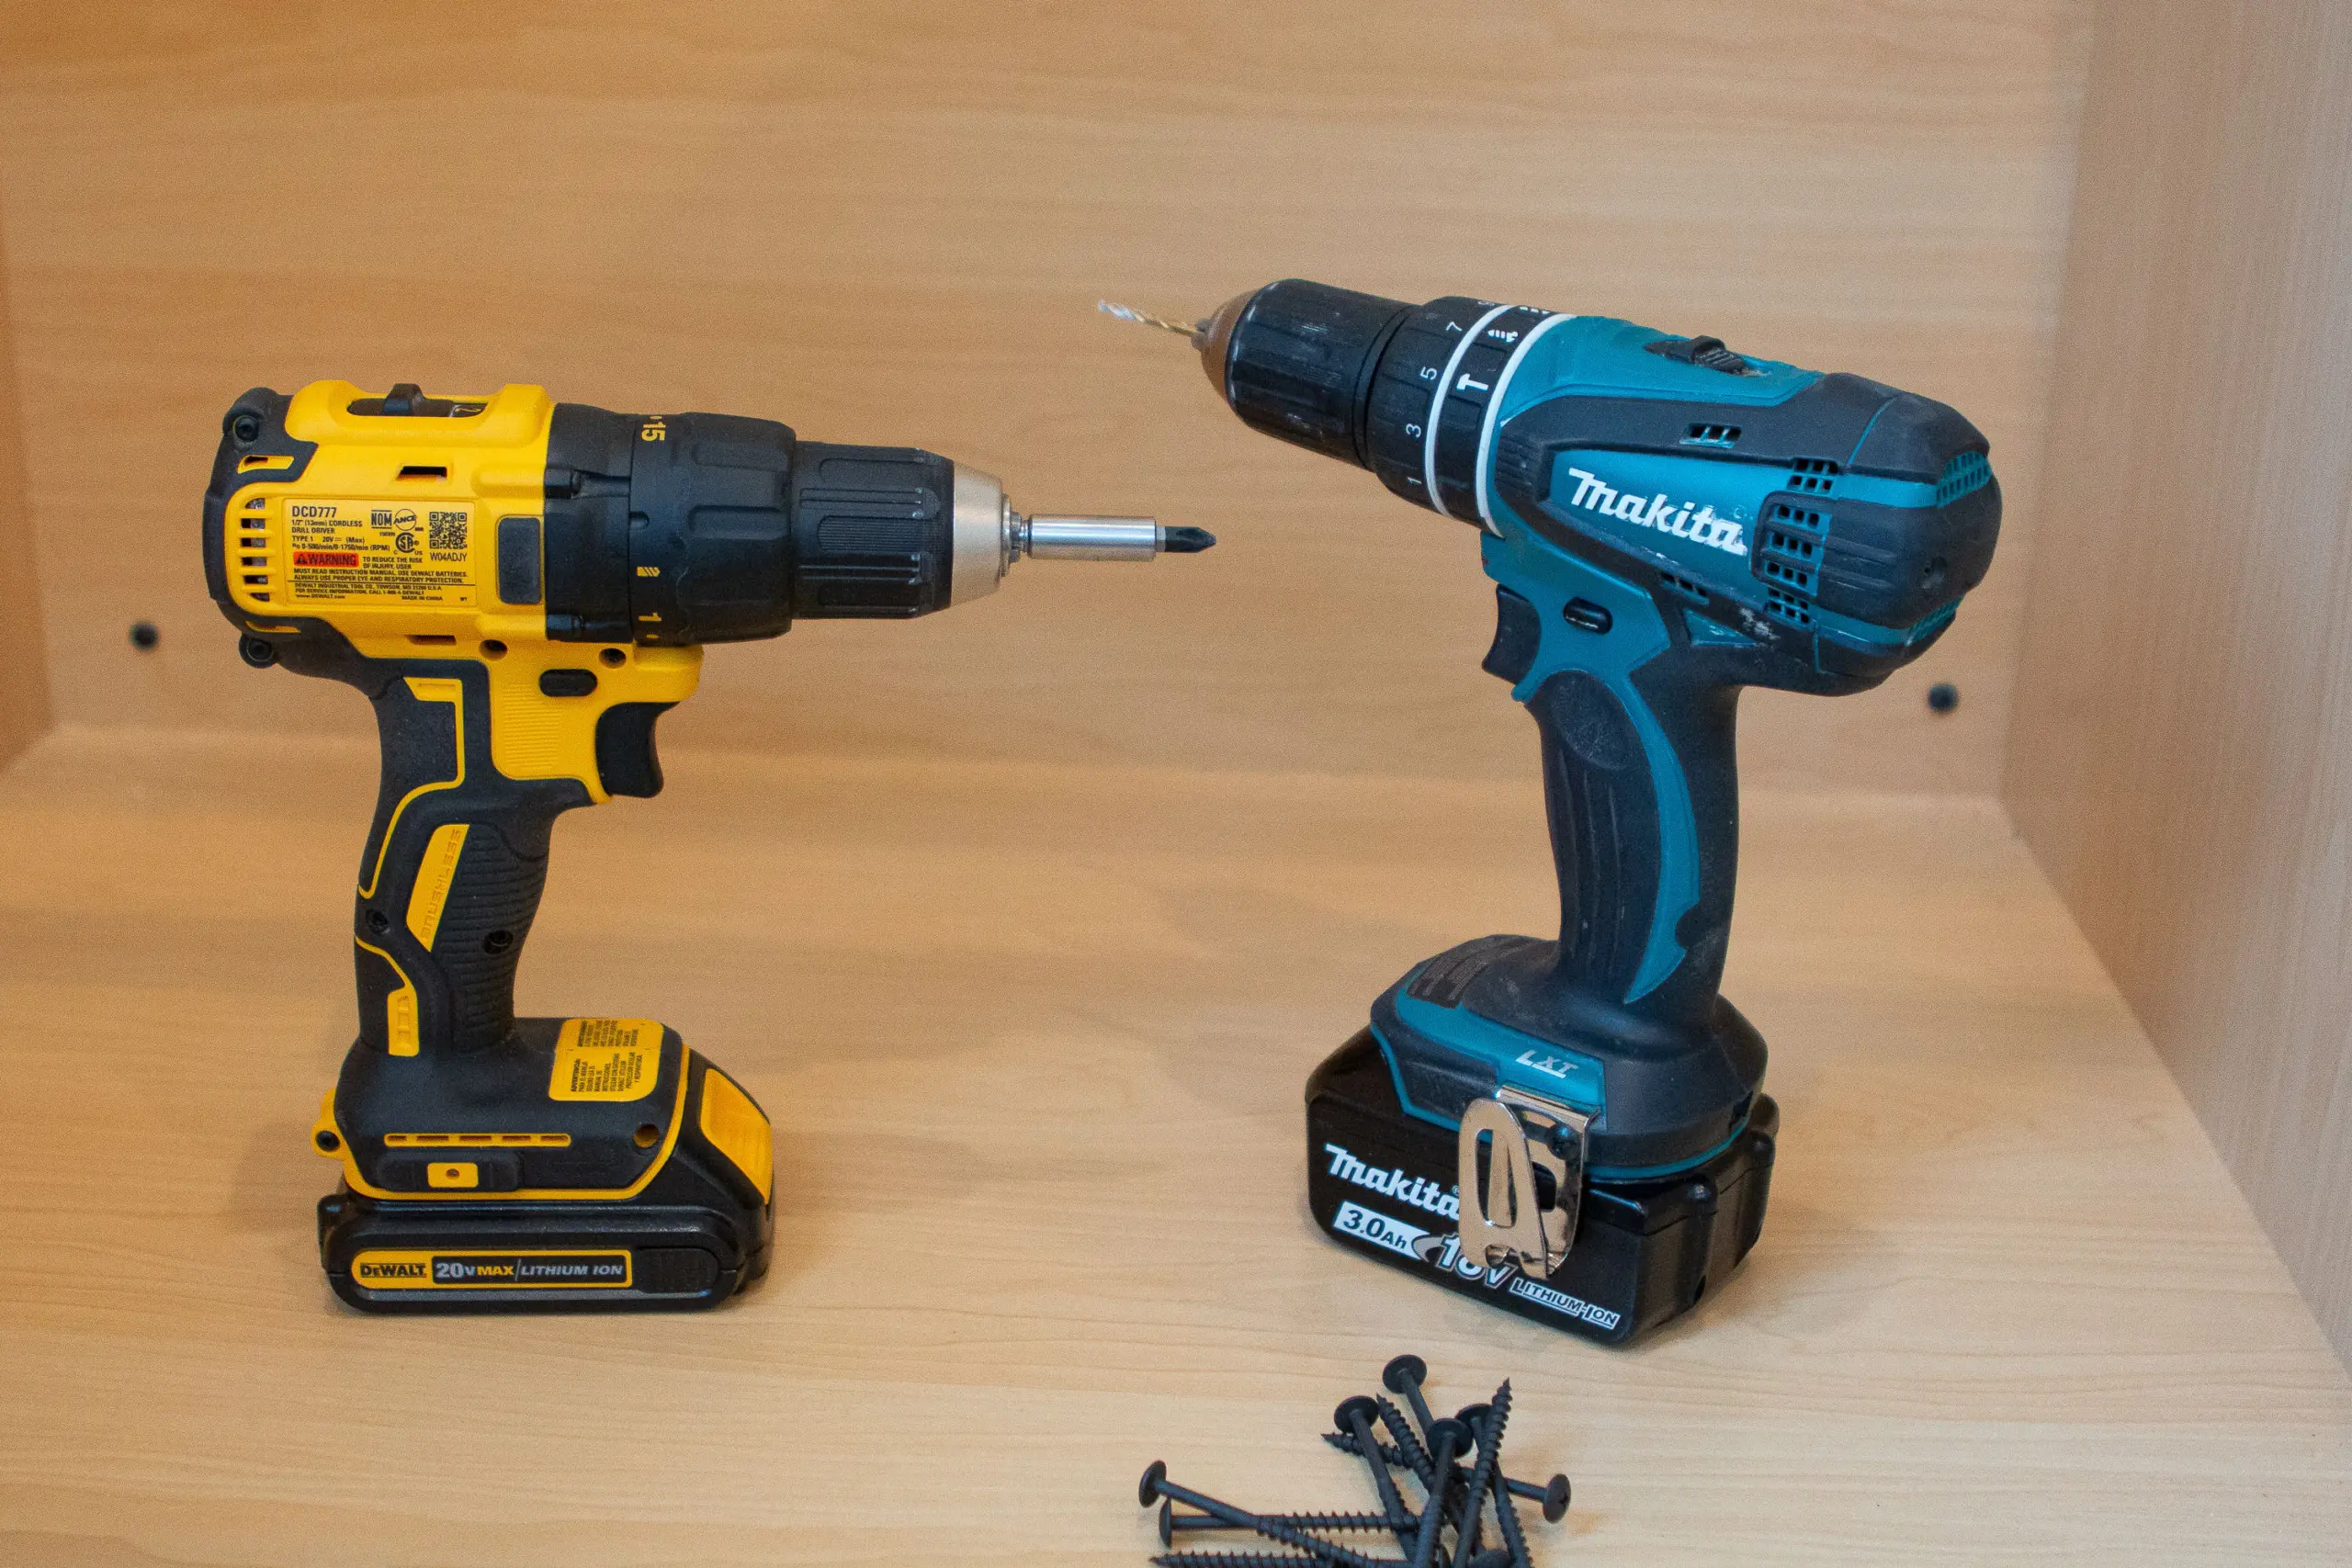
- Choose the Right Screwdriver Bit: To use a power drill as a screwdriver, you need to attach the appropriate screwdriver bit to the drill’s chuck. The bit should match the screw head type and size to ensure a proper fit.
- Adjust the Torque Setting: Before you start driving screws, adjust the torque setting on your power drill. Lower torque settings are ideal for driving smaller screws or working with delicate materials, while higher torque settings are suitable for larger screws or tougher materials.
- Start Slowly: When starting to drive a screw, begin at a low speed to ensure the screw doesn’t strip or damage the material. Once the screw is securely in place, you can increase the speed to complete the task more efficiently.
- Maintain Control: It’s important to maintain a firm grip on the power drill while using it as a screwdriver. The added power can make the drill more difficult to control, so be careful not to over-torque or slip off the screw head.
Conclusion
Using a power drill as a screwdriver can greatly enhance your productivity and efficiency when working with screws. The benefits of using a power drill, such as increased speed and versatility, make it a valuable tool for both DIY enthusiasts and professionals. By following the proper techniques, you can confidently use your power drill as a screwdriver and tackle various projects with ease.
Choosing the Right Drill Bit
When using a power drill as a screwdriver, it’s essential to select the appropriate drill bit for your specific task. Using the wrong drill bit can result in damage to your materials, inefficient drilling, and potentially dangerous situations. Here are some tips to help you choose the right drill bit:
Consider the Material
The first consideration when selecting a drill bit is the material you will be drilling into. Different materials require different types of drill bits to achieve optimal results.
If you are working with wood, a standard twist drill bit is generally suitable. However, for harder woods, it’s recommended to use a brad point drill bit. Brad point bits have a sharp center point that helps to prevent the bit from wandering when starting a hole.
When drilling into metal, a high-speed steel (HSS) drill bit is usually the best choice. HSS drill bits are more resilient and able to withstand the heat generated by drilling through metal. For even tougher metals, such as stainless steel, a carbide-tipped drill bit might be necessary.
If you’re working with masonry or concrete, a masonry drill bit is necessary. These bits are specially designed to withstand the hardness of these materials and typically have a tungsten carbide tip.
Determine the Size
The next step is to determine the appropriate size of the drill bit. This will depend on the size of the screw you’ll be using. It’s important to choose a drill bit that matches the diameter of the screw’s shank. Using a drill bit that is too small can cause the screw to become stuck, while a bit that is too large may not provide enough grip for the screw to hold securely.
Drill bit sizes are typically specified in fractions of an inch or in millimeters. It’s important to ensure that the drill bit you choose is compatible with your power drill’s chuck size.
Use the Right Type of Bit
In addition to considering the material and size, it’s also important to select the right type of bit for your specific task. There are various types of drill bits available, each designed for different purposes.
- Twist Drill Bits: These are the most common type of drill bits and are suitable for general-purpose drilling in materials like wood, plastic, and metal.
- Spade Bits: These are used for drilling large-diameter holes in wood and are often used for rough cutting tasks.
- Forstner Bits: These bits are ideal for drilling clean, flat-bottomed holes in wood and are often used for tasks like installing hinges.
- Auger Bits: These bits are designed for drilling deep holes in wood and are commonly used in construction and woodworking.
- Step Bits: These bits are specifically designed for drilling holes of various sizes in thin materials like sheet metal.
By considering the material, size, and type of screw you’re using, you can choose the right drill bit for your specific task. Remember to always use proper safety precautions when operating a power drill and wear appropriate protective gear.
Adjusting the Drill Speed
When using a power drill as a screwdriver, it’s important to adjust the speed of the drill to match the task at hand. Here are some tips for adjusting the drill speed:
- Identify the desired speed: Before using the power drill, consider the material you are working with and the type of screw you are using. Different materials and screw sizes may require different drill speeds.
- Refer to the manual: Check the user manual or guidelines provided by the manufacturer to find information on the recommended drill speed for different materials and screw sizes. This can help you determine the appropriate speed for your specific task.
- Adjust the speed setting: Most power drills have a variable speed setting that allows you to adjust the drill speed. Use the dial or switch on the drill to set the speed to the desired level. It’s often recommended to start with a lower speed and gradually increase it as needed.
- Test the speed: Before driving a screw, test the drill speed on a scrap piece of material. This can help you ensure that the speed is appropriate and prevent any damage to the material or the screw.
- Make adjustments as needed: If the drill speed feels too slow or too fast while driving screws, make adjustments accordingly. It may take some trial and error to find the optimal speed for your specific task.
Remember, using the right drill speed can help you achieve better control and accuracy when using a power drill as a screwdriver. By following these tips and adjusting the speed as needed, you can ensure successful screwdriving and prevent any potential damage.
Using the Drill in Forward Mode
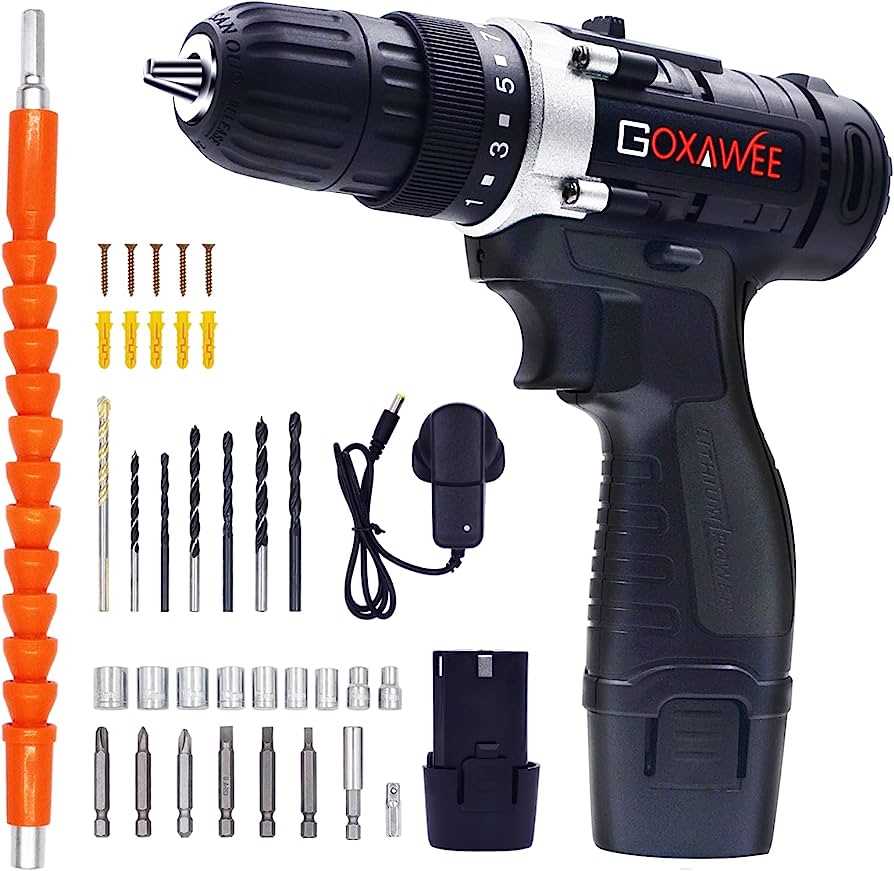
When using a power drill as a screwdriver, it’s important to understand how to use it in forward mode. The forward mode is the default setting on most power drills, and it allows you to drill holes and drive screws clockwise. Here are some tips and tricks for using the drill in forward mode:
- Select the right drill bit or screwdriver bit: Before starting any project, make sure you have the correct drill bit or screwdriver bit for the job. The bit should be compatible with both the drill chuck and the screw or material you are working with.
- Set the drill to forward mode: To use the drill in forward mode, locate the directional switch on the drill. It is usually located near the trigger. Make sure the switch is in the forward position before you start drilling or driving screws.
- Adjust the drill speed: Most power drills have adjustable speed settings. If you are driving screws, it’s generally recommended to set the drill to a slower speed. This will give you more control and prevent the screw from being driven too deep or damaging the material.
- Hold the drill properly: Grip the drill firmly with one hand on the handle and the other hand supporting the back of the drill. This will give you better control and prevent the drill from slipping or causing accidents.
- Position the drill bit or screwdriver bit: Place the tip of the drill bit or screwdriver bit on the desired location. If you are drilling, apply a moderate amount of pressure and push the drill into the material slowly and steadily. If you are driving screws, apply steady pressure and keep the drill aligned with the screw.
- Release the trigger gradually: Once you have drilled the hole or driven the screw to the desired depth, release the trigger slowly and gradually. This will prevent the drill from suddenly stopping and reduce the risk of accidents.
Remember to always follow safety guidelines when using a power drill. Wear appropriate safety gear such as safety glasses and gloves, and make sure to read and understand the manufacturer’s instructions for your specific drill model.
Using the Drill in Reverse Mode
When using a power drill as a screwdriver, it’s important to know how to use the drill in reverse mode. Reverse mode is useful when you need to remove screws or back out a screw that has been driven too far into the material.
Step 1: Find the Reverse Switch
Locate the reverse switch on your power drill. This switch is usually located above or below the trigger, and it is typically marked with an “R” or an arrow pointing in the opposite direction of the “F” (forward) mode.
Step 2: Engage Reverse Mode
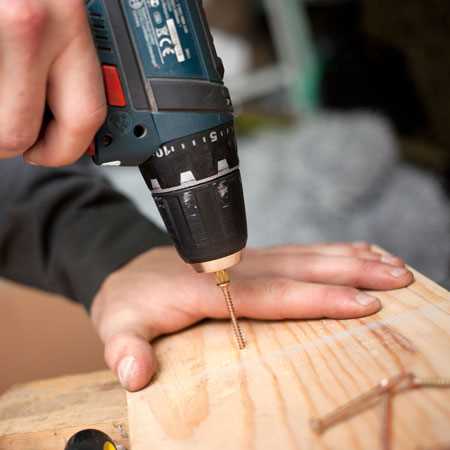
To switch the power drill into reverse mode, simply move the reverse switch to the “R” position. Some power drills may require you to depress the trigger while switching to reverse mode, so be sure to consult your drill’s manual if you’re unsure how to engage reverse mode.
Step 3: Adjust the Speed
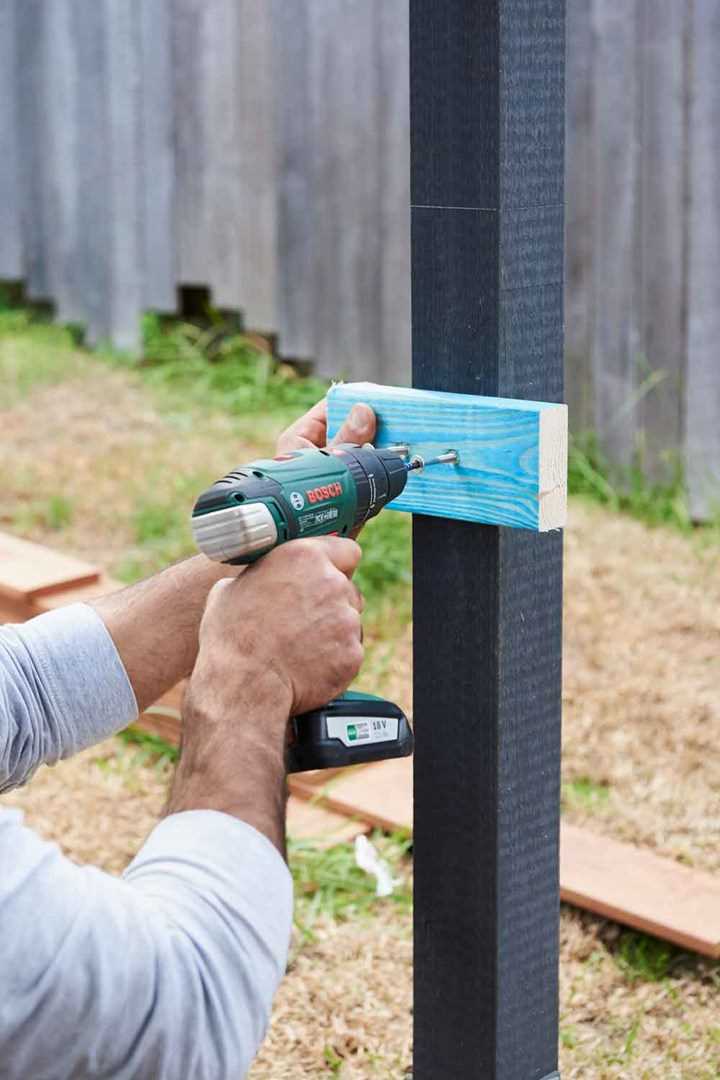
Before you start using the drill in reverse mode, consider adjusting the speed setting. For removing screws or backing out screws, a lower speed setting is often more appropriate. This will prevent you from stripping the screw or damaging the material.
Step 4: Use the Drill in Reverse Mode
Hold the power drill firmly and position the drill bit or screwdriver bit on the screw head. Depress the trigger to start the drill in reverse mode. Apply steady pressure as you back out the screw. You may need to change the direction of rotation to accommodate the threading of the screw.
Step 5: Adjust the Torque Setting
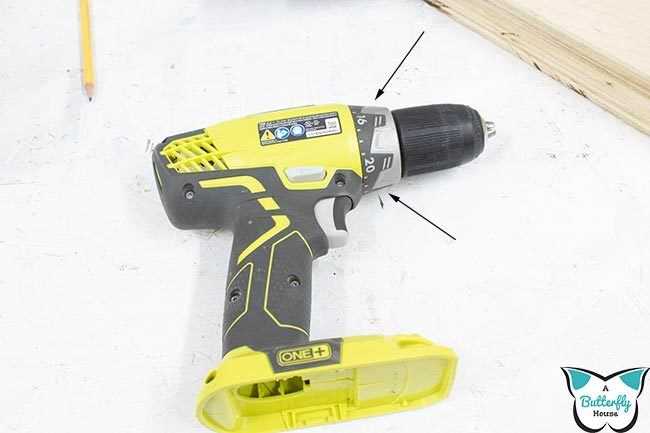
If your power drill has a torque setting, consider adjusting it to a lower setting when using the drill in reverse mode. A lower torque setting will help prevent the screw from being removed too forcefully, which can cause damage to the material or strip the screw head.
By following these steps, you can effectively use your power drill in reverse mode to remove screws or back out screws when needed.
Tips and Tricks for Using a Power Drill as a Screwdriver
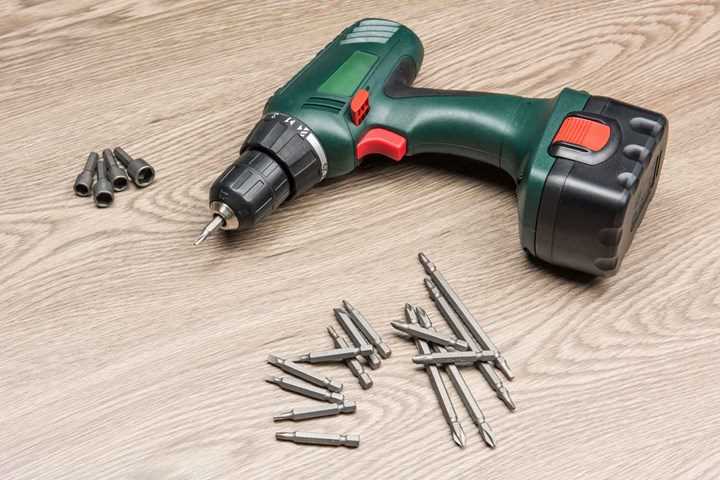
1. Choose the Right Bits
When using a power drill as a screwdriver, it’s important to choose the right bits. Screwdriver bits are usually available in a variety of sizes and shapes, such as Phillips, slotted, and hex bits. Make sure to select the appropriate bit that matches the screw you are working with. Using the wrong bit can result in stripping the screw or damaging the surface.
2. Adjust the Torque
Most power drills come with adjustable torque settings, which allow you to control the amount of force applied to the screw. This is especially useful when working with delicate materials or when driving screws in tight spaces. Adjusting the torque prevents overdriving the screw and damaging the material.
3. Start Slowly
When using a power drill as a screwdriver, it’s important to start slowly to ensure accuracy and prevent the screw from slipping. Begin by applying light pressure and gradually increase the speed as you go. This will help you maintain better control over the drill and avoid any mishaps.
4. Hold the Drill Properly
Properly holding the drill is crucial for using it as a screwdriver effectively. Hold the drill with one hand on the handle and the other hand on the front of the drill, applying gentle pressure to keep it steady. This grip provides better control and accuracy while driving screws.
5. Use the Forward and Reverse Functions
Most power drills have a forward and reverse function. The forward function drives the screw in, while the reverse function loosens or removes the screw. Knowing how to switch between these functions is essential for easy screwdriving and removing screws when needed.
6. Use a Depth Stop
A depth stop is a useful attachment that allows you to set a specific screw depth when driving screws with a power drill. This prevents you from driving the screw too far or not deep enough. Simply adjust the depth stop to the desired level, and the drill will automatically stop when the screw reaches that depth.
7. Practice on Scrap or Test Material
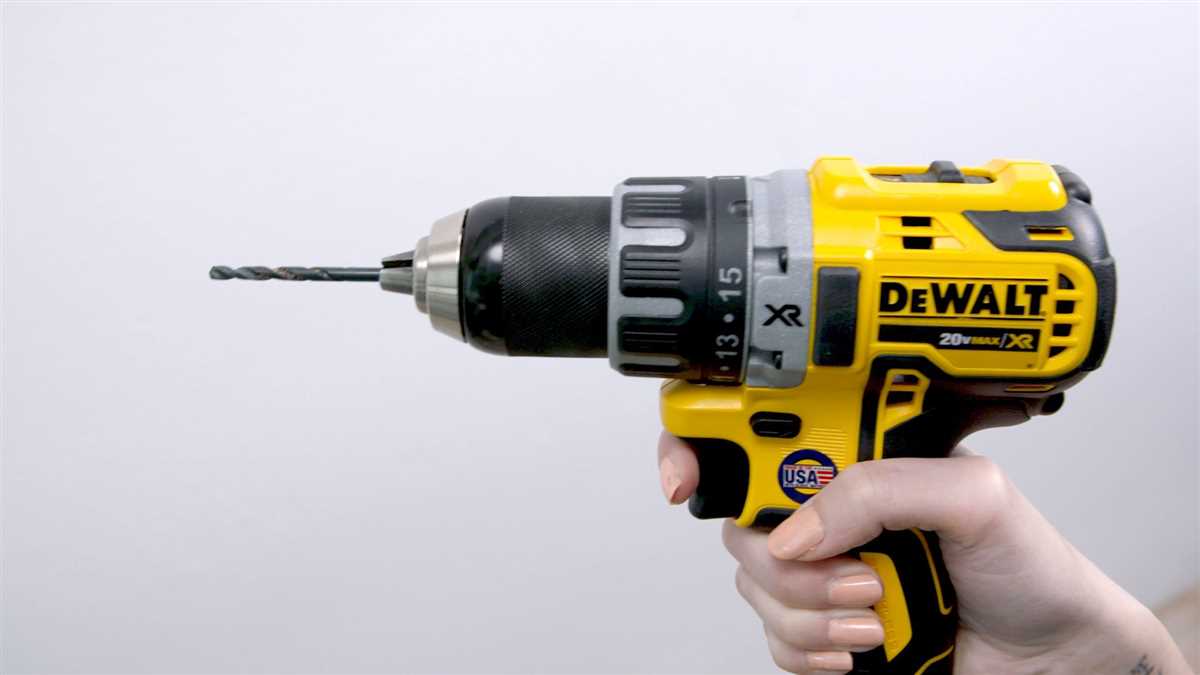
If you’re new to using a power drill as a screwdriver, it’s a good idea to practice on scrap or test material. This will help you get comfortable with the drill, test different techniques, and familiarize yourself with the different settings and functions of the drill before working on your actual project.
8. Keep Safety in Mind
Always prioritize safety when using a power drill as a screwdriver. Wear safety goggles to protect your eyes from flying debris and gloves to prevent any injuries. Additionally, make sure the drill is turned off when changing bits or adjusting settings, and keep your fingers away from the drill’s moving parts.
9. Maintain and Lubricate Your Drill
To ensure your power drill performs optimally, it’s crucial to regularly maintain and lubricate it. Check the drill’s manual for specific maintenance instructions. Keeping the drill clean and lubricated will help extend its lifespan and prevent any issues that can impact its performance.
10. Take Breaks and Take Your Time
Lastly, remember to take breaks and take your time while using a power drill as a screwdriver. Rushing can lead to mistakes and accidents. Give yourself breaks to rest and recharge, and work at a steady pace to ensure accuracy and precision.
By following these tips and tricks, you’ll be able to effectively use a power drill as a screwdriver for various projects, making your work faster and more efficient. Always prioritize safety and take your time to ensure the best results.
Applying the Right Amount of Pressure
When using a power drill as a screwdriver, it’s important to apply the right amount of pressure to ensure optimal results. Too much pressure can cause the screw to strip or the drill bit to slip, while too little pressure may result in the screw not being driven in properly.
Here are some tips for applying the right amount of pressure:
- Start slowly: Begin by applying light pressure and gradually increase as needed. This will help you gauge the resistance and avoid any sudden slips or stripping.
- Let the drill do the work: Power drills are designed to provide the necessary force for driving screws. Avoid applying excessive force with your hand, as this can lead to a lack of control. Instead, guide the drill steadily and let it do the work.
- Use a steady hand: Keep your hand steady and maintain a firm grip on the drill. This will help you maintain control and prevent the bit from slipping off the screw head.
- Watch for signs of resistance: Pay attention to the feedback you receive from the drill. If you feel excessive resistance or hear any unusual sounds, it may indicate that you need to adjust the pressure you’re applying.
Remember, practice makes perfect. As you gain experience using a power drill as a screwdriver, you’ll become more comfortable with applying the right amount of pressure for various screw types and materials.
Using a Magnetic Bit Holder
A magnetic bit holder is a tool accessory that can be attached to a power drill to hold screwdriver bits securely in place. This can be especially helpful when using a power drill as a screwdriver, as it allows for easier and more efficient screwdriving.
Here are some tips and tricks for using a magnetic bit holder effectively:
1. Attach the magnetic bit holder to the power drill
Start by fitting the magnetic bit holder into the chuck of your power drill. Ensure that it is securely attached and tightened to prevent any wobbling or slippage during use.
2. Insert the desired screwdriver bit
Select the appropriate screwdriver bit for the task at hand. Insert it into the magnetic bit holder, ensuring that it is fully seated and secured. The magnet in the bit holder will hold the bit firmly in place.
3. Align the magnetic bit holder with the screw
Position the magnetic bit holder and the attached screwdriver bit so that they are aligned with the screw. Apply gentle pressure to keep the bit in contact with the screw throughout the screwdriving process.
4. Start the drill at a low speed
Before starting the drill, set it to a low speed to avoid over-tightening or stripping the screw. Gradually increase the speed as needed, ensuring that the screw remains aligned and the bit stays securely in place.
5. Use a steady and controlled motion
When using a power drill as a screwdriver, it is important to maintain a steady and controlled motion. Apply even pressure and avoid jerky movements to prevent the bit from slipping or damaging the screw.
6. Remove the magnetic bit holder when finished
Once you have completed the screwdriving task, remove the magnetic bit holder from the power drill. Carefully detach the screwdriver bit from the bit holder and store them separately to prevent any damage or loss.
Using a magnetic bit holder can greatly enhance the convenience and effectiveness of using a power drill as a screwdriver. Follow these tips and tricks to ensure safe and efficient screwdriving with your power drill and magnetic bit holder.
FAQ:
Can I use a power drill as a screwdriver?
Yes, you can definitely use a power drill as a screwdriver. Power drills are versatile tools that can be used for many different tasks, including driving screws.
Is it easy to use a power drill as a screwdriver?
Using a power drill as a screwdriver is fairly easy and straightforward. It requires a bit of technique, but with some practice, you’ll be able to drive screws with ease.
What attachments do I need to use a power drill as a screwdriver?
To use a power drill as a screwdriver, you will need a screwdriver bit. This is a special attachment that fits into the chuck of the drill. You can find a wide variety of screwdriver bits at hardware stores or online.
Can I use a power drill as a screwdriver for any type of screw?
Yes, a power drill can be used as a screwdriver for almost any type of screw. However, if you are working with very delicate materials or small screws, you may want to use a manual screwdriver instead to avoid stripping or damaging the screw.
Is it faster to use a power drill as a screwdriver compared to a manual screwdriver?
Using a power drill as a screwdriver is generally much faster than using a manual screwdriver. The drill’s motor-powered rotation allows for quicker and more efficient screw driving. This can save you a significant amount of time and effort, especially when working on larger projects with many screws.
Video:


