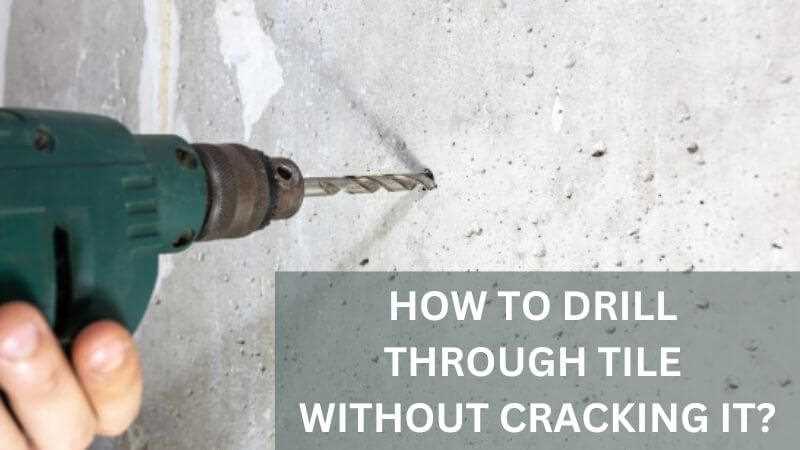
How to safely drill into tile without cracking it

Drilling into tile can be a challenging and delicate task. One wrong move can crack or chip the tile, ruining the overall look of your bathroom or kitchen. However, with the right tools and techniques, you can safely drill into tile without causing any damage.
Prepare the area: Before you start drilling, it’s important to prepare the area. Clean the tile surface and remove any debris or dirt that may interfere with the drilling process. Use a mild cleaner and a soft cloth to gently wipe the surface clean.
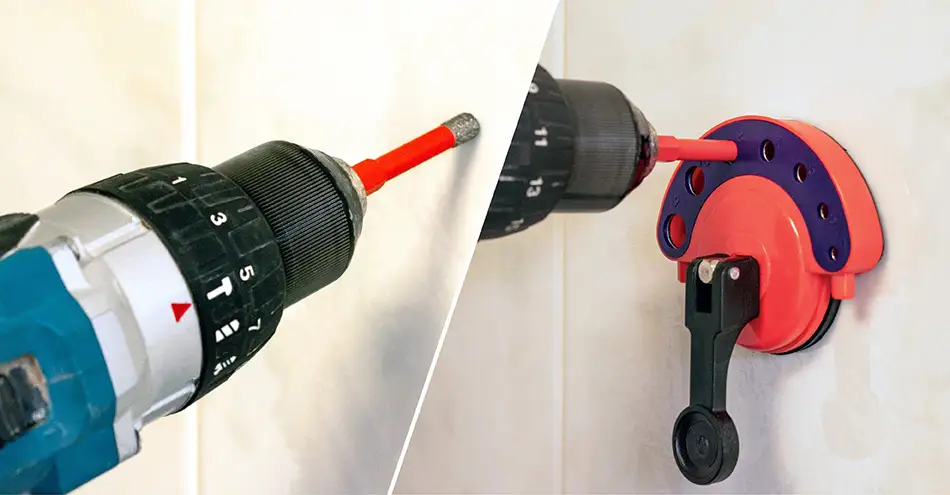
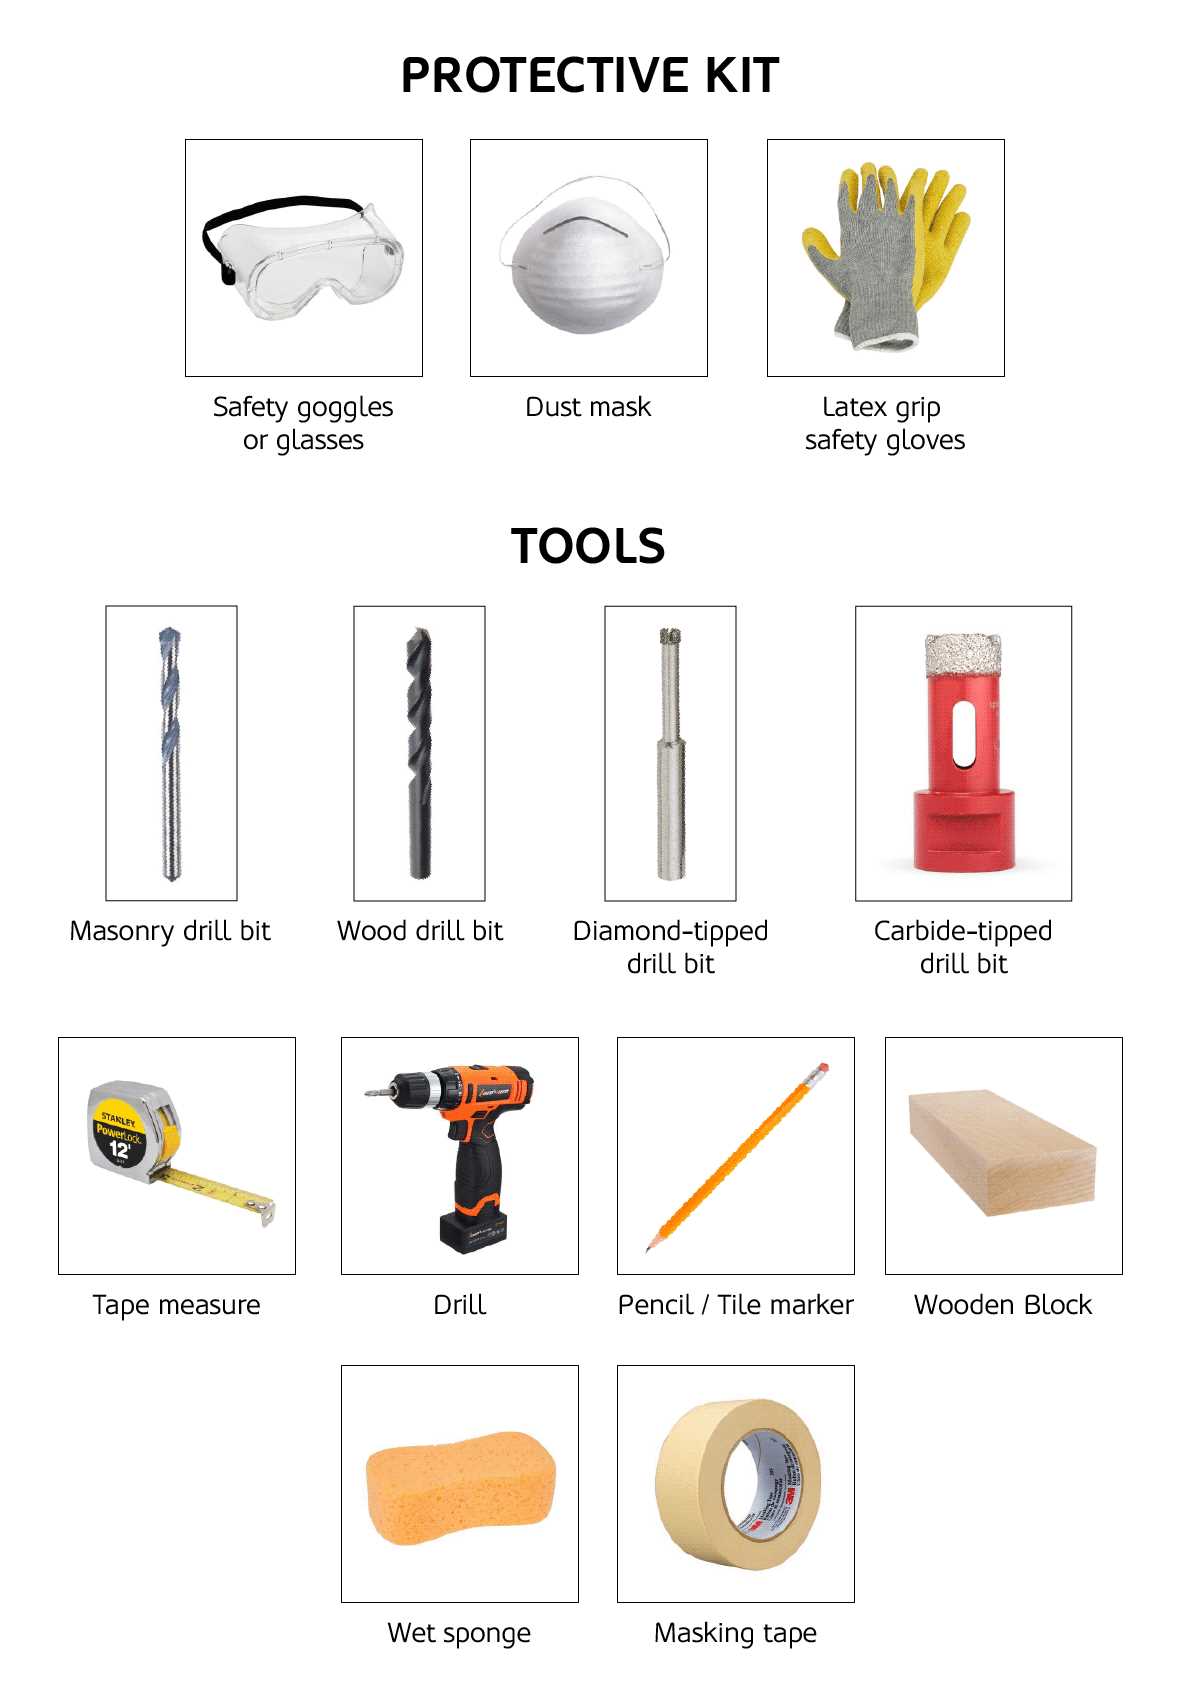
Choose the right drill bit: Not all drill bits are suitable for drilling into tile. For best results, use a carbide-tipped masonry drill bit. These bits are specifically designed to withstand the hardness of tile and reduce the risk of cracking or chipping.
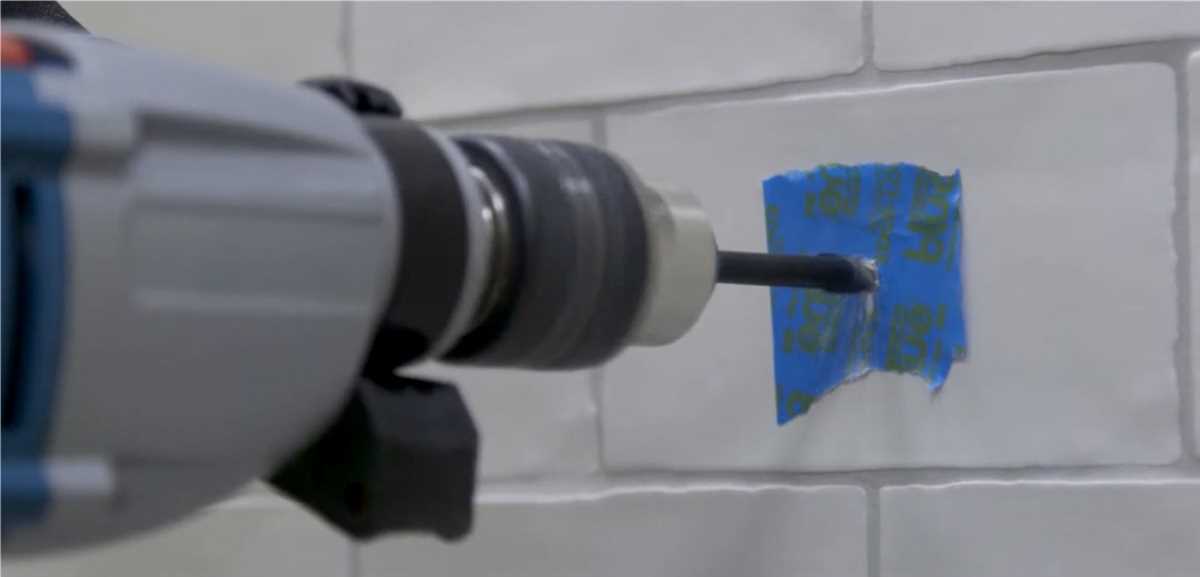
Mark the drilling spot: Use a pencil or a marker to mark the exact spot where you want to drill. Double-check your measurements to ensure accuracy. You can also use painter’s tape to create a guide and prevent the drill bit from slipping.
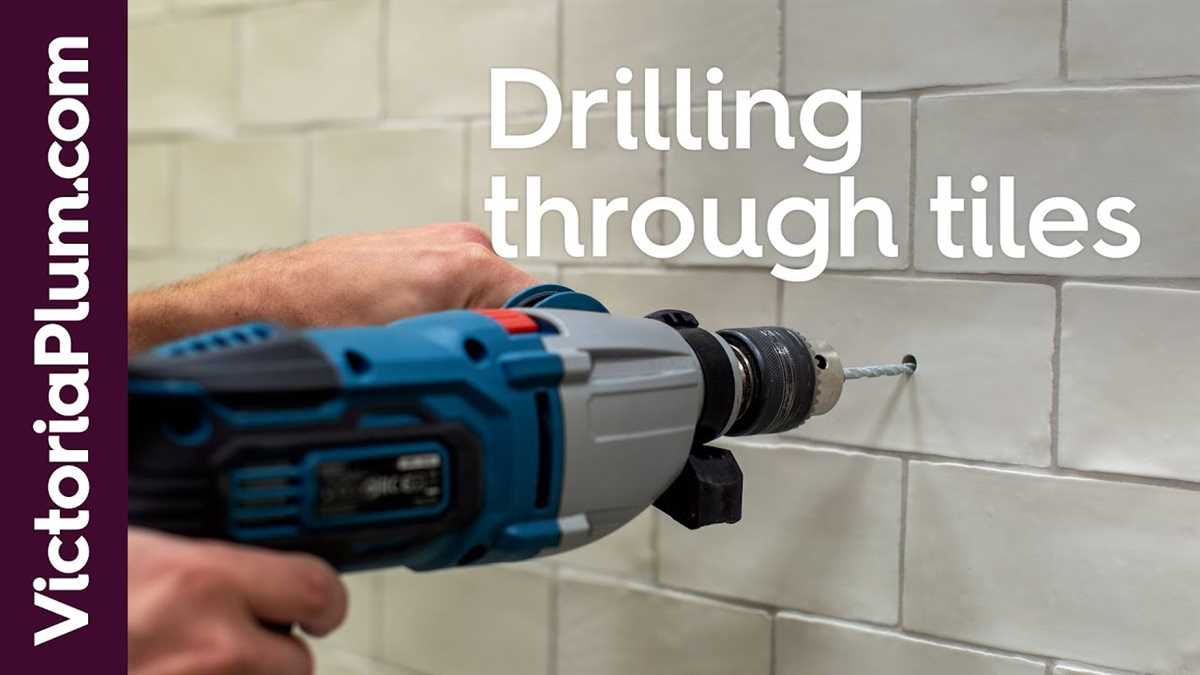
Drill slowly and steadily: When drilling into tile, it’s important to take it slow. Start by drilling at a low speed, applying gentle pressure. As you penetrate the tile surface, increase the speed gradually. Avoid using excessive force, as it can cause the tile to crack. Keep the drill bit perpendicular to the tile surface to avoid any sideways pressure.

Remember, patience and caution are key when drilling into tile. Take your time, use the right tools, and follow these steps carefully to ensure a successful and crack-free drilling experience.
Benefits of Safely Drilling into Tile
Drilling into tile can be a delicate task, as it carries the risk of cracking or damaging the tile. However, when done safely and correctly, drilling into tile can offer several benefits.
1. Easy installation of fixtures
Safely drilling into tile allows for easy installation of fixtures such as towel bars, toilet paper holders, and shelves. These fixtures can help organize and enhance the functionality of your bathroom or kitchen.
2. Customization
Drilling into tile gives you the freedom to customize your space according to your needs and preferences. Whether it’s adding hooks for hanging small items or installing a mirror in just the right spot, safely drilling into tile allows you to personalize your space.
3. Improved accessibility

By safely drilling into tile, you can install grab bars and handrails to improve accessibility in bathrooms or other areas where extra support is needed. These safety features can provide stability and peace of mind, especially for seniors or individuals with mobility challenges.
4. Enhanced aesthetics

Drilling into tile can be an opportunity to enhance the aesthetics of your space. By installing decorative tiles or creating intricate patterns with tile arrangements, you can add a touch of style and uniqueness to your walls or floors.
5. Increased functionality
Drilling into tile allows for the installation of additional components that can increase the functionality of your space. For example, you can install a soap dish or toothbrush holder near your bathroom sink for easy access to daily essentials.
6. Versatility
Tile drilling techniques can be used on various surfaces, including ceramic, porcelain, and stone tiles. This versatility allows you to safely drill into different areas of your home, such as bathrooms, kitchens, or even outdoor spaces.

| Benefit | Description |
|---|---|
| Easy installation of fixtures | Allows for easy installation of bathroom and kitchen fixtures. |
| Customization | Provides the freedom to personalize your space. |
| Improved accessibility | Enables the installation of grab bars and handrails for increased accessibility. |
| Enhanced aesthetics | Allows for the addition of decorative tiles and unique patterns. |
| Increased functionality | Enhances the functionality of your space by adding additional components. |
| Versatility | Can be used on various tile surfaces and in different areas of your home. |
Tips for Avoiding Cracks
1. Prepare the Surface
Before you start drilling, it’s important to prepare the surface of the tile to minimize the risk of cracking.
- Ensure that the tile is clean and free from any dirt or debris. Use a mild cleaner if necessary to remove any stubborn stains.
- Mark the spot where you want to drill with a pencil or masking tape to create a guide for the drill bit.
2. Use the Right Tools
Using the right tools can make a significant difference in preventing cracks while drilling into tile.
- Choose a carbide-tipped drill bit specifically designed for drilling into tile. These drill bits are durable and less likely to cause cracks.
- Use a drill with adjustable speed settings. Start at a slower speed and gradually increase as needed.
- If possible, use a drill guide or template to ensure precise drilling and reduce the risk of slips or excessive pressure.
3. Apply Steady Pressure
Applying steady and consistent pressure is key to avoid cracks when drilling into tile.
- Start drilling with light pressure and gradually increase as you go deeper into the tile. Avoid using excessive force, as it can cause the tile to crack.
- Take breaks every few seconds to allow the drill bit to cool down, especially when drilling into hard or thick tiles. This helps prevent overheating, which can lead to cracks.
4. Use Water as Lubrication
Using water as a lubricant while drilling can help dissipate heat and reduce the risk of cracks.

- Create a small pool of water around the drilling area, or have someone spray water continuously while you drill.
- Make sure the electrical components of your drill are properly protected from water to avoid any accidents or damage.
5. Drill in Short Bursts
Drilling in short bursts instead of continuous drilling can help minimize heat buildup and reduce the risk of cracks.
- Avoid long continuous drilling sessions, especially when working with hard tiles or dense materials.
- Drill in short bursts, allowing the drill bit to cool down between each burst.
6. Practice on Scrap Tiles
If you’re new to drilling into tile or using a new drill, it’s a good idea to practice on scrap tiles before working on your actual project.
- Keep some spare tiles on hand to practice your drilling technique.
- This will help you get a feel for the drill and understand how much pressure to apply without cracking the tile.
By following these tips, you can safely drill into tile without cracking it and successfully complete your project.
Choose the Right Drill Bit
When drilling into tile, it is important to choose the right drill bit to avoid cracking or damaging the tile. Here are some tips to help you select the appropriate drill bit:

- Carbide-tipped drill bits: It is recommended to use a carbide-tipped drill bit specifically designed for drilling into tile. These drill bits are made of hardened steel with a carbide tip, which helps them maintain their sharpness and durability.
- Diamond-coated drill bits: Diamond-coated drill bits are another excellent choice for drilling into tile. The diamond coating provides extra strength and allows for smooth drilling without causing cracks.
- Size of the drill bit: The size of the drill bit will depend on the diameter of the hole you need to make. Be sure to choose a drill bit that matches the size of the hole you want to drill.
It is important to note that standard drill bits, such as those used for drilling into wood or metal, are not suitable for drilling into tile. These drill bits do not have the necessary hardness or coatings to safely drill into tile without causing damage.
It is always a good idea to have a backup drill bit in case the first one becomes dull or worn out. This will ensure that you can continue drilling without delays or complications.
Remember to always wear safety goggles or glasses when drilling into tile to protect your eyes from any debris that may be produced. Additionally, make sure to use gentle and steady pressure when drilling to avoid putting too much force on the tile, which could result in cracking.
Prepare the Tile Surface
When drilling into tile, it is important to properly prepare the tile surface to minimize the risk of cracking. Here are some steps to follow before you start drilling:
1. Choose the right drill bit
Using the correct drill bit is crucial to prevent cracking the tile. For most tiles, a carbide-tipped masonry drill bit is recommended. These bits are designed specifically for drilling into tile and are less likely to cause damage.
2. Mark the spot
Before drilling, use a pencil or marker to mark the spot where you want to drill. Double-check the placement to ensure it is exactly where you want it.
3. Use a center punch
Using a center punch, make a small indentation at the center of your marked spot. This will help guide the drill bit and prevent it from slipping.
Note: Be gentle when using a center punch to avoid cracking the tile.
4. Secure the tile
Place a piece of masking tape over the marked spot and carefully drill through it. This will help protect the tile and provide some additional grip for the drill bit.
5. Start drilling
Set your drill to a low speed and begin drilling. Apply light pressure and let the drill bit do the work. Keep the drill bit perpendicular to the tile surface to avoid creating cracks.
6. Use a cooling lubricant
If you are drilling multiple holes or drilling into a hard material, using a cooling lubricant can help prevent overheating. Apply the lubricant to the drill bit and the tile surface periodically during drilling.
7. Go slow and steady
Drilling into tile requires patience and a slow, steady hand. Rushing the process can lead to mistakes and increase the risk of cracking the tile. Take your time and maintain a consistent drilling speed.
By following these steps to prepare the tile surface, you can minimize the risk of cracking and successfully drill into tile without damaging it.
Use Proper Drilling Techniques
When drilling into tile, it is important to use the proper drilling techniques to minimize the risk of cracking or damaging the tile. Follow these steps to ensure a successful and safe drilling process:
- Prepare the drill and drill bit: Use a drill bit specifically designed for drilling into tile, such as a carbide or diamond-tipped bit. Ensure that the drill bit is the appropriate size for the hole you need to create.
- Mark the drilling spot: Use a pencil or marker to mark the exact spot where you want to drill. Double-check your measurements to ensure accuracy.
- Secure the tile: To prevent the tile from cracking or moving during drilling, place a piece of duct tape over the spot you marked and press it firmly onto the tile. This will provide additional stability and help prevent the drill bit from slipping.
- Apply light pressure: When drilling into tile, it is essential to use light pressure. Let the drill bit do the work, applying too much force can increase the risk of cracking the tile.
- Slow and steady: Use a low drilling speed and maintain a steady drilling motion. Avoid jerky or rapid movements, as this can cause the drill bit to slip or chip the tile.
- Use water as a lubricant: To reduce heat and friction generated during the drilling process, you can apply water to the drilling area. This will help keep both the tile and the drill bit cool.
- Remove dust and debris: Periodically stop drilling to remove any dust and debris that may accumulate in the hole. This will help prevent the drill bit from becoming clogged and ensure a clean and smooth drilling process.
- Take breaks if necessary: If you notice the tile becoming too hot or the drill bit struggling to penetrate, take a short break to allow everything to cool down. Resume drilling once everything has cooled off.
- Finish with care: Once you have created the desired hole, gently withdraw the drill bit from the tile. Be cautious not to damage the edges of the hole or the surrounding tile.
By using these proper drilling techniques, you can minimize the risk of cracking or damaging the tile and successfully drill into it without any issues.
Utilize a Guide or Template
One way to safely drill into tile without cracking it is to utilize a guide or template. This will help ensure that your drill bit is properly aligned and reduce the risk of damaging the tile.
Here are some steps you can follow:
- Gather the necessary materials: a drill, the appropriate drill bit for your project, a guide or template, a marker, and a ruler.
- Measure and mark the area on the tile where you want to drill. Use the ruler to ensure precise measurements.
- Place the guide or template over the marked area. Make sure it is centered and secure.
- Use the marker to mark the spot on the guide or template where you want to drill.
- Attach the appropriate drill bit to your drill.
- Place the drill bit on the marked spot of the guide or template.
- Slowly drill into the tile with steady pressure. It is important to start with a low speed and gradually increase it.
- Continue drilling until you reach the desired depth, taking care not to apply too much pressure or force.
- Once you have finished drilling, remove the guide or template carefully.
By using a guide or template, you can ensure that your holes are drilled accurately and reduce the risk of cracking the tile. It is important to take your time and be patient while drilling to avoid any unnecessary damage. Remember to always wear appropriate safety gear and consult a professional if you are unsure about the best approach for your specific project.
Apply Appropriate Pressure
When drilling into tile, it is important to apply the appropriate pressure to avoid cracking it. Applying too much pressure can cause the tile to crack, while applying too little pressure may result in ineffective drilling.
Here are some tips to help you apply the right amount of pressure when drilling into tile:
- Start slow: Begin by applying gentle pressure and gradually increase it as needed. This allows you to gauge the tile’s resistance and adjust accordingly.
- Use a steady hand: Keep a steady hand while drilling to maintain control and prevent unnecessary pressure or side-to-side movements that could damage the tile.
- Let the drill bit do the work: Avoid forcing the drill bit into the tile. Instead, let the sharpness of the bit and the drill’s power do the work for you. Excessive force can lead to cracks.
- Use a tile-specific drill bit: Invest in a high-quality drill bit specifically designed for drilling into tile. These bits are designed to minimize the risk of cracking and provide better drilling performance.
By applying appropriate pressure and using the right tools, you can safely drill into tile without cracking it.
Consider Using a Pilot Hole
When drilling into tile, especially if it is a hard or delicate tile, it is recommended to use a pilot hole. A pilot hole is a small hole that is drilled into the tile before drilling the full-size hole. This helps to prevent cracking or chipping of the tile.
To create a pilot hole, you will need a small drill bit, usually 1/8-inch or smaller, depending on the size of the screws or anchors you will be using. Start by marking the spot where you want to drill the hole on the tile. Then, place the tip of the pilot drill bit on the marked spot.
Hold the drill perpendicular to the tile and apply gentle pressure as you start drilling. It is important to use a slow drilling speed to prevent heat buildup and potential damage to the tile. As you drill, keep the pressure consistent and let the drill do the work. Do not force the drill into the tile.
Once the pilot hole has been created, you can switch to the full-size drill bit to finish drilling the hole to the desired depth. Using a pilot hole helps to guide the full-size drill bit and reduces the risk of cracking or chipping the tile.
Remember to always wear safety goggles and work gloves when drilling into tile to protect your eyes and hands from any debris that may be created during the drilling process.
Post-Drilling Care
After drilling into tile, it is important to take proper care to ensure the longevity and appearance of the tile. Follow these steps for post-drilling care:
1. Clean the area
After drilling, wipe away any dust or debris from the tile surface using a soft cloth or a vacuum cleaner with a brush attachment. This will help prevent scratching or damage to the tile.
2. Fill any holes
If you have drilled a hole larger than the screw or anchor you plan to use, fill the hole with a tile filler or epoxy putty. This will ensure a tight fit and prevent any movement or looseness of the fastener. Follow the manufacturer’s instructions for the filler or putty you choose.
3. Seal the edges
Apply a thin bead of silicone sealant around the edges of the drilled hole. This will help prevent water or moisture from getting behind the tile and causing damage. Smooth out the sealant using a caulk tool or your finger for an even finish.
4. Touch up the tile
If the drilling has caused any small chips or cracks in the tile, you can touch them up with a tile touch-up paint or a color-matched epoxy. Apply a small amount to the damaged area, following the manufacturer’s instructions, and let it dry completely before using the tile or applying any further pressure.
5. Protect the tile
Consider using a tile protector or coaster under any items that will be placed on the drilled tile, such as towel racks or shelves. This will help distribute the weight and prevent any localized pressure that could cause cracking or damage in the future.
6. Regular maintenance
Keep the drilled area clean and dry. Avoid using abrasive cleaners or scrub brushes that could scratch the tile surface. Regularly inspect the drilled area for any signs of damage or wear and address any issues promptly to prevent further damage.
By following these post-drilling care steps, you can ensure that your drilled tile remains intact and in good condition for years to come.
FAQ:
What tools do I need to safely drill into tile without cracking it?
You will need a drill with a carbide-tipped masonry bit, painter’s tape, a marker, a level, and a drill guide.
Can I use a regular drill bit to drill into tile?
No, using a regular drill bit can easily crack the tile. It is important to use a carbide-tipped masonry bit specifically designed for drilling into tile.
How can I mark the exact spot where I want to drill into the tile?
You can use painter’s tape to mark the spot on the tile. Place the tape on the tile and mark the center of the desired hole with a marker.
What is a drill guide and how does it help in drilling into tile?
A drill guide is a template that helps to keep the drill bit in position while drilling. It prevents the drill from slipping and helps to create a clean and precise hole.
Should I apply pressure while drilling into tile?
No, you should let the drill do the work. Applying too much pressure can crack the tile. Just apply gentle and steady pressure to guide the drill bit into the tile.
How can I prevent the tile from cracking while drilling?
To prevent the tile from cracking, you can start with a small pilot hole and gradually increase the drill bit size. This will reduce the risk of putting too much pressure on the tile and cracking it.
Is there anything else I should keep in mind while drilling into tile?
Yes, it is important to wear safety goggles to protect your eyes from flying debris. It is also recommended to start drilling at a low speed and gradually increase the speed to avoid damaging the tile.
Video:


Meet Harrison Clayton, a distinguished author and home remodeling enthusiast whose expertise in the realm of renovation is second to none. With a passion for transforming houses into inviting homes, Harrison's writing at https://thehuts-eastbourne.co.uk/ brings a breath of fresh inspiration to the world of home improvement. Whether you're looking to revamp a small corner of your abode or embark on a complete home transformation, Harrison's articles provide the essential expertise and creative flair to turn your visions into reality. So, dive into the captivating world of home remodeling with Harrison Clayton and unlock the full potential of your living space with every word he writes.


