How to Safely Drill into a Cinder Block Wall

Drilling into a cinder block wall can be a daunting task, especially if you’re not familiar with the proper techniques and precautions. However, with the right tools and knowledge, you can safely drill into a cinder block wall without damaging the wall or causing any accidents. In this article, we will guide you through the process of safely drilling into a cinder block wall.
Step 1: Choose the Right Drill Bit
Before you start drilling, it’s crucial to choose the right drill bit for the job. Cinder blocks are made of a combination of cement, sand, and gravel, so you’ll need a masonry drill bit that is specifically designed for drilling into these materials. These drill bits are usually made of carbide or diamond-tipped, which allows them to withstand the hardness of the cinder block surface.
Step 2: Mark the Spot
Once you have the appropriate drill bit, you’ll need to mark the spot where you want to drill. Use a pencil or a chalk to make a clear and visible mark on the cinder block. You can also use a level to ensure that your mark is straight and aligned with the rest of the wall.

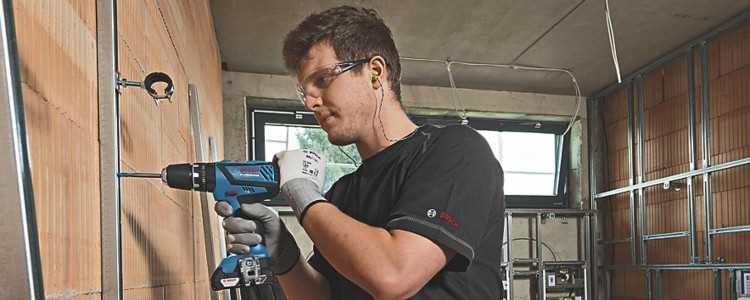
Step 3: Take Safety Precautions
Before you begin drilling, it’s important to take some safety precautions. Wear protective goggles to prevent any dust or debris from getting into your eyes. Additionally, wearing a dusk mask will help protect your lungs from inhaling any harmful particles. If you’re drilling overhead, consider using a hard hat to protect your head from falling debris.
Step 4: Start Slowly
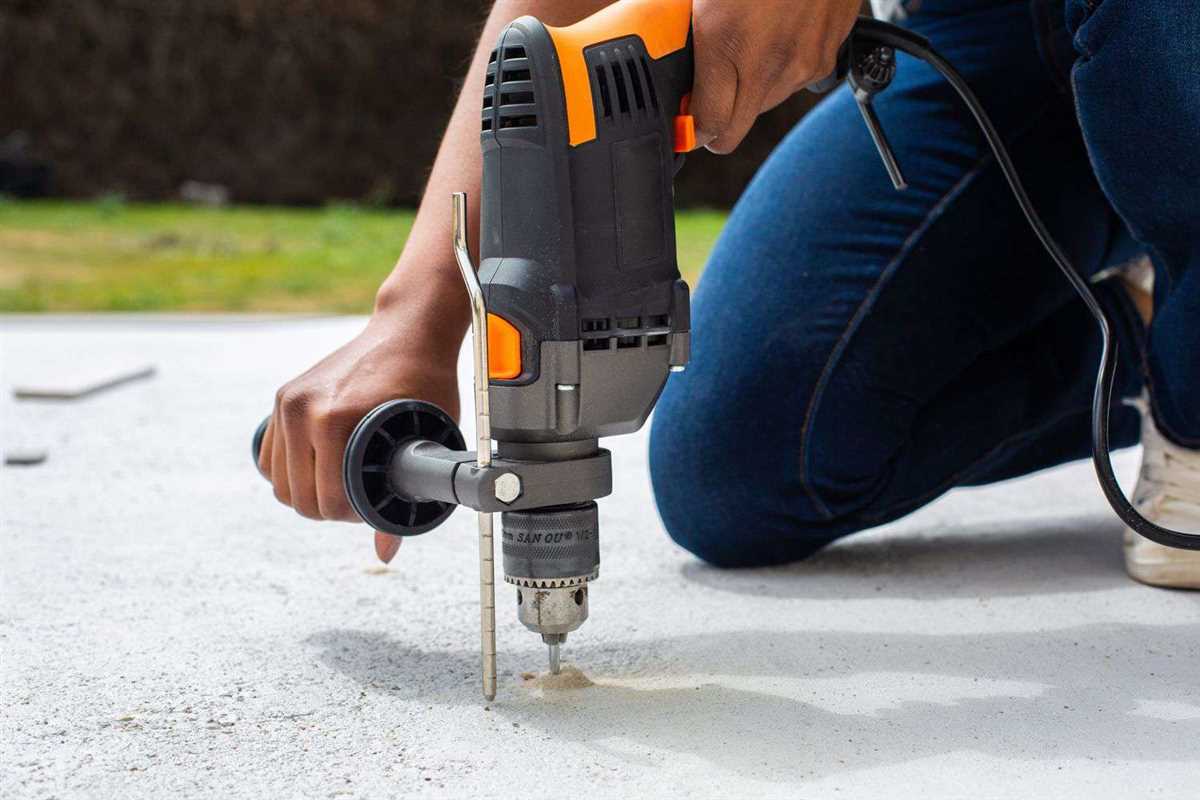
When you’re ready to start drilling, begin by setting your drill to a low-speed setting. This will help you maintain control and prevent the drill from slipping or bouncing off the surface. Apply gentle pressure and start drilling slowly, increasing the speed as you go. Remember to keep the drill perpendicular to the wall to ensure a straight and accurate hole.
Step 5: Clean up and Secure

Once you have drilled the desired hole, remove the drill bit from the wall and clean up any dust or debris. You can use a brush or a vacuum cleaner to clean the surrounding area. If you’re planning to insert a wall anchor or fastener, make sure to follow the manufacturer’s instructions for proper installation. Securely attach your desired item to the wall, and you’re done!
Remember, drilling into a cinder block wall requires precision, patience, and the right tools. Take your time and follow the steps outlined in this article to ensure a safe and successful drilling experience.
Selecting the Right Drill Bit
When drilling into a cinder block wall, it is crucial to use the correct drill bit for the job. Using the wrong drill bit can result in inefficient drilling, damage to the drill bit, or even damage to the cinder block wall itself. Here are some factors to consider when selecting the right drill bit:
1. Material of the Drill Bit
The material of the drill bit should be compatible with the material of the cinder block wall. For drilling into a cinder block wall, it is recommended to use carbide-tipped masonry drill bits. These drill bits are specifically designed to penetrate hard materials like concrete and cinder blocks.
2. Size of the Drill Bit
The size of the drill bit should match the size of the anchor or screw you plan to use. It is important to choose a drill bit that creates a hole just slightly smaller than the diameter of the anchor or screw. This will ensure a tight fit and secure attachment.

3. Length of the Drill Bit
The length of the drill bit should be appropriate for the depth of the hole you need to drill. Measure the length of the anchor or screw, as well as the thickness of any material you plan to attach to the cinder block wall. Add these measurements together to determine the required length of the drill bit.
4. Drill Bit Shank Type
The shank type of the drill bit should be compatible with your drill. Most modern drills have a standard 3-jaw chuck that can accommodate round shank drill bits. However, if you have an older drill with a hexagonal shank chuck, make sure to choose a drill bit with a matching hexagonal shank.
5. Type of Drill for the Job
Lastly, consider the type of drill you will be using. Corded drills often provide more power and torque, making them suitable for drilling into cinder block walls. However, cordless drills can also work, especially if they have a high-voltage battery and a hammer drill function for added impact.
- Ensure the drill has a hammer drill function for added impact.
- Make sure the battery is fully charged or have a spare battery readily available.
- Consider using a corded drill if you have access to a power source.
By considering these factors, you can select the right drill bit for your cinder block wall drilling project, ensuring efficiency, safety, and a secure attachment. Always follow the manufacturer’s instructions and wear appropriate safety gear when drilling into any type of wall.

Identifying the Type of Cinder Block
Before you begin drilling into a cinder block wall, it’s important to identify the type of cinder block you are working with. There are several different types of cinder blocks, and each may require a slightly different approach when drilling.
Standard Concrete Cinder Blocks
- Standard concrete cinder blocks are the most common type of cinder block used in construction.
- They are typically gray in color and have a rough texture.
- When drilling into standard concrete cinder blocks, you can use a regular masonry drill bit.
- Make sure to choose a drill bit that is suitable for drilling into concrete.
Lightweight Cinder Blocks
- Lightweight cinder blocks are made from a combination of Portland cement and expanded shale or clay.
- They are lighter in weight compared to standard concrete cinder blocks.
- When drilling into lightweight cinder blocks, you may need to use a masonry drill bit with a carbide tip.
- The carbide tip helps to penetrate the denser material within the block.
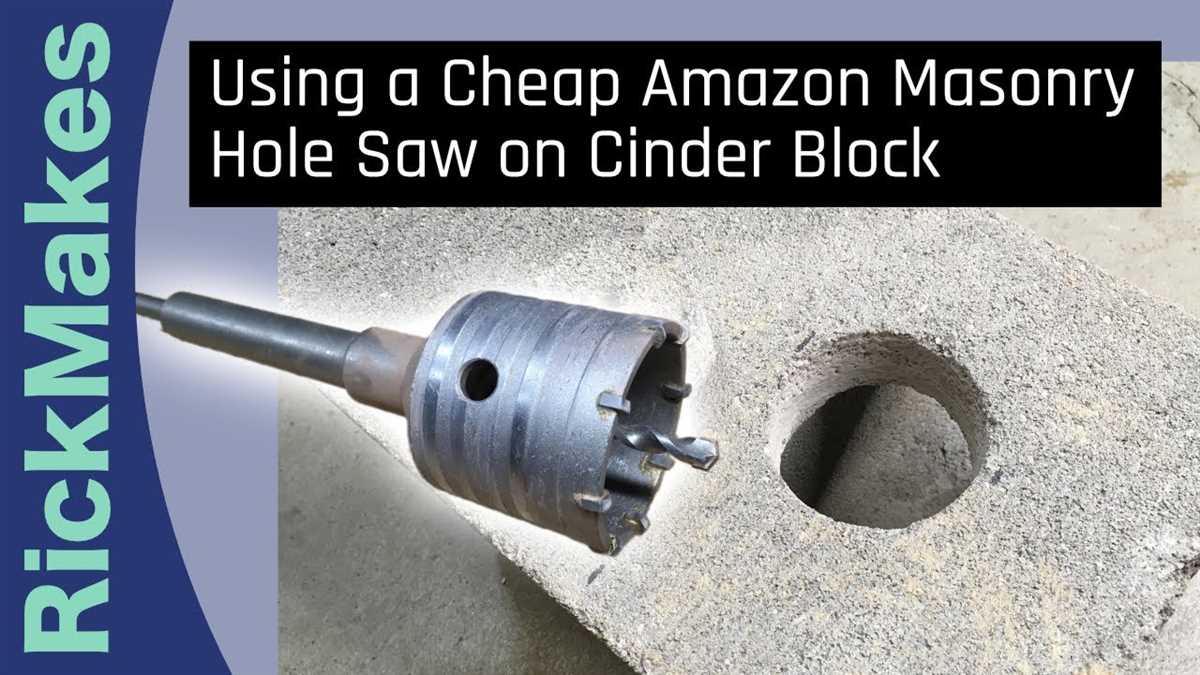
Hollow Cinder Blocks
- Hollow cinder blocks have hollow voids within their center.
- These blocks are often used for non-load bearing walls.
- When drilling into hollow cinder blocks, you will need to use masonry anchors to securely fasten items to the wall.
- Drilling directly into the hollow voids may weaken the structural integrity of the block.
- Alternatively, you can use a hollow wall anchor for added stability.
It’s important to note that some cinder blocks may have a combination of these characteristics. Therefore, it’s always a good idea to consult a professional or test a small inconspicuous area before drilling into the entire wall.
Determining the Proper Drill Speed
Drilling into a cinder block wall requires careful consideration of the drill speed to ensure safety and effectiveness. The speed at which you should drill into a cinder block wall depends on various factors, including the type of drill bit you are using and the material of the cinder block.

1. Check the drill bit specifications
Before drilling, refer to the instructions or packaging of your drill bit. Different drill bits are designed for different materials and may have specific speed recommendations. Make sure to use a drill bit that is suitable for masonry and cinder block.
2. Start with a slow speed
As a general rule, it is recommended to start drilling at a slow speed when drilling into cinder block. This allows you to have better control over the drill and prevents the drill from jumping or causing excessive vibration. Slower speeds also reduce the risk of damaging the cinder block or causing it to crack.
3. Gradually increase the speed
Once you have started drilling at a slow speed, you can gradually increase the drill speed as needed. Increase the speed in small increments and pay attention to how the drill bit interacts with the cinder block. If you notice any signs of strain or resistance, reduce the speed to prevent damage.
4. Adjust speed for different cinder block materials
The type of cinder block you are drilling into may affect the appropriate drill speed. For example, if you are drilling into a lightweight cinder block, a slower drill speed may be necessary to avoid causing the block to break or crumble. On the other hand, dense or solid cinder blocks may allow for higher drill speeds. Refer to the manufacturer’s recommendations for specific guidance.
5. Use caution with high speeds
Although higher drill speeds can make the drilling process faster, they also increase the risk of overheating the drill bit or damaging the cinder block. Use caution when using high speeds and always monitor the drill and the cinder block for any signs of strain or damage.
| Material | Drill Speed (RPM) |
|---|---|
| Lightweight cinder block | 300-500 |
| Dense or solid cinder block | 500-1000 |
Remember, the appropriate drill speed may vary depending on the specific circumstances, so always use your best judgment and take precautions to ensure safety when drilling into a cinder block wall.
Marking the Drill Hole Locations
Before drilling into a cinder block wall, it’s important to mark the drill hole locations accurately. This will help ensure that your holes are properly aligned and spaced, and that you achieve the desired result.
Here’s a step-by-step guide on marking the drill hole locations:
- Gather your materials: You’ll need a pencil or marker, a measuring tape or ruler, and a level.
- Identify the spot for drilling: Determine where on the cinder block wall you want to drill. This will depend on the specific project you’re working on, such as installing shelves or hanging decorations.
- Measure and mark: Use the measuring tape or ruler to measure the distance between each drill hole. Make sure to measure accurately and evenly.
- Mark the drill hole locations: Use the pencil or marker to make small marks on the wall at the desired drill hole locations. You can use a level to ensure that the marks are straight and aligned.
- Double-check: Before proceeding to drill, double-check your markings to ensure they are accurate and aligned. This will help prevent any mistakes and ensure a professional-looking result.
By taking the time to carefully mark the drill hole locations, you’ll save yourself from any potential errors or damage to the cinder block wall. This step is important for achieving a neat, safe, and successful drilling process.
Preparing the Drill and Work Area
Before you begin drilling into a cinder block wall, it’s important to gather all the necessary tools and materials and prepare the work area. Taking these preliminary steps will ensure a safe and successful drilling process.
1. Gather the Required Tools and Materials
Make sure you have the following tools and materials on hand:
- Drill: Use a drill with a variable speed setting and a hammer drill function. A hammer drill will provide the necessary power to penetrate the cinder block wall.
- Masonry Drill Bit: Choose a drill bit specifically designed for drilling into concrete or masonry. The bit should have a carbide or diamond tip to withstand the hardness of the cinder block.
- Protective Gear: Wear safety goggles, ear protection, and a dust mask to protect yourself from any dust or debris that may be generated during the drilling process.
- Measuring Tape and Pencil: Use a measuring tape to mark the desired location for the holes on the cinder block wall. Make sure to measure accurately and mark the spots with a pencil.
- Level: A level will help ensure that the holes are drilled straight and level.
- Clean Cloth or Brush: Use a clean cloth or brush to remove any dust or debris from the drilling surface before starting and during the drilling process.
2. Clear the Work Area
Clear the work area of any furniture, decorations, or obstacles that may hinder your access to the cinder block wall. This will give you a clear and unobstructed workspace.
3. Protect the Surrounding Area
To prevent damage to the surrounding area, cover the floors, furniture, and other surfaces with drop cloths or plastic sheets. This will protect them from any dust or debris that may be created during the drilling process.
4. Check for Utilities and Obstructions
Prior to drilling, use a stud finder or utility detector to identify any hidden electrical wires, plumbing, or other utilities that may be behind the cinder block wall. This will help you avoid accidentally damaging these utilities during the drilling process.
5. Secure the Cinder Block Wall
If the cinder block wall is not securely attached to the structure, it may move or vibrate during drilling, resulting in inaccurately placed holes or potential damage. If necessary, use clamps or supports to secure the wall before drilling.
By following these steps to prepare your drill and work area, you’ll be ready to safely and effectively drill into a cinder block wall.
Applying Correct Pressure and Drilling Technique
When drilling into a cinder block wall, it is important to use the correct pressure and drilling technique to ensure a safe and successful drilling experience. Here are some tips to keep in mind:
1. Start Slowly:
Begin drilling at a slow speed, allowing the drill bit to create a small indentation on the surface of the cinder block. This will help prevent the drill from slipping and provide more stability during the drilling process.
2. Use Steady Pressure:
Apply steady and even pressure while drilling. Do not force the drill into the wall with excessive pressure, as this can cause the drill bit to break or the cinder block to crack. Instead, let the drill do the work and allow the bit to gradually penetrate the wall.
3. Use the Right Drill Bit:
Choose the appropriate drill bit for drilling into cinder blocks, such as a masonry bit or carbide-tipped bit. These types of bits are specially designed to handle the hardness and density of cinder blocks. Using the wrong type of bit can result in inefficiency or damage to the drill or wall.
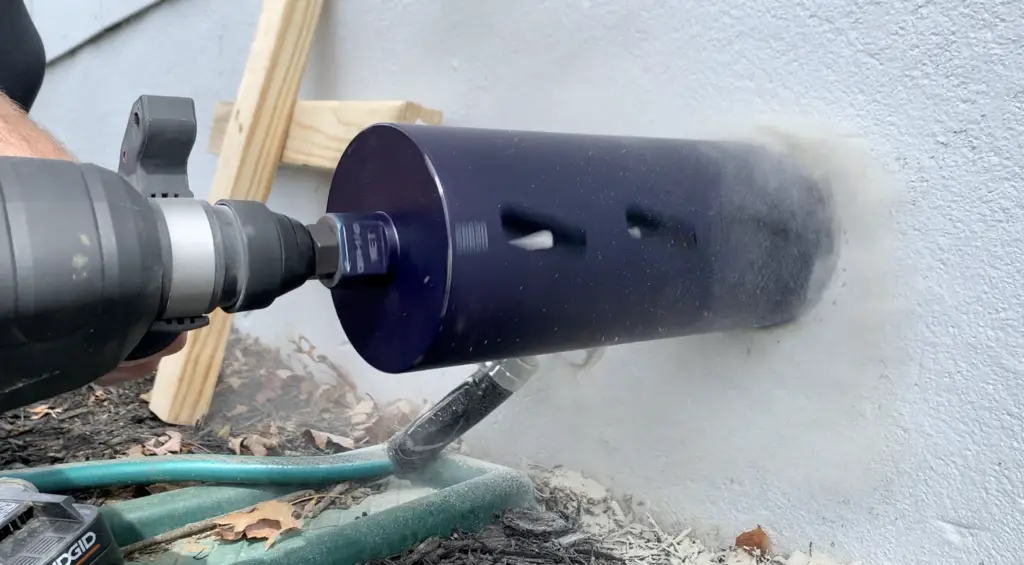
4. Keep the Drill Bit Cool:
Drilling into cinder blocks generates heat, which can cause the drill bit to become dull or damaged. To prevent this, periodically dip the bit into water or use a lubricant to keep it cool. This will help prolong the life of the drill bit and ensure smoother drilling.
5. Maintain a Proper Angle:
Hold the drill at a 90-degree angle to the cinder block wall. This will provide the best stability and ensure that the hole is drilled straight. Drilling at an angle may result in an uneven or distorted hole, as well as increase the risk of the drill slipping or the cinder block cracking.
6. Take Breaks and Clean Debris:
If you feel the drill starting to overheat or the hole becoming clogged with debris, stop drilling and give the drill bit and wall a chance to cool down. Remove any debris from the hole using a brush or compressed air, as this will help maintain drilling efficiency and prevent the bit from getting stuck.
By applying the correct pressure and drilling techniques, you can safely and effectively drill into a cinder block wall. Remember to maintain steady pressure, use the right drill bit, keep the drill bit cool, maintain a proper angle, and take breaks to clean debris. Following these guidelines will help ensure a successful drilling experience without causing damage to the wall or tools.
Removing Dust and Debris from the Drill Hole
After drilling into a cinder block wall, it’s important to remove any dust and debris from the drill hole. This will ensure that the anchor or screw you use will have a secure grip and will prevent any damage to the wall.
Tools and Materials
- Vacuum cleaner with a brush attachment
- Small brush or toothbrush
- Compressed air can
- Paper towels or a clean cloth
Steps
- Start by attaching a brush attachment to your vacuum cleaner. This will help remove any loose dust and debris from the drill hole.
- Hold the vacuum cleaner hose near the drill hole and turn it on. Move the brush attachment around the hole to suck up any dust and debris.
- Next, use a small brush or toothbrush to gently scrub the inside and around the edges of the drill hole. This will dislodge any stubborn dust or debris.
- Once you’ve scrubbed the hole, use a compressed air can to blow away any remaining dust. Hold the can upright and press the nozzle to release bursts of air into the hole.
- After using the compressed air can, use a paper towel or a clean cloth to wipe away any excess dust or debris from the surface of the wall.
Tips
- Wear goggles and a dust mask to protect yourself from inhaling any dust particles.
- If you don’t have a vacuum cleaner or compressed air can, you can also use a bulb syringe to blow away the dust from the hole.
- Make sure the drill hole is completely dry before proceeding with any further steps.
By removing the dust and debris from the drill hole, you’ll ensure a cleaner and more secure installation, increasing the longevity and stability of your anchor or screw in the cinder block wall. This simple step will give you peace of mind and help you achieve a professional-looking finish.
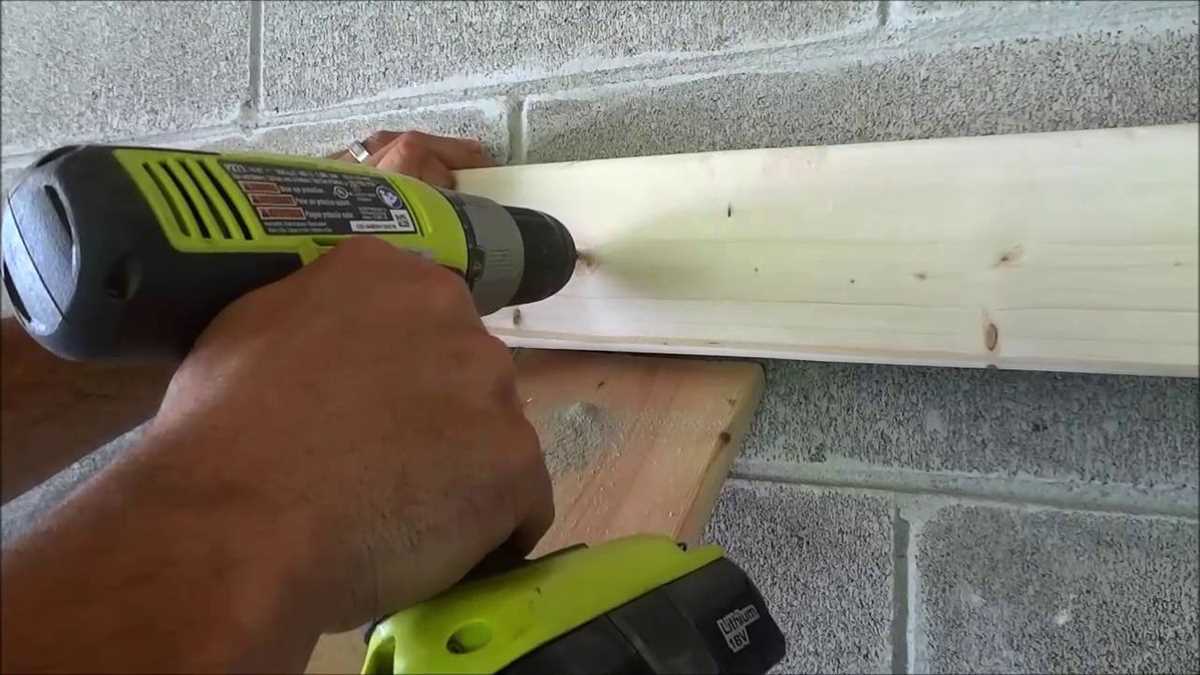
Securing Objects to the Cinder Block Wall
When it comes to securing objects to a cinder block wall, there are a few important factors to consider. First, you’ll want to choose the right tools and materials for the job. Second, you need to locate the studs or anchors within the wall to ensure a secure attachment. Third, it’s crucial to follow the proper steps for drilling into the cinder block without causing damage. Let’s explore these steps in more detail:
1. Select the right tools and materials
- A power drill with a masonry bit
- Masonry anchors or screws appropriate for the weight of the object
- A level to ensure proper alignment
- Tape measure for accurate measurements
- Pencil for marking drill points
- Protective goggles and gloves
2. Locate the studs or anchors
Before you start drilling, it’s crucial to locate the studs or anchors within the cinder block wall. This will provide a strong foundation for your attachment. Using a stud finder or tapping on the wall to listen for a solid sound can help you determine the location of the studs or anchors.
3. Mark the drill points
Using a pencil, mark the points where you want to drill into the cinder block. Make sure they align with the studs or anchors you located in the previous step.
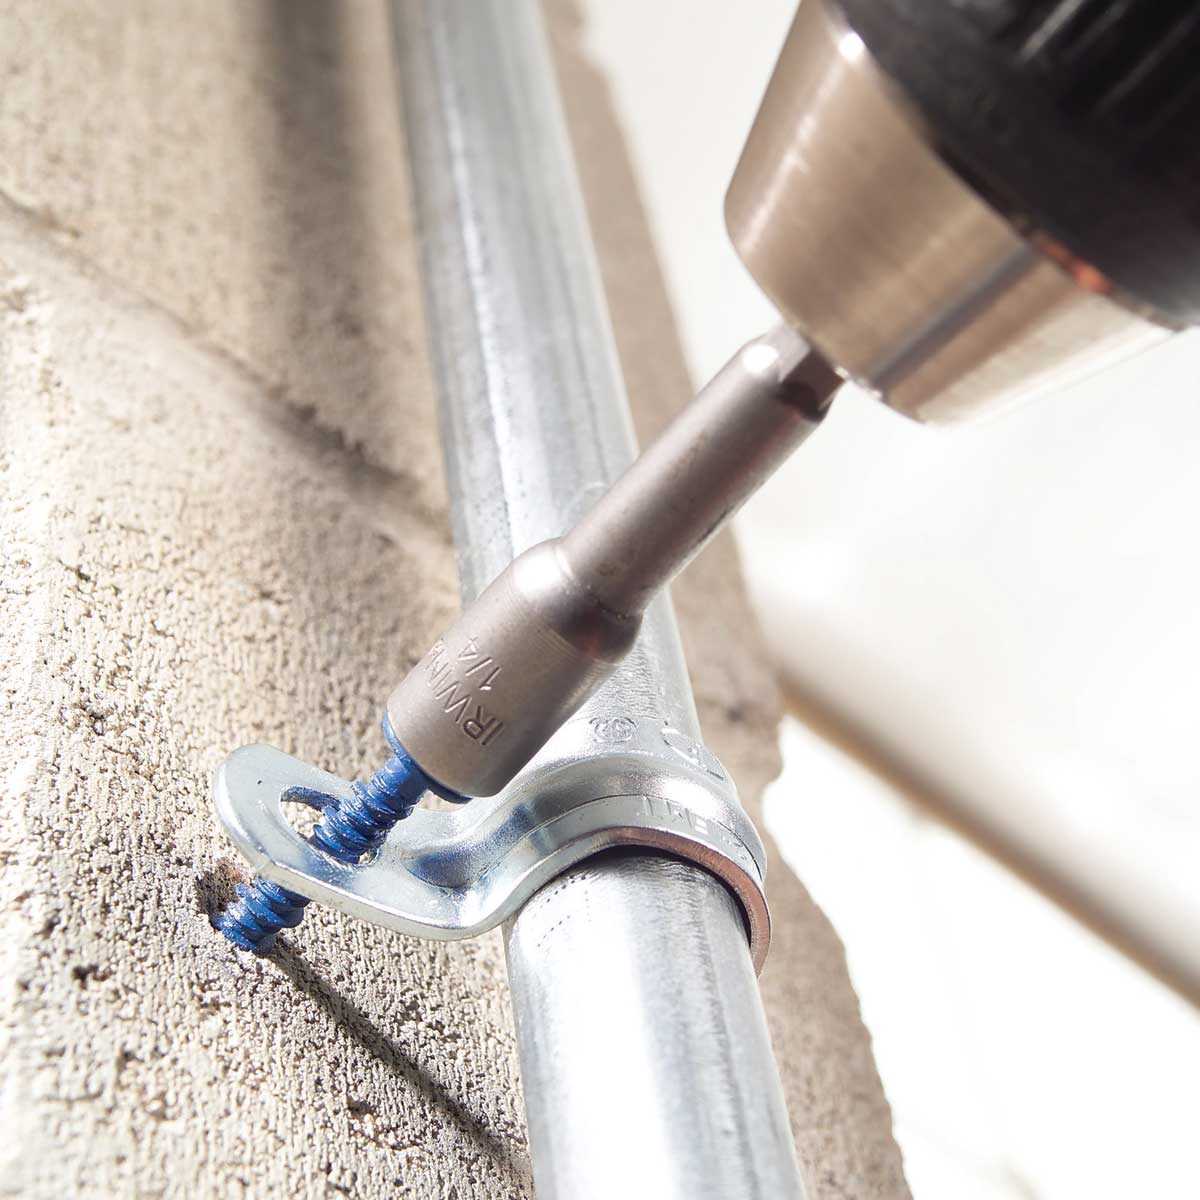
4. Drill into the cinder block
Put on your protective goggles and gloves before drilling. Start drilling with a masonry bit at a slow speed to prevent the drill bit from overheating. Apply constant but gentle pressure, allowing the bit to work its way through the cinder block. Remove the drill periodically to clear away any dust or debris.
5. Insert the anchors or screws
Once the holes are drilled, insert the appropriate anchors or screws into the cinder block. Make sure they fit snugly and are flush with the wall.
6. Attach the object
Use a level to ensure the object is straight and align it with the anchors or screws. Securely attach the object to the cinder block wall using the necessary hardware provided with the anchors or screws.
7. Test the attachment
Give the object a firm tug to test its stability. If it feels secure, you’ve successfully attached it to the cinder block wall. If not, you may need to reinforce the attachment or choose a different location on the wall.
Following these steps will ensure a safe and secure attachment of objects to a cinder block wall. Remember to always prioritize safety by wearing the appropriate protective gear and using the correct tools for the job.
FAQ:
What precautions should I take before drilling into a cinder block wall?
Before drilling into a cinder block wall, there are several precautions you should take. First, you should locate the studs or any electrical wiring or plumbing behind the wall to avoid damaging them. Using a stud finder or a wire finder can help with this. Additionally, wearing safety goggles and a dust mask is important to protect yourself from any debris or dust that may be generated. It is also recommended to have a fire extinguisher nearby in case of any accidents.
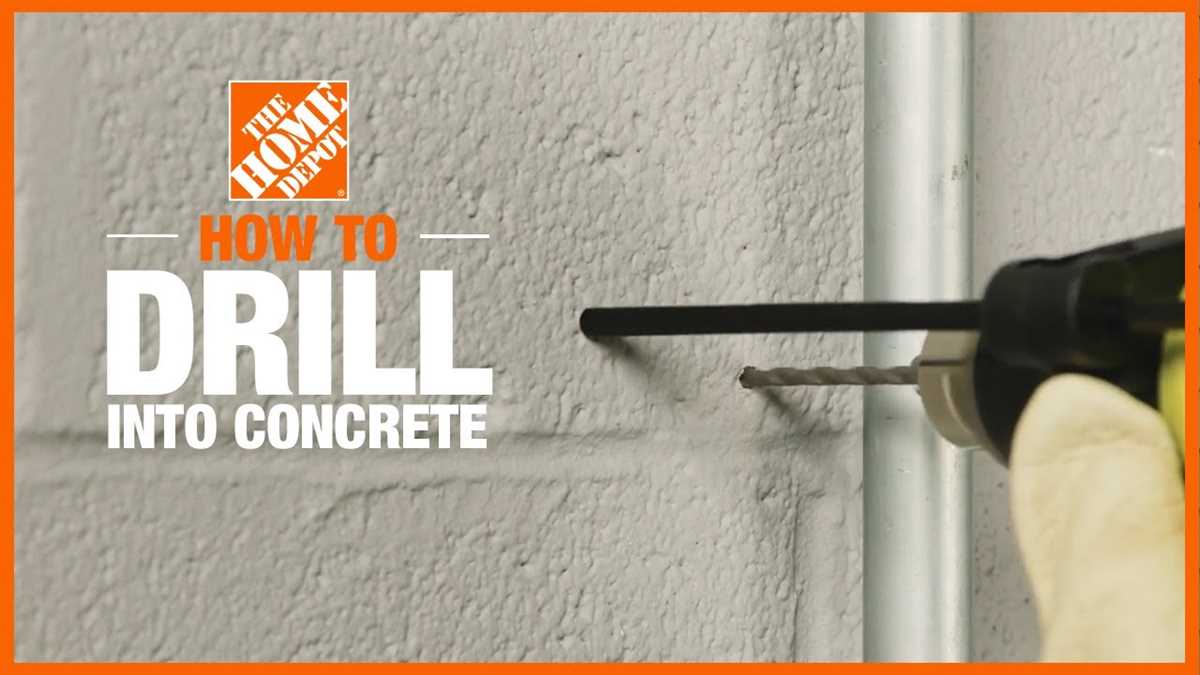
What type of drill bit should I use for drilling into a cinder block wall?
When drilling into a cinder block wall, it is recommended to use a masonry drill bit made specifically for drilling into concrete or brick. These drill bits are designed to withstand the hardness of the cinder blocks and prevent them from cracking or breaking. Additionally, using a hammer drill instead of a regular drill can make the drilling process easier and more efficient.
How should I prepare the cinder block wall before drilling?
Before drilling into a cinder block wall, you should make sure the wall is clean and free from any debris. Using a brush or broom, sweep away any loose dirt or dust from the surface. If there are any large cracks or holes in the wall, they should be patched or repaired prior to drilling. This will ensure a cleaner and more accurate drilling process.
What technique should I use when drilling into a cinder block wall?
When drilling into a cinder block wall, it is important to use a steady and firm pressure. Start by placing the drill bit at a 90-degree angle to the wall and apply consistent pressure as you drill. It is also recommended to start at a slower speed and gradually increase the speed as you penetrate the wall. This will help prevent any unnecessary damage or cracking of the cinder blocks.
Are there any special considerations for drilling into a cinder block wall with insulation?
If you are drilling into a cinder block wall that has insulation, there are a few special considerations to keep in mind. First, you should be aware of the location of the insulation and avoid drilling directly into it. This can cause damage to the insulation and reduce its effectiveness. It is also recommended to use a longer drill bit to reach the cinder block behind the insulation. This will ensure a secure and stable anchor point.
What type of anchors should I use when drilling into a cinder block wall?
When drilling into a cinder block wall, it is important to use the correct type of anchors to ensure a secure attachment. Plastic anchors or sleeve anchors are commonly used for cinder block walls. These anchors expand and grip the cinder block, providing a strong hold. It is important to choose the right size and weight capacity of anchors based on the load or weight you will be hanging on the wall.
Is it possible to drill into a cinder block wall without the use of anchors?
In some cases, it is possible to drill into a cinder block wall without the use of anchors. If you are drilling a small hole for a screw or nail, you may be able to secure your item directly into the cinder block without the need for an anchor. However, for heavier items or items that will be subjected to a lot of force, it is recommended to use anchors to ensure a secure attachment and prevent any potential damage to the wall.
Video:


Meet Harrison Clayton, a distinguished author and home remodeling enthusiast whose expertise in the realm of renovation is second to none. With a passion for transforming houses into inviting homes, Harrison's writing at https://thehuts-eastbourne.co.uk/ brings a breath of fresh inspiration to the world of home improvement. Whether you're looking to revamp a small corner of your abode or embark on a complete home transformation, Harrison's articles provide the essential expertise and creative flair to turn your visions into reality. So, dive into the captivating world of home remodeling with Harrison Clayton and unlock the full potential of your living space with every word he writes.


