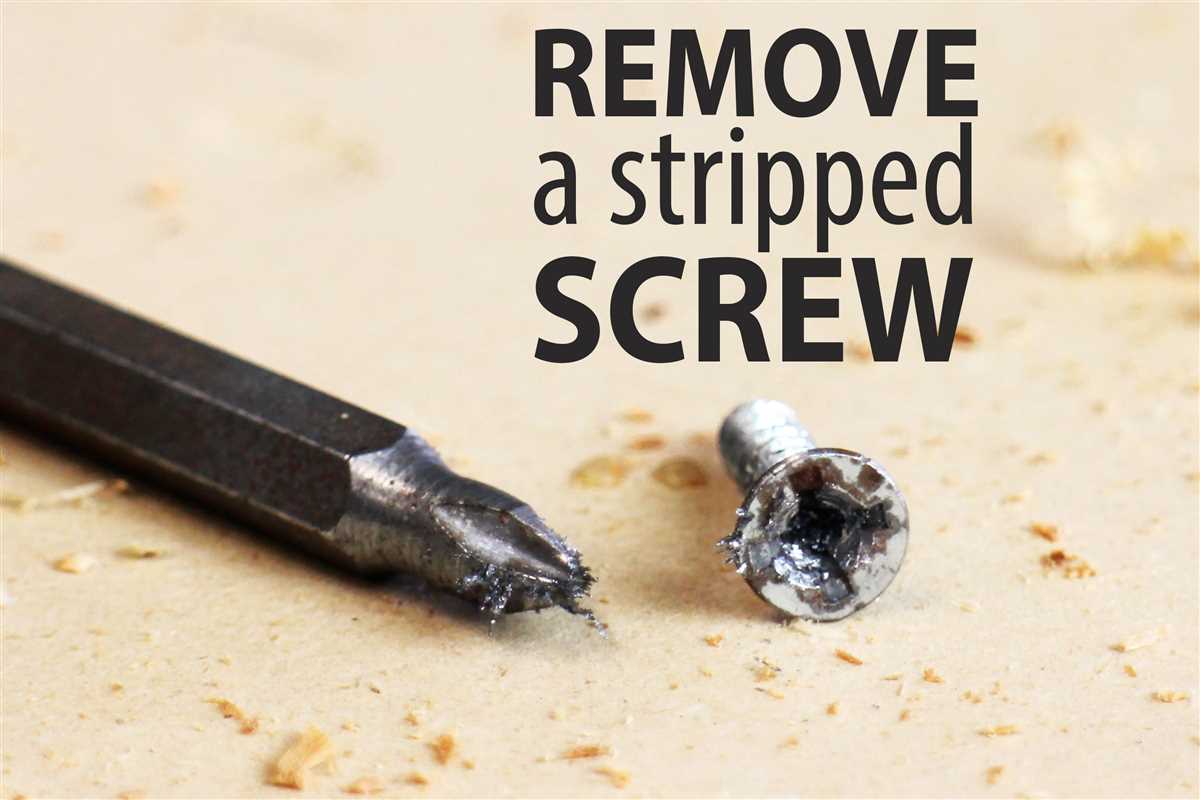
How to remove a seized bolt using a drill

Dealing with a seized bolt can be a frustrating experience, especially when you’re faced with a tight deadline or limited tools. However, with the right approach and a drill, you can successfully remove a seized bolt and get your project back on track. In this article, we will discuss a step-by-step process on how to remove a seized bolt using a drill.
Step 1: Assess the Situation
The first step in removing a seized bolt is to assess the situation. Take a moment to examine the bolt and determine the best course of action. Is the bolt accessible? Is there enough space to maneuver a drill? Are there any surrounding components that may be damaged during the removal process? Understanding the conditions will help you plan your approach.
Step 2: Gather the Tools
Next, gather the necessary tools for the job. In this case, you will need a drill with the appropriate drill bit, a set of wrenches or sockets, penetrating oil, and safety goggles. It’s important to choose a drill bit that matches the size and type of the seized bolt to ensure a proper fit.

Step 3: Apply Penetrating Oil
Before attempting to drill out the seized bolt, it’s essential to apply penetrating oil to help loosen the rust or corrosion that may be causing the bolt to seize. Allow the penetrating oil to soak into the bolt for a few minutes before proceeding to the next step.
Step 4: Drill the Bolt
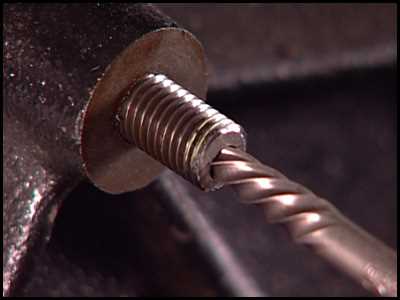
Once the penetrating oil has had time to work its magic, it’s time to drill out the seized bolt. Start by selecting a suitable drill bit and securing it in the drill. Gently position the drill bit on the center of the bolt and apply steady pressure while drilling. Remember to wear safety goggles to protect your eyes from flying debris. As you drill, the seized bolt will gradually loosen and eventually break free.
Step 5: Remove the Bolt
Once the bolt has been drilled out, use a set of wrenches or sockets to unscrew and remove it from the material. If the seized bolt is still resistant to removal, you can try applying more penetrating oil and repeating the drilling process. In some cases, heating the area around the seized bolt with a blowtorch can also help to break the rust or corrosion.
Step 6: Clean and Repair
After successfully removing the seized bolt, take a moment to clean the surrounding area and assess for any damage. If necessary, make any repairs or replacements before moving forward with your project.
Removing a seized bolt using a drill can be a tedious task, but with patience and the right tools, it can be done. Remember to exercise caution and take your time to ensure a successful and safe removal process. Good luck!
The importance of knowing how to remove a seized bolt
Knowing how to remove a seized bolt is a valuable skill for any DIY enthusiast or mechanic. Seized bolts can be a common issue when working on old or rusted equipment, and they can cause a lot of frustration and delays if not dealt with properly. Being able to remove a seized bolt efficiently and effectively can save you time, money, and a lot of headaches.
Preventing damage to the bolt and surrounding components
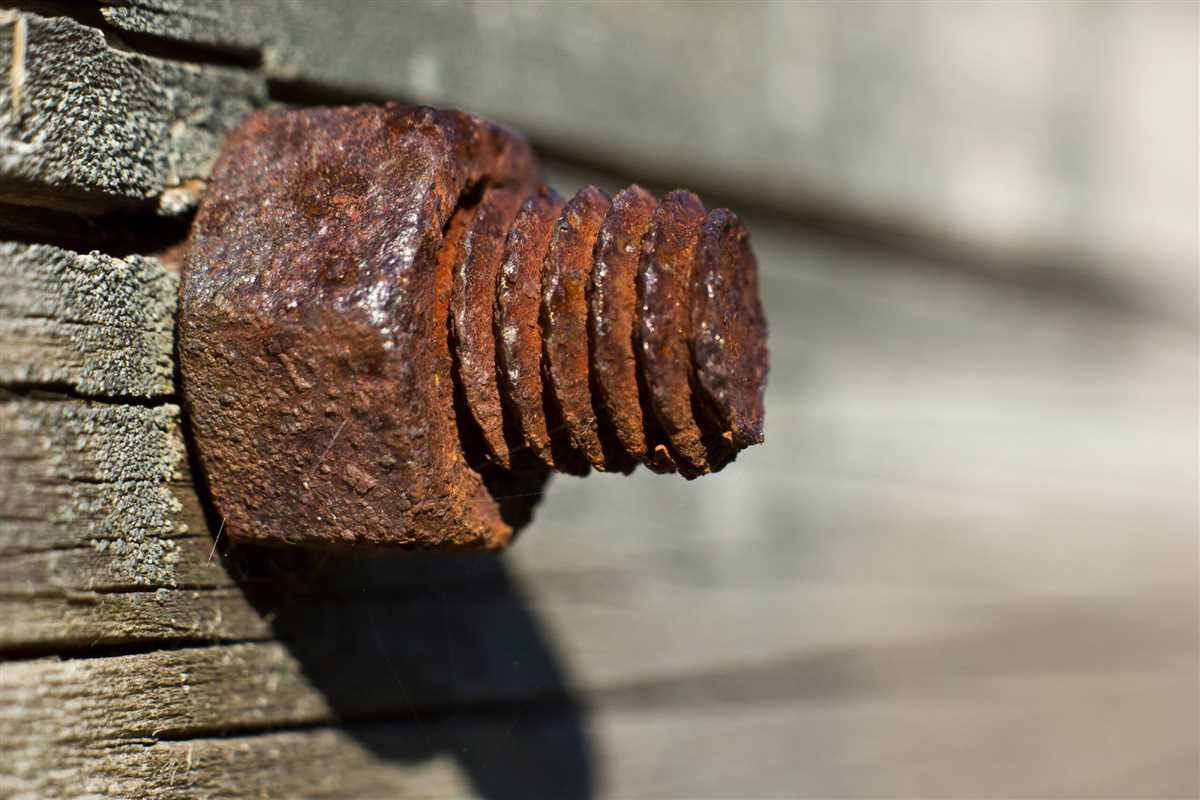
When a bolt becomes seized, it usually means that it is stuck due to the accumulation of rust, corrosion, or other debris. Simply applying excessive force to try and remove the bolt can lead to stripping or shearing the bolt head, which can make the situation even worse. By knowing the proper techniques to remove a seized bolt, you can minimize the risk of damaging the bolt and the surrounding components.
Reducing the risk of injury
Trying to remove a seized bolt without the proper knowledge and tools can be dangerous. The sudden release of tension or the use of excessive force can cause the bolt or the tool used to remove it to slip, leading to injuries such as cuts, bruises, or even broken bones. Understanding the correct steps to remove a seized bolt can help you avoid these risks and ensure your safety while working.
Saving time and money
If a bolt is seized and you don’t know how to remove it, you may end up spending hours or even days trying different methods or tools. This can be time-consuming and frustrating, especially if you are working on a tight schedule or have other projects to complete. Additionally, if you end up damaging the bolt or the surrounding components in the process, you may have to spend money on replacement parts. By knowing how to remove a seized bolt efficiently, you can save both time and money.
Gaining confidence and independence
Having the knowledge and skills to remove a seized bolt can give you a sense of confidence and independence when it comes to tackling various projects. You won’t have to rely on others to help you or spend money on professional help every time you encounter a seized bolt. Instead, you can confidently handle the situation yourself, knowing that you have the necessary skills to get the job done.
In conclusion, knowing how to remove a seized bolt is essential for any DIY enthusiast or mechanic. It can prevent damage to the bolt and surrounding components, reduce the risk of injury, save time and money, and provide you with a sense of confidence and independence. So, take the time to learn the proper techniques and invest in the right tools, as it will undoubtedly benefit you in the long run.
Precautions
- Wear safety goggles or a face shield to protect your eyes from any flying debris or metal chips.
- Use heavy-duty gloves to protect your hands from sharp edges and the heat generated by the drilling process.
- Ensure that the area where you are working is well-ventilated to reduce the risk of inhaling any fumes or dust particles.
- If possible, work in a well-lit area to ensure good visibility while drilling.
- Make sure the drill is securely fastened and stable before starting the drilling process.
- Use the appropriate drill bit size and type for the specific bolt you are trying to remove.
- Apply lubricant or penetrating oil to the seized bolt to help loosen it before drilling.
- Start drilling at a slow speed and gradually increase the speed to prevent the drill from slipping or causing damage.
- Take frequent breaks to prevent the drill from overheating and causing damage to the bolt or surrounding materials.
- If you encounter resistance while drilling, stop immediately and reassess the situation to avoid any potential damage or injury.
Important safety measures when working with seized bolts
1. Wear protective gear
Always wear appropriate protective gear when working with seized bolts. This includes safety goggles to protect your eyes from flying debris, gloves to protect your hands from sharp edges, and steel-toed boots to protect your feet from heavy objects.
2. Use the right tools
Ensure that you have the correct tools for the job. This includes a drill with the appropriate bit size, wrenches or socket sets, and any other specialized tools that may be required. Using the wrong tools can lead to accidents or damage to the bolt or surrounding materials.
3. Secure the work area
Before working on seized bolts, make sure the work area is clear and well-organized. Remove any obstructions or tripping hazards, and secure the workpiece to prevent it from moving during the process. This will help minimize the risk of accidents.
4. Apply penetrating oil
Before attempting to remove a seized bolt, apply a generous amount of penetrating oil to the threads. This will help loosen the bolt and make it easier to remove. Allow the oil to soak for a sufficient amount of time as specified by the manufacturer of the penetrating oil.
5. Use proper drilling techniques
When using a drill to remove a seized bolt, always use proper drilling techniques. Maintain a stable grip on the drill, keep your body aligned with the drill, and apply steady pressure to avoid slipping or losing control. Use the appropriate speed and torque settings on the drill for the best results.
6. Take breaks and stay hydrated
Working with seized bolts can be physically demanding, so it’s important to take regular breaks and stay hydrated. Dehydration and fatigue can lead to accidents and decreased efficiency. Listen to your body and take breaks when needed.
7. Consult a professional if unsure
If you are unsure about how to safely remove a seized bolt or encounter any difficulties during the process, it is always best to consult a professional. They have the knowledge and experience to handle the situation safely and efficiently.
8. Dispose of materials properly
After successfully removing a seized bolt, make sure to dispose of any used materials, such as broken drill bits or penetrating oil containers, properly. Follow local regulations for the disposal of hazardous waste and recycling.
| Wear protective gear |  |
| Use the right tools | |
| Secure the work area | |
| Apply penetrating oil | |
| Use proper drilling techniques | |
| Take breaks and stay hydrated | |
| Consult a professional if unsure | |
| Dispose of materials properly | |
By following these important safety measures, you can minimize the risk of accidents and injuries when working with seized bolts. Always prioritize safety and take necessary precautions to protect yourself and those around you.
Tools
- Drill
- Twist drill bits
- Left-handed drill bits
- Screw extractor set
- Hammer
- Punch
- Chisel
- Gloves
- Safety goggles
- Protective clothing
When attempting to remove a seized bolt using a drill, it is important to have the appropriate tools on hand. The following tools are commonly used for this task:
- Drill: A power drill is necessary to drill through the seized bolt.
- Twist drill bits: These bits are used to make a pilot hole in the center of the bolt.
- Left-handed drill bits: Left-handed drill bits are designed to rotate counterclockwise, which can help loosen the bolt as it is drilled.
- Screw extractor set: A screw extractor set contains a range of tools that can be used to remove a seized bolt after drilling into it.
- Hammer: A hammer can be used to tap the end of the left-handed drill bit or screw extractor, helping to create movement and loosen the bolt.
- Punch: A punch can be used to create a small indentation in the center of the bolt to guide the drill bit.
- Chisel: A chisel can be used to create a small notch on the surface of the bolt, providing a starting point for the drill bit.
- Gloves: Wearing gloves is important for protecting your hands while using the tools and handling sharp edges.
- Safety goggles: Safety goggles should be worn to protect your eyes from flying debris.
- Protective clothing: It is recommended to wear protective clothing, such as long-sleeved shirts and pants, to protect your body from any potential injuries.
The necessary tools for removing a seized bolt
When trying to remove a seized bolt, it’s essential to have the right tools to successfully tackle the job. Here are some of the necessary tools you’ll need:
1. Drill
A power drill is an essential tool for removing a seized bolt. It allows you to drill into the bolt and break it free from its stuck position. Make sure to choose a drill with enough power and torque to handle the job.
2. Drill Bits
To drill into the seized bolt, you’ll need a set of drill bits. It’s recommended to have a range of different sizes, as you may need to start with a smaller bit and gradually increase the size to remove the bolt.
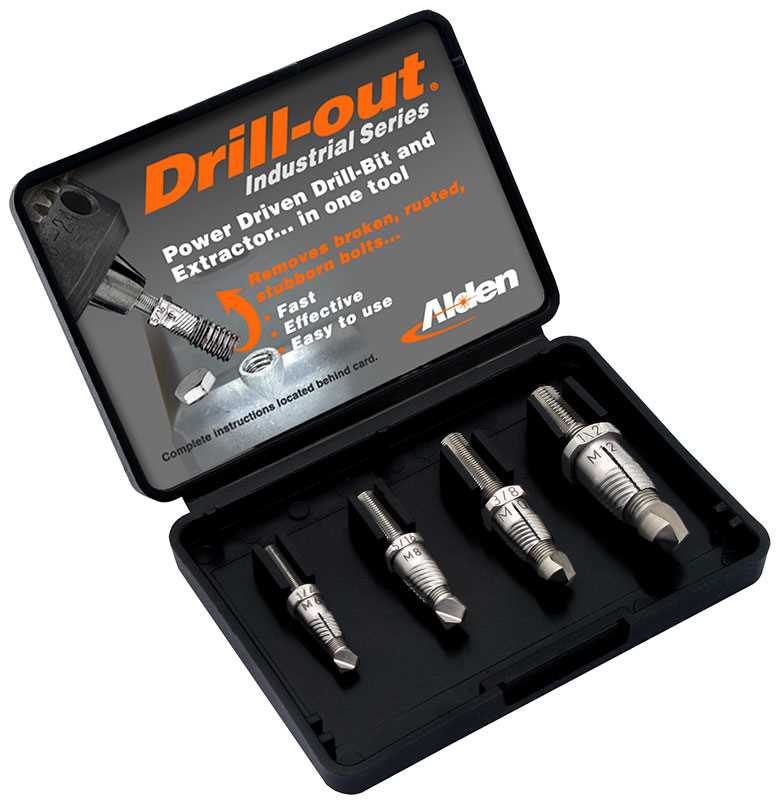
3. Bolt Extractor Set
A bolt extractor set is specifically designed to remove seized or stripped bolts. These extractors have a reverse threaded fluted end that bites into the bolt as you turn it counterclockwise, allowing you to remove the bolt.
4. Penetrating Oil
Applying a penetrating oil to the seized bolt can help loosen it and make it easier to remove. Look for a penetrating oil specifically designed for rusted or seized bolts, as these are formulated to penetrate and break up rust and corrosion.
5. Hammer
A hammer can be useful for tapping the seized bolt gently to help break up any corrosion or rust. Make sure to use a rubber or wooden mallet to avoid damaging the surrounding area or causing any further damage to the bolt.
6. Pliers or Vice Grips
If the bolt head is accessible, pliers or vice grips can be used to provide additional leverage and grip when trying to loosen the seized bolt. These tools allow you to apply more force and torque to the bolt, making it easier to remove.
7. Safety Gear
Lastly, it’s crucial to have the necessary safety gear when removing a seized bolt. Wear safety glasses to protect your eyes from any debris or metal shavings. Additionally, consider wearing gloves and ear protection, especially if you’re working in a confined space or using a power drill.
With these tools at your disposal, you’ll be well-equipped to remove a seized bolt effectively and efficiently.
Preparation
Before attempting to remove a seized bolt using a drill, it is important to gather the necessary tools and materials to ensure the process goes smoothly. Here are a few items you will need:
- Safety goggles: Protect your eyes from debris and metal shavings while drilling.
- Work gloves: Provide protection for your hands from sharp edges and potential injuries.
- Drill: Use a high-quality drill with variable speed settings and a reverse function.
- Drill bits: Select the appropriate drill bit size for the bolt you are removing.
- Penetrating oil: Apply penetrating oil to the seized bolt to help loosen it.
- Wire brush: Use a wire brush to clean the surrounding area of the bolt.
- Socket set or wrench: Use the proper size socket or wrench to loosen the bolt once it is drilled.
- Extra bolts and nuts: It is handy to have extras on hand in case the original bolt is too damaged to be reused.
Once you have gathered the necessary tools and materials, you are ready to begin the process of removing the seized bolt with a drill.
Steps to prepare for removing a seized bolt
Before attempting to remove a seized bolt using a drill, it is important to properly prepare and gather the necessary tools. Follow these steps to ensure a successful removal:
- Gather the necessary tools: Make sure you have all the tools required to remove the seized bolt. This typically includes a drill, drill bits, lubricant, a wrench or socket set, and safety equipment such as goggles and gloves.
- Choose the right drill bit: Select a drill bit that is slightly smaller than the diameter of the bolt. Using a bit that is too large can cause the surrounding material to crack or break.
- Apply lubricant: Before attempting to drill out the seized bolt, apply a generous amount of lubricant to help loosen and reduce friction. This will make the drilling process easier and prevent damage to the surrounding area.
- Secure the workpiece: If the seized bolt is attached to a workpiece, ensure it is properly secured before drilling. This can include using clamps or a vise to hold it in place to prevent any movement or damage during the drilling process.
- Wear safety equipment: Always wear safety goggles to protect your eyes from flying debris and gloves to protect your hands from sharp edges or hot surfaces. Safety should always be a top priority when working with power tools.
- Identify the center of the bolt: Use a punch or center punch to mark the center of the seized bolt. This will help guide the drill bit and prevent it from slipping or wandering off center.
By following these steps to properly prepare for removing a seized bolt, you can increase your chances of success and minimize the risk of damaging the surrounding material.
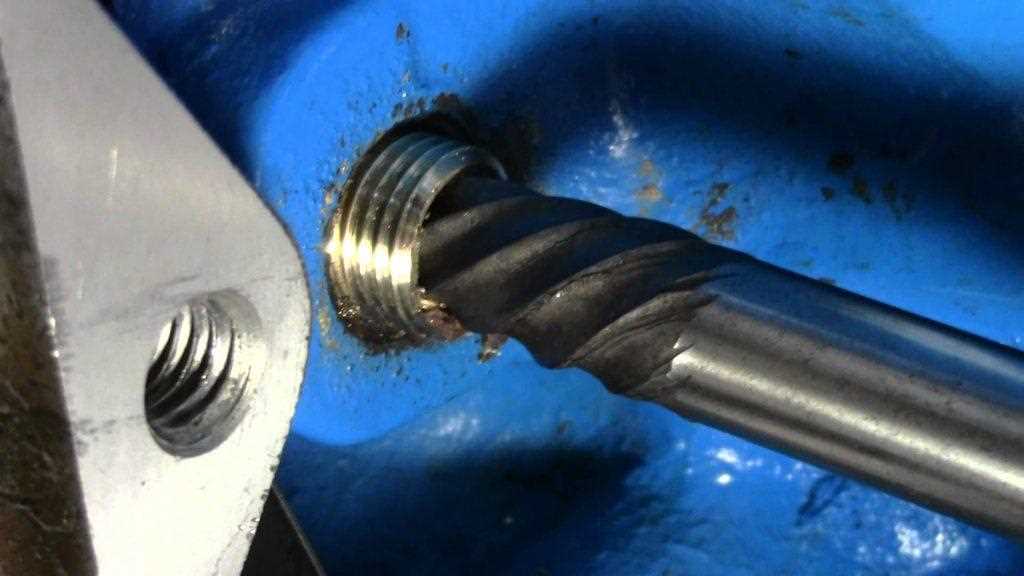
Drilling the bolt
When all other methods fail to remove a seized bolt, drilling is often the last resort. Drilling involves creating a hole directly in the center of the bolt, allowing you to weaken it and eventually remove it.
Things you will need:
- A drill with a drill bit suitable for metal
- Safety glasses
- Work gloves
Step-by-step process:
- Put on the safety glasses and work gloves to protect yourself from any potential debris or metal shards.
- Select the proper drill bit size for the job. The bit should be slightly smaller than the diameter of the bolt to ensure accurate drilling.
- Securely attach the drill bit to the drill, making sure it is properly tightened.
- Position the drill bit at the center of the seized bolt. It’s important to be as precise as possible to avoid damaging the surrounding area.
- Apply firm, but gentle pressure and start drilling at a slow speed. It is important to let the drill bit do the work and not force it.
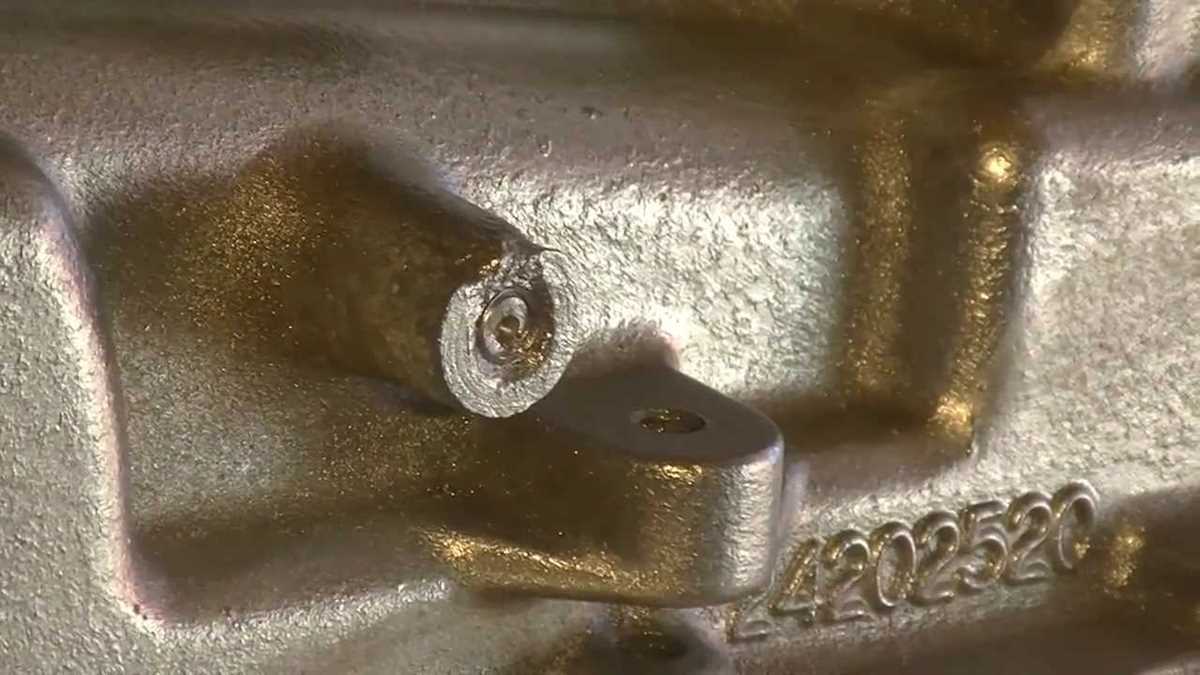
- Continue drilling until you have created a clean hole in the center of the bolt.
- Remove the drill bit and inspect the hole to ensure it is centered and deep enough.
- If necessary, switch to a larger drill bit and repeat the process until the hole is large enough for a screw extractor.
Remember to take your time while drilling and not rush the process. Using excessive force or drilling too quickly can cause the drill bit to break or damage the surrounding area. If you encounter any difficulties, consider seeking the assistance of a professional mechanic or drilling expert.
Using a drill to remove a seized bolt
If you are faced with a seized bolt that won’t budge, using a drill can be an effective method to remove it. By drilling into the center of the bolt, you can create a starting point for other removal techniques such as using an extractor or applying heat.
Materials you will need:
- Power drill
- Drill bits
- Center punch
- Hammer
- Extractor (optional)
- Heat source (optional)
- Penetrating oil (optional)
- Protective eyewear
- Gloves
Step 1: Safety precautions
Before you begin, make sure to wear protective eyewear and gloves to protect yourself from any flying debris or accidents during the process.
Step 2: Center punch
Using a center punch and a hammer, create a small indentation in the center of the seized bolt. This will help guide the drill bit and prevent it from slipping off the bolt.
Step 3: Choose the right drill bit
Select a drill bit that is slightly smaller in diameter than the bolt and insert it into the drill chuck.
Step 4: Align the drill bit
Place the tip of the drill bit into the center punch indentation and align it perpendicular to the bolt.
Step 5: Start drilling
Start the drill at a slow speed and firmly apply pressure to the drill to begin drilling into the bolt. Gradually increase the drill speed as needed.
Step 6: Remove the bolt
Once the drill bit has penetrated the bolt, you can proceed with other removal techniques. If you have an extractor, insert it into the drilled hole and turn it counterclockwise to remove the bolt. If you don’t have an extractor, you can try applying heat to the bolt or using a penetrating oil to loosen it.
Step 7: Clean up
After removing the seized bolt, clean the area and inspect the threads. If the threads are damaged, you may need to tap new threads or use a thread repair kit.
Remember to take your time and work carefully to avoid further damage to the surrounding area. If you encounter any difficulties, it is recommended to seek professional help.
Applying penetrating oil
Applying penetrating oil is a common method used to loosen seized bolts. Penetrating oil works by seeping into the threads of the bolt and breaking down rust and corrosion. Here are the steps for applying penetrating oil:
- Clean the area: Before applying penetrating oil, it is important to clean the area around the seized bolt. Use a wire brush or a stiff bristle brush to remove any dirt, debris, and loose rust. This will help the penetrating oil to better penetrate the threads.
- Choose the right penetrating oil: There are many different brands and types of penetrating oil available on the market. Choose a high-quality penetrating oil that is specifically designed for loosening seized bolts. Look for a product that has good reviews and a track record of success.
- Apply the penetrating oil: Once the area is clean, it’s time to apply the penetrating oil. Shake the can well to ensure the oil is mixed properly. Spray the penetrating oil directly onto the seized bolt, making sure to apply it to the threads as well. Allow the oil to sit for a few minutes so that it can work its way into the tight spaces.
- Repeat if necessary: In some cases, one application of penetrating oil may not be enough to fully loosen the seized bolt. If the bolt is still stubbornly stuck after the first application, you may need to repeat the process. Apply another coat of penetrating oil and let it sit for a few more minutes before attempting to remove the bolt again.
- Use the right tools: While the penetrating oil does most of the work in loosening the seized bolt, it’s important to use the right tools for removal. Make sure you have the proper size wrench or socket to fit the bolt head. Using the correct tools will help prevent stripping the bolt or causing further damage.
Applying penetrating oil is often an effective first step in removing a seized bolt. By following these steps and using a high-quality penetrating oil, you can increase your chances of successfully loosening the bolt without damaging it or the surrounding components.
FAQ:
What is a seized bolt?
A seized bolt is a bolt that is stuck and cannot be easily turned or removed.
What are some common causes of a seized bolt?
Some common causes of a seized bolt include rust, corrosion, overtightening, and lack of lubrication.
Why is it difficult to remove a seized bolt?
It is difficult to remove a seized bolt because the threads have become locked due to rust or corrosion, making it hard to turn the bolt by hand.
Video:


Meet Harrison Clayton, a distinguished author and home remodeling enthusiast whose expertise in the realm of renovation is second to none. With a passion for transforming houses into inviting homes, Harrison's writing at https://thehuts-eastbourne.co.uk/ brings a breath of fresh inspiration to the world of home improvement. Whether you're looking to revamp a small corner of your abode or embark on a complete home transformation, Harrison's articles provide the essential expertise and creative flair to turn your visions into reality. So, dive into the captivating world of home remodeling with Harrison Clayton and unlock the full potential of your living space with every word he writes.


