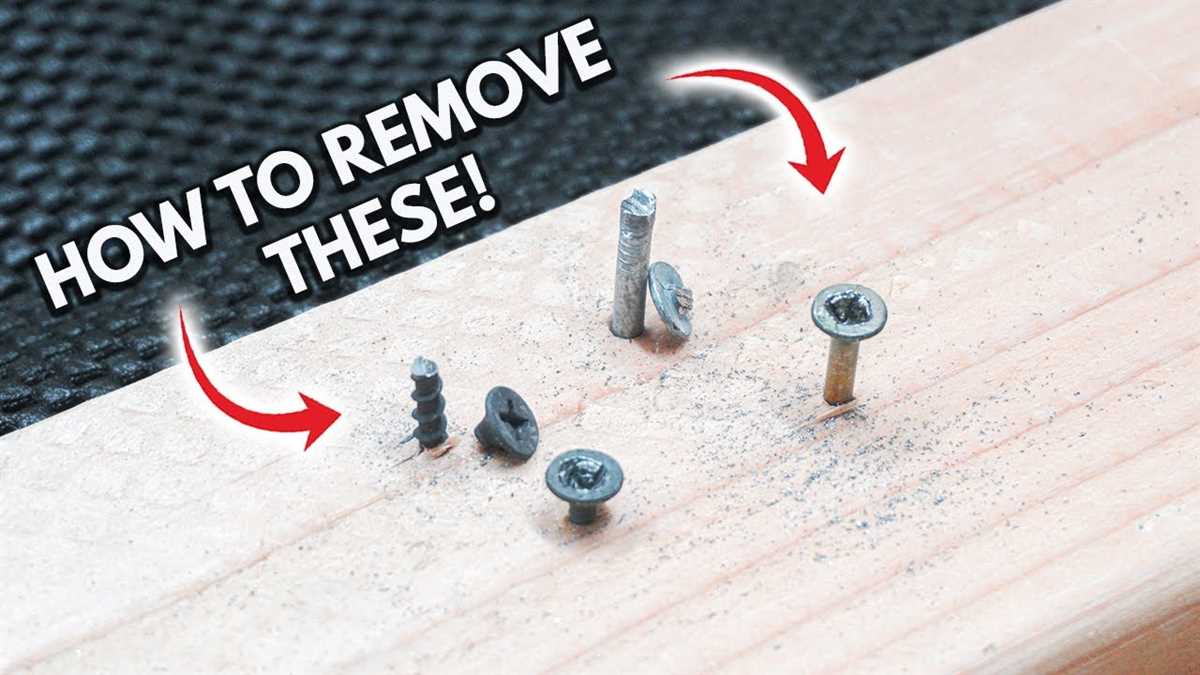
How to Remove a Bolt with No Head: A Step-by-Step Guide

Dealing with a bolt that has no head can be a frustrating experience, but don’t panic! With the right tools and techniques, you can easily remove a bolt that appears to be headless. Whether it’s a stripped bolt or a bolt with a broken head, this step-by-step guide will walk you through the process of removing it.
Before you start, it’s important to gather all the necessary tools and materials. You’ll need a few items, including a drill with a drill bit slightly smaller than the bolt’s diameter, a center punch, a hammer, a pair of pliers, and some penetrating oil. Once you have everything ready, you can begin the process of removing the bolt with no head.
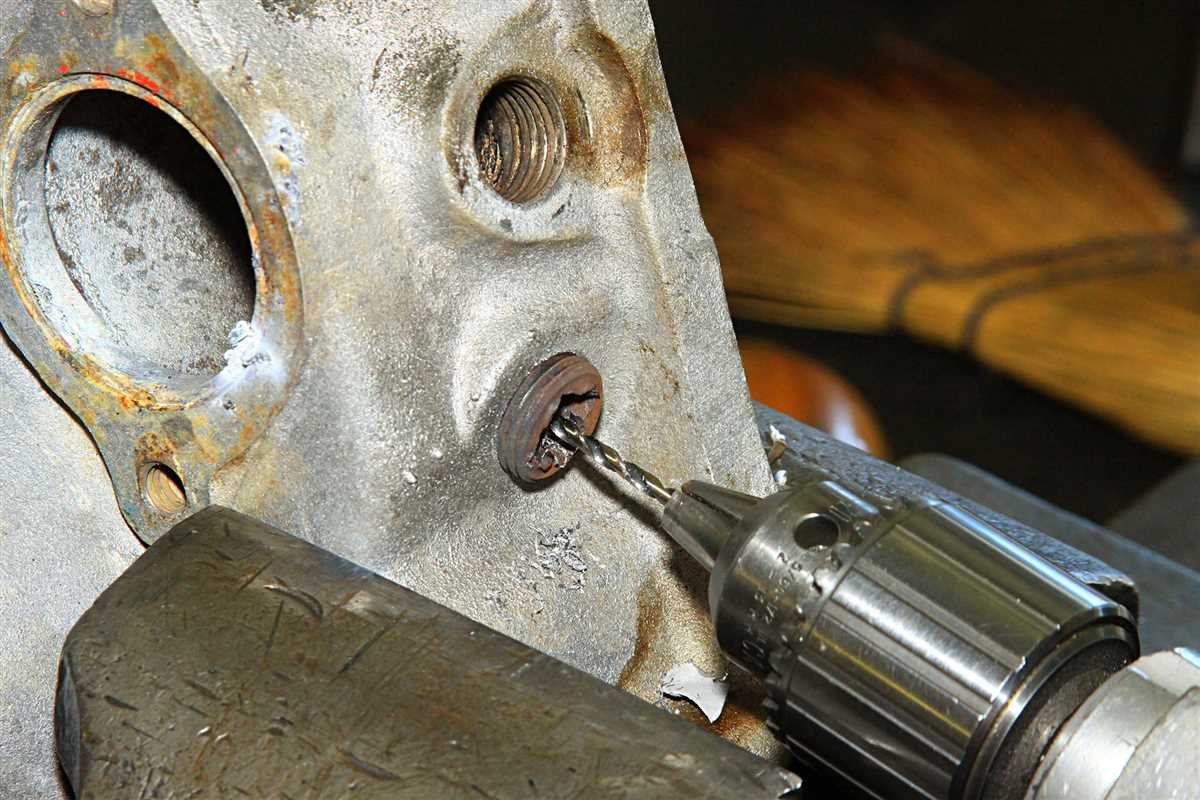
The first step is to use the center punch and hammer to create a small indentation in the center of the bolt. This will help guide the drill bit and prevent it from wandering. Once you’ve made the indentation, attach the drill bit to the drill and carefully drill a hole into the center of the bolt. Be sure to apply steady pressure and drill slowly to avoid damaging the surrounding material.
After drilling the hole, you can insert the pliers into the hole and grip the bolt tightly. Slowly rotate the pliers counterclockwise to loosen the bolt. If the bolt is stuck, you can try applying a small amount of penetrating oil to help loosen it. The oil will seep into any gaps and help break up any rust or debris that may be causing the bolt to stick.
Once the bolt starts to loosen, continue rotating the pliers until the bolt is fully removed. If the bolt is still stuck, you may need to repeat the drilling and gripping process a few times until it loosens enough to be removed completely. Patience is key during this process, as rushing or applying excessive force can lead to further damage.

In conclusion, removing a bolt with no head may seem like a daunting task, but with the right tools and techniques, it can be done. By following this step-by-step guide, you can safely and effectively remove a bolt that appears to be headless. Remember to take your time, use the proper tools, and exercise caution throughout the process. Good luck!
Section 1: What to Do When a Bolt Has No Head
Discovering that a bolt has no head can be frustrating, but with the right tools and techniques, it can still be removed. Here are the steps you can take to remove a bolt with no head:
- Assess the Situation: Before you begin, it’s crucial to evaluate the bolt and surrounding area. Determine if there are any obstructions or obstacles that may impede your ability to remove the bolt.
- Gather the Necessary Tools: To remove a bolt with no head, you’ll need a few specific tools. These may include a pair of vise grips, a hacksaw or reciprocating saw, a drill, and possibly a small chisel and hammer.
- Secure the Bolt: If possible, use vise grips or locking pliers to secure the exposed threaded portion of the bolt. This will provide stability and make it easier to work on the bolt.
- Remove any Surrounding Components: If there are any components or parts obstructing your access to the bolt, remove them carefully. This may involve disconnecting wires, hoses, or other fasteners.
- Apply Penetrating Oil: If the bolt is rusted or seized, applying a penetrating oil can help to loosen it. Allow the oil to soak in for a few minutes before proceeding.
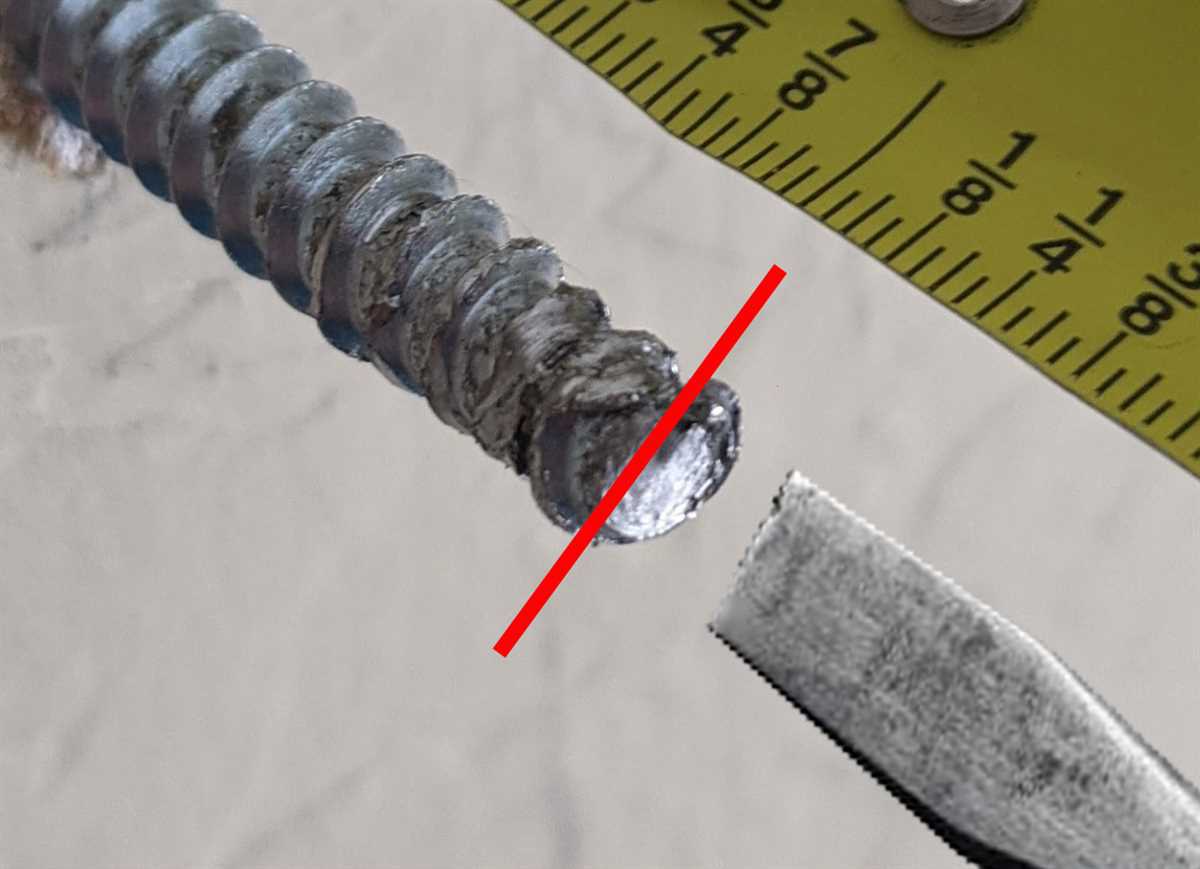
- Use a Hacksaw or Reciprocating Saw: If the bolt is accessible enough, you may attempt to cut a groove into it using a hacksaw or reciprocating saw. This will allow you to use a flathead screwdriver or chisel to turn the bolt and loosen it.
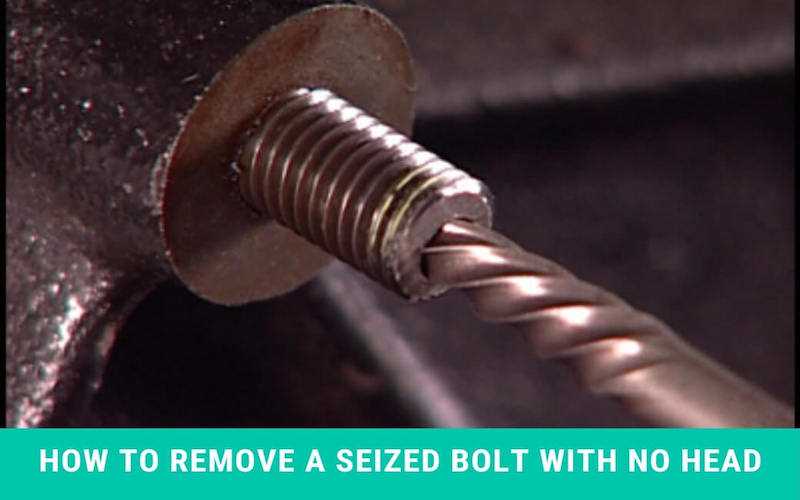
- Drill a Hole: In some cases, drilling a small hole into the center of the bolt may provide a point of leverage for removal. Use a drill bit slightly smaller than the width of the bolt and proceed slowly, ensuring that the drill is perpendicular to the bolt.
- Use a Bolt Extractor: If the above methods fail, consider using a bolt extractor. These specialized tools grip onto the bolt’s threads and provide the necessary torque for removal. Follow the manufacturer’s instructions for proper usage of the extractor.
- Apply Heat: For stubborn bolts, applying heat can help to loosen the metal. Use a propane torch or heat gun to heat the area around the bolt, being cautious not to overheat surrounding components.
- Seek Professional Help: If all else fails, it may be best to seek the assistance of a professional mechanic or technician. They have experience in handling difficult bolt removals and can provide guidance or perform the task for you.
Remember, removing a bolt with no head can be challenging, so take your time and exercise caution throughout the process. With patience and the right tools, you can successfully remove a bolt and continue with your project.
Section 2: Assessing the Situation and Gathering the Necessary Tools
Before attempting to remove a bolt with no head, it is important to assess the situation and gather the necessary tools. Taking the time to gather all the tools you will need and understanding the condition of the bolt will help make the removal process easier and more efficient.
Assessing the Situation
Assessing the situation involves examining the bolt and its surroundings to determine the best approach for removal. Here are some factors to consider when assessing the situation:
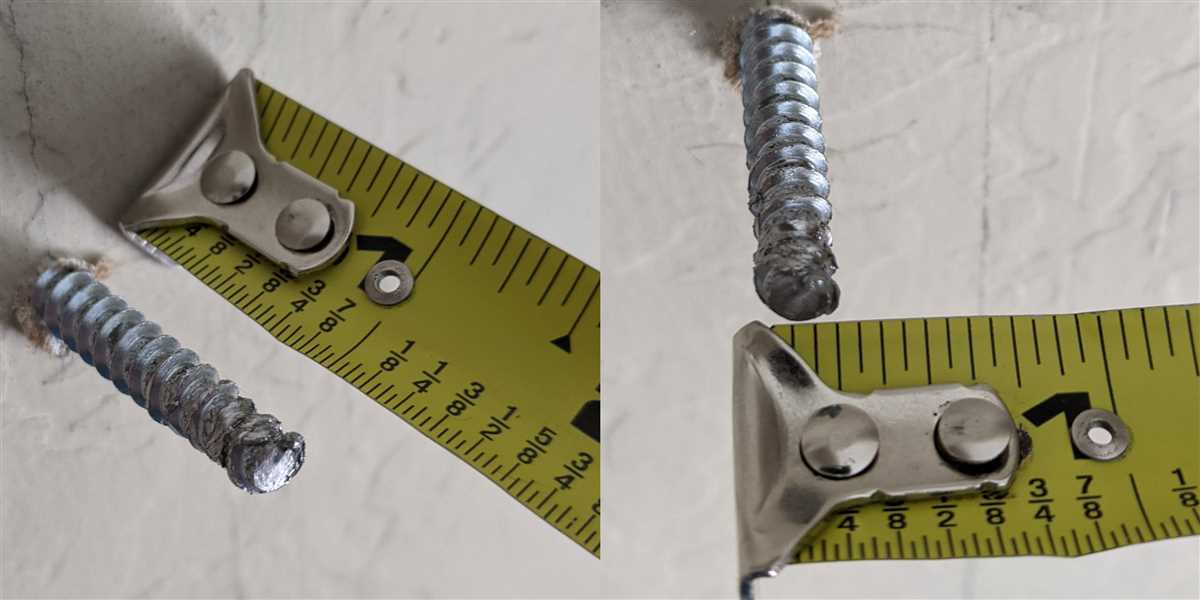
- Bolt Length: Determine the length of the bolt. This information will help in selecting the appropriate tools and techniques for removal.
- Bolt Condition: Inspect the condition of the bolt, including any corrosion, rust, or damage. This will help you determine the best approach for removal and the tools needed.
- Bolt Material: Determine the material the bolt is made of. Different materials may require different tools or techniques for removal.
- Bolt Location: Consider the location of the bolt. If it is in a hard-to-reach or confined space, you may need specialized tools or techniques to remove it.
Gathering the Necessary Tools
Once you have assessed the situation, gather the necessary tools for removing the bolt. Here are some tools that you may need:
- Penetrating Oil: Use a penetrating oil, such as WD-40 or PB Blaster, to help loosen the bolt and reduce friction.
- Vise Grips or Pliers: These tools can be used to grip the bolt and provide leverage for turning.
- Socket Set: A socket set with a variety of sizes can be used to fit different bolt heads and provide leverage for removal.
- Adjustable Wrench: An adjustable wrench can be used to grip the bolt and provide torque for removal.
- Bolt Extractor Set: If the bolt is stuck or stripped, a bolt extractor set can be used to grip and remove the bolt.
- Drill with Metal Bits: In some cases, drilling out the bolt may be necessary. Having a drill with metal bits on hand can make the process easier.
- Safety Equipment: Wear safety glasses, gloves, and appropriate clothing to protect yourself during the removal process.
By assessing the situation and gathering the necessary tools, you will be well-prepared to remove a bolt with no head. Remember to take your time and use caution throughout the process to prevent any damage or injury.
Section 3: Applying Penetrating Oil to Loosen the Bolt
When dealing with a stubborn bolt that refuses to come loose, applying penetrating oil can often help to break up rust and corrosion, making it easier to remove. Follow these steps to apply penetrating oil to loosen the bolt:
- Clean the area around the bolt: Before applying any penetrating oil, it’s important to clean the area around the bolt to remove any dirt, grime, or debris that may be present. Use a brush or cloth to carefully clean the area, ensuring that no loose particles will interfere with the oil application.
- Choose a high-quality penetrating oil: There are numerous penetrating oil products on the market, so it’s important to choose one that is known for its effectiveness. Look for a penetrating oil that specifically mentions rust and corrosion removal.
- Shake the penetrating oil: Before applying the oil, be sure to give the bottle a thorough shake to ensure that the oil is well-mixed.
- Apply the penetrating oil: Carefully apply the penetrating oil to the bolt. It’s important to get the oil directly onto the threads of the bolt, as this is where the rust and corrosion tend to accumulate. Use a small applicator brush or, if available, an attached nozzle on the oil bottle to target the oil precisely.
- Allow the oil to penetrate: Once the penetrating oil is applied, you’ll need to give it time to work. Most penetrating oils require some time to penetrate the rust and corrosion and break it up. Check the specific instructions on the oil bottle for guidance on how long to let it sit.
- Attempt to remove the bolt: After the recommended waiting period, attempt to remove the bolt using the appropriate tools. The penetrating oil should have helped to loosen the rust and corrosion, making it easier to turn the bolt. Be sure to use the proper technique and tools to avoid further damage or injury.
Remember, not all bolts will respond to penetrating oil, especially if they are severely rusted or corroded. In such cases, you may need to employ additional techniques or seek professional assistance.
Section 4: Inserting a Screw Extractor to Remove the Bolt
When a bolt becomes stripped or its head breaks off, the best tool to remove it is a screw extractor. A screw extractor is a specialized tool that is designed to grip into the stripped bolt and allow you to twist it out.
- Select the right size screw extractor: Screw extractors come in various sizes, so it’s important to choose the appropriate size for your stripped bolt. The extractor should be slightly smaller than the diameter of the bolt.
- Prepare the bolt: Before inserting the screw extractor, clean the area around the bolt to remove any dirt or debris. This will make it easier to insert and grip the extractor.
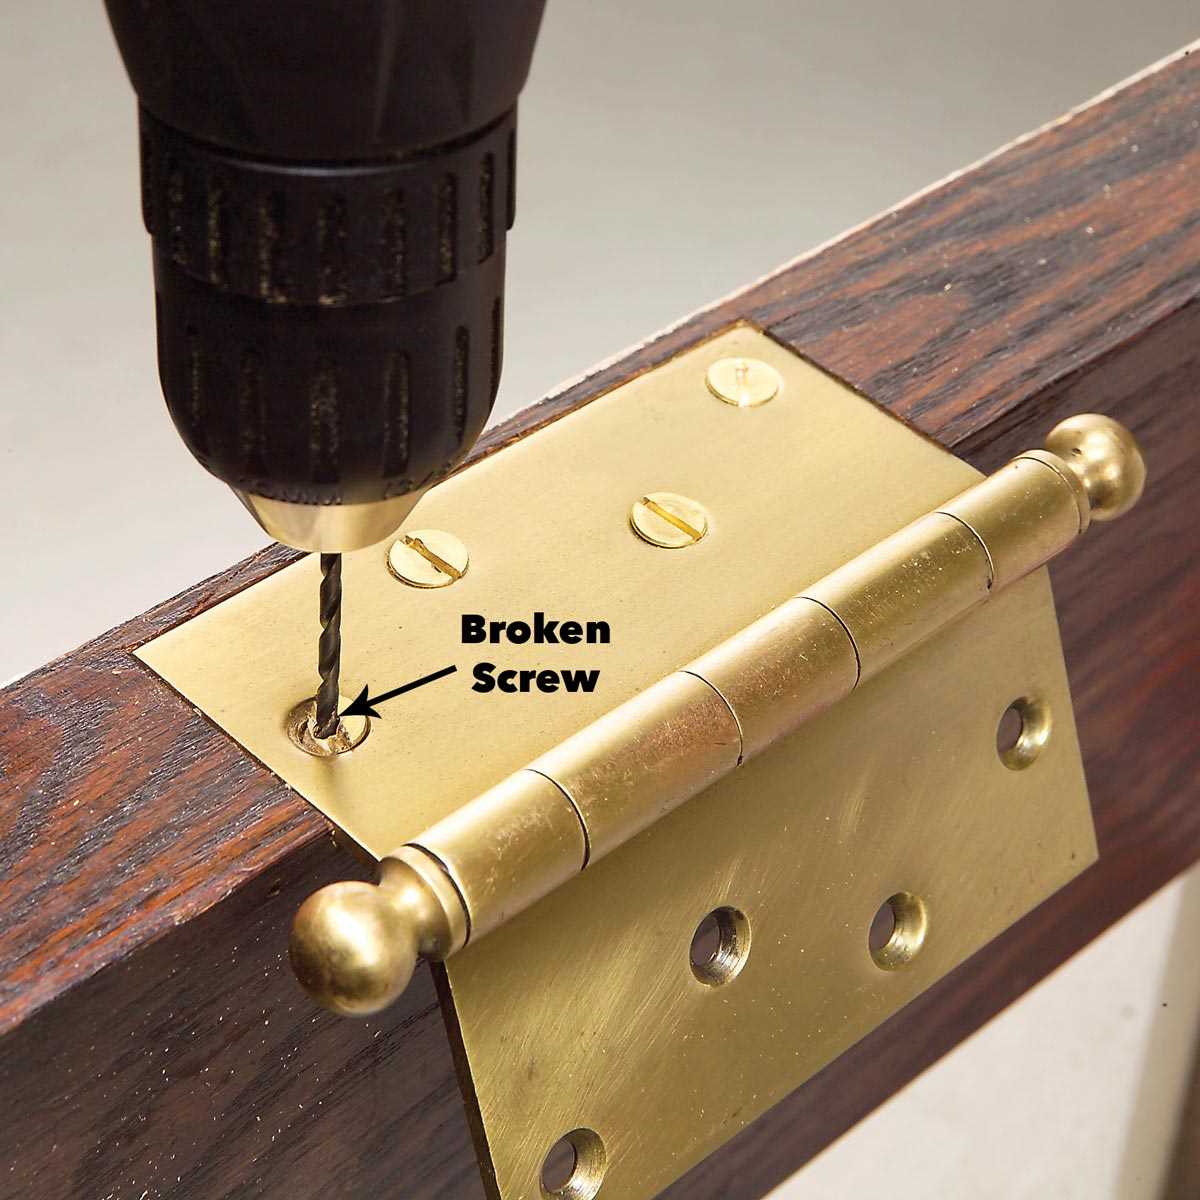
- Drill a pilot hole: Using a drill bit that is slightly smaller than the extractor, create a pilot hole in the center of the bolt. This will help guide the extractor and ensure it stays centered.
- Insert the screw extractor: Place the tip of the extractor into the pilot hole you drilled. Apply steady pressure as you twist the extractor clockwise. The extractor will begin to grip into the bolt.
- Turn counterclockwise: Once the extractor is securely gripping the bolt, use a wrench or pliers to turn it counterclockwise. The twisting motion will loosen the bolt and allow you to remove it.
- Remove the bolt: Continuously turn counterclockwise until the bolt is completely removed. If the bolt is still resistant, you can apply some penetrating oil to help loosen it.
Removing a bolt with no head can be a challenging task, but with the right tools like a screw extractor, it becomes much easier. Make sure to follow these steps carefully to ensure a successful bolt removal.
Section 5: Tapping the Screw Extractor with a Hammer
Once you have inserted the screw extractor into the pilot hole and tightened it securely, it’s time to tap it lightly with a hammer. This tapping motion will help to break loose the threads of the bolt and increase the chances of successful extraction.
Follow these steps to tap the screw extractor with a hammer:
- Hold the screw extractor firmly with one hand to keep it steady.
- With your other hand, take the hammer and position it above the screw extractor.
- Lightly tap the hammer on the top of the screw extractor, using controlled and precise motions.
- Continue tapping the screw extractor until you feel it biting into the bolt.
- Once you feel the extractor has a good grip, apply more pressure with the hammer to increase the turning force.
- If necessary, tap the sides of the extractor in a rotational motion to help loosen the bolt.
It’s important not to use excessive force or tap too hard, as this can damage the screw extractor or make the bolt even more difficult to remove.
Note: In some cases, the bolt may not come loose immediately after tapping. If this happens, you can try repeating the tapping motion a few more times, or you may need to proceed to the next step in the extraction process.
Remember to always wear appropriate safety gear, such as gloves and eye protection, when working with tools and hardware.
Section 6: Using Pliers or Vise Grips to Rotate and Remove the Bolt
If the bolt head is completely stripped or broken off, you can try using pliers or vise grips to rotate and remove the bolt. This method requires a strong grip and careful maneuvering.
- Choose a pair of pliers or vise grips that has jaws wide enough to securely grip the bolt.
- Position the pliers or vise grips around the exposed part of the bolt, closer to the threads if possible.
- Apply firm pressure and grip the bolt tightly using the pliers or vise grips, being careful not to damage the surrounding surface or threads.
- With a steady and controlled motion, try rotating the pliers or vise grips in a counterclockwise direction to loosen the bolt.
- If the bolt starts to turn, continue rotating until it is fully removed. If the bolt remains stuck, try applying more pressure or using a larger pair of pliers or vise grips.
- Once the bolt is removed, inspect the threads and surrounding area for any damage. Clean the area before installing a new bolt if necessary.
Using pliers or vise grips can be an effective method for removing a bolt with no head, but it may not always work. If you are unable to remove the bolt using this method, you may need to try alternative methods such as using a screw extractor or seeking professional assistance.
Section 7: Alternative Method – Welding a Nut onto the Bolt
If the bolt has no head and is difficult to grip with other methods, another option is to weld a nut onto the bolt. This method requires the use of a welding machine and should only be attempted by individuals with welding experience and proper safety equipment.
Materials Needed:
- Welding machine
- Welding electrode
- Nut that matches the size of the bolt
- Protective gloves
- Protective goggles
- Fire extinguisher
Steps to follow:
- Put on protective gloves and goggles before starting the welding process.
- Set up the welding machine according to its instructions and turn it on.
- Clean the surface of the bolt where the nut will be welded by removing any rust, dirt, or paint.
- Place the nut over the top of the bolt, aligning it as closely as possible.
- Secure the nut in place using welding clamps or other appropriate tools.
- Hold the welding electrode near the base of the nut and activate the welding machine.
- Weld the nut onto the bolt by making short bursts of welding in a circular motion around the base of the nut.
- Continue welding until the nut is securely attached to the bolt.
- Allow the welded bolt to cool down completely before attempting to remove it.
- Once cooled, use a wrench or other appropriate tool to turn the welded nut counterclockwise to remove the bolt from the object.
Remember to follow all safety precautions while welding, including wearing protective gear and having a fire extinguisher nearby. If you’re unsure about your welding abilities, it’s recommended to seek assistance from a professional.
Section 8: Preventing Future Bolt Removal Issues
1. Use Anti-Seize Compound
One way to prevent future bolt removal issues is to apply an anti-seize compound to the bolt threads before installation. An anti-seize compound acts as a lubricant and helps prevent the bolt from seizing or getting stuck in the future. It also helps with corrosion resistance.
2. Proper Torque Specification
Make sure to tighten the bolts to the manufacturer’s recommended torque specification. Over-tightening or under-tightening can cause issues during future removal. Use a torque wrench to ensure accurate and consistent torque application.
3. Regular Maintenance
Perform regular maintenance on your equipment or machinery to prevent bolts from becoming rusted or corroded. Regular cleaning, lubrication, and inspection can help identify any potential issues before they become major problems.
4. Replace Damaged Fasteners
If you encounter a bolt with a damaged head or threads, it is best to replace it rather than trying to remove it without a head. Using damaged fasteners can cause further complications and make future removal even more difficult.
5. Store Bolts Properly
Store bolts and fasteners in a dry and clean environment to prevent them from rusting or corroding. Using labeled storage bins or containers can make it easier to find the right bolt when needed and prevent mix-ups or loss of bolts.
6. Seek Professional Help
If you are unsure about how to remove a bolt or encounter any difficulties, it is best to seek professional help. A professional technician or mechanic will have the expertise and tools necessary to handle challenging bolt removal situations.
Conclusion
By following these tips, you can prevent future bolt removal issues and ensure smooth operations. Remember to use anti-seize compound, tighten bolts to the proper torque specification, perform regular maintenance, replace damaged fasteners, store bolts properly, and seek professional help when needed.
FAQ:
What should I do if I need to remove a bolt with no head?
If you need to remove a bolt with no head, you can try using an easy out tool or a screw extractor. These tools are specially designed to grip onto the inside of the bolt and allow you to turn it counterclockwise to loosen and remove it. Make sure to use the correct size of easy out tool or screw extractor for your bolt, as using the wrong size could cause further damage.
What are some alternative methods for removing a bolt with no head?
If you don’t have access to an easy out tool or screw extractor, there are a few alternative methods you can try. One option is to use a pair of vice grips or pliers to grip onto the exposed threads of the bolt and turn it counterclockwise. Another method is to weld a nut onto the top of the bolt and then use a wrench to turn it. You can also try using heat to expand the metal around the bolt, making it easier to grip and remove.
What should I do if the bolt is stuck and won’t turn?
If the bolt is stuck and won’t turn, you can try using a penetrating oil, such as WD-40, to help loosen it. Apply the penetrating oil to the bolt and let it sit for a few minutes to allow it to work its way into the threads. You can also try tapping the bolt lightly with a hammer to help break up any rust or corrosion that may be holding it in place. If all else fails, you may need to apply more force, such as with a breaker bar or impact wrench.
How can I prevent a bolt from losing its head?
To prevent a bolt from losing its head in the first place, it’s important to use the proper tools and techniques when tightening it. Make sure to use the correct size and type of wrench or socket and apply steady, even pressure. Avoid using excessive force or torquing the bolt too tight, as this can cause the head to break off. It’s also a good idea to periodically check and tighten bolts to ensure they are secure.
What are the risks of removing a bolt with no head?
Removing a bolt with no head can carry some risks, especially if the bolt is stuck or has been over-torqued. There is a risk of damaging the surrounding materials, such as stripping or breaking the threads, or causing other parts to become loose or misaligned. Additionally, if the bolt has been over-torqued, it may be difficult to remove or require more force, increasing the risk of injury. It’s important to proceed with caution and use the proper tools and techniques to minimize these risks.
Are there any safety precautions I should take when removing a bolt with no head?
Yes, there are a few safety precautions you should take when removing a bolt with no head. First, make sure to wear safety goggles or glasses to protect your eyes from any debris that may be dislodged during the removal process. Additionally, if you are using heat or welding to remove the bolt, make sure to wear appropriate protective gear, such as gloves and a face shield, to protect yourself from burns or sparks. Finally, always use caution and follow the manufacturer’s instructions when using any tools or equipment.
Video:


Meet Harrison Clayton, a distinguished author and home remodeling enthusiast whose expertise in the realm of renovation is second to none. With a passion for transforming houses into inviting homes, Harrison's writing at https://thehuts-eastbourne.co.uk/ brings a breath of fresh inspiration to the world of home improvement. Whether you're looking to revamp a small corner of your abode or embark on a complete home transformation, Harrison's articles provide the essential expertise and creative flair to turn your visions into reality. So, dive into the captivating world of home remodeling with Harrison Clayton and unlock the full potential of your living space with every word he writes.


