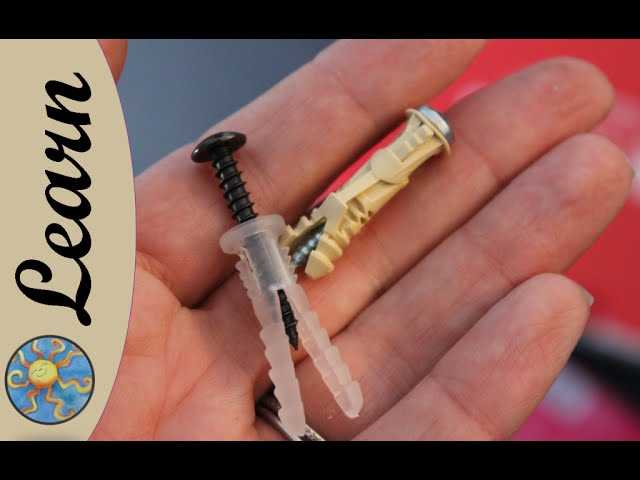
How to Install Anchor Screws Without a Drill

Installing anchor screws can be a daunting task, especially if you don’t have access to a drill. However, with the right tools and techniques, it is possible to install anchor screws without a drill. Whether you’re hanging a shelf, mounting a TV, or installing a curtain rod, these tips will help you get the job done.
Choose the Right Anchors: When installing anchor screws without a drill, it’s important to choose the right anchors for the job. Plastic anchors are a popular choice, as they can be easily installed by hand. They work well for lightweight items, such as small shelves or decorative items. For heavier items, like TVs or heavy mirrors, consider using toggler anchors or wall anchors that are designed to hold more weight.
Preparation is Key: Before installing anchor screws without a drill, make sure to prepare the surface properly. Clean the area where you’ll be installing the anchors and remove any debris or dust. This will ensure that the anchors adhere properly and provide a strong hold. If you’re installing the anchor into a hollow-wall, use a pencil to mark the spot where you want to install the anchor. This will help guide you during installation.
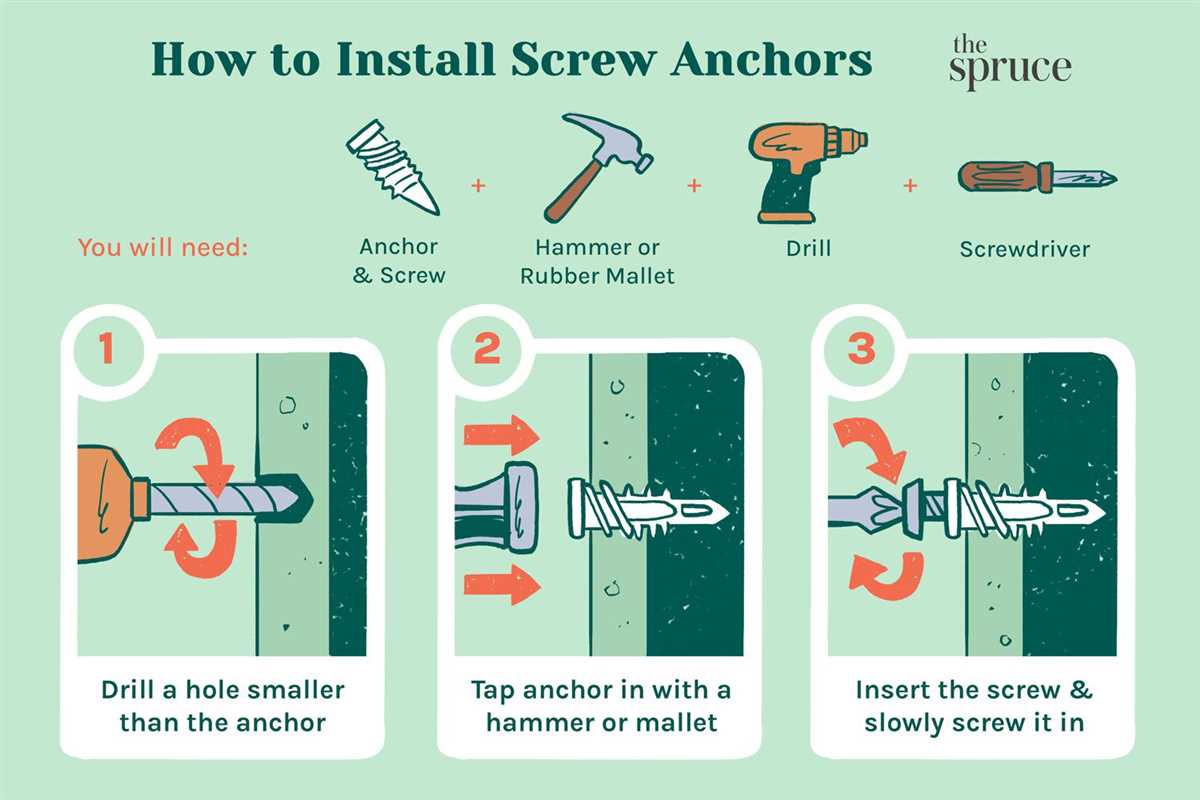
Use a Hammer: One of the easiest ways to install anchor screws without a drill is to use a hammer. With plastic anchors, simply insert the anchor into the wall and tap it gently with a hammer until it is flush with the surface. For toggler anchors or wall anchors, you may need to use a hammer to create a small pilot hole before inserting the anchor. Be sure to follow the manufacturer’s instructions for proper installation.
“Installing anchor screws without a drill may take a bit more time and effort, but it is possible. With the right anchors, proper preparation, and a hammer or other tools, you can securely hang items without the need for a drill.”
What are anchor screws?

Anchor screws, also known as concrete screws or masonry screws, are specialized fasteners designed to securely attach objects to hard surfaces such as concrete, brick, or stone. They are commonly used when there is no access to a drill or when drilling into the surface isn’t feasible.
Unlike traditional screws that rely on friction between the threads and material to hold them in place, anchor screws have unique features that allow them to grip into the hard surface. They are typically made of hardened steel and have a sharp, tapered end with high-profile threads. These threads cut into the material as the screw is driven in, providing stability and a secure hold.
Anchor screws come in various sizes and types, including hex head, round head, and flat head options. Depending on the specific application, they can have different lengths and diameters to accommodate different loads and thicknesses of the material being anchored. Some anchor screws also have special coatings or corrosion-resistant properties to ensure long-lasting durability.
Anchor screws are commonly used in construction, renovation, and DIY projects. They are versatile and can be used to install a wide range of objects, including shelves, cabinets, handrails, brackets, and more. Additionally, they provide a removable and adjustable solution, allowing for easy disassembly and repositioning if needed.
When using anchor screws, it is important to follow the manufacturer’s guidelines and choose the appropriate screw size and type for the application. It is also essential to properly prepare the surface by cleaning it and ensuring it is free of dust, debris, or oil that could affect the screw’s grip. A screwdriver or screwdriver bit that matches the screw’s head type should be used for installation.

In summary, anchor screws are specialized fasteners designed for attaching objects to hard surfaces. They offer a reliable and adjustable solution when drilling is not an option or additional support is needed. With their sharp threads and secure grip, anchor screws provide a strong and long-lasting hold on concrete, brick, and stone surfaces.
Why install anchor screws without a drill?
Installing anchor screws without a drill can be a convenient option for those who do not have access to a drill or for those who want to avoid the noise and mess associated with drilling. It can also be a good alternative for individuals who are not comfortable using power tools or who need to make quick and temporary installations.
Here are a few reasons why you might choose to install anchor screws without a drill:
- No drill required: Not everyone has a drill readily available or knows how to operate one. Installing anchor screws without a drill allows anyone to hang items on the wall without needing specific tools.
- No noise and mess: Drilling can be noisy and produce a lot of dust and debris. By installing anchor screws without a drill, you can avoid these inconveniences and keep your space clean.
- Temporary installations: If you need to hang something temporarily or are renting a space where you don’t want to make permanent changes, installing anchor screws without a drill provides a quick and easy solution.
- Portability: Carrying a drill around can be cumbersome, especially if you need to make small installations on the go. Installing anchor screws without a drill allows you to have a portable solution for hanging items wherever you need.
While installing anchor screws without a drill can be a viable option for many situations, it’s important to note that a drill is typically the most efficient and secure method for installing anchor screws. Using a drill ensures that the screws are properly anchored and can withstand more weight or pressure. However, if you don’t have a drill or prefer not to use one, alternative methods for installing anchor screws can still get the job done.

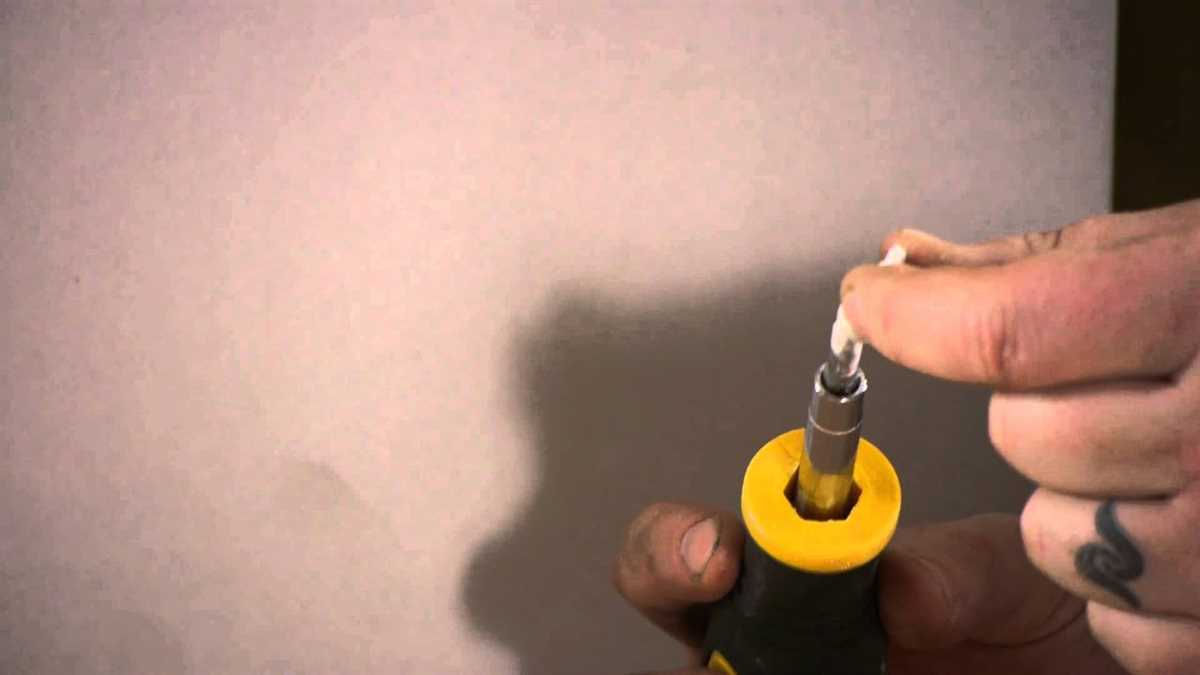
Step 1: Gathering the necessary tools
Before you begin installing anchor screws without a drill, you will need to gather a few necessary tools. These tools will help make the installation process easier and more efficient:
- Anchor Screws: Choose the appropriate size and type of anchor screws for your project. Different types of anchor screws are designed for different materials, so make sure to select the ones that are suitable for your wall or surface.
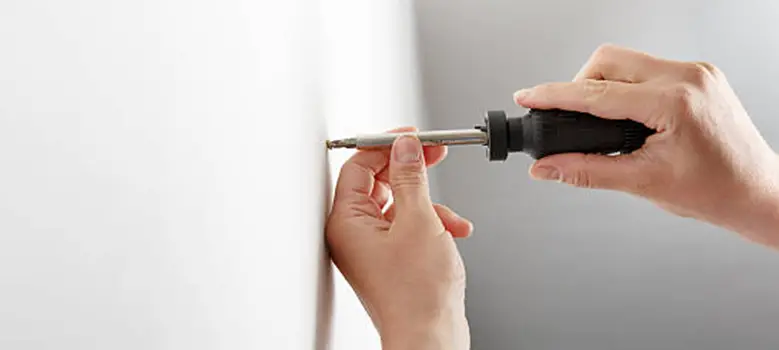
- Screwdriver: A screwdriver will be your main tool for installing anchor screws without a drill. Make sure you have a screwdriver that fits the screw heads properly to avoid damaging them.
- Measuring Tape: Use a measuring tape to accurately measure and mark the locations where you want to install the anchor screws. This will help ensure that the screws are spaced evenly and in the right position.
- Pencil or Marker: Use a pencil or marker to make the marks on the wall or surface where you will be installing the anchor screws. These marks will serve as your guide during the installation process.
- Level: A level is important to ensure that the anchor screws are installed straight and level. This will prevent any issues with the stability and aesthetics of the final installation.
- Hammer: In some cases, you may need to lightly tap the anchor screws into place using a hammer. Make sure you have a hammer on hand if needed.
Once you have gathered all of these tools, you will be ready to move on to the next step of installing anchor screws without a drill.
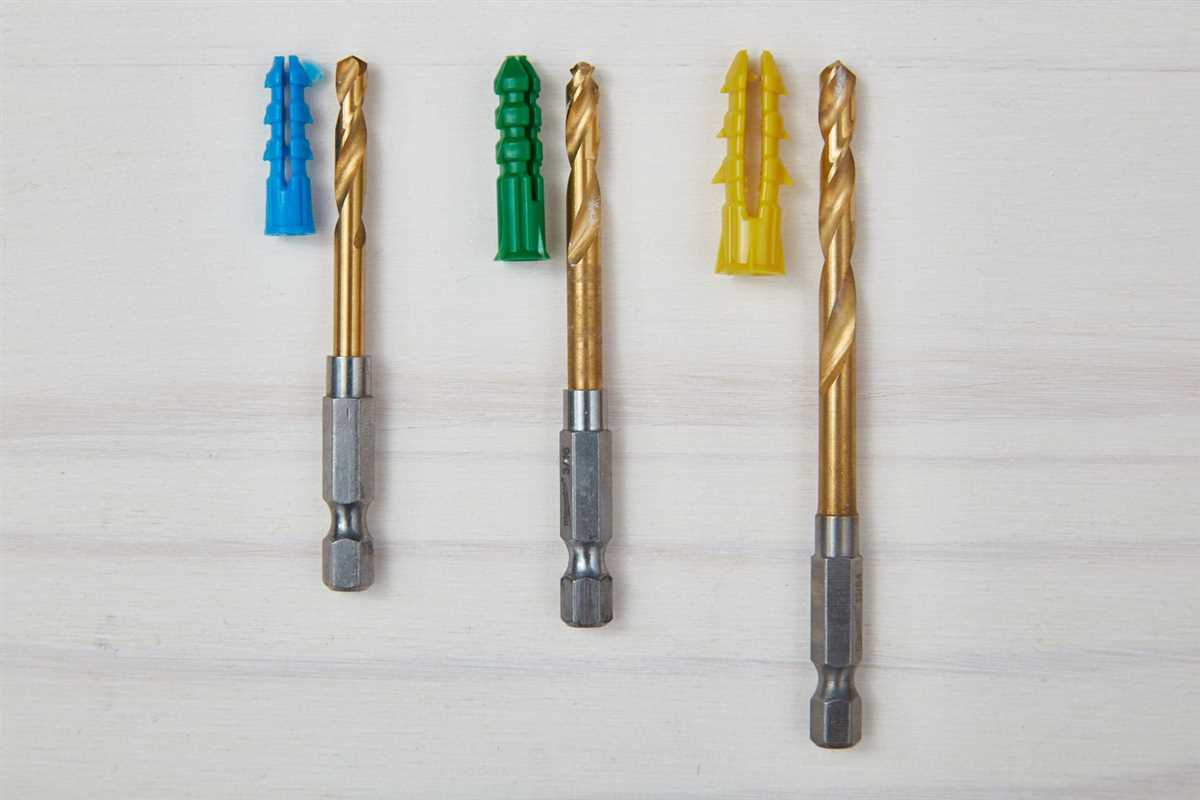
Types of anchor screws suitable for hand installation
When it comes to installing anchor screws without a drill, there are several types that are suitable for hand installation. These anchor screws are designed to be strong and reliable, and can be installed using simple hand tools. Here are some common types of anchor screws that you can use:

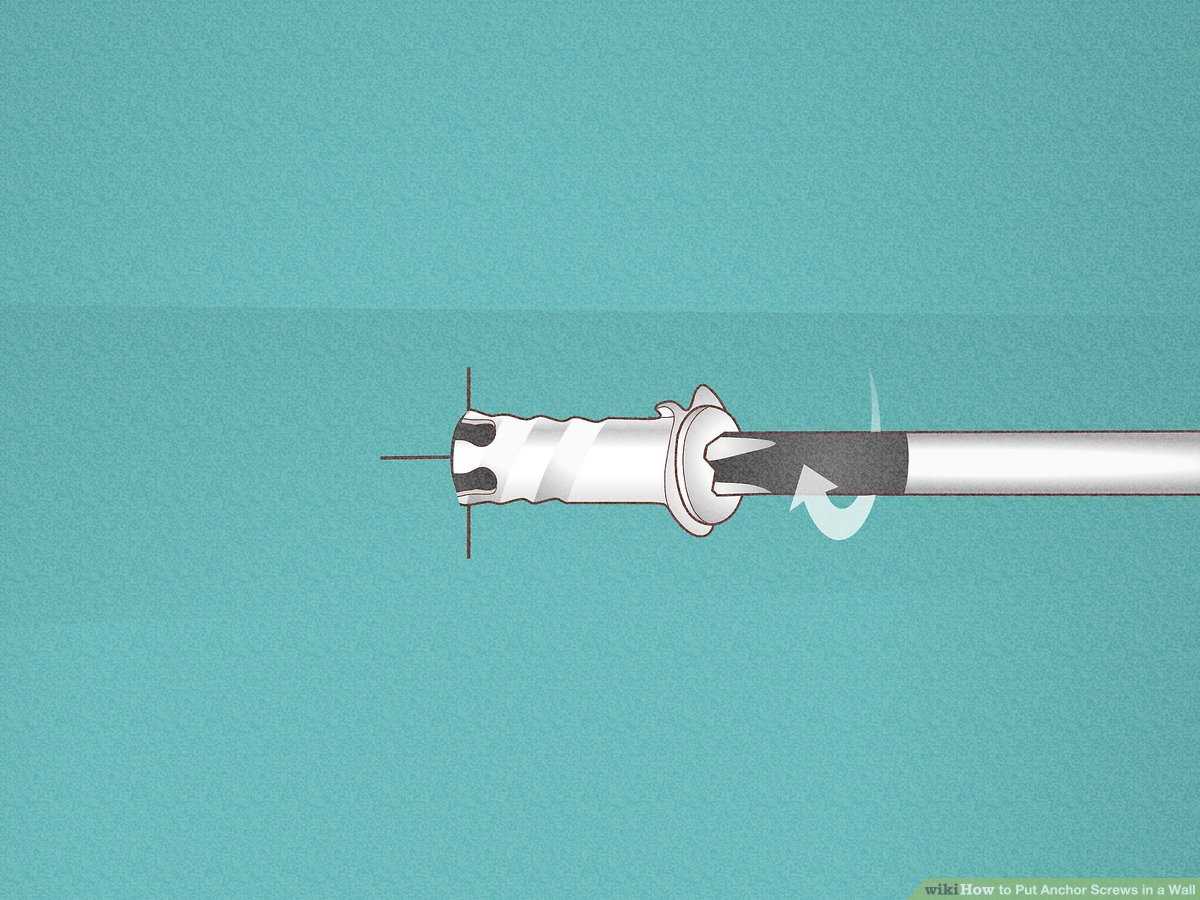
1. Plastic self-drilling anchors
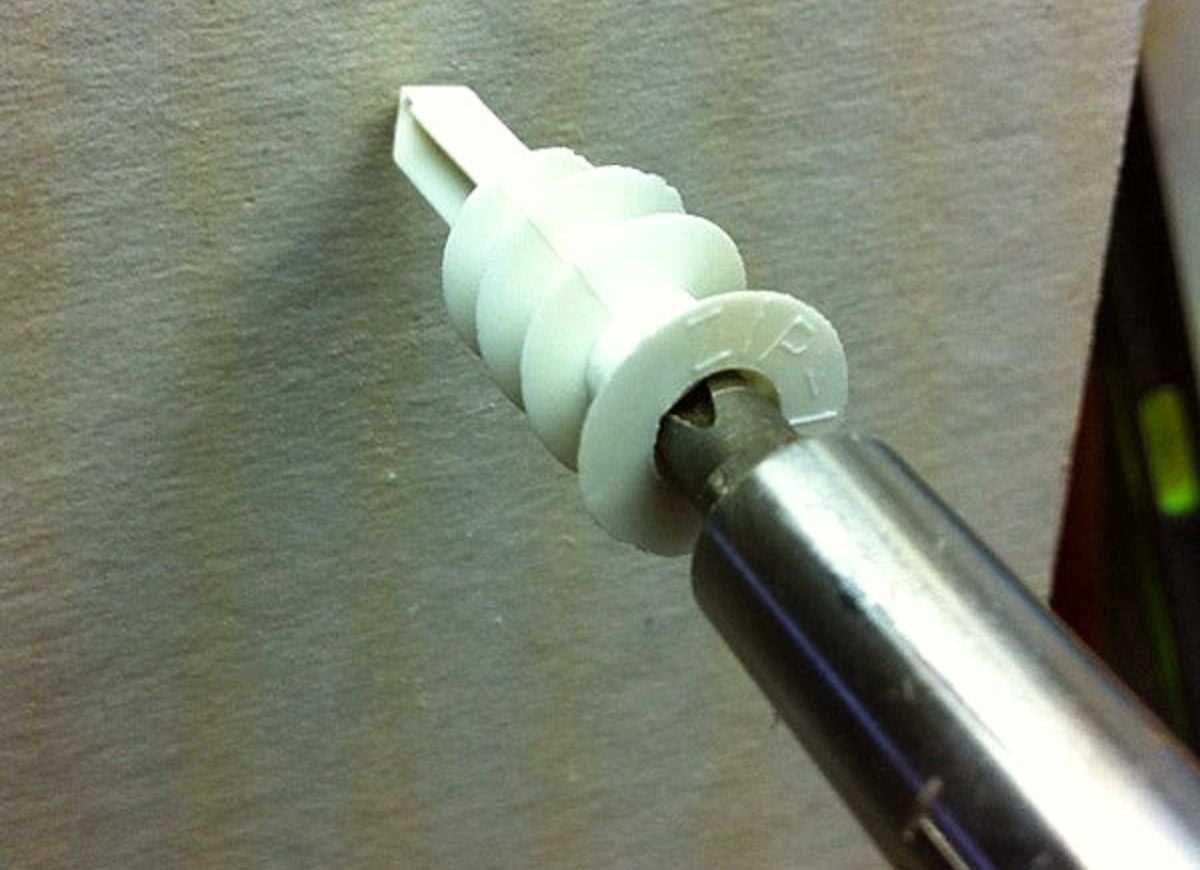
Plastic self-drilling anchors are easy to install and ideal for lightweight applications. They are made of durable, high-quality plastic and have a self-drilling feature, which means that you don’t need a drill to create a pilot hole. Simply screw them into the wall using a screwdriver or a wrench, and they will provide a secure anchor point for hanging light objects.
2. Nylon sleeve anchors
Nylon sleeve anchors are suitable for medium to heavy-duty applications. They consist of a cylindrical nylon sleeve with a cone-shaped expansion plug and a machine screw. To install these anchors without a drill, you can use a hammer to drive the sleeve into the wall, and then insert the screw to expand the anchor. These anchors are commonly used for mounting shelves, curtain rods, and other heavier objects.
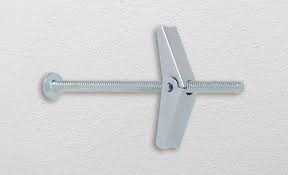
3. Metal toggle bolts
Metal toggle bolts are another type of anchor screws that can be installed by hand. They consist of a threaded bolt with wings that expand once inserted into the wall. To install a toggle bolt, simply push the wings into the wall and tighten the bolt with a wrench or a screwdriver. These anchors are known for their strength and are suitable for heavy-duty applications, such as mounting TVs, mirrors, or cabinets.
4. Plastic wall anchors

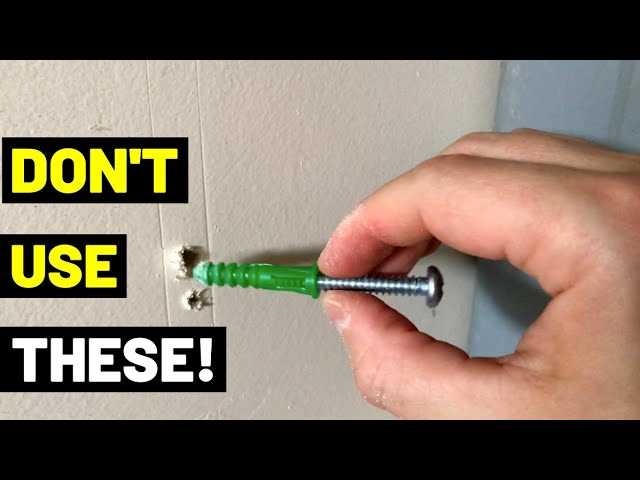
Plastic wall anchors are one of the most popular types of anchor screws for hand installation. They are easy to use and provide a strong hold for lightweight to medium-weight objects. To install a plastic wall anchor, simply drill a small hole in the wall using a screwdriver or a nail, then push the anchor into the hole. The anchor will expand inside the wall, providing a secure anchor point for screws or hooks.
Before choosing an anchor screw for hand installation, consider the weight and type of object you want to hang, as well as the type of wall material. Make sure to follow the instructions provided by the manufacturer for proper installation and weight capacity.
Other tools you will need
In addition to the main anchor screw installation tool, there are a few other tools that can come in handy during the process:
- Hammer: A hammer can be used to gently tap the anchor screw into place if it’s not going in smoothly. Be careful not to use too much force, as it can damage the screw.
- Pliers: Pliers can be useful for holding the anchor screw in place while you tighten it. They can also be used to remove the screw if needed.
- Masking tape: Masking tape can be used to mark the spot where you want to install the anchor screw, ensuring that it is in the correct position.
- Level: A level can be used to ensure that the anchor screw is installed straight. This is important for proper stability and weight distribution.
- Awl or nail: An awl or nail can be used to create a pilot hole in the wall or surface before installing the anchor screw. This can make the process easier and prevent any damage to the screw or wall.
Having these additional tools on hand can make the anchor screw installation process smoother and more efficient. However, they are not always necessary and may vary depending on the specific project or situation.
Step 2: Marking the drill holes
- Measure the location where you want to install the anchor screws using a measuring tape. Ensure that the marks are level and aligned properly.
- Using a pencil or marker, make small dots on the wall at the locations where you want to drill the holes for the anchor screws. These dots will act as a guide during the drilling process.
- It’s important to ensure that the drill holes are marked accurately to avoid any mistakes during installation.
- If you are installing anchor screws on a surface that requires a specific weight capacity, refer to the manufacturer’s instructions for the appropriate spacing and number of anchor screws needed.
- If you are hanging something that requires multiple anchor screws, you may want to use a level and tape measure to ensure that the marks are evenly spaced and aligned with each other.
Choosing the right spots for the anchor screws
Before installing anchor screws without a drill, it’s important to carefully choose the right spots for them. Ideally, you want the screws to be placed in a stable and strong part of the wall or surface.
1. Determine the purpose: Consider the purpose of the anchor screws. Are they going to be used to hang lightweight or heavy items? This will determine the type and size of the anchor screws you’ll need.
2. Locate studs: If possible, locate the studs behind the wall using a stud finder. Anchoring your screws into the studs will provide maximum stability and support. Make sure to mark the exact location of the studs so you can position your screws accordingly.
3. Check the wall material: Different wall materials require different anchor screws. If the wall is made of drywall or plaster, you may need to use plastic expansion anchors. If the wall is made of concrete or brick, you’ll need masonry anchors. Ensure you choose the appropriate type for your wall material.
4. Measure and mark: Use a measuring tape and level to mark the desired locations for your anchor screws. Measure the distance between the screws to ensure even spacing. Double-check your measurements to avoid any mistakes.
5. Avoid electrical wires and pipes: Before drilling or inserting the anchor screws, it’s crucial to check for any electrical wires or pipes behind the wall. Use a electronic stud finder or consult a professional to ensure you’re not drilling into anything dangerous.
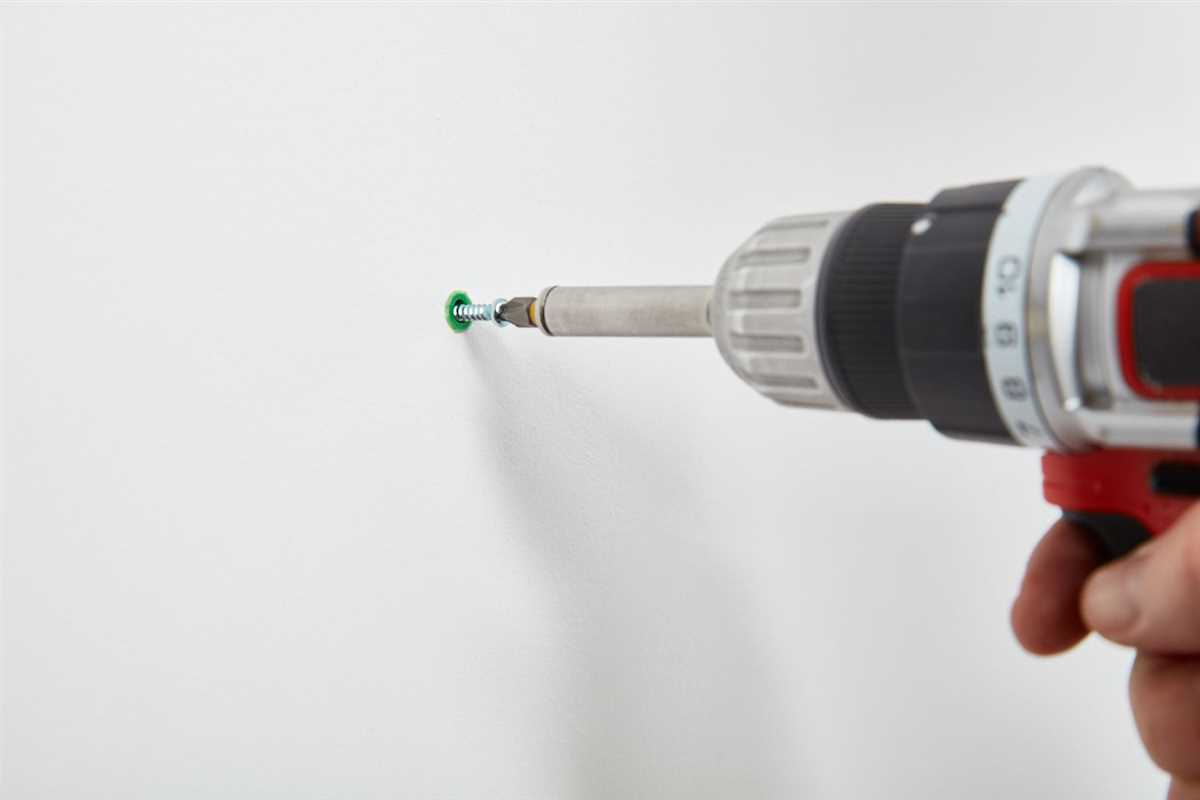
6. Pre-drill if necessary: If you’re using anchor screws that require pre-drilling, use a drill with the appropriate bit size to create pilot holes at the marked spots. This will make it easier to insert the anchor screws without any complications.
7. Test stability: Before relying on the anchor screws to support any weight, give them a gentle tug to ensure they are securely in place. If they feel loose or wobbly, carefully remove them and try a different spot or anchor type.
By following these steps and choosing the right spots for your anchor screws, you can ensure a secure and stable installation without the need for a drill.
Properly measuring and marking the drill holes
Before installing anchor screws without a drill, it is important to properly measure and mark the drill holes. This helps ensure that the screws will be placed accurately and securely.
Materials needed:
- Measuring tape or ruler
- Pencil or marker
- Level
Steps to properly measure and mark the drill holes:
- Measure and mark the desired location: Use a measuring tape or ruler to determine the precise location where you want to install the anchor screws. Place a small mark with a pencil or marker at each desired spot.
- Ensure level installation: Use a level to make sure the marks are horizontally level. This will help ensure that the anchor screws will be properly aligned.
- Mark the drill hole positions: With the marks indicating the desired location, use the appropriate measurements to mark the exact spots where the drill holes will be made. Make these marks with a pencil or marker.
- Double-check the measurements: Before proceeding with drilling, double-check all the measurements to ensure accuracy. This is especially important when working with multiple drill holes.
By properly measuring and marking the drill holes, you can ensure that your anchor screws will be installed in the correct location and have a secure hold. Taking the time to accurately measure and mark the holes will help prevent any errors during the installation process.
Step 3: Preparing the anchor screws
Before installing the anchor screws without a drill, it is important to prepare them properly. Follow these steps to ensure that your anchor screws are ready for installation:
- Gather the necessary tools: Prepare a hammer, a nail or a small screwdriver, a measuring tape or ruler, a marker, and the anchor screws that you will be using.
- Choose the right anchor screws: Select anchor screws that are the appropriate size and weight capacity for your intended use. Consult the packaging or manufacturer’s instructions for guidance.
- Measure and mark: Use a measuring tape or ruler to determine the correct placement for your anchor screws. Mark the locations with a marker or pen so that you can easily identify where to install them.
- Prepare the surface: Ensure that the surface where you will be installing the anchor screws is clean and free of dust or debris. This will help to improve the adhesion and stability of the screws.
- Prepare the anchor screws: If your anchor screws have caps or pre-drilled holes, remove them before installation. If necessary, insert a nail or small screwdriver into the screw head and gently tap it with a hammer to create a small starter hole.
By following these steps, you will be well-prepared to install the anchor screws without a drill and achieve a secure and stable attachment.
Ensuring the screws are the correct size and length
Before installing anchor screws without a drill, it is important to ensure that the screws you are using are the correct size and length for the job. Using the wrong size or length of screws can result in improper anchoring and may cause damage to the surface or the object being anchored. Follow these steps to ensure you have the correct screws:
- Identify the type of surface you will be screwing into. Different surfaces require different types of screws.
- Measure the thickness of the surface to determine the length of the screw you will need. The screw should be long enough to securely anchor the object without protruding through the other side.
- Consider the weight and size of the object you will be anchoring. Heavier objects may require longer and thicker screws to ensure proper support.
- Check the packaging or product specifications for the recommended screw size and length. If you are unsure, consult with a hardware store professional for guidance.
Note: It is always better to choose a slightly longer screw rather than one that is too short, as you can always trim the excess length if needed.
By ensuring that you have the correct size and length of screws for your project, you can ensure a strong and secure anchor without the need for a drill.
FAQ:
Can I install anchor screws without using a drill?
Yes, you can install anchor screws without using a drill. There are alternative methods you can use such as a hammer and nail or a screwdriver.
What tools do I need to install anchor screws without a drill?
To install anchor screws without a drill, you will need a hammer, a nail or screwdriver, and a wall anchor. You may also need a pair of pliers if the anchor needs to be tightened.
Are there any tips for installing anchor screws without a drill?
Yes, there are a few tips you can follow for installing anchor screws without a drill. First, choose the right size and type of anchor for your wall. Second, make sure to mark the exact spot where you want to place the anchor. Third, start by tapping a small hole into the wall using a hammer and nail or screwdriver. Finally, gently tap the anchor into the hole until it is flush with the wall.
What should I do if the anchor screw is not going into the wall?
If the anchor screw is not going into the wall, there are a few things you can try. First, make sure you are using the correct size and type of anchor for your wall. If the anchor is too big, it may not fit properly. Second, check if there are any obstructions in the wall, such as studs or pipes, that may be preventing the anchor from going in. If there are, you may need to choose a different spot for the anchor. Finally, try tapping the anchor in at a different angle or using a bit of force to get it started.
Video:


Meet Harrison Clayton, a distinguished author and home remodeling enthusiast whose expertise in the realm of renovation is second to none. With a passion for transforming houses into inviting homes, Harrison's writing at https://thehuts-eastbourne.co.uk/ brings a breath of fresh inspiration to the world of home improvement. Whether you're looking to revamp a small corner of your abode or embark on a complete home transformation, Harrison's articles provide the essential expertise and creative flair to turn your visions into reality. So, dive into the captivating world of home remodeling with Harrison Clayton and unlock the full potential of your living space with every word he writes.


