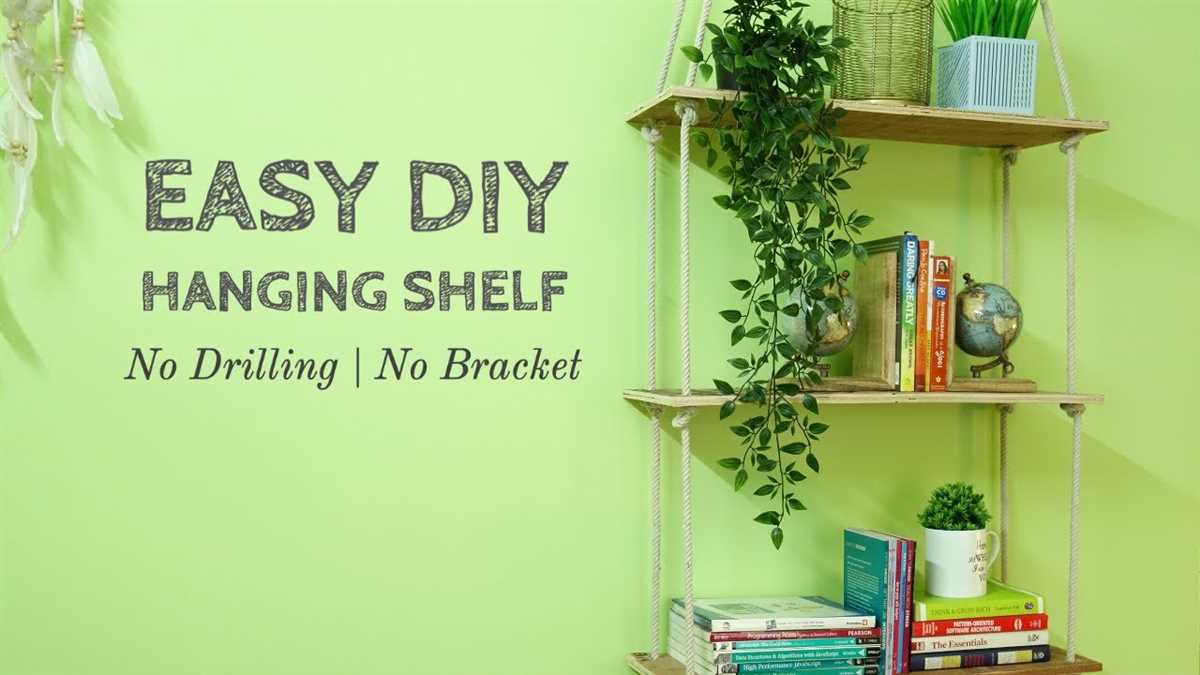
How to Hang a Shelf Without Using a Drill: A Step-by-Step Guide

Are you looking to add some extra storage to your home but don’t want to deal with the hassle of drilling into your walls? Don’t worry, there are alternative ways to hang a shelf without using a drill. In this step-by-step guide, we will walk you through the process of hanging a shelf without drilling, so you can easily add functional and stylish storage to any room in your home.
Before we get started, it’s important to note that the method we’ll be using is best suited for lightweight shelves and items. If you’re looking to hang a heavy or bulky shelf, it may be best to consult a professional or consider using a drill for added support. However, for small decorative or functional shelves, this method should work just fine.
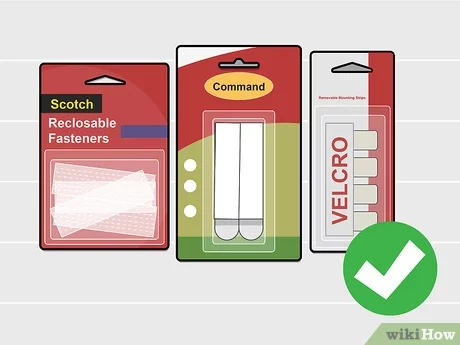
The first step in hanging a shelf without using a drill is to gather all the necessary materials. You will need adhesive mounting strips, a level, a tape measure, a pencil, and of course, the shelf itself. Make sure the adhesive mounting strips you choose are strong enough to hold the weight of your shelf and any items you plan to place on it.
Pro tip: Before applying the adhesive mounting strips, make sure to thoroughly clean the surface of the wall where you will be hanging the shelf. This will ensure a strong bond and prevent the shelf from falling down over time.
Once you have all your materials ready, it’s time to begin the hanging process. Start by measuring and marking the desired height for your shelf on the wall. Use a level to ensure your marks are straight and even. Then, hold the shelf up against the wall, aligning it with the marked height.
Next, take the adhesive mounting strips and apply them to the back of the shelf, following the manufacturer’s instructions. Make sure to apply enough strips to provide sufficient support for the weight of the shelf. Press the strips firmly against the shelf to ensure a secure bond.

Finally, carefully attach the shelf to the wall by pressing it firmly against the adhesive strips. Hold the shelf in place for a few seconds to allow the adhesive to bond. Give it a gentle tug to make sure it’s securely attached to the wall. If everything looks good, you’re done! You’ve successfully hung a shelf without using a drill.
By following these simple steps, you can easily add extra storage to your home without the hassle of drilling into your walls. Whether you’re looking to display decorative items or create a functional storage solution, this method will allow you to hang shelves in any room of your home with ease.
Choosing the Right Shelf
When it comes to hanging a shelf without using a drill, it’s important to choose the right type of shelf. Here are some factors to consider:
1. Shelf Material
The first thing to consider is the material of the shelf. You can find shelves made of wood, metal, glass, or plastic. Each material has its own advantages and disadvantages. Wood shelves are sturdy and versatile, but they may require more maintenance. Metal shelves are durable and can hold heavy items, but they may be prone to rust. Glass shelves can give a modern and elegant look, but they may be more fragile. Plastic shelves are lightweight and easy to clean, but they may not be as sturdy as other materials.
2. Shelf Size

Another important factor to consider is the size of the shelf. Measure the area where you want to hang the shelf to determine the appropriate size. Consider the length, width, and depth of the shelf to make sure it fits well in the space. Also, keep in mind the weight capacity of the shelf to ensure it can hold the items you want to display.
3. Shelf Style
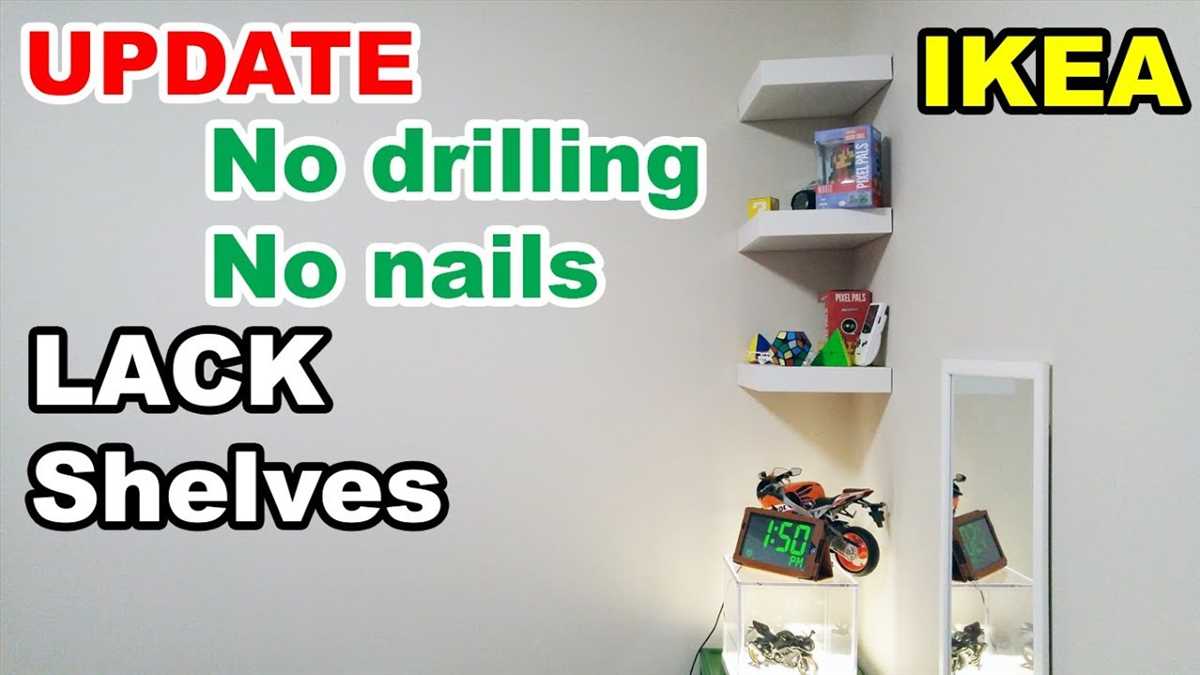
Consider the style of the shelf and how it will complement your existing decor. There are various styles available, such as floating shelves, corner shelves, ladder shelves, and wall-mounted shelves. Choose a style that suits your aesthetic preferences and the overall design of the room.
4. Installation Method
Lastly, consider the installation method of the shelf. Since you’ll be hanging the shelf without using a drill, look for shelves that come with alternative mounting options, such as adhesive strips, suction cups, or brackets. These options will allow you to securely attach the shelf to the wall without causing any damage.
By considering these factors, you can choose the right shelf for your needs and successfully hang it without using a drill.
Gathering the Necessary Tools
Before you begin hanging a shelf without using a drill, make sure you have all the necessary tools on hand. While this method doesn’t require any drilling, you’ll still need a few items to ensure a secure and stable installation.

1. Shelving unit
The first tool you’ll need is the actual shelving unit. Make sure you choose a shelf that is suitable for your needs and matches the style of your room.
2. Wall anchors
Wall anchors are essential for providing extra support and stability to the shelf. They help distribute the weight evenly and prevent the shelf from falling. Depending on the weight capacity of your shelf, choose appropriate wall anchors.
3. Screws
Although you won’t be using a drill, you’ll still need screws to attach the wall anchors to the wall. Make sure the screws are compatible with the wall anchors you’ve chosen.

4. Level
A level is important for ensuring that your shelf is straight and properly aligned. It will help you achieve a professional-looking installation.
5. Measuring tape
Before hanging the shelf, it’s important to measure the space to determine its ideal location. A measuring tape will come in handy for this task.
6. Pencil or marker
Use a pencil or marker to mark the spots where you’ll be installing the wall anchors. This will help you maintain accuracy throughout the installation process.
7. Screwdriver
Instead of using a drill, a screwdriver will be needed to secure the screws into the wall anchors. Make sure you have the appropriate screwdriver for the type of screws you’re using.
8. Level measuring device (optional)
If you want to ensure an even spacing between multiple shelves or maintain a consistent height, you may want to consider using a level measuring device. This tool will help you achieve precise measurements and spacing.

Once you have gathered all these necessary tools, you’ll be ready to proceed with hanging your shelf without using a drill.
Measuring and Marking the Wall
Before hanging a shelf without using a drill, it’s important to measure and mark the wall properly to ensure that the shelf is installed at the correct height and level.
Materials Needed:
- Tape measure
- Pencil
- Level
Steps to Measure and Mark the Wall:
- Start by deciding where you want to hang the shelf. Take into consideration the height and location, making sure it is convenient and suits your needs.
- Using a tape measure, measure the width of the shelf. Determine the center point of the wall where you want to hang the shelf, and mark it with a small pencil dot.
- Measure the distance from the edge of the shelf to the desired location for the first shelf bracket or support. Mark this distance on both sides of the center dot, creating two additional dots on the wall.
- Continue measuring and marking the wall for the remaining shelf brackets or supports, ensuring they are evenly spaced and level. Make sure to leave enough space between each bracket to securely hold the weight of the shelf and items you plan to display.
- Once all the dots are marked for the shelf brackets or supports, use a level to check if they are aligned properly. Adjust the markings if needed.
By carefully measuring and marking the wall, you can ensure that your shelf will be installed accurately and safely without the need for a drill. Remember to double-check your measurements and adjust as necessary before moving on to the next step of hanging the shelf.
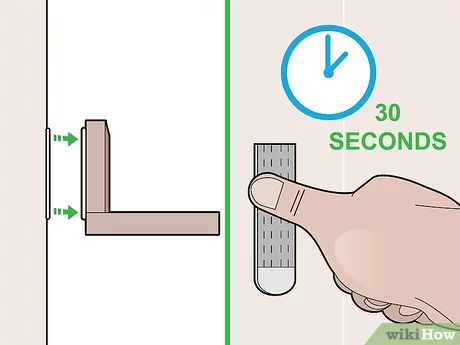
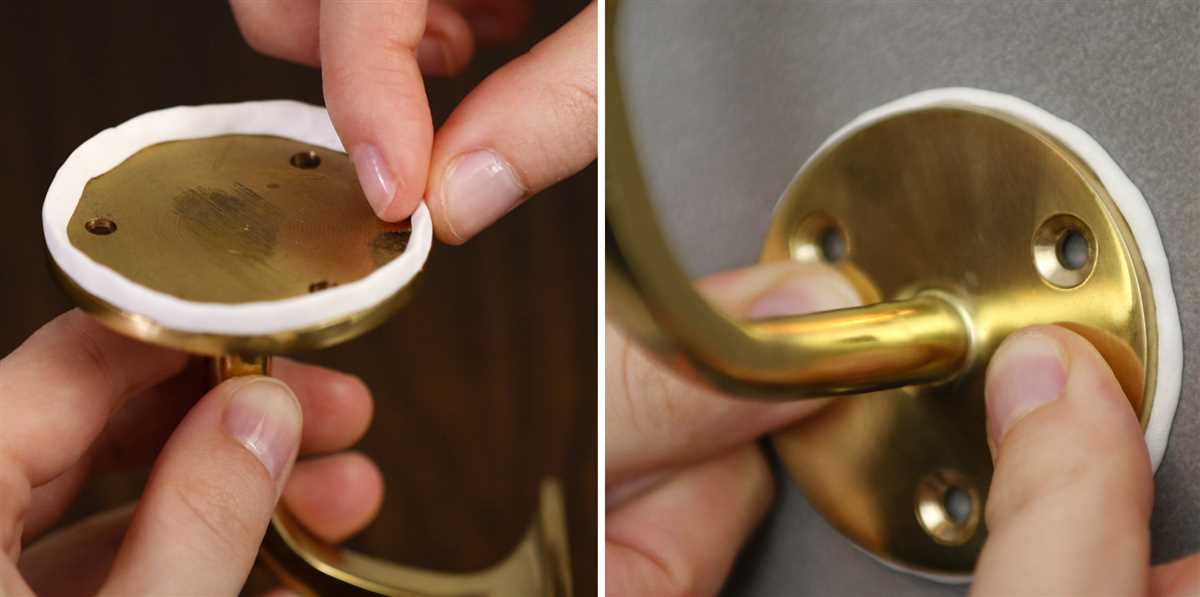
Using Adhesive Strips for Mounting
If you don’t want to use a drill to hang your shelf, another option is to use adhesive strips. Adhesive strips provide a strong hold and can be easily applied and removed without damaging your walls. Here’s a step-by-step guide on how to hang a shelf using adhesive strips:
Materials you will need:
- Adhesive mounting strips
- Level
- Measuring tape
- Pencil
- Shelf
Steps:
- Measure and mark the desired height for your shelf on the wall using a measuring tape and pencil.
- Using a level, ensure that the marks are straight and aligned.
- Take one adhesive strip and remove the backing from one side.
- Apply the exposed adhesive side of the strip to the back of the shelf, aligning it with the desired height mark.
- Remove the backing from the other side of the adhesive strip.
- Press the shelf firmly against the wall, applying pressure to ensure a strong bond between the adhesive strip and the wall.
- Repeat steps 3-6 for the remaining adhesive strips, evenly spacing them along the length of the shelf.
- Allow the adhesive to set for the recommended time specified on the packaging.
- Once the adhesive has fully set, test the shelf by gently placing items on it to ensure it is securely mounted.
Using adhesive strips for mounting a shelf is a quick and easy alternative to using a drill. However, it is important to follow the manufacturer’s instructions and weight limits for the adhesive strips to ensure a safe and secure installation. Remember to remove the shelf carefully by gently pulling it away from the wall in order to avoid damaging the wall.
Installing Shelf Brackets
When it comes to hanging a shelf without using a drill, one of the key steps is properly installing the shelf brackets. Shelf brackets serve as the support system for your shelf, so it’s important to ensure they are securely installed. Here is a step-by-step guide to help you install shelf brackets without a drill.
Materials Needed
- Shelf brackets
- Tape measure
- Pencil
- Level
- Wall anchors
- Screws
- Screwdriver
- Wrench
Step 1: Determine the Placement
Using a tape measure, determine the desired height and placement of your shelf. Mark the location with a pencil, making sure it is level.
Step 2: Attach the Brackets
Align the first bracket with the marked location on the wall. Hold it in place, and using a screwdriver or wrench, screw in the screws provided with the bracket. Repeat this process for the remaining brackets.
Step 3: Check for Stability
Before adding any weight to the shelf, make sure the brackets are securely attached to the wall. Give them a gentle push and ensure they do not wobble or move.
Step 4: Insert the Shelf
Once the brackets are stable, carefully place the shelf on top of the brackets. Make sure it is properly aligned and centered.
Step 5: Secure the Shelf
If your shelf has pre-drilled holes, you can use screws to attach it to the brackets. Alternatively, you can use adhesive strips or Velcro to secure the shelf in place.
Step 6: Test the Shelf
Give the shelf a gentle push and make sure it is stable. If it wobbles or feels loose, recheck the brackets and ensure they are securely fastened.
By following these step-by-step instructions, you can successfully install shelf brackets without using a drill. Remember to take your time and ensure the brackets are properly aligned and securely attached to the wall before adding any weight to the shelf.
Attaching the Shelf to the Brackets
Once you have securely installed the brackets on the wall, it’s time to attach the shelf to them. Follow these steps to ensure that the shelf is securely mounted:
- Measure and mark: Use a measuring tape to determine the exact placement of the shelf on the brackets. Measure the distance between the brackets and transfer those measurements onto the shelf.
- Pre-drill holes (if necessary): Depending on the type of shelf and brackets you are using, you may need to pre-drill holes in the underside of the shelf in order to attach it to the brackets. Use a drill bit that matches the size of the screws you will be using.
- Align the shelf: Place the shelf on top of the brackets, making sure it is centered and level. Use a level to double-check that the shelf is straight.
- Secure the shelf to the brackets: Use screws or other appropriate hardware to attach the shelf to the brackets. Make sure to drive the screws through the pre-drilled holes (if applicable) or directly into the underside of the shelf.
- Tighten the screws: Using a screwdriver or an electric drill with a screwdriver bit, tighten the screws until they are snug. Be careful not to overtighten, as this could damage the shelf or the brackets.
- Test the stability: Gently test the stability of the shelf by applying slight pressure and checking for any wobbling or shifting. If the shelf feels secure, you’re done!
Congratulations! You have successfully attached the shelf to the brackets without using a drill. Now you can decorate and organize your shelf to your heart’s content!
Ensuring the Shelf’s Stability
When hanging a shelf without using a drill, it’s important to ensure that the shelf is stable and secure. Here are some steps you can follow to ensure the stability of the shelf:
1. Choose the Right Wall
Before hanging the shelf, make sure you choose a suitable wall for installation. Look for a wall that is sturdy and capable of supporting the weight of the shelf and the items you plan to place on it. Avoid walls that are prone to moisture or have weak spots.
2. Determine the Weight Capacity
It’s important to know the weight capacity of the adhesive or hanging hardware you plan to use. This information should be provided by the manufacturer. Make sure the adhesive or hardware can support the weight of the shelf and its contents. Exceeding the weight capacity can lead to instability or damage to the wall.
3. Clean the Wall Surface
Before attaching the adhesive or hanging hardware, clean the wall surface to remove any dirt, grease, or dust. A clean surface will allow for a better bond and improve the stability of the shelf. Use a mild detergent and water to clean the wall, and let it dry completely before proceeding.
4. Follow the Manufacturer’s Instructions
Whether you are using adhesive strips, adhesive hooks, or any other type of hanging hardware, it’s important to carefully follow the manufacturer’s instructions. They will provide specific guidance on how to properly apply the adhesive or install the hardware to ensure the shelf’s stability.
5. Test the Shelf’s Stability
After installing the shelf, give it a gentle shake to test its stability. If it feels loose or wobbly, you may need to reinforce the adhesive or make adjustments to the hanging hardware. It’s better to address any stability issues before placing items on the shelf.
6. Distribute Weight Evenly
To further enhance the shelf’s stability, distribute the weight of your items evenly across the shelf. Placing heavy items on one side might cause the shelf to tilt or become unbalanced. Consider using bookends or dividers to keep items organized and prevent shifting.
By following these steps and taking necessary precautions, you can ensure the stability of the shelf and enjoy a securely mounted storage solution without the need for a drill.
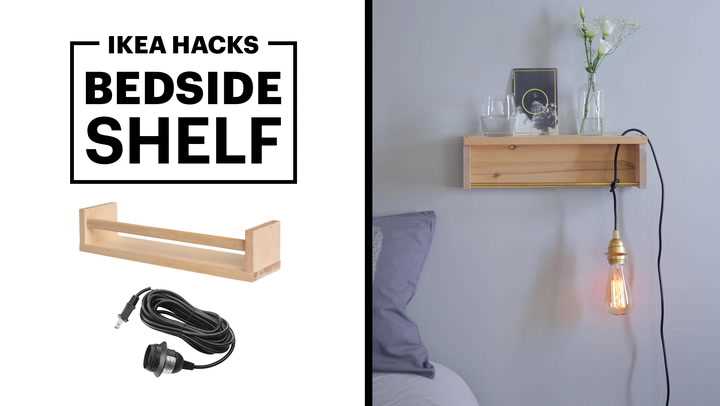
Decorating and Organizing the Shelf
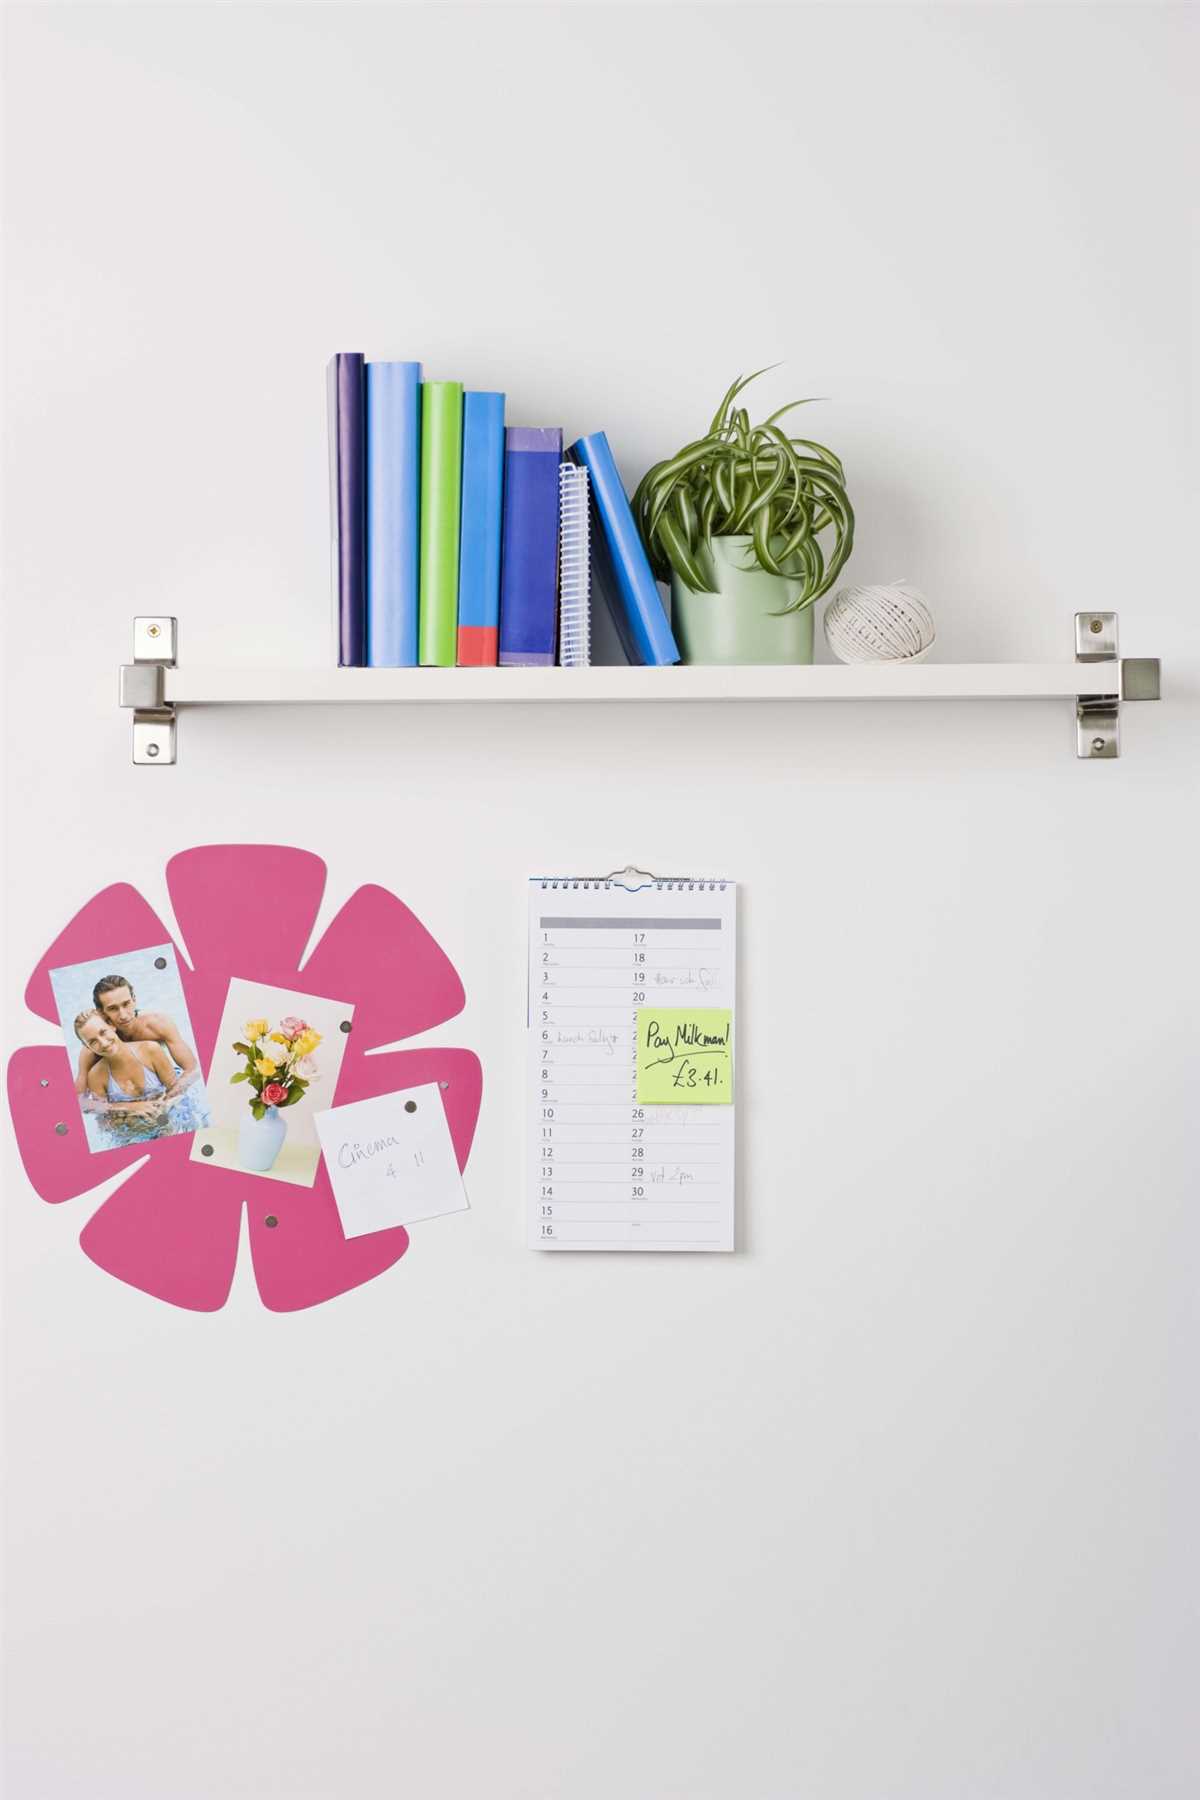
Add Some Style
Once you have successfully hung your shelf without using a drill, it’s time to add some style and personality to it. Here are a few ideas to help you decorate your shelf:
- Plants: Add some greenery to your shelf with small potted plants or succulents. They not only add a pop of color but also freshen up the space.
- Artwork: Hang a small piece of artwork or a framed photo on the back of the shelf to create an interesting focal point.
- Books: Stack a few books vertically or horizontally on the shelf to add height and texture. You can also use them as bookends for other items.
- Candles or Diffusers: Place scented candles or reed diffusers on the shelf to create a cozy atmosphere and a pleasant scent.
- Decorative Objects: Display decorative objects, such as vases, figurines, or small sculptures, to add visual interest and reflect your personal style.
Organize with Style
In addition to decorating, organizing your shelf is equally important for a clutter-free and functional space. Here are some tips to help you organize your shelf:
- Baskets or Bins: Use baskets or bins to store smaller items and keep them out of sight. This helps maintain a neater appearance and makes it easier to find what you need.
- Containers: Utilize containers, such as jars or canisters, to store loose items like pens, paper clips, or cotton balls. Not only do they keep things organized, but they also add a stylish touch.
- Dividers or Trays: Use dividers or trays to create separate compartments on the shelf. This helps categorize items and prevents them from mixing together.
- Labels: Consider adding labels to the containers or dividers to identify what is stored in each section. This makes finding and accessing items easier, especially if you have multiple shelves.
- Color Coordination: Arrange items on the shelf based on color to create a visually pleasing and cohesive look. Grouping items by color also helps locate items more quickly.
Remember, the key to decorating and organizing your shelf is to strike a balance between functionality and aesthetics. Experiment with different combinations and arrangements until you achieve the desired look and feel for your space.
FAQ:
Can I hang a shelf without using a drill?
Yes, you can hang a shelf without using a drill. There are several alternative methods available that do not require drilling into the wall.
What are some alternatives to using a drill to hang a shelf?
Some alternatives to using a drill to hang a shelf include using adhesive hooks, a pegboard, or a tension rod. These methods can be just as effective and do not require any drilling.
How do I hang a shelf using adhesive hooks?
To hang a shelf using adhesive hooks, you will need to first clean the wall surface where you want to hang the shelf. Then, apply the adhesive hooks to the wall and let them set for the recommended time. Finally, attach the shelf to the hooks and make sure it is securely in place.
Can I hang a heavy shelf without using a drill?
Yes, you can hang a heavy shelf without using a drill. One method is to use heavy-duty adhesive hooks or strips specifically designed to hold heavier items. Another method is to use a tension rod or a sturdy bracket system.
Video:


Meet Harrison Clayton, a distinguished author and home remodeling enthusiast whose expertise in the realm of renovation is second to none. With a passion for transforming houses into inviting homes, Harrison's writing at https://thehuts-eastbourne.co.uk/ brings a breath of fresh inspiration to the world of home improvement. Whether you're looking to revamp a small corner of your abode or embark on a complete home transformation, Harrison's articles provide the essential expertise and creative flair to turn your visions into reality. So, dive into the captivating world of home remodeling with Harrison Clayton and unlock the full potential of your living space with every word he writes.


