How to effectively use a left hand drill bit

Left hand drill bits are a handy tool to have in your toolbox, especially when dealing with stripped or broken screws. These drill bits are designed to rotate counterclockwise, which can help loosen stuck screws or bolts. In this article, we will discuss how to effectively use a left hand drill bit to remove screws and bolts, as well as some tips and tricks to ensure success.
Step 1: Choose the right size
Before using a left hand drill bit, it is important to select the right size for the job. The drill bit should be slightly smaller than the screw or bolt you are trying to remove. This will allow the bit to grab onto the metal and create friction as it spins, helping to loosen the fastener.
Step 2: Secure the material
Next, you will need to secure the material that the screw or bolt is embedded in. This will prevent the material from spinning along with the fastener and make it easier to remove. You can use clamps or a vise to hold the material in place, or have a helper hold it steady while you work.

Step 3: Set the drill to reverse
Once the material is secured, set your drill to reverse or counterclockwise rotation. Most drills have a switch or button that allows you to change the rotation direction. Make sure the drill is at a low speed to prevent damage to the material.
Step 4: Start drilling
Place the left hand drill bit into the center of the screw or bolt and apply gentle pressure as you start drilling. The bit should grab onto the metal and begin to rotate counterclockwise. Keep the drill steady and let the bit do the work. As the screw or bolt starts to loosen, you may feel less resistance.
Tip: If the screw or bolt does not start to loosen after a few rotations, you can try applying some penetrating oil to help lubricate and break up any corrosion or rust.
Step 5: Remove the screw or bolt

Once the screw or bolt is loose, use pliers or a wrench to carefully remove it from the material. Turn the drill off and set it aside. Be cautious not to strip the fastener or damage the material while removing it.
Using a left hand drill bit can be an effective way to remove stuck screws or bolts. By following these steps and taking the proper precautions, you can navigate this process with ease and effectively remove troublesome fasteners.
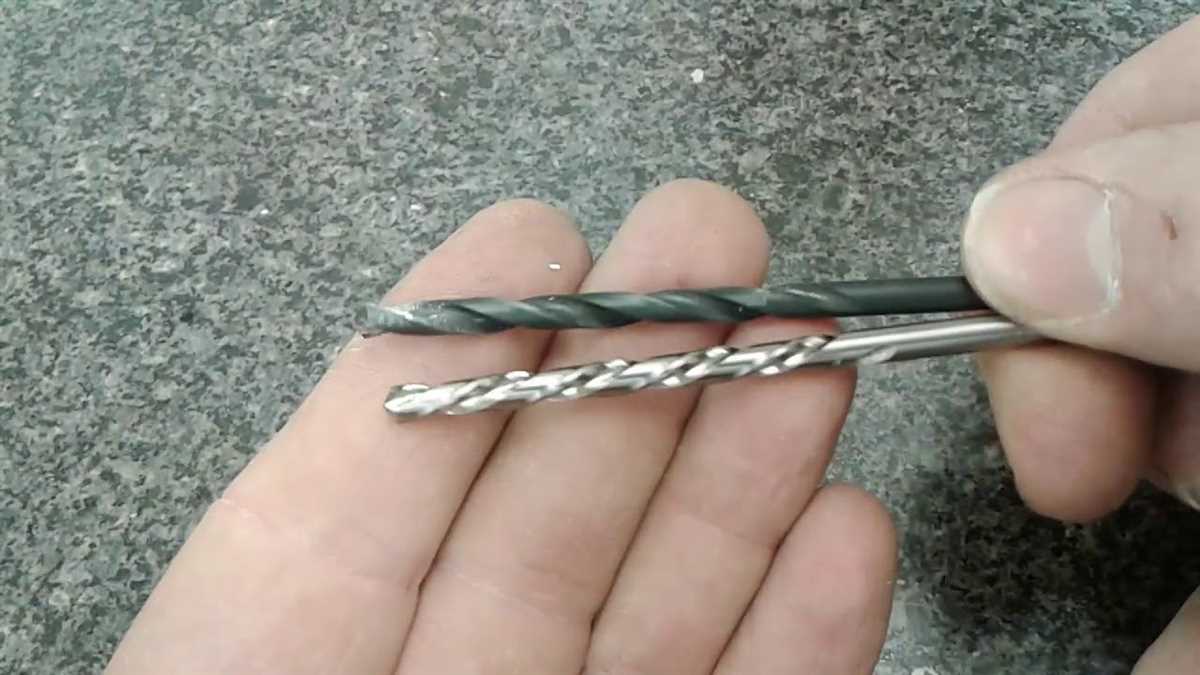
Understanding the Left Hand Drill Bit
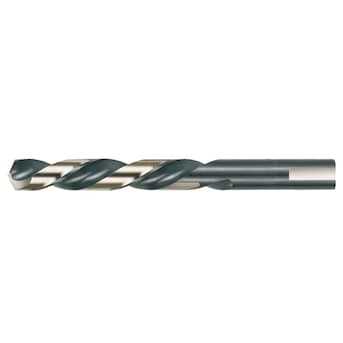
The left hand drill bit is a specialized type of drill bit that is designed to rotate in the opposite direction compared to a standard right-handed drill bit. It is commonly used in situations where a broken or seized fastener needs to be removed.
How Does a Left Hand Drill Bit Work?
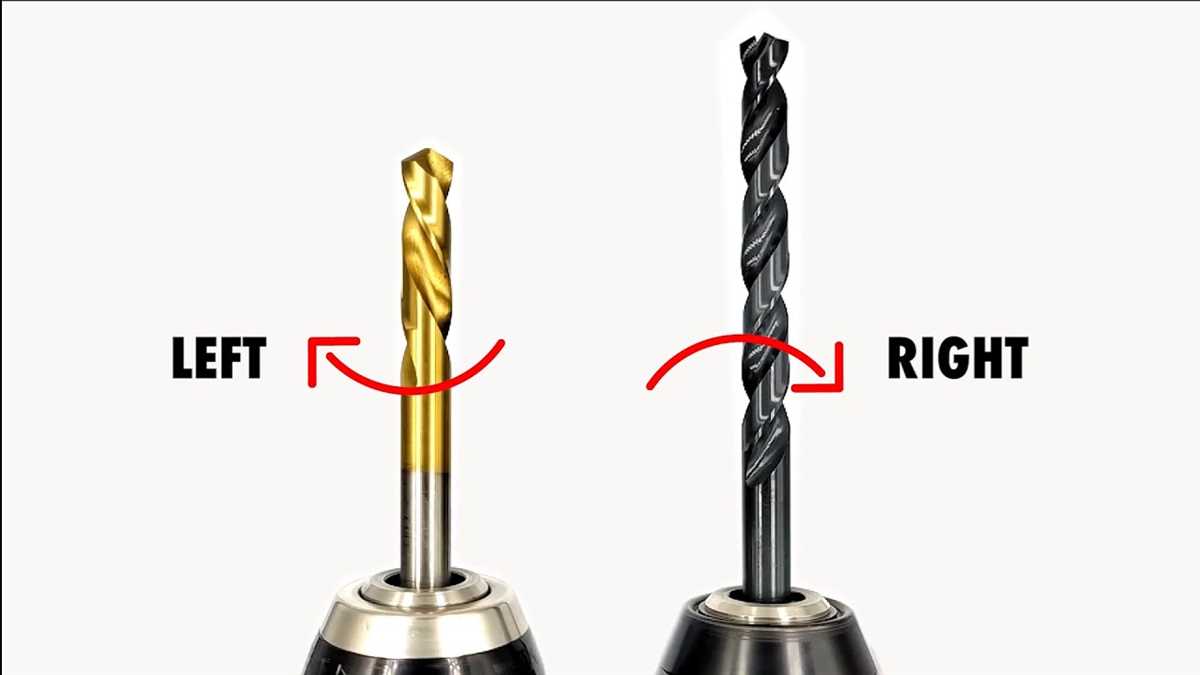
A left hand drill bit operates by rotating counterclockwise, which is opposite to the clockwise rotation of a typical right-handed drill bit. This counterclockwise rotation is beneficial when trying to remove broken or seized fasteners because it can catch onto the fastener and help loosen it while drilling.

Benefits of Using a Left Hand Drill Bit
- Easy extraction: The counterclockwise rotation of a left hand drill bit can help extract broken or seized fasteners, making the removal process easier and faster.
- Less damage: Using a left hand drill bit reduces the likelihood of causing further damage to the surrounding material while removing a fastener.
- Versatility: Left hand drill bits can be used with both hand drills and power drills, providing flexibility in different situations.
Tips for Using a Left Hand Drill Bit
- Choose the right size: Select a left hand drill bit that matches the size of the fastener you want to remove.
- Start with a pilot hole: It’s often helpful to start drilling a small pilot hole in the center of the fastener before using a left hand drill bit. This can help guide the bit and provide a starting point for extraction.
- Use proper technique: Apply steady pressure while drilling with a left hand drill bit, and ensure that the drill is set to rotate counterclockwise.
- Be patient: Extraction with a left hand drill bit may take some time, especially for stubborn or heavily seized fasteners. Take your time and avoid putting excessive force on the bit.
Conclusion
The left hand drill bit is a valuable tool for removing broken or seized fasteners. Its counterclockwise rotation and specialized design make it effective and versatile. By understanding how to properly use a left hand drill bit and following the recommended tips, you can improve your chances of successful extraction while minimizing damage to the surrounding material.
Advantages of Using a Left Hand Drill Bit
- Aids in removing broken or stuck bolts and screws
- Provides an alternative method for extracting fasteners
- Reduces the risk of further damaging the material
- Offers increased control and precision during drilling
- Helps to prevent the need for more invasive extraction methods
- Allows for easy removal of stripped or damaged screws
- Can be used to create pilot holes for easy screw insertion
- Compatible with reverse drilling capabilities of some drills
- Offers versatility for both right-handed and left-handed users
- Enhances the efficiency and speed of drilling and extraction processes
Safety Tips for Using a Left Hand Drill Bit
A left hand drill bit is a useful tool for removing stuck or broken screws and bolts. While it can make the task easier, it is important to use the drill bit safely to avoid accidents and injuries. Here are some safety tips to keep in mind when using a left hand drill bit:
- Wear Safety Glasses: Before using a left hand drill bit, always wear safety glasses to protect your eyes from any flying debris or metal fragments that may occur during the drilling process.
- Use Proper Speed and Torque: When operating a left hand drill bit, make sure to use the appropriate speed and torque settings on your drill. Using too high a speed or torque can cause the drill bit to break or become stuck in the material, resulting in potential danger.
- Secure the Workpiece: Ensure that the workpiece is properly secured before using the left hand drill bit. This will prevent it from moving or spinning during drilling, reducing the risk of accidents and injuries.
- Start with a Pilot Hole: It is recommended to start drilling with a smaller drill bit to create a pilot hole. This will help guide the left hand drill bit and prevent it from wandering off course, reducing the risk of damaging the surrounding material or causing the drill bit to break.
- Operate the Drill at a Controlled Speed: Avoid excessive speed when using a left hand drill bit, especially when breaking loose a stuck screw or bolt. Start at a slow speed and gradually increase it as needed to minimize the risk of the drill bit catching and causing the workpiece to spin out of control.
- Check for Damage: Regularly inspect the left hand drill bit for any signs of damage, such as dullness or chips. Replace any damaged drill bits to ensure optimal performance and reduce the risk of accidents.
- Keep Hands Clear: Always keep your hands and fingers away from the drilling area to avoid accidental contact with the moving drill bit. Use clamps or other securing devices to hold the workpiece in place instead of using your hands.
- Store Properly: After using a left hand drill bit, store it in a safe place away from children and other potential hazards. Keep the drill bit in its packaging or in a designated storage container to prevent injuries and extend its lifespan.
By following these safety tips, you can effectively use a left hand drill bit while minimizing the risk of accidents or injuries. Always prioritize safety and take necessary precautions when working with power tools.
Step-by-Step Guide for Using a Left Hand Drill Bit
1. Gather the necessary materials
Before you begin using a left hand drill bit, make sure you have the following materials:

- Left hand drill bit
- Drill
- Workpiece
- Clamps (if necessary)
- Safety goggles
2. Prepare the workpiece
Secure the workpiece firmly in place using clamps if necessary. This will prevent it from moving or rotating during drilling.
3. Insert the left hand drill bit into the drill chuck
Open the chuck of your drill and insert the left hand drill bit. Make sure it is securely tightened in place before proceeding.
4. Set the drill to reverse mode
Left hand drill bits are designed to rotate in the opposite direction of a conventional drill bit. Set your drill to reverse mode, usually indicated by an arrow pointing counterclockwise.

5. Position the drill bit on the workpiece
Place the tip of the left hand drill bit on the desired location on the workpiece. Apply steady pressure to ensure the drill bit does not slip.
6. Start drilling
With the drill bit in position, slowly squeeze the drill trigger to start drilling. Apply consistent, moderate pressure while drilling to prevent the drill bit from overheating or breaking.
7. Monitor the drilling progress
Keep an eye on the drilling progress and adjust the pressure as needed. Left hand drill bits are designed to bite into the material and potentially extract broken screws or bolts, so be prepared to stop drilling if this occurs.

8. Remove the drill bit from the workpiece
Once you have completed the drilling process, release the trigger and retract the left hand drill bit from the workpiece.
9. Inspect the drilled hole
Check the drilled hole for any remaining debris or broken screws or bolts. Clean out any debris using compressed air, a brush, or other suitable tools.
10. Follow safety precautions
Before storing your tools, ensure that you have followed all safety precautions. Remove the left hand drill bit from the drill, wear safety goggles throughout the process, and store your tools in a safe and secure location.
| Pros of Using a Left Hand Drill Bit | Cons of Using a Left Hand Drill Bit |
|---|---|
|
|
Preparing the Work Area
Before using a left hand drill bit, it is important to properly prepare the work area. This helps ensure not only the effectiveness and efficiency of the drilling process but also the safety of the operator. The following steps outline how to prepare the work area:
- Clean the work surface: Start by clearing the work surface of any debris, dust, or loose materials. This can be done by using a brush or a vacuum cleaner to remove any loose particles.
- Secure the workpiece: If necessary, securely clamp the workpiece to prevent it from moving during the drilling process. This ensures accurate drilling and reduces the risk of injury.
- Mark the drilling spot: Use a pencil or a center punch to mark the exact spot where the hole needs to be drilled. This helps guide the drill bit and ensures precision in the drilling process.
- Wear safety gear: Before starting the drilling process, it is important to wear appropriate safety gear, including safety goggles, work gloves, and hearing protection if necessary. This protects the operator from potential hazards, such as flying debris or loud noise.
- Clear the surroundings: Ensure that there are no obstacles or hazards in the immediate vicinity of the work area. This prevents accidents and allows for a more comfortable and controlled drilling process.
- Prepare drilling equipment: Check the left hand drill bit and the drill. Ensure that they are in good working condition and properly secured. If necessary, refer to the manufacturer’s instructions for guidance on how to set up and use the equipment.
- Set the drilling speed: Depending on the material being drilled, adjust the drilling speed on the drill to an appropriate setting. This helps prevent overheating or damaging the drill bit.
By following these steps, the work area will be properly prepared, ensuring a safe and effective drilling process when using a left hand drill bit.

Choosing the Right Left Hand Drill Bit
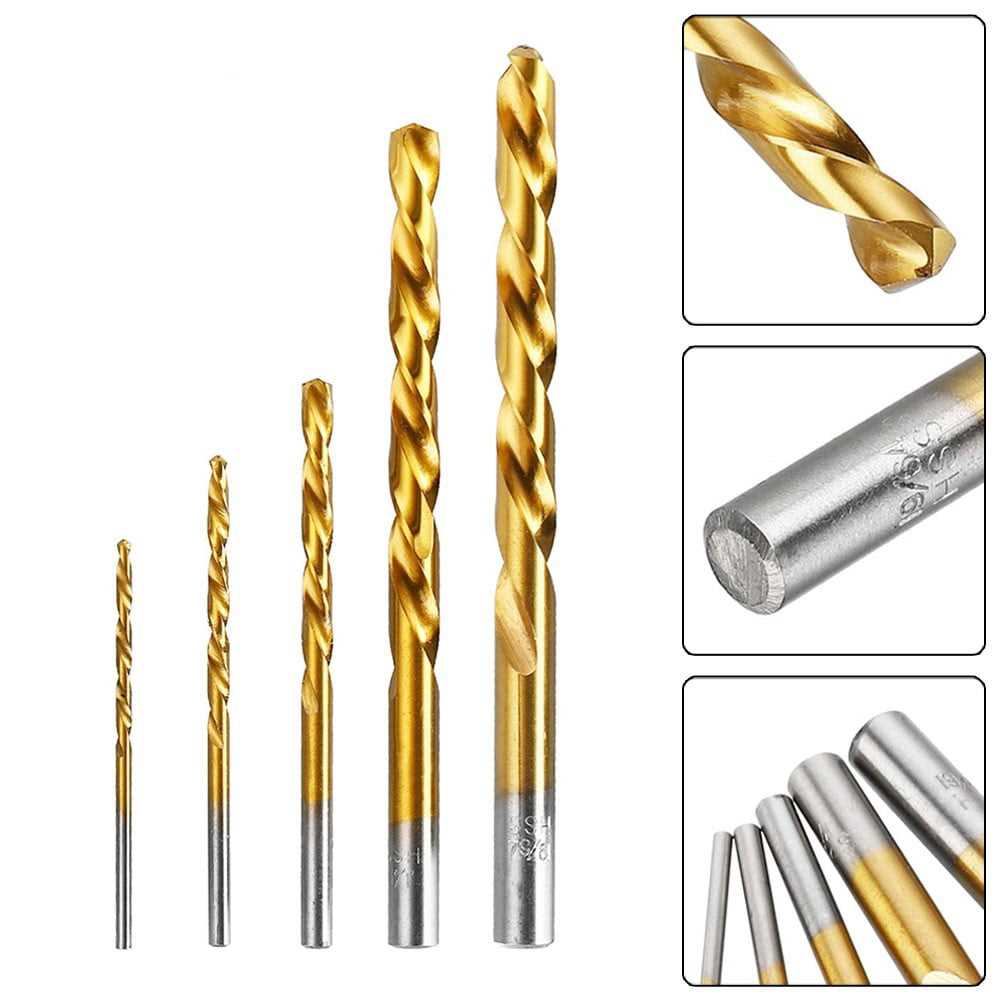
Types of Left Hand Drill Bits
When it comes to choosing the right left hand drill bit, there are several factors to consider. One of the first things to consider is the type of left hand drill bit you need. Left hand drill bits are available in different sizes and materials.
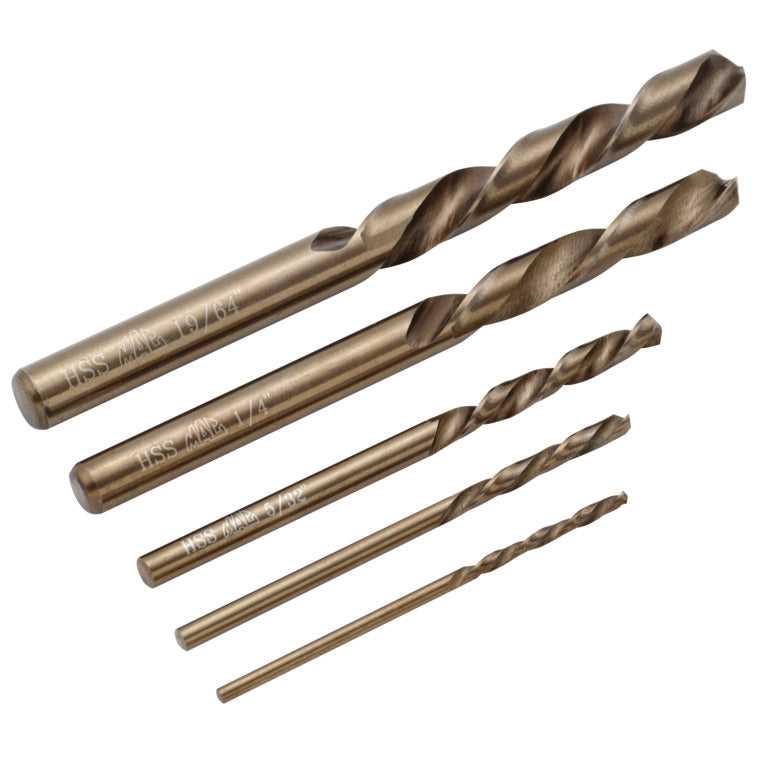
- Cobalt Left Hand Drill Bits: These drill bits are made from high-speed steel with added cobalt for increased hardness and heat resistance. They are ideal for drilling hard materials like stainless steel and cast iron.
- HSS Left Hand Drill Bits: High-speed steel (HSS) left hand drill bits are made from a durable and versatile material. They are suitable for drilling in various materials, including wood, plastic, and soft metals.
- Carbide Left Hand Drill Bits: Carbide left hand drill bits are extremely durable and can be used for drilling in tough materials such as concrete, brick, and masonry. They have a tungsten carbide tip for increased strength and longevity.
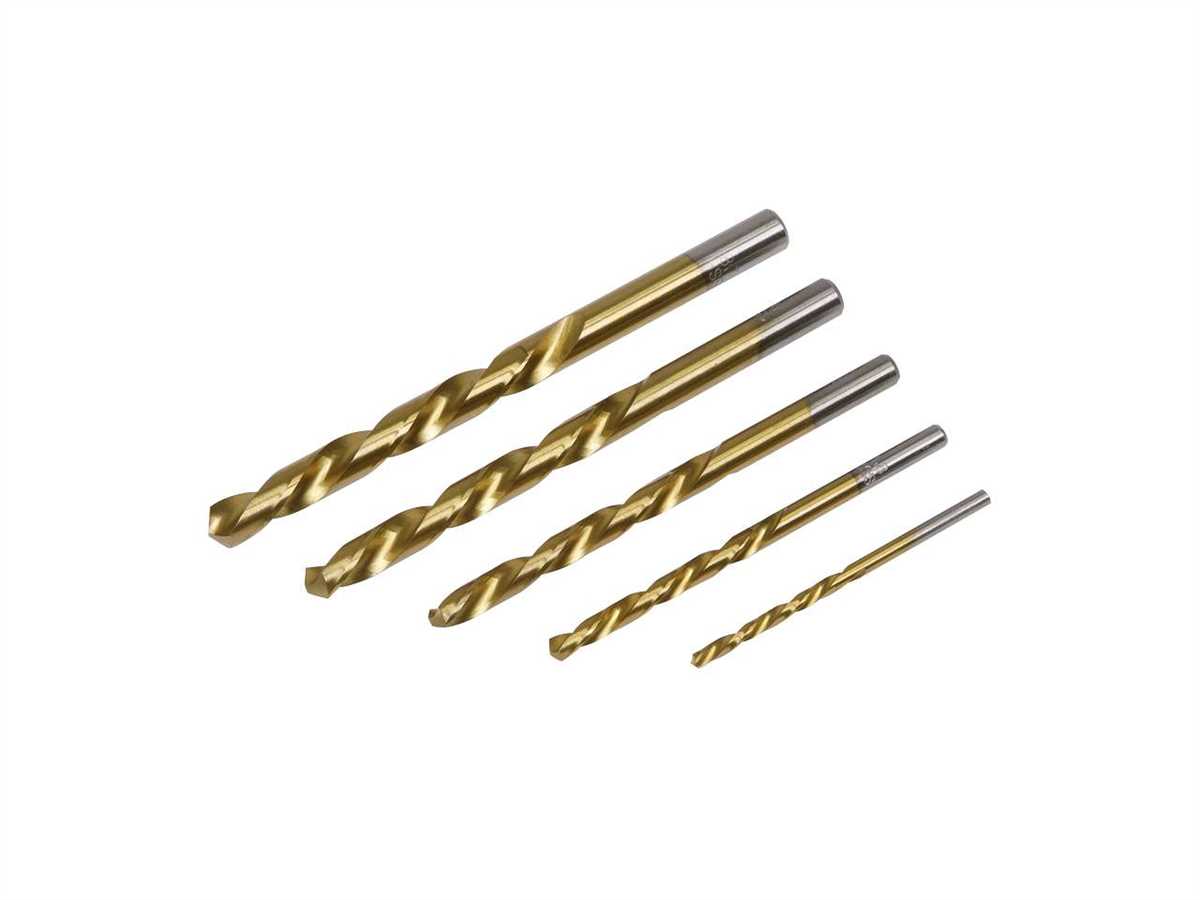
Choosing the Right Size
Another important factor to consider is the size of the left hand drill bit. Left hand drill bits come in various sizes to accommodate different drilling needs. The size of the drill bit you choose depends on the size of the hole you need to drill. It is essential to select a drill bit that matches the size of the screw or fastener you will be using.
To determine the size of the left hand drill bit, you can use a drill bit size chart or measure the diameter of the desired hole with a ruler or caliper. Make sure to choose a drill bit that is slightly smaller than the desired hole size to allow for easy drilling and prevent the hole from becoming too large.
Consider the Material
The material you will be drilling into should also influence your choice of left hand drill bit. Different materials require different drill bit materials and designs to achieve the best drilling results.
For example, if you are drilling into metal, a cobalt or HSS left hand drill bit would be suitable as they are designed to handle the hardness of metal. If you are working with wood, a standard HSS left hand drill bit may be sufficient.
Additional Considerations
Before making a final decision on the left hand drill bit to use, there are a few additional factors to consider:
- Length: The length of the drill bit should be chosen based on the depth of the hole you need to drill. Make sure the drill bit is long enough to reach the desired depth without causing any damage.
- Shank type: The shank type of the drill bit determines its compatibility with different types of power tools. Make sure to choose a left hand drill bit with a shank that is compatible with your drill.
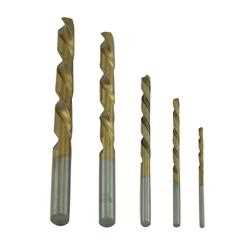
- Coating: Some left hand drill bits come with a coating that reduces friction and heat during drilling. Consider choosing a coated drill bit for improved performance and longevity.
Conclusion
Choosing the right left hand drill bit is crucial for effective drilling. Consider the type, size, material, length, shank type, and coating of the drill bit to ensure the best results. Taking these factors into account will help you select the most suitable left-hand drill bit for your specific drilling needs.
Using the Left Hand Drill Bit Correctly
Left hand drill bits are a useful tool for removing broken or stripped screws. By using a left hand drill bit, you can drill into the broken screw in the opposite direction, causing it to rotate and potentially loosen. However, it is important to use the left hand drill bit correctly to avoid any mishaps or further damage.
Step 1: Selecting the Correct Size Drill Bit
Before using a left hand drill bit, it is essential to select the proper size. The drill bit should be slightly smaller than the diameter of the broken or stripped screw. Using a bit too large may cause it to slip, while a bit too small may not provide enough grip.
Step 2: Preparing the Drill
Ensure that the drill is set to reverse mode before attaching the left hand drill bit. Reverse mode will allow the drill bit to rotate in the opposite direction, potentially loosening the screw as it drills. It is also important to secure the workpiece firmly to prevent any movement or slipping.
Step 3: Drilling Into the Screw
- Place the tip of the left hand drill bit on the center of the broken or stripped screw.
- Apply gentle pressure and slowly start drilling in reverse mode.
- Keep the drill aligned with the center of the screw and maintain a steady drilling pace.
- Occasionally, pause and check if the screw is rotating or loosening. If not, continue drilling until the screw is completely removed.
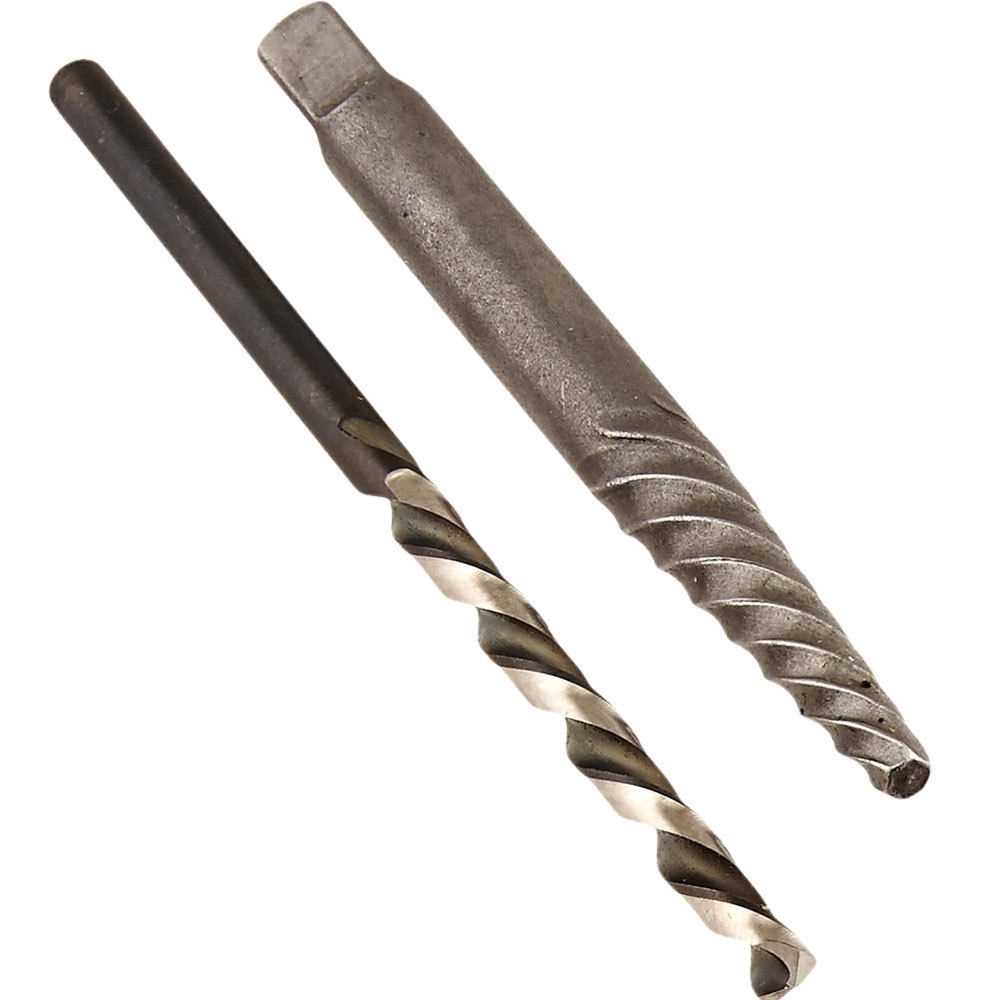
Step 4: Using Extractors (if necessary)
If the left hand drill bit alone does not remove the broken or stripped screw, you can use extractors as an additional tool. Extractors are designed to grip onto the screw and help remove it.
- Select the correct size extractor for the screw. Extractors typically come in sets with various sizes.
- Attach the extractor to the drill and place it on top of the drilled hole.
- Apply firm pressure and slowly turn the extractor counterclockwise using the drill. The extractor should grip onto the screw and remove it as it turns.
- If the extractor slips or fails to grip the screw, repeat the drilling process with a larger left hand drill bit and try again with a larger extractor if necessary.
Step 5: Clean the Hole
Once the broken or stripped screw has been removed, clean the hole using a brush, vacuum, or compressed air to remove any debris or leftover material. Having a clean hole will ensure a secure fit for a new screw, if necessary.
Step 6: Take Safety Precautions
When using a left hand drill bit, always remember to wear safety glasses and work gloves to protect yourself from any potential flying debris or accidental slips. Additionally, make sure that the work area is well-ventilated to avoid inhaling any dust particles.
By using a left hand drill bit correctly, you can effectively remove broken or stripped screws with ease. Just remember to select the correct size, prepare the drill in reverse mode, drill into the screw carefully, and use extractors if needed. Stay safe and take your time to avoid any further damage or accidents.
Troubleshooting Common Issues
1. Bit Breakage
If your left hand drill bit keeps breaking, there are a few potential causes and solutions to consider:
- Using excessive force: Applying too much pressure while drilling can cause the bit to break. Use a lighter hand and let the drill bit do the work.
- Low-quality drill bit: If you are using a cheap or worn-out left hand drill bit, it may be more prone to breakage. Invest in a high-quality drill bit to avoid this issue.
- Incorrect drilling technique: Using the wrong technique, such as drilling at an angle or not applying enough lubrication, can lead to bit breakage. Make sure you are using the correct technique and lubricating the drill bit properly.
2. Bit Slippage
If your left hand drill bit is slipping or not gripping the material properly, you can try the following troubleshooting steps:
- Dull drill bit: A dull drill bit may not be able to grip the material properly. Sharpen or replace the drill bit if necessary.
- Wrong drill bit size: Using the wrong size of drill bit can cause slippage. Make sure you are using the correct size for your project.
- Poor material quality: If the material you are drilling into is of poor quality or too hard, it may be difficult for the drill bit to grip properly. Consider using a different drilling technique or a stronger drill bit.
3. Drill Bit Wandering
When your left hand drill bit starts to wander off course, you can troubleshoot the issue with these steps:
- Incorrect drilling angle: Make sure you are drilling straight into the material and not at an angle. Use a drill guide or mark the drilling spot to maintain accuracy.
- Inadequate clamping or securing: If the material is not properly secured or clamped down, the drill bit may wander. Ensure the material is securely held in place before drilling.
- Dull drill bit: A dull drill bit can cause the bit to wander. Sharpen or replace the drill bit if necessary.
4. Insufficient Hole Depth
If your left hand drill bit is not creating a hole of the desired depth, consider the following troubleshooting steps:
- Incorrect drill bit length: Ensure that you are using a drill bit with the appropriate length for the desired hole depth.
- Insufficient pressure: Applying too little pressure can result in a shallow hole. Increase the pressure slightly while drilling.
- Dull drill bit: A dull drill bit may struggle to penetrate the material properly. Sharpen or replace the drill bit if necessary.
5. Overheating
If your left hand drill bit is overheating during use, try the following troubleshooting steps:
- Insufficient lubrication: Make sure you are using enough lubricant while drilling to reduce friction and heat.
- Drilling too fast: Drilling at a high speed can generate excessive heat. Slow down the drilling speed to prevent overheating.
- Dull drill bit: A dull drill bit can generate more heat while drilling. Sharpen or replace the drill bit if necessary.
By troubleshooting these common issues, you can ensure the effective use of a left hand drill bit and achieve better drilling results.
FAQ:
What is a left hand drill bit used for?
A left hand drill bit is used for drilling in a counterclockwise direction. It is commonly used to remove broken screws or bolts by drilling into them in the opposite direction, allowing them to be easily removed.
How do I use a left hand drill bit to remove a broken screw?
To use a left hand drill bit to remove a broken screw, first attach the drill bit to your drill. Then, set the drill to reverse mode. Place the drill bit against the center of the broken screw and slowly start drilling in a counterclockwise direction. The reverse motion of the left hand drill bit can help grip the broken screw and remove it from the material.
Can a left hand drill bit be used for regular drilling?
Yes, a left hand drill bit can be used for regular drilling. However, it is important to note that it drills in a counterclockwise direction instead of the usual clockwise direction. So, if you decide to use a left hand drill bit for regular drilling, make sure to adjust your drilling technique accordingly.
Are left hand drill bits better than regular drill bits for removing broken screws?
Left hand drill bits are often preferred for removing broken screws because their counterclockwise motion can sometimes help loosen the screw while drilling. This can make it easier to remove the broken screw without damaging the surrounding material. However, the effectiveness of a left hand drill bit in removing broken screws can depend on factors such as the type of material and the size of the screw.
Video:


Meet Harrison Clayton, a distinguished author and home remodeling enthusiast whose expertise in the realm of renovation is second to none. With a passion for transforming houses into inviting homes, Harrison's writing at https://thehuts-eastbourne.co.uk/ brings a breath of fresh inspiration to the world of home improvement. Whether you're looking to revamp a small corner of your abode or embark on a complete home transformation, Harrison's articles provide the essential expertise and creative flair to turn your visions into reality. So, dive into the captivating world of home remodeling with Harrison Clayton and unlock the full potential of your living space with every word he writes.


