How to Drill Wood Without Splitting: Tips and Techniques

Drilling holes in wood is a common task for any DIY enthusiast or professional woodworker. However, one of the major challenges is to prevent the wood from splitting. Splitting can not only ruin the appearance of your project, but it can also weaken the wood and compromise its structural integrity. Therefore, it is crucial to know the proper techniques to drill wood without splitting.
Choose the Right Drill Bit
One of the most important factors to consider when drilling wood is selecting the right drill bit. For most woodworking projects, a twist drill bit with a brad point is ideal. The brad point helps to stabilize the bit and prevents it from wandering as you drill. Additionally, a sharp drill bit is essential to cut through the wood cleanly. Dull bits are more likely to cause the wood to splinter. If you notice that your drill bit is not cutting smoothly, it may be time to replace it.
Mark the Drill Hole
Before you start drilling, it is essential to mark the exact location where you want to drill the hole. Using a pencil or a center punch, make a small indentation on the wood’s surface. This indentation will help guide the drill bit and prevent it from wandering off course. It is crucial to be accurate with your marking, as drilling even a few millimeters off can lead to splitting.

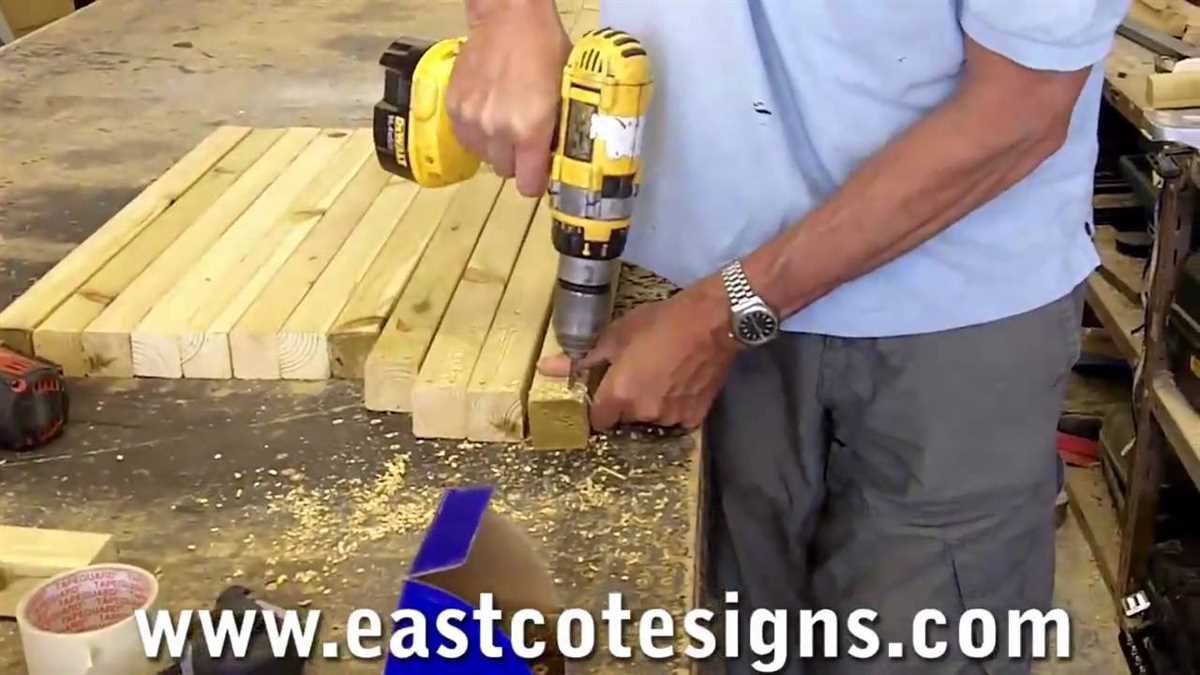
Apply Light Pressure
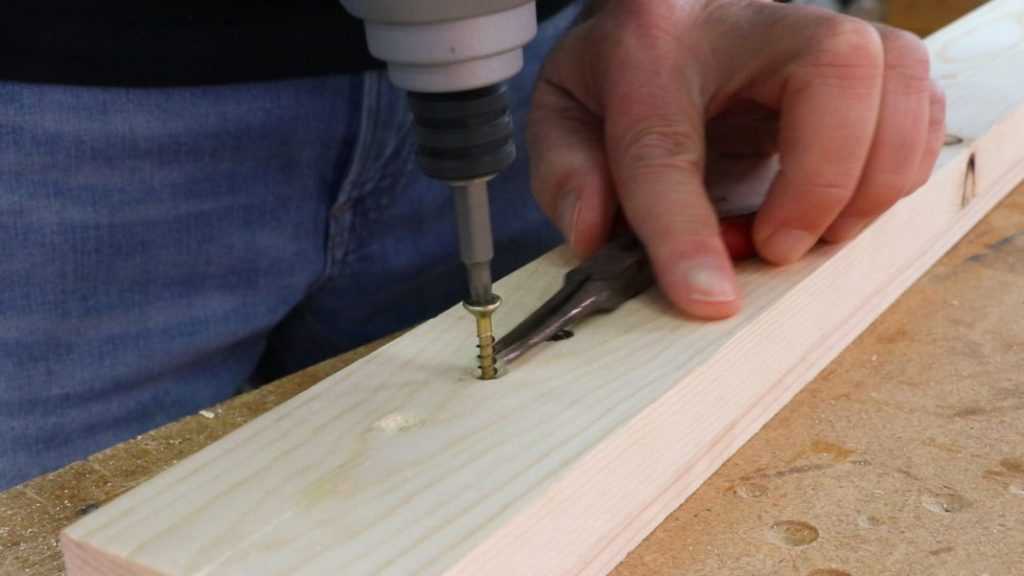
When drilling wood, it is important to apply light and constant pressure. Excessive pressure can cause the wood to splinter, especially near the exit point of the drill bit. By applying gentle and steady pressure, you allow the drill bit to cut through the wood without putting too much strain on it. If you encounter resistance, it may be an indication that the drill bit is dull or that you need a different type of bit for the wood you are drilling.
Use a Backing Board
In some cases, drilling close to the edge of a piece of wood can be challenging as the wood may split. To prevent this, you can use a backing board. Place a scrap piece of wood or a block of the same material behind the one you are drilling. The backing board provides support and helps distribute the pressure evenly, reducing the risk of splitting. It is especially useful when drilling near the ends or edges of a board.
Techniques for Drilling Wood Without Splitting
When drilling wood, it’s important to take precautions to avoid splitting the wood. Splitting can occur when the drill bit creates too much pressure or when it encounters a weak spot in the wood. To help prevent splitting, try the following techniques:

1. Use a Pilot Hole
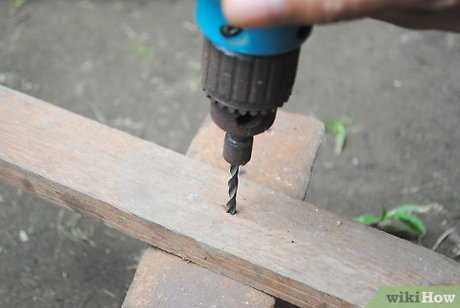
A pilot hole is a small hole that is drilled before the main hole. It helps to guide the drill bit and reduce the pressure on the wood. To use a pilot hole, choose a drill bit that is slightly smaller in diameter than the final hole you want to make. Drill the pilot hole in the desired location, then switch to the larger drill bit to create the final hole.
2. Select the Right Drill Bit
The type of drill bit you use can have an impact on whether the wood splits or not. For most wood drilling tasks, a twist drill bit is suitable. However, for dense or hard woods, you may want to consider using a brad point or auger bit, as they tend to be less prone to splitting. Additionally, make sure the drill bit is sharp, as a dull bit can cause more friction and increase the likelihood of splitting.
3. Mark and Clamp the Wood
Before drilling, it’s important to mark the exact spot where you want the hole to be. Use a pencil or a marking knife to make a precise mark. This will help ensure that you drill in the right place and reduce the risk of splitting. Additionally, if the wood is small or lightweight, consider clamping it down securely to prevent it from moving or vibrating during the drilling process.
4. Adjust the Speed and Pressure

When drilling wood, it’s important to use the right speed and pressure to avoid splitting. Start by setting the drill to a low speed, and gradually increase the speed as needed. Applying too much pressure can also increase the chance of splitting, so try to apply steady and even pressure while drilling.
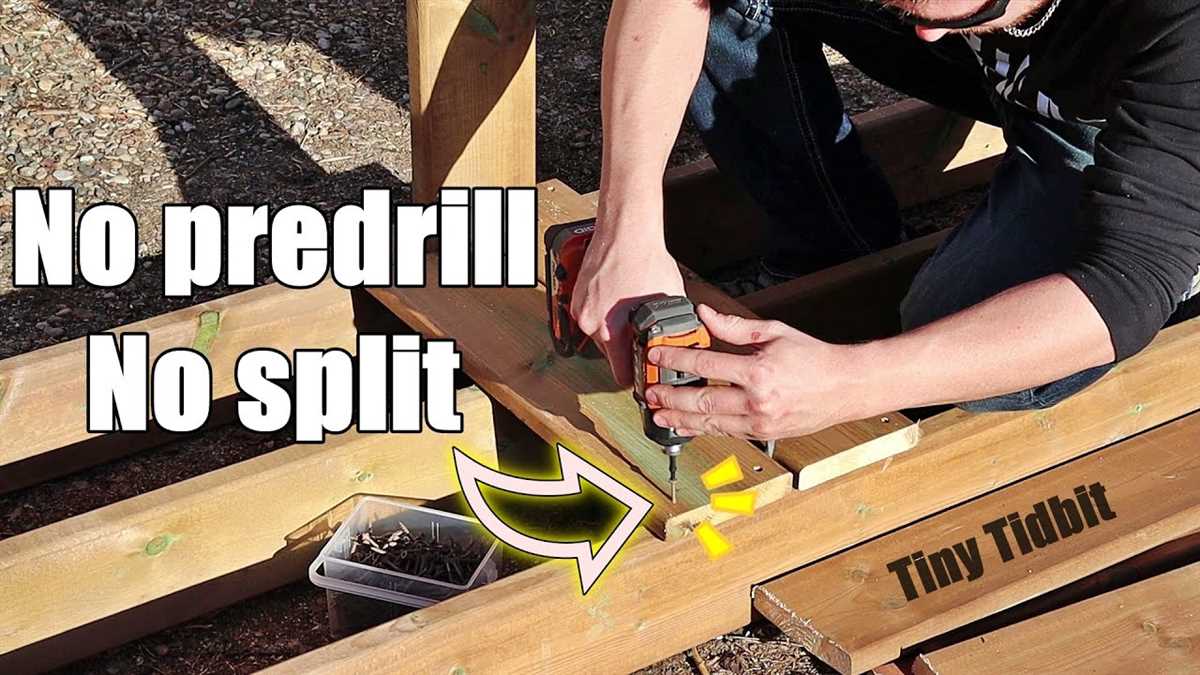
5. Avoid Drilling Near Edges
Wood near the edges is more prone to splitting, especially if the grain is running parallel to the edge. To minimize the risk of splitting, try to avoid drilling too close to the edges of the wood. If you need to drill near the edge, consider drilling at an angle to help reduce the chance of splitting.
6. Use a Backing Board
If you’re drilling through a piece of wood that is more likely to split, such as a thin or brittle piece, using a backing board can help prevent splitting. Place a scrap piece of wood beneath the workpiece and drill through both. The backing board will provide support and reduce the chances of the wood splitting.
By following these techniques, you can improve your chances of drilling wood without splitting. Remember to always use caution and wear appropriate safety gear when operating power tools.

Choosing the Right Drill Bit
When drilling wood, it is important to use the right drill bit for the job. The type of drill bit you choose will depend on the size and type of hole you are trying to create. Here are some factors to consider when selecting a drill bit:
- Material: Drill bits can be made from various materials, such as high-speed steel (HSS), carbide, or cobalt. HSS drill bits are suitable for most wood drilling tasks, while carbide and cobalt bits are better suited for special applications or drilling through harder materials.
- Size: Drill bits come in a range of sizes, typically measured in inches or millimeters. The size of the hole you need will determine the size of the drill bit to use. It’s important to select a drill bit that matches the size of the hole you want to create.
- Type: There are different types of drill bits that are designed for specific purposes. Common types include twist bits, spade bits, auger bits, and brad point bits. Twist bits are versatile and can be used for different materials, while spade bits are ideal for drilling large holes. Auger bits are best for deep holes, and brad point bits are great for creating precise holes.
Before starting your drilling project, take time to assess your specific needs and choose the right drill bit accordingly. Using the wrong drill bit can result in splitting the wood or producing an inaccurate hole.
Preparing the Wood Surface
Before drilling into wood, it is important to properly prepare the surface to prevent splitting. Here are some tips and techniques to help you prepare the wood surface:
- Choose the right type of wood: Certain types of wood are more prone to splitting than others. Softwoods, such as pine or cedar, are more likely to split compared to hardwoods like oak or maple. Consider using a hardwood if you are concerned about splitting.
- Moisten the wood: If the wood is dry, it can become brittle and more susceptible to splitting. Before drilling, lightly moisten the surface of the wood with water using a spray bottle. This will help to prevent splitting.
- Mark the drilling location: Use a pencil or a marker to clearly mark the spot where you will be drilling. This will help guide the drill bit and reduce the chances of splitting the wood.
- Use a pilot hole: To further prevent splitting, start by drilling a smaller pilot hole before drilling the full-size hole. A pilot hole will help to guide the drill bit accurately and reduce the risk of splitting the wood.
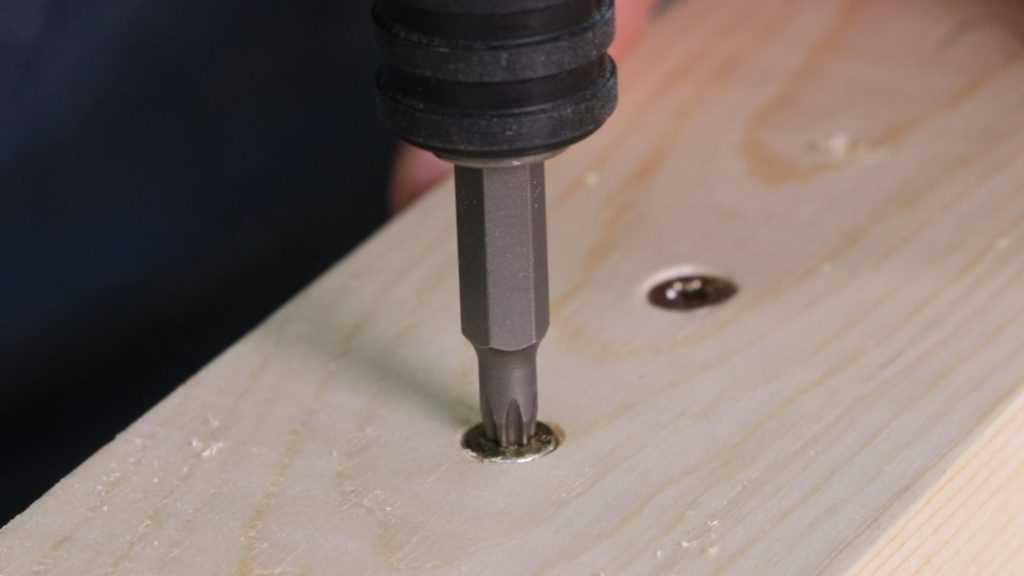
- Use a center punch: For harder woods, use a center punch to create a small indentation at the drilling location. This will help guide the drill bit and prevent it from wandering, reducing the chances of splitting.
By following these tips and techniques, you can effectively prepare the wood surface and minimize the risk of splitting when drilling.

Using Pilot Holes
Pilot holes are small, pre-drilled holes that help prevent wood from splitting when you drive in screws or nails. By creating a pilot hole, you give the screw or nail a clear path to follow, reducing the likelihood of the wood splitting around it. Here are some tips and techniques for using pilot holes effectively:
1. Choose the Right Drill Bit
When creating a pilot hole, it’s important to choose the right drill bit size. The drill bit should be slightly smaller than the diameter of the screw or nail you intend to use. This ensures a tight fit and prevents the wood from splitting. Use a drill bit that matches the size of your screw or nail, or slightly smaller.
2. Mark the Hole’s Location
Before drilling a pilot hole, mark the location where you want to place the screw or nail. Use a pencil or a marking tool to make a small dot or a cross on the wood to guide your drilling.
3. Drill the Pilot Hole
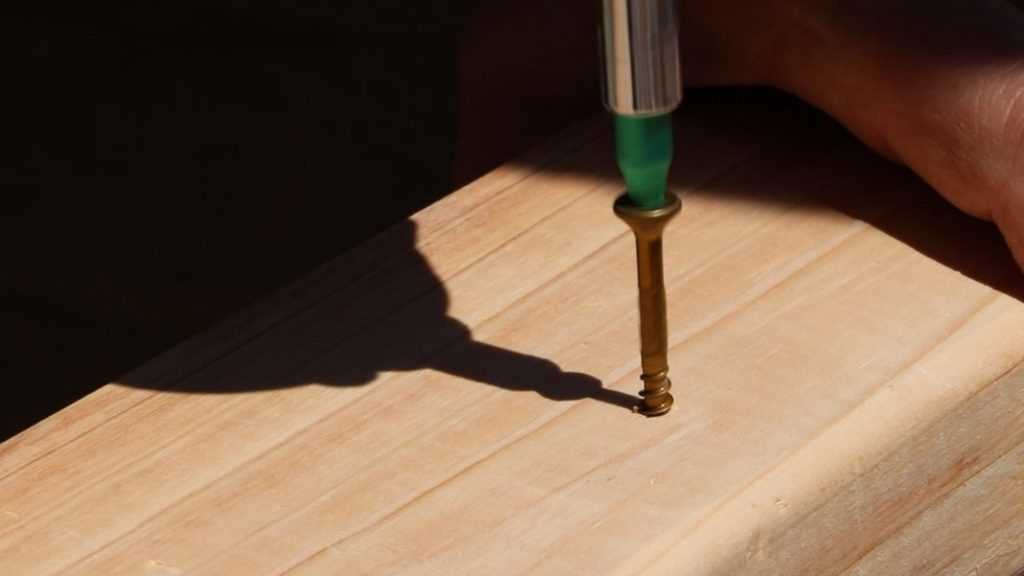
Hold the drill perpendicular to the wood surface and start drilling at a slow speed. Apply gentle pressure and let the drill bit do the work. Drill through the marked spot until the pilot hole is at least as deep as the screw or nail you will be using.
4. Clear Debris
After drilling the pilot hole, carefully remove the drill bit and use a brush or a cloth to clean out any wood debris from the hole. This will ensure a clean and smooth pathway for the screw or nail.
5. Attach the Screw or Nail
Now that you have the pilot hole, you can easily drive in the screw or nail without worrying about splitting the wood. The pilot hole will guide the screw or nail along the path you created, preventing any cracks or splits.
6. Consider Wood Type
Keep in mind that different types of wood may require different pilot hole sizes. Softer woods, like pine, may require smaller pilot holes, while harder woods, like oak, may require larger ones. Take into account the density and hardness of the wood when selecting the drill bit size for your pilot hole.
By using pilot holes, you can greatly reduce the risk of splitting wood when drilling. This technique is especially useful when working with delicate or brittle materials. Remember to always measure and mark the hole’s location, choose the appropriate drill bit size, and clear debris before attaching the screw or nail. Happy drilling!
Applying Tape or Masking
One effective technique to prevent wood from splitting when drilling is to apply tape or masking to the area you plan to drill. This method helps to reinforce the wood and reduce the chance of splitting.
Materials needed:
- Tape or masking
- Wood
- Drill
- Drill bit
Step-by-step instructions:
- Choose the location on the wood where you want to drill the hole.
- Clean the surface of the wood to ensure that it is free from dust and debris.
- Apply tape or masking to the area you plan to drill. Make sure to cover the entire area around the hole.
- Press down the tape or masking firmly to adhere it to the wood.
- Mark the spot where you want to drill the hole on the tape or masking.
- Suitable to the size of the hole you want to drill, select the appropriate drill bit and attach it to the drill.
- Place the drill bit on the marked spot and slowly start drilling, applying light pressure.
- Continue drilling until you reach the desired depth or complete the hole.
- Once you have finished drilling, remove the tape or masking.
Note: Applying tape or masking before drilling can help prevent splitting and provide stability to the wood. However, it is important to select appropriate tape or masking that can withstand the drilling process without ripping off or leaving residue on the wood surface.
Adjusting Drill Speed and Pressure
When drilling wood, it’s important to adjust the speed and pressure of the drill to prevent splitting. Here are some tips to help you drill wood without splitting:
- Use the right speed: Different types of wood require different drill speeds. For hardwoods, use a slower speed to avoid splitting. For softwoods, you can increase the speed slightly.
- Start with a pilot hole: To prevent splitting, it’s a good idea to start with a small pilot hole before drilling the full-sized hole. This helps to create a guide for the drill bit and reduces the chances of the wood splitting.
- Apply consistent pressure: When drilling, apply steady and consistent pressure to the drill. Too much pressure can cause the wood to split, while too little pressure can result in a less precise hole.
- Use a sharp drill bit: A dull drill bit can increase the chances of the wood splitting. Make sure to use a sharp drill bit that’s suitable for the type of wood you’re working with.
- Drill in short bursts: Instead of drilling continuously, try drilling in short bursts. This allows the wood to cool down between each burst and reduces the chances of splitting.
- Work with the grain: Whenever possible, try to drill in the direction of the wood grain. This helps to prevent the wood from splitting as the drill bit follows the natural fibers of the wood.
By adjusting the speed and pressure of your drill and following these techniques, you can minimize the risk of splitting wood while drilling.
Using Backing Boards
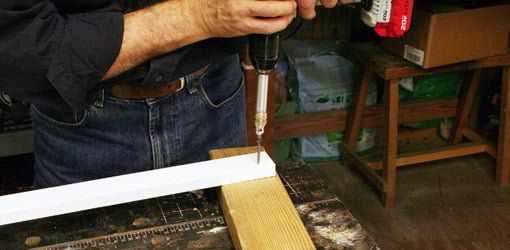
One effective technique for preventing wood from splitting while drilling is to use a backing board. A backing board is a sacrificial piece of wood that is placed beneath the wood being drilled. It provides extra support and stability, helping to distribute the force of the drill evenly and reduce the likelihood of splitting.
To use a backing board, follow these steps:
- Select a piece of scrap wood that is similar in size and thickness to the wood you are drilling.
- Place the backing board underneath the wood being drilled, ensuring that it is positioned securely and flatly.
- Mark the spot where you want to drill on the top piece of wood.
- Start drilling slowly, applying light pressure and keeping the drill perpendicular to the wood’s surface.
- As you drill, the backing board will help to support the wood and prevent it from splitting.
Using a backing board is particularly useful when drilling close to the end or edge of a piece of wood, where it is more prone to splitting. It can also be helpful when drilling into softer or more brittle types of wood that have a higher risk of splitting.
Remember to choose a backing board that is free from knots, cracks, or other defects that could compromise its stability. Additionally, make sure to use a drill bit that is appropriate for the type and thickness of wood you are working with.
By using a backing board, you can greatly reduce the chance of splitting wood while drilling, ensuring clean and precise holes every time.
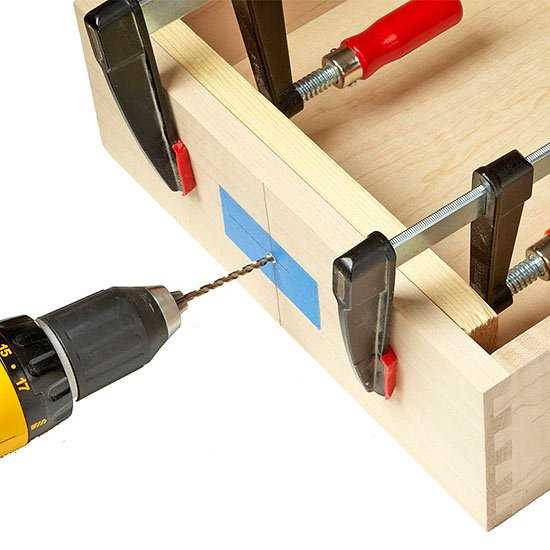
Using Clamps
When drilling wood, using clamps can help prevent splitting and ensure a clean and accurate hole. Here are some tips for using clamps effectively:
Choose the Right Size Clamp
- Make sure to select a clamp that is appropriate for the size of the piece of wood you are drilling.
- A clamp that is too small may not provide enough pressure to hold the wood securely, while a clamp that is too large may be cumbersome to work with.
Position the Clamps Correctly
- Place the clamps on the wood in a way that provides even pressure and prevents movement during drilling.
- You can position the clamps on the sides of the wood or on top and bottom, depending on the shape and size of the piece.
Use Protective Pads
- To prevent the clamps from leaving marks or indentations on the wood, place protective pads or pieces of scrap wood between the clamp jaws and the workpiece.
- This will help distribute pressure evenly and protect the surface of the wood from damage.
Check Clamp Tightness
- Before drilling, double-check that the clamps are securely tightened.
- If there is any movement or play in the clamped wood, adjust the clamps to provide a firmer grip.
Consider Using Multiple Clamps
- In some cases, using multiple clamps may be necessary to adequately secure the wood piece.
- If you notice any movement or shifting while drilling, adding additional clamps can help stabilize the wood and prevent splitting.
By using clamps properly, you can significantly reduce the risk of wood splitting and ensure clean and accurate drilling results.
Finishing Techniques to Prevent Splitting
Preventing wood from splitting during drilling is important to maintain the integrity and strength of your project. Here are some finishing techniques you can use to help prevent splitting:
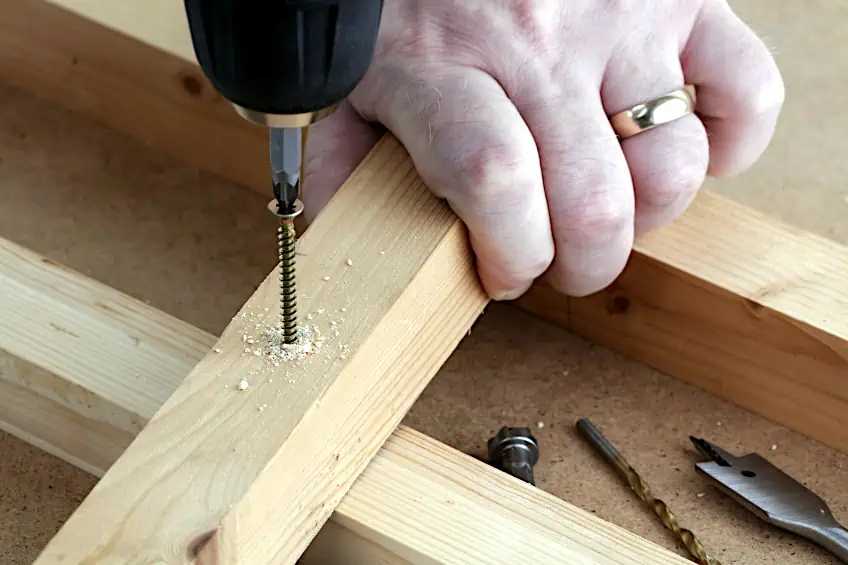
1. Pre-drilling
Pre-drilling involves drilling a pilot hole slightly smaller than the diameter of the screw or nail you plan to use. This helps to relieve the pressure on the wood and prevent splitting. Use a drill bit that is slightly smaller than the diameter of the screw or nail, making sure not to go too deep into the wood.
2. Countersinking
Countersinking is the process of making a small depression or cavity at the top surface of the wood where the screw head will sit. This helps to distribute the pressure more evenly and reduces the risk of splitting. Use a countersink bit or a larger drill bit to create the cavity before driving in the screw.
3. Using a Backer Board
When drilling near the edges of the wood, it is helpful to use a backer board. This can be a scrap piece of wood or a sacrificial board that you place underneath the piece you are drilling. The backer board helps to prevent splitting by providing support and reducing the likelihood of the wood fibers separating.
4. Lubrication
Applying lubrication to the drill bit can reduce friction and heat, which can contribute to splitting. You can use beeswax, soap, or another type of lubricant to coat the drill bit before drilling. This helps the drill bit move smoothly through the wood and reduces the risk of splitting.
5. Using the Right Drill Bit
Choosing the right drill bit is crucial to prevent splitting. A twist drill bit with a sharp point is preferable for drilling into wood. Avoid using spade bits or Forstner bits, as they can be more aggressive and increase the chance of splitting. Additionally, make sure the drill bit is sharp and in good condition to ensure clean and smooth drilling.
6. Going Slow and Applying Steady Pressure
When drilling into wood, it is important to go slow and apply steady pressure to avoid splitting. Rushing or applying excessive force can cause the wood to split. Take your time and let the drill bit do the work, allowing it to penetrate the wood gradually while maintaining control.
By employing these finishing techniques, you can minimize the risk of splitting and ensure successful drilling in wood without compromising its integrity.
FAQ:
Why does wood split when drilling?
Wood splits when drilling because of the pressure exerted by the drill bit. If the drill bit is too aggressive or if the wood is weak, it can cause the wood to split.
What is the best type of drill bit to use for wood?
For drilling wood without splitting, it is recommended to use a brad point bit, as it has a sharp point that helps to prevent splitting.
Are there any techniques to prevent wood from splitting when drilling?
Yes, there are several techniques to prevent wood from splitting when drilling. One technique is to start with a small pilot hole before drilling the final hole. Another technique is to apply some masking tape over the area where you will be drilling to provide some extra support.
Do different types of wood require different drilling techniques?
Yes, different types of wood require different drilling techniques. Softer woods, like pine, are more prone to splitting, so it is important to use a sharp drill bit and to go slow when drilling. Harder woods, like oak, are less prone to splitting, but it is still important to use a sharp drill bit and to go slow to prevent any splintering.
Video:


Meet Harrison Clayton, a distinguished author and home remodeling enthusiast whose expertise in the realm of renovation is second to none. With a passion for transforming houses into inviting homes, Harrison's writing at https://thehuts-eastbourne.co.uk/ brings a breath of fresh inspiration to the world of home improvement. Whether you're looking to revamp a small corner of your abode or embark on a complete home transformation, Harrison's articles provide the essential expertise and creative flair to turn your visions into reality. So, dive into the captivating world of home remodeling with Harrison Clayton and unlock the full potential of your living space with every word he writes.


