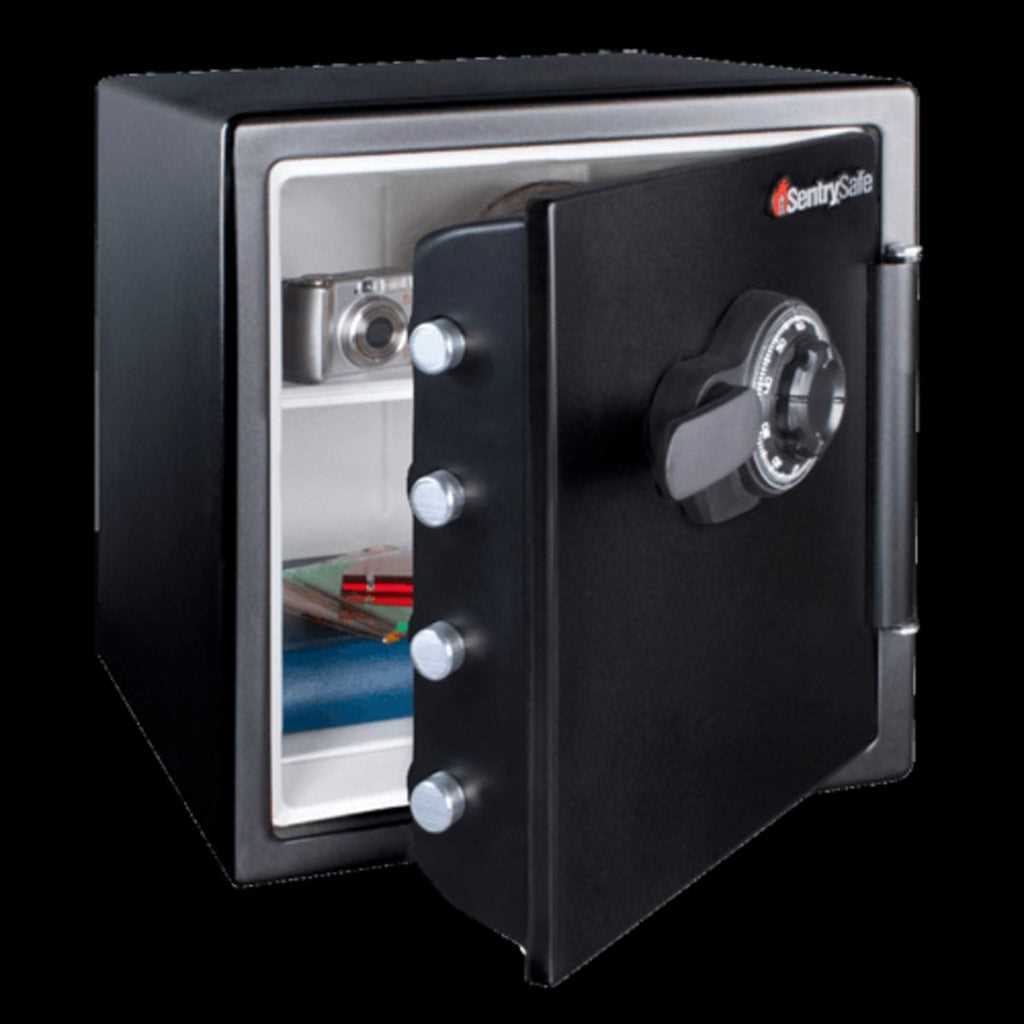
How to Drill Open a Sentry Safe: A Step-by-Step Guide

If you’ve forgotten the combination to your Sentry Safe or lost the keys, you may be wondering how to gain access to your valuables. While drilling open a safe should be the last resort, sometimes it’s the only option. In this step-by-step guide, we’ll walk you through the process of drilling open a Sentry Safe.
Disclaimer: Before attempting to drill open a safe, it’s important to note that you should always try other methods of access first. Drilling open a safe can cause irreversible damage and may void any warranty that your safe may have. Only proceed with drilling if you have exhausted all other options and are willing to accept the risks involved.
Step 1: Gather the necessary tools: To drill open a safe, you’ll need a few specific tools. Make sure you have a high-quality drill with a sharp drill bit, preferably a titanium or cobalt bit for increased strength and durability. You’ll also need safety goggles, gloves, and a safe drilling template or guide to ensure that you drill in the appropriate locations.
Step 2: Prepare the safe and the drilling area: Before you start drilling, it’s important to prepare both the safe and the area around it. Clear away any debris or objects that may hinder your access to the safe. Place a drop cloth or tarp underneath the safe to catch any metal shavings or debris that may fall during the drilling process.
Step 3: Mark the drilling points: Using a safe drilling template or guide, mark the drilling points on the safe. These points are typically located near the locking mechanism and are designed to minimize damage to the internal components of the safe. Carefully measure and mark the drilling points to ensure accuracy.

Pro tip: It’s crucial to follow the instructions provided by the safe manufacturer or consult with a professional locksmith before drilling open a Sentry Safe. They may have specific guidelines or recommendations to minimize damage and ensure a successful outcome.
Preparing the Materials
Before you start drilling open a Sentry Safe, it is important to gather all the necessary materials for the job. Here are the materials you will need:
- A drill: Make sure you have a drill with a high-quality and sharp drill bit. This will make the drilling process easier and more efficient.
- A safety goggles: It is important to protect your eyes from any potential debris or metal shavings that may fly out during the drilling process.
- A dust mask: To protect yourself from inhaling any dust or particles that may be released during the drilling process, it is advised to wear a dust mask.
- A marker or tape: You will want to mark the area of the safe where you plan to drill. This will help you to stay focused and drill in the right spot.
- A lubricant: Using a lubricant such as WD-40 can help to make the drilling process smoother and reduce the risk of the drill bit getting stuck.
- A vacuum cleaner or dustpan: After drilling into the safe, there will potentially be metal shavings and dust. Having a vacuum cleaner or dustpan handy will help to clean up any mess.
- A hammer and chisel: In case the drill is unable to penetrate the safe, having a hammer and chisel can serve as an alternative method to break open the safe.
Choosing the Right Drill Bit
When it comes to drilling open a Sentry Safe, using the right drill bit is crucial. The wrong drill bit can damage the safe and make the job harder than it needs to be. Here are a few factors to consider when choosing the right drill bit for the job:
1. Material of the Safe
The first thing to consider is the material of the safe. Sentry Safes are typically made from steel or other strong alloys. To drill through these materials, you’ll need a drill bit that is designed for metal drilling.
2. Size of the Drill Bit
The size of the drill bit is also important. Depending on the type of lock on your Sentry Safe, you may need a drill bit of a specific size. It’s important to measure the lock first to determine the appropriate drill bit size.

3. Type of Drill Bit
There are several types of drill bits that can be used to drill open a Sentry Safe. Some common types include twist bits, step bits, and diamond bits. Each type of drill bit has its own advantages and disadvantages, so it’s important to choose one that suits your needs.
4. Quality of the Drill Bit
The quality of the drill bit is also something to consider. A high-quality drill bit will be more durable and less likely to break or become dull during the drilling process. Investing in a good quality drill bit can help ensure a smoother and safer drilling experience.
5. Safety Considerations
Lastly, it’s important to consider safety when choosing a drill bit. Make sure to wear appropriate safety gear, such as safety glasses and gloves, to protect yourself during the drilling process. Additionally, consider using a drill bit with a safety feature, such as a non-slip coating or a self-centering tip, to minimize the risk of accidents.
By considering these factors and choosing the right drill bit, you can increase your chances of successfully drilling open a Sentry Safe without causing unnecessary damage or injury.
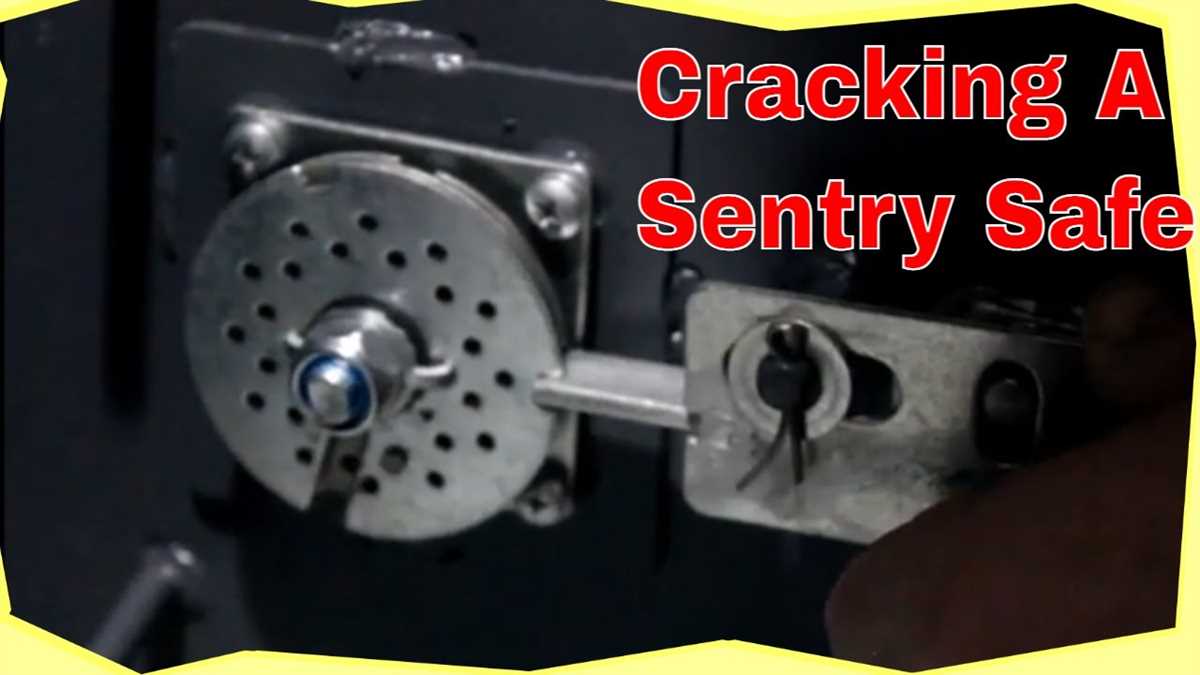
Locating the Drill Points
Before you can begin drilling into a Sentry Safe, you need to locate the drill points. These are specific areas on the safe where you will be able to access the locking mechanism and bypass the security features. Locating the drill points is an important step to ensure that you don’t damage the safe or trigger any alarms.

Step 1: Start by examining the exterior of the safe. Look for any visible marks, indents, or seams that may indicate the location of the drill points. These marks are often small and may blend in with the overall design of the safe.
Step 2: If you don’t see any visible marks, you will need to rely on the manual or documentation that came with the safe. Check the manual for instructions on locating the drill points. The manufacturer should provide detailed information on where to drill.
Step 3: If you don’t have access to the manual or documentation, you can try searching for the specific Sentry Safe model online. Many online resources and forums provide information and diagrams for finding the drill points on various Sentry Safe models.
Step 4: Once you have located the drill points, mark them with a pen or pencil. This will help you easily identify the points when you begin drilling.
Note: It’s important to exercise caution when drilling into a safe. Make sure to follow the instructions carefully and use the correct drill bit size. Using the wrong drill bit or drilling in the wrong area can cause damage to the safe or make it impossible to open. If you are unsure, it’s recommended to consult a professional locksmith for assistance.

Securing the Safe
After successfully drilling open a Sentry Safe, it is crucial to take steps to secure the safe to prevent unauthorized access. Here are some important considerations for securing the safe:
1. Change the Lock
After drilling open a Sentry Safe, the existing lock will likely be damaged and no longer secure. It is important to replace the lock with a new one to ensure the safe remains secure. Choose a high-quality lock that is difficult to pick or tamper with.
2. Reset the Combination
If the safe has a combination lock, it is important to reset the combination to a new and unique code. This will prevent anyone who knows the previous combination from accessing the safe. Follow the manufacturer’s instructions to reset the combination.
3. Reinforce the Safe
Consider reinforcing the safe with additional security features to make it more difficult to break into. This can include adding extra layers of steel or installing security bolts on the hinges. Consult a professional locksmith or safe technician for advice on the best ways to reinforce the safe.
4. Install an Alarm System

To provide an extra layer of security, consider installing an alarm system near the safe. This will alert you or authorities if any unauthorized attempts to access the safe are made. Choose an alarm system that is compatible with your security needs and budget.
5. Store in a Secure Location
Ensure the safe is stored in a secure location to further safeguard its contents. This can include bolting the safe to the floor or wall or placing it in a hidden and inconspicuous spot. Avoid storing the safe in obvious locations that are easily accessible to potential thieves.
6. Regularly Maintain and Inspect
To ensure the safe remains secure over time, it is important to regularly maintain and inspect it. Check for any signs of damage or wear and tear, and repair or replace any parts as needed. Regularly changing the batteries, if applicable, will also ensure the safe functions properly.
By following these steps to secure the safe after drilling it open, you can help protect your valuable belongings and maintain the security of the safe.
Drilling the First Hole
Before you begin drilling, make sure you have all the necessary tools and safety equipment. This includes a drill with a carbide-tipped masonry bit, safety glasses, ear protection, gloves, and a dust mask.
Follow these step-by-step instructions to drill the first hole in the Sentry Safe:
- Choose a location: Start by selecting a spot on the safe where you want to drill the first hole. It’s best to choose a spot near the lock mechanism or where you suspect there may be a weak point in the safe’s construction.
- Mark the spot: Use a pencil or marker to mark the exact location where you want to drill the hole. This will help you stay on target and ensure that the hole is in the right place.
- Create a pilot hole: Start by drilling a small pilot hole using a smaller drill bit. This will help guide the larger masonry bit and prevent it from slipping. Make sure to hold the drill steady and apply even pressure as you drill.
- Switch to the masonry bit: Once you have a pilot hole, remove the smaller drill bit and replace it with the carbide-tipped masonry bit. Make sure the bit is securely tightened in the drill’s chuck.
- Drill the hole: Position the drill bit over the marked spot and apply steady pressure as you begin drilling. It’s important to go slow and steady to avoid damaging the drill bit or the safe. Let the drill’s weight do most of the work, but be prepared to apply additional pressure if needed.
- Clear away debris: As you drill, periodically stop and remove any debris that may accumulate in the hole. This will prevent the debris from interfering with the drilling process and allow you to see your progress.
- Continue drilling: Once you’ve drilled through the safe’s exterior, keep drilling until you’ve reached the desired depth. This may take some time and effort, especially if the safe’s construction is reinforced. Take breaks as needed to prevent overheating the drill bit or motor.
Remember to always exercise caution and follow safety protocols when drilling into a Sentry Safe. If you’re unsure or uncomfortable with the process, it’s best to contact a professional locksmith or safe technician for assistance.
Drilling the Second Hole
Once the first hole has been drilled, you will need to drill a second hole to complete the drilling process.
Step 1: Place the drill bit against the safe surface at a 90-degree angle.
Step 2: Apply steady pressure and start drilling into the safe.
Step 3: Keep drilling until you have created a second hole that is large enough for the drill bit to fit through.
It’s important to note that drilling the second hole can be more challenging than drilling the first hole. This is because the safe’s outer casing is often tougher near the second hole. Make sure to use a strong drill bit and maintain a steady hand while drilling.
Opening the Safe
1. Gather your tools and materials
Before attempting to open a Sentry Safe, make sure you have the necessary tools and materials. This may include a power drill, a set of drill bits, lubricant, and a screwdriver.
2. Choose the right drill bit
Selecting the correct drill bit is crucial for successfully opening the safe. The size of the drill bit will depend on the type of safe you have and the material it is made of. Consult the safe’s instruction manual or research online for recommendations on which drill bit to use.
3. Drill starting point
Locate the starting point for drilling on the safe’s door. This is usually located on the combination lock or the area surrounding it. Use a marker or tape to clearly mark the spot, ensuring that your drill bit will be centered.
4. Drilling process
Put on safety goggles and gloves before proceeding. Apply lubricant to the drill bit to reduce friction and prevent overheating. Start drilling at a slow speed, using moderate pressure. Be patient and let the drill do the work. This process may take some time depending on the strength and security of the safe.
5. Open the safe
Once you have drilled a hole through the safe’s door, carefully remove the drill bit. Use a screwdriver to reach inside the hole and locate the release mechanism. Gently push or manipulate the release mechanism until you hear or feel a click. This click indicates that the locking mechanism has been disengaged, allowing you to open the safe.
6. Repair and restore
After opening the safe, you may need to repair or replace the lock or door. Evaluate the damage and determine if any repairs are necessary. Consider consulting a professional locksmith if you are unsure about the repairs or if the safe continues to have issues.
Remember to always proceed with caution when attempting to open a safe. If you are uncomfortable or uncertain about the process, it is best to contact a professional locksmith for assistance.
Repairing the Safe
- First, assess the damage to the safe and determine what repairs are necessary.
- If the safe has any broken components, such as hinges or locks, they will need to be replaced.
- Remove any damaged parts by unscrewing or unbolting them carefully.
- If the safe’s locking mechanism is not functioning properly, you may need to repair or replace it.
- Inspect the safe’s interior for any loose or damaged bolts or screws, and tighten or replace them as necessary.
- If the safe’s door is sticking or not opening smoothly, check the hinges for any debris or obstructions and clean them.
Once any necessary repairs have been made, test the safe to ensure that it is functioning properly. Use the safe’s combination or key to unlock it and check that the door opens and closes smoothly. Test the locking mechanism to ensure that it securely locks the door. If any issues persist, consult a professional locksmith or safe technician for further assistance.
FAQ:
Is it possible to drill open a Sentry Safe?
Yes, it is possible to drill open a Sentry Safe. Drilling is one of the methods used to open a safe when the combination or key is lost or not working.
What tools do I need to drill open a Sentry Safe?
To drill open a Sentry Safe, you will need a power drill, drill bits, lubricant, and a strong drill bit guide. It is important to use the correct drill bit size and lubricate the area to reduce heat and prevent damage to the safe.
Can drilling open a Sentry Safe cause damage to the safe?
Yes, drilling open a Sentry Safe can cause damage to the safe. It is important to proceed with caution and take necessary precautions to minimize any potential damage. Using the correct drill bit size, lubricating the area, and using a strong drill bit guide can help reduce the risk of damage.
What should I do if I accidentally drill too deep into the safe?
If you accidentally drill too deep into the safe, it is important to stop drilling immediately. Assess the damage and consider seeking professional help to repair the safe. Continuing to drill without proper knowledge or experience can cause further damage and may render the safe unusable.
Is drilling open a Sentry Safe a legal method?
Drilling open a Sentry Safe is a method used in emergency situations when the combination or key is lost or not working. However, it is important to note that drilling open a safe that is not yours or without proper authorization can be considered illegal. Before attempting to drill open a Sentry Safe, make sure you have the legal right to do so.
Are there any other methods to open a Sentry Safe without drilling?
Yes, there are other methods to open a Sentry Safe without drilling. These include using a combination recovery process, contacting the manufacturer for assistance, or hiring a professional locksmith. These methods may vary depending on the specific model and type of Sentry Safe.
Video:

How to pick up guinea pigs

Meet Harrison Clayton, a distinguished author and home remodeling enthusiast whose expertise in the realm of renovation is second to none. With a passion for transforming houses into inviting homes, Harrison's writing at https://thehuts-eastbourne.co.uk/ brings a breath of fresh inspiration to the world of home improvement. Whether you're looking to revamp a small corner of your abode or embark on a complete home transformation, Harrison's articles provide the essential expertise and creative flair to turn your visions into reality. So, dive into the captivating world of home remodeling with Harrison Clayton and unlock the full potential of your living space with every word he writes.


