How to Drill into a Plaster Wall: Essential Tips and Techniques

Drilling into a plaster wall can be a tricky task if you don’t have the right tools and techniques. Plaster is a delicate material that requires special care when it comes to drilling holes. In this article, we will provide you with essential tips and techniques that will help you successfully drill into a plaster wall without causing any damage.
Tip 1: Choose the Right Drill Bit
When it comes to drilling into plaster, using the right drill bit is crucial. A masonry bit or a carbide-tipped bit is recommended for drilling into plaster walls. These bits are designed to penetrate hard materials without causing any cracks or damage.
Tip 2: Mark the Spot
Before you start drilling, it’s important to mark the spot where you want to drill. Use a pencil or a marker to make a small dot on the wall. This will help you stay focused and avoid any mistakes while drilling.

Tip 3: Use Slow and Gentle Pressure
When drilling into a plaster wall, it’s important to use slow and gentle pressure. Applying too much force can cause the plaster to crack or chip. Start by applying light pressure and gradually increase it as you go.
By following these essential tips and techniques, you can successfully drill into a plaster wall without any trouble. Remember to be patient and take your time to ensure a clean and precise hole. Happy drilling!
Prepare Your Tools
Before you start drilling into a plaster wall, it is important to gather the necessary tools. Here are some essential tools you will need:
- A drill
- Drill bits suitable for plaster (choose bits specifically designed for drilling into masonry surfaces)
- Protective eyewear
- A dust mask or respirator
- A stud finder (optional, but useful for locating studs in the wall)
- Masking tape (to prevent the plaster from cracking)
- A pencil or marker (to mark the drilling spots)
- A level (to ensure your holes are straight and even)
- An electric screwdriver or hammer (if you plan to use screws or nails)
- Wall anchors or toggle bolts (if necessary, depending on the weight of the item you are hanging)
Having these tools ready and easily accessible will help ensure a smooth and efficient drilling process.
Find the Right Spot
Before you start drilling into a plaster wall, it’s important to find the right spot to ensure a successful and secure installation. Follow these steps to find the ideal spot:

- Carefully choose the location where you want to drill. Consider factors such as the weight of the object you want to hang and the proximity to electrical outlets or plumbing.
- Use a stud finder to locate a stud in the wall. This is the most secure spot to drill into as it provides a solid anchor point. Move the stud finder horizontally along the wall until it indicates the presence of a stud.
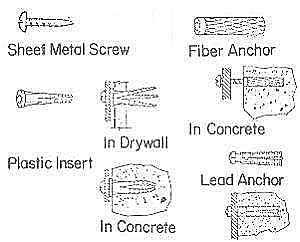
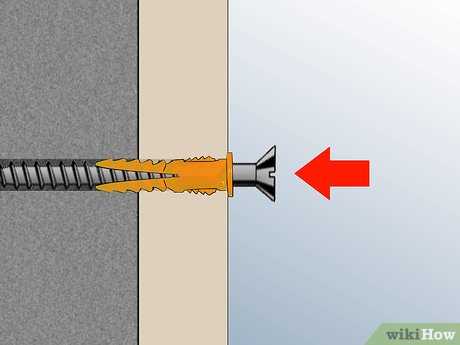
- If you’re unable to find a stud, use a self-drilling wall anchor or toggle bolt. These devices are designed to support heavy objects when drilling into drywall or plaster. However, keep in mind that they may not be as strong as drilling into a stud.
- Once you have determined the location, mark the spot lightly with a pencil or masking tape.
- Double-check the location to ensure it is still the best spot for your project. Take into account the height and levelness of the area, as well as any surrounding furniture or fixtures.
By finding the right spot and taking the necessary precautions, you can ensure a successful drilling experience in your plaster wall.
Mark Your Drilling Point
Before you start drilling into a plaster wall, it is important to accurately mark the spot where you want to place your hole. This will ensure that your drilling is precise and that you don’t damage the surrounding area.
Here are some tips to help you mark your drilling point:
- Use a pencil or a marker to make a small dot on the wall where you want to drill. Make sure the mark is clearly visible.
- If you are unsure about the location, you can use a stud finder to locate the studs behind the plaster. This will help you find a solid point to drill into.
- Measure the distance from the floor or ceiling to ensure that your hole is at the desired height. Use a tape measure or a ruler for accurate measurements.
- If you are drilling multiple holes, use a level to ensure that the marks are straight and aligned. This will help you maintain a professional look.
- Consider using masking tape or painter’s tape to create a template for your drilling point. This can help you visualize the location and avoid any mistakes.
Remember to always double-check your marks before drilling. Once you are confident in the location, you can move on to the next step of drilling into the plaster wall.
Protect the Surrounding Area
Before you begin drilling into a plaster wall, it is important to take precautions to protect the surrounding area. Drilling can create dust and debris that can be difficult to clean up, and it can also cause damage to nearby surfaces. Here are some essential tips and techniques to protect the surrounding area:

- Cover nearby furniture and flooring: Place drop cloths or tarps over any furniture or flooring in the vicinity of the wall you will be drilling into. This will help catch any dust or debris that may be generated during the drilling process.
- Use painter’s tape: Apply painter’s tape around the area where you will be drilling to create a barrier and protect the adjacent surfaces. This will help prevent any accidental contact between the drill and surrounding walls, trim, or fixtures.
- Clear the area: Remove any objects or decorations from the surrounding area that could be knocked over or damaged during the drilling process. This includes artwork, mirrors, and fragile items.
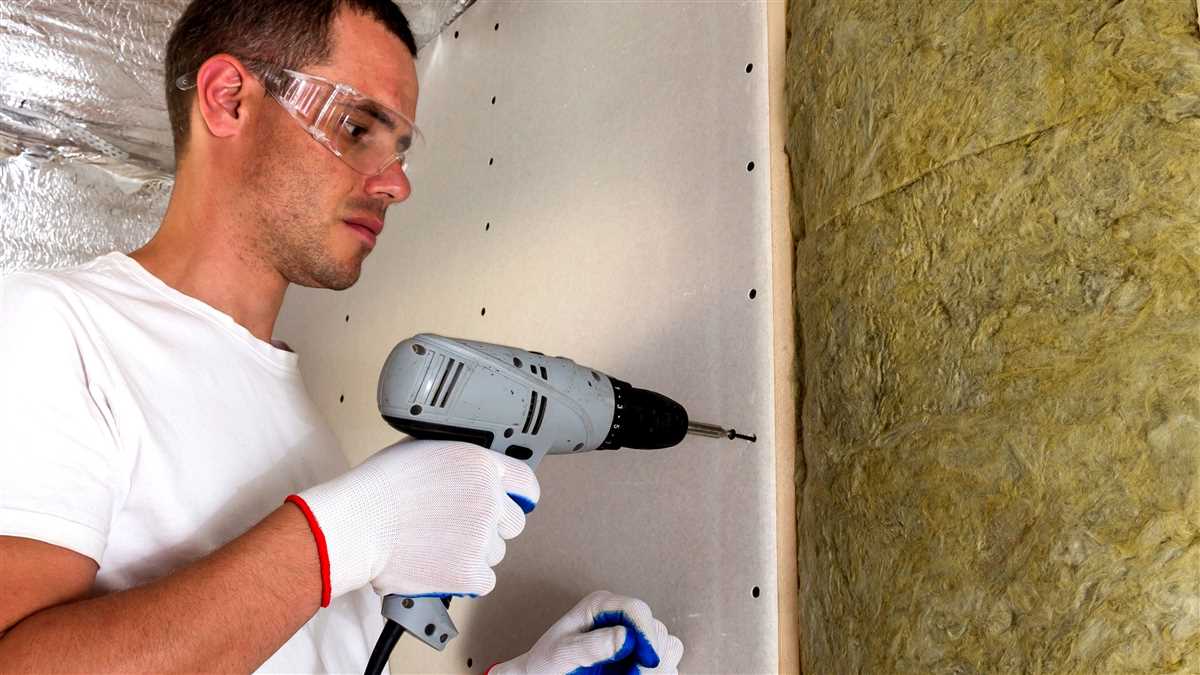
- Wear protective gear: It’s important to wear safety goggles and a dust mask to protect your eyes and lungs from any dust or debris that may be generated while drilling into the plaster wall.
- Use a vacuum cleaner: Keep a vacuum cleaner nearby to quickly clean up any dust or debris that may accumulate during the drilling process. This will help prevent it from spreading to other areas of the room.
By taking these precautions, you can minimize the risk of damage to the surrounding area and make the drilling process cleaner and safer.
Choose the Right Drill Bit
Choosing the right drill bit is crucial when drilling into a plaster wall. Using the wrong drill bit can result in damage to the wall or a broken drill bit. Here are some important factors to consider when selecting a drill bit:
1. Material
The material of the drill bit should be capable of drilling through plaster. Carbide-tipped or masonry drill bits are recommended for drilling into plaster walls. These types of drill bits are designed to withstand the hardness of plaster without getting damaged.
2. Size
The size of the drill bit depends on the size of the hole you want to create. Measure the diameter of the hole you need and choose a drill bit that matches the size. It is always better to start with a smaller drill bit and gradually increase the size if necessary.
3. Length
The length of the drill bit should be chosen according to the thickness of the plaster wall. Make sure the drill bit is long enough to penetrate through the plaster and reach the desired depth.

4. Shank Type
There are two common shank types for drill bits: round shank and hex shank. Round shank drill bits are more common and can be used with most drills. Hex shank drill bits, on the other hand, are specifically designed for use with hammer drills.
5. Quality
Investing in a high-quality drill bit is essential to ensure durability and optimal performance. Cheaper drill bits may wear out quickly or become dull, making it difficult to drill through the plaster effectively.
By considering these factors and choosing the right drill bit, you can ensure that your drilling process is smooth and successful without causing any damage to the plaster wall.

Set Up the Drill
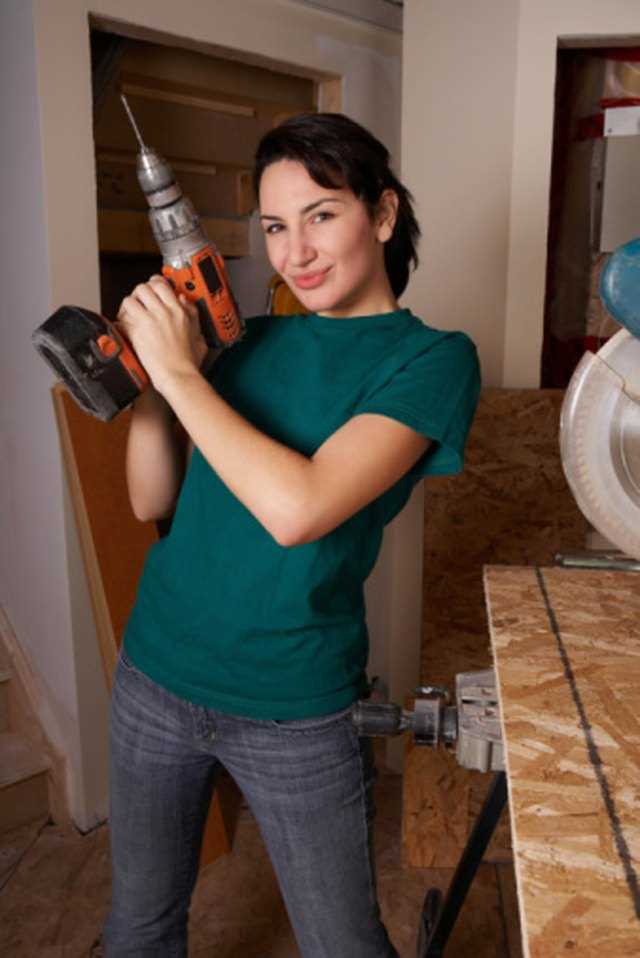
- Make sure you have a suitable drill for the job. A cordless drill is the most convenient option, but a corded drill can also work well.
- Attach a drill bit suitable for drilling into plaster walls. A general-purpose bit or a masonry bit will work best.
- If your drill has different speed settings, set it to a low speed to avoid damaging the plaster.
- Check that the drill bit is securely attached and tighten it if necessary.
- If you’re drilling close to electrical wires or plumbing, make sure to turn off the power or shut off the water supply as a safety precaution.
Start Drilling
1. Prepare the Drill
Before you start drilling into the plaster wall, make sure your drill is fully charged and in good working condition. Check that the battery or power cord is securely attached and that the chuck can hold the drill bit tightly. Also, ensure that you have the correct drill bit size for the hole you want to create.
2. Mark the Spot
Use a pencil or a marker to mark the spot on the plaster wall where you want to drill. Measure twice to ensure accuracy, especially if you are drilling for mounting purposes or for electrical outlets. Double-check the location to avoid any surprises once you start drilling.
3. Protect the Workspace
Place a drop cloth or a plastic sheet below the area where you will be drilling to catch any debris or dust that might fall. This will protect the floor or any furniture that might be nearby. You can also use painter’s tape to create a barrier around the drilling spot to further protect the wall.
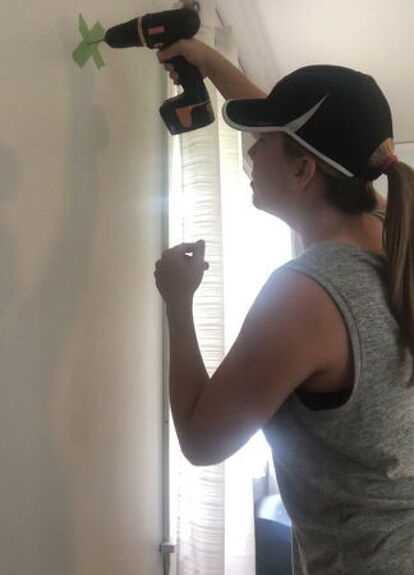
4. Start Slowly
When you are ready to start drilling, hold the drill perpendicular to the wall surface. Start drilling at a slow speed to ensure that the drill bit bites into the plaster properly. This will help prevent any cracking or chipping of the plaster. Apply gentle pressure and let the drill do the work.
5. Maintain Control
As you drill, make sure to maintain control of the drill. Keep a firm grip on the handle and avoid applying excessive force or pressure. Let the drill bit go through the plaster gradually without rushing the process. This will ensure a cleaner and more precise hole.
6. Watch for Obstacles
While drilling into a plaster wall, you may encounter obstacles such as electrical wires or pipes. Be vigilant and pay attention to any unusual resistance or sounds while drilling. If you suspect that there might be an obstacle behind the plaster, stop drilling immediately and investigate further before proceeding.
7. Clean Up
Once you have drilled the hole, remove the drill bit from the wall and turn off the drill. If there is any dust or debris, use a brush or a vacuum to clean it up. Wipe the area with a damp cloth or sponge to remove any remaining marks or residue. Your drill hole is now ready for whatever purpose you have in mind.
Clean Up and Finish
Once you have successfully completed drilling into your plaster wall, it’s time to clean up and finish the job. Here are some important steps to take:
1. Remove Dust and Debris
Use a vacuum cleaner or a soft brush to remove any dust and debris left behind from drilling. This will help prevent any damage or staining to your wall and keep the area clean.
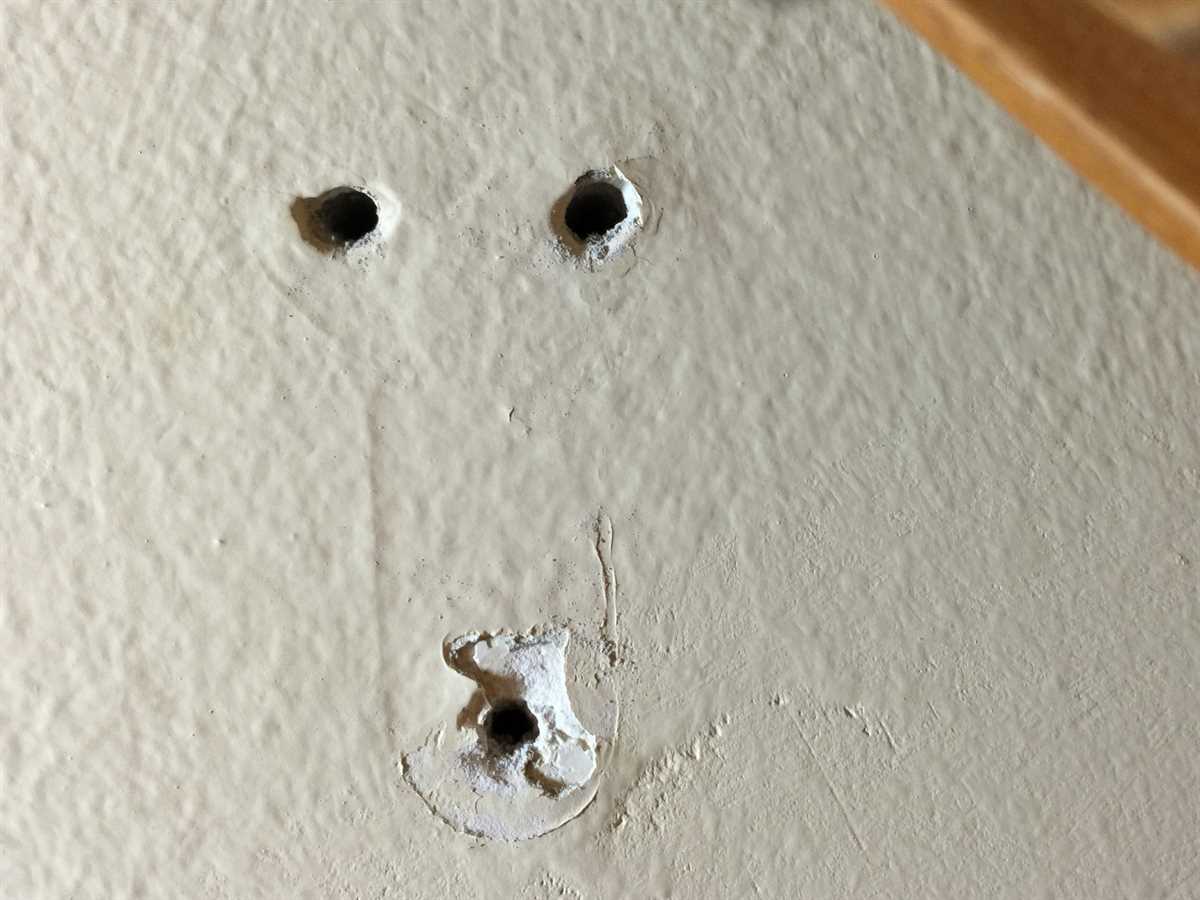
2. Patch any Holes
If necessary, patch any holes or cracks that were created during the drilling process. You can use a spackling compound or plaster repair kit to fill in the holes and smooth out the surface. Allow the patch to dry completely before moving on to the next step.
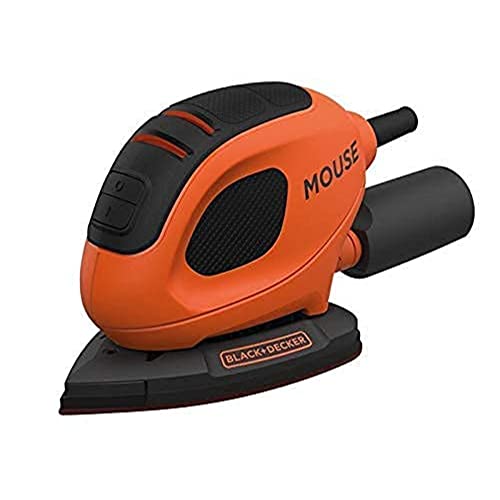
3. Sand the Patched Area
Once the patch has dried, gently sand the area with fine-grit sandpaper to smooth out any rough edges or imperfections. This will ensure a seamless finish when you paint or decorate the wall.
4. Touch Up the Paint
If your wall is painted, you may need to touch up the paint in the patched area. Use a small paintbrush and matching paint to carefully apply a thin layer of paint over the patch. Allow it to dry completely before applying a second coat, if needed.
5. Clean and Organize

Take a few minutes to clean up your tools and workspace. Store them properly to keep them in good condition for future use. It’s also a good idea to organize any leftover materials, such as drill bits and screws, to avoid clutter.
6. Admire Your Work
Finally, step back and admire your handiwork! Your clean and finished plaster wall is now ready for whatever you have in store – whether it’s hanging artwork, installing shelves, or any other project you had in mind.
Remember to always take caution when drilling into a plaster wall and follow safety guidelines to avoid any accidents or damage. With the right technique and a little patience, you can successfully drill into a plaster wall and achieve professional-looking results.
FAQ:
What tools do I need to drill into a plaster wall?
You will need a drill, masonry bit, screwdriver, measuring tape, and a pencil.
How do I locate a stud in a plaster wall?
To locate a stud in a plaster wall, you can use a stud finder or tap on the wall until you find a solid, rather than hollow, sound.
What precautions should I take when drilling into a plaster wall?
When drilling into a plaster wall, it’s important to wear safety goggles to protect your eyes from flying debris. Additionally, you should be cautious not to apply too much pressure as this can cause the plaster to crack.
What should I do if I accidentally drill into a pipe behind the plaster wall?
If you accidentally drill into a pipe behind the plaster wall, you should immediately turn off the water supply and contact a professional plumber to assess and repair the damage.
Video:

Meet Harrison Clayton, a distinguished author and home remodeling enthusiast whose expertise in the realm of renovation is second to none. With a passion for transforming houses into inviting homes, Harrison's writing at https://thehuts-eastbourne.co.uk/ brings a breath of fresh inspiration to the world of home improvement. Whether you're looking to revamp a small corner of your abode or embark on a complete home transformation, Harrison's articles provide the essential expertise and creative flair to turn your visions into reality. So, dive into the captivating world of home remodeling with Harrison Clayton and unlock the full potential of your living space with every word he writes.


