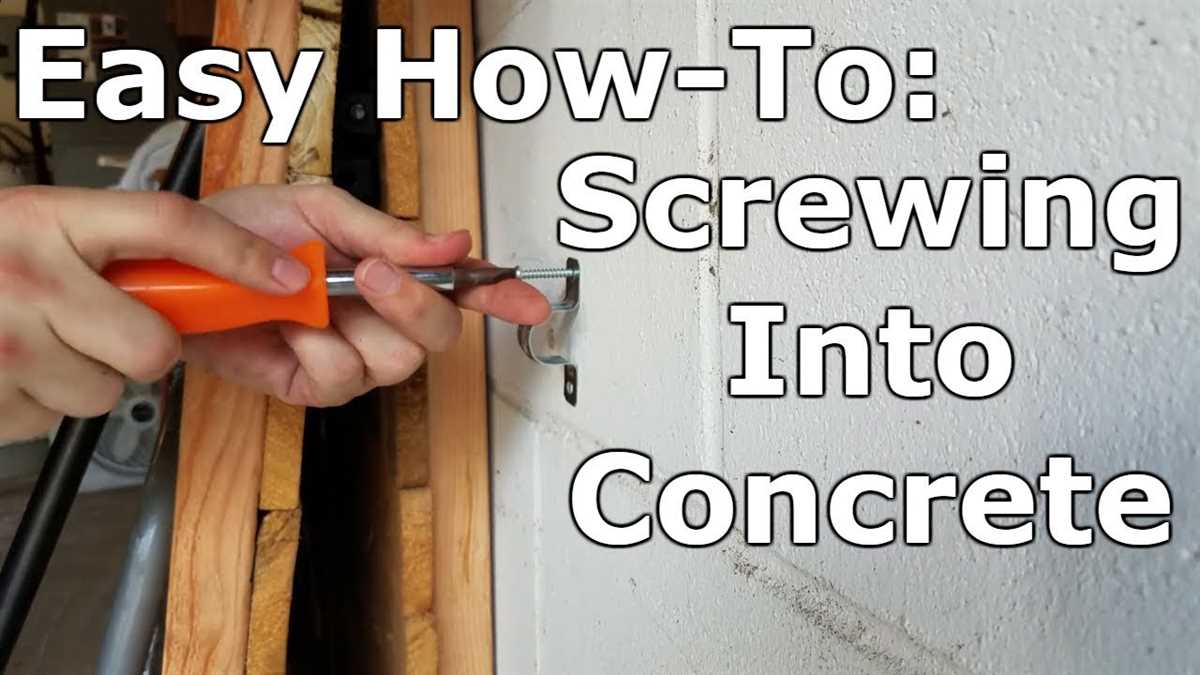
How to Drill Bolts into Concrete: A Step-by-Step Guide

Drilling bolts into concrete can be a daunting task, but with the right tools and technique, it can be done safely and effectively. Whether you’re hanging a shelf, installing a handrail, or securing heavy machinery, knowing how to drill into concrete is a valuable skill that every DIY enthusiast should have.
Step 1: Gather the necessary tools and materials.
Before you begin, make sure you have all the tools and materials you’ll need for the job. This includes a hammer drill with a masonry bit, a dust mask, safety goggles, a tape measure, a pencil or marker, a vacuum or brush to remove debris, a torque wrench, and the appropriate bolts and anchors for your project.
Step 2: Prepare the work area.
It’s important to have a clean and well-prepared work area before you start drilling. Remove any obstructions, such as furniture or decorations, and sweep or vacuum the area to remove any loose dirt or debris. This will ensure that your drill bit can penetrate the concrete effectively.

Step 3: Mark the drilling locations.
Using a tape measure and a pencil or marker, mark the exact locations where you want to drill your holes. Make sure your measurements are accurate and take into account any spacing requirements or other considerations for your specific project.
Step 4: Put on safety gear.
Before you start drilling, it’s crucial to put on your safety gear. This includes a dust mask to protect your lungs from concrete dust, and safety goggles to shield your eyes from flying debris. Additionally, consider wearing ear protection if you’ll be drilling for an extended period of time.
Step 5: Drill the holes.

Attach the appropriate masonry bit to your hammer drill, and set it to the hammering mode. Hold the drill perpendicular to the surface of the concrete, and apply steady pressure as you drill. Let the drill do the work, and avoid forcing it or applying excessive pressure, as this can lead to overheating or damaging the drill bit.
Remember to periodically clear away the dust and debris from the hole using a vacuum or brush. This will ensure that the hole remains clean and free from obstructions, allowing the bolt to be securely inserted.
Step 6: Insert the bolts and tighten with a torque wrench.
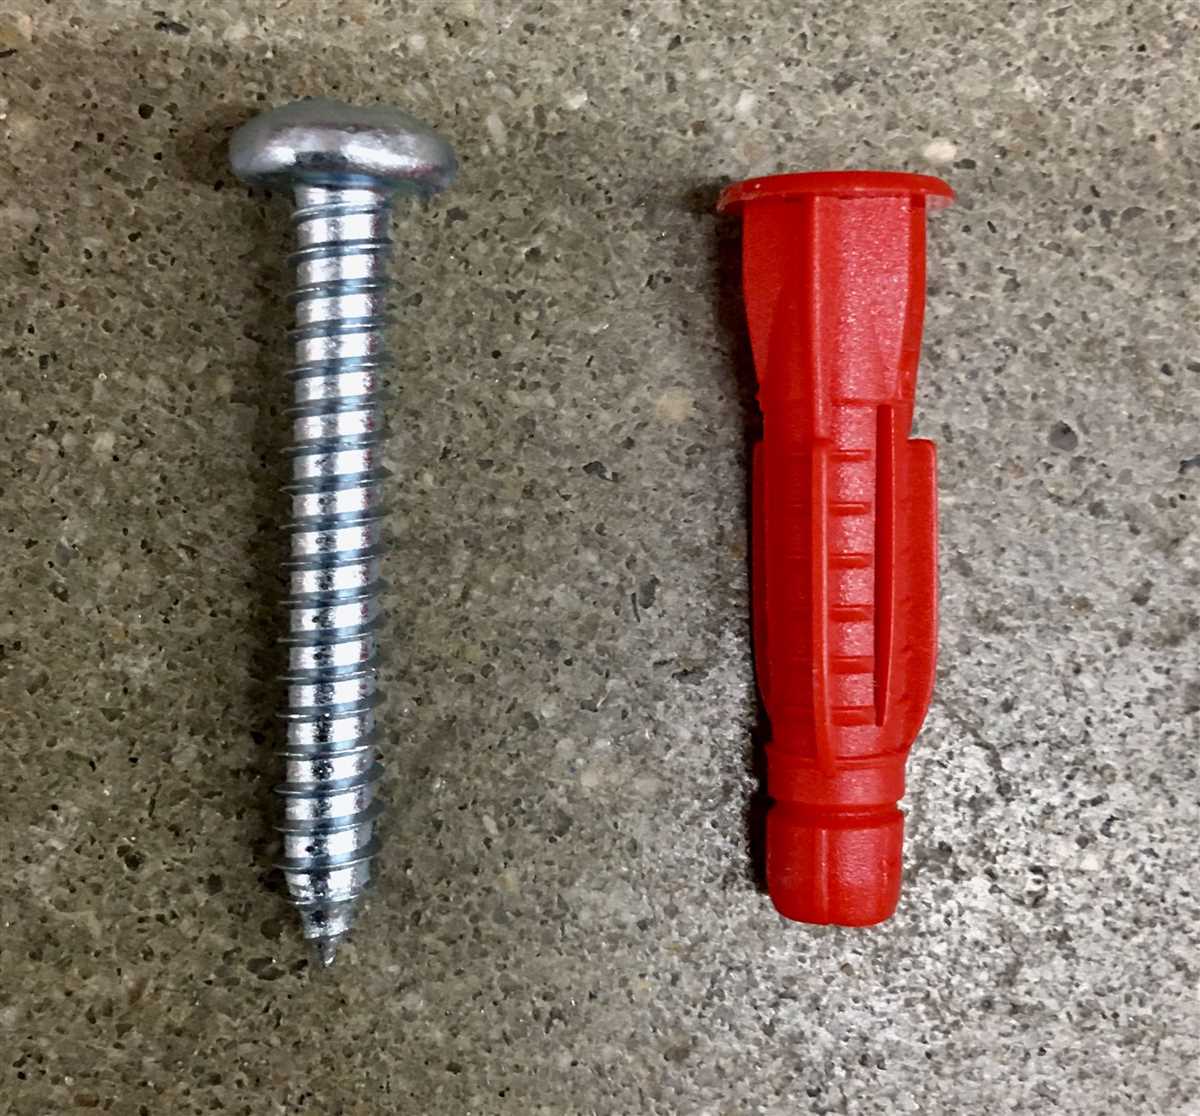
After drilling the holes, insert the appropriate anchors or plugs into the holes. Then, insert the bolts into the anchors and tighten them using a torque wrench, following the manufacturer’s instructions for the specific type of anchor and bolt you’re using. Be careful not to over-tighten the bolts, as this could strip the threads or damage the concrete.
Step 7: Test the stability.
Once you’ve secured the bolts, give them a gentle tug to ensure they’re firmly in place. If everything feels secure, you can proceed with your project. If there is any movement or instability, you may need to remove the bolts and try again, or consult a professional for further assistance.

By following these step-by-step instructions, you can successfully drill bolts into concrete and tackle a variety of DIY projects with confidence.
Choosing the Right Drill Bit
When it comes to drilling bolts into concrete, choosing the right drill bit is essential. The right drill bit will help ensure that the hole is drilled accurately and cleanly, making it easier to insert and secure the bolts.
Diamond-Tip Drill Bit
A diamond-tip drill bit is a great option for drilling bolts into concrete. These drill bits are specifically designed to cut through hard materials like concrete, and they use diamond particles to create the drilling action. Diamond-tip drill bits are extremely durable and effective, making them ideal for concrete drilling projects.
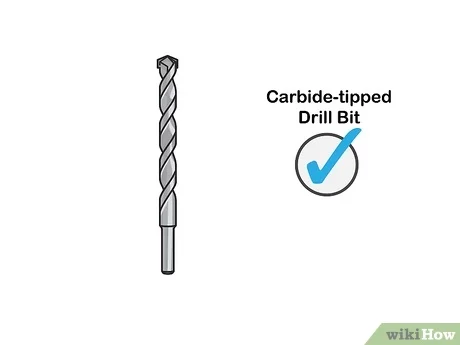
Carbide-Tip Drill Bit
If a diamond-tip drill bit is not available, a carbide-tip drill bit is the next best option for drilling bolts into concrete. Carbide-tip drill bits are made with a combination of carbide and steel, which makes them strong enough to cut through concrete. While not as effective as diamond-tip drill bits, carbide-tip drill bits are still capable of drilling holes in concrete.

Size of the Drill Bit
The size of the drill bit you choose will depend on the size of the bolts you are using. It’s important to select a drill bit that is slightly larger in diameter than the bolts to allow for easy insertion. Make sure to also consider the depth of the hole you need to drill, as this will determine the length of the drill bit you need.
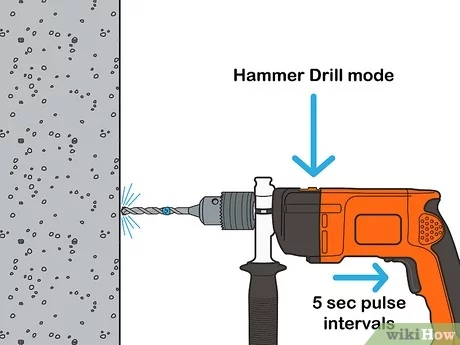
Using a Hammer Drill
When drilling into concrete, it’s recommended to use a hammer drill. A hammer drill has a hammering action that helps to create a hole in the concrete more easily. Make sure to select a drill bit that is compatible with your hammer drill, and follow the manufacturer’s instructions for proper use.
Safety Precautions
Always wear safety goggles and gloves when drilling into concrete. Concrete dust can be harmful if inhaled or if it gets into your eyes or skin. Additionally, make sure to secure the concrete surface to prevent it from moving or cracking while drilling. This will help ensure clean and accurate holes for inserting the bolts.
Preparing the Concrete Surface
Before drilling bolts into concrete, it’s important to properly prepare the surface to ensure a secure and reliable anchor point. Follow these steps to prepare the concrete surface:

- Clean the surface: Begin by cleaning the concrete surface thoroughly to remove any dirt, dust, or debris. Use a stiff broom or brush to sweep the area, and consider using a pressure washer for a more thorough cleaning.
- Inspect for cracks: Carefully inspect the concrete surface for any cracks or damages. Cracks can weaken the anchoring ability of the bolt, so it’s important to repair them before proceeding. Fill any cracks with a suitable concrete repair compound and allow it to dry completely.
- Mark the drilling points: Determine where you want to drill the bolt holes and mark the spots on the concrete surface. Use a measuring tape and a pencil to ensure accuracy. Consider the weight and load-bearing capacity of the object that will be attached to the bolts when deciding on the spacing and placement of the holes.
- Wear safety equipment: Before drilling, put on appropriate safety equipment, including safety glasses, gloves, and a dust mask. Drilling into concrete can create dust and debris, so it’s important to protect yourself.
- Secure the concrete: If the concrete surface is not already secured in place, use clamps or braces to prevent it from moving or shifting during the drilling process. This will help ensure accurate and precise drilling.
By properly preparing the concrete surface, you can create a solid foundation for drilling bolts and ensure a strong and secure anchor point.
Marking the Drilling Points
Before you begin drilling into the concrete, it is important to mark the drilling points accurately. This will ensure that the holes are placed properly and the bolts are securely attached.
Supplies Needed
- Tape measure
- Marker or pencil
Step-by-step Instructions
- Start by measuring and marking the desired locations for the bolts on the concrete surface. Use a tape measure to ensure accurate measurements.
- Depending on the size of the bolts, you may need multiple holes. If so, mark all the drilling points accordingly.
- Make sure the marks are easily visible and will not be covered up during the drilling process.
Tips
- Consider using a chalk line to create straight lines between the marks. This will help guide your drilling and ensure the bolts are aligned properly.
- Double-check your measurements and marks before proceeding with the drilling. A small mistake at this stage can lead to big problems later on.
Example:
| Bolt Number | Measurement | Marking |
|---|---|---|
| Bolt 1 | 6 inches from left edge | — |
| Bolt 2 | 12 inches from left edge | — |
| Bolt 3 | 18 inches from left edge | — |
Ensure that the measurements and markings are precise to ensure the bolts are installed correctly. Take your time during this step to avoid any issues during the drilling process.
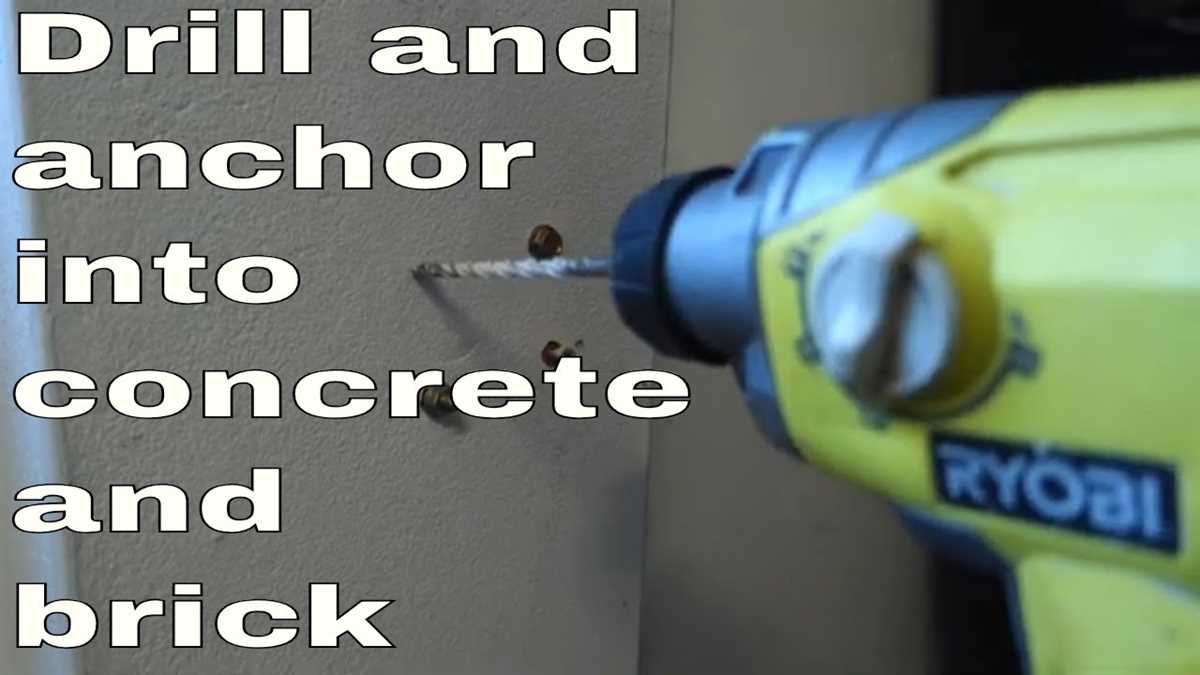
Drilling the Pilot Holes
Before you begin drilling the actual holes for your bolts, it’s important to first drill pilot holes. Pilot holes are smaller holes that you create to guide the larger drill bit and ensure that the bolts go in smoothly and accurately. Follow these steps to drill the pilot holes:
- Measure and mark the drilling points: Use a measuring tape and a marker to measure and mark the exact spots where you want to drill the pilot holes. Make sure the markings are clear and visible.
- Select the right drill bit: The size of your pilot hole will depend on the size of your bolts. Choose a drill bit that is slightly smaller than the diameter of your bolts to create the pilot holes. For example, if you are using 1/2-inch bolts, use a 3/8-inch drill bit.
- Attach the drill bit to the drill: Insert the selected drill bit into the chuck of your drill and tighten it securely. Make sure the drill bit is straight and aligned with the drill.
- Put on safety gear: Before you start drilling, put on safety glasses and work gloves to protect your eyes and hands from any debris or hazards.
- Drill the pilot holes: Position the drill bit on one of the marked spots and apply light pressure. Start drilling at a slow speed to create a small indentation on the surface. Once the indentation is created, increase the speed and continue drilling straight into the concrete. Repeat this process for all the pilot hole markings.
- Clean the pilot holes: After drilling the pilot holes, use a brush or a can of compressed air to remove any dust or debris from the holes. This will ensure that the bolts fit securely and without any obstructions.
Once you have drilled the pilot holes, you can proceed to the next step of drilling the actual holes for the bolts. Pilot holes are crucial for the success of your project, so take your time and make sure they are drilled accurately.
Switching to the Proper Drill Bit
Once you have measured and marked the spot where you want to drill your bolt into the concrete, the next step is to switch to the proper drill bit. Using the wrong drill bit can result in a botched job and may damage your drill, so it’s important to choose the correct one for the job.
There are different types of drill bits that are suitable for drilling into concrete, such as masonry bits, carbide-tipped bits, and hammer drill bits. The type of drill bit you choose will depend on the size and depth of the hole you need to drill, as well as the type of concrete you are working with.
Masonry bits are most commonly used for drilling small to medium-sized holes in concrete. They have a carbide tip that is designed to withstand the hardness of the concrete and provide an efficient drilling process. These bits are available in various sizes to accommodate different bolt sizes.
Carbide-tipped bits, as the name suggests, have a carbide tip that is extremely hard and durable. These bits are suitable for drilling larger holes in concrete and can make the drilling process faster and more efficient. They are commonly used for drilling anchor holes or larger bolts into concrete.
Hammer drill bits are specifically designed for use with a hammer drill, which delivers a high-frequency hammering action to the drill bit as it rotates. The hammering action helps to break through the tough concrete more easily. These bits are ideal for drilling deep holes or drilling into solid concrete walls.
When choosing a drill bit, consider the size and depth of the hole you need to drill, as well as the type of concrete you are working with. Refer to the manufacturer’s instructions or consult with a professional if you are uncertain about which drill bit to use.
Drilling the Final Holes
Once you have marked the spots where you want to drill the holes for your bolts, it is time to begin drilling. Make sure you have a drill bit that is suitable for concrete. Concrete drills are specifically designed to handle the strength and density of concrete, and using a regular wood or metal drill bit will not be effective.
Before you start drilling, ensure that you have your safety gear on, including safety goggles, gloves, and a dust mask. Drilling into concrete can create a lot of fine dust, which can be harmful if inhaled.
Step 1: Position the Drill
Place the tip of the drill bit on the marked spot where you want to drill the hole. Hold the drill firmly and make sure it is perpendicular to the surface of the concrete. This will ensure that your holes are straight and properly aligned.
Step 2: Start Drilling
Turn on the drill and apply gentle pressure to the drill, allowing the bit to slowly penetrate the concrete. Do not force the drill or exert too much pressure, as this can cause the drill bit to break or become stuck. Let the drill do the work.
Step 3: Remove Dust
While drilling, periodically remove the drill from the hole to clear out the accumulated dust. This will prevent the dust from clogging the hole and allow the drill bit to continue drilling smoothly.
Step 4: Reach the Required Depth
Continue drilling until you reach the required depth for your bolts. Use a tape measure or a depth gauge to ensure that your holes are deep enough.
Step 5: Clean the Holes
Once you have drilled all the holes, use a brush or a vacuum cleaner to clean out any remaining dust from the holes. This will help ensure a secure and proper fit for your bolts.
Now that you have successfully drilled the final holes for your bolts, you are ready to move on to the next step of your project, whether it is installing anchors or attaching your desired fixtures.
Cleaning the Holes
After drilling the holes into the concrete, it is important to clean them before inserting the bolts. Cleaning the holes removes any debris and dust that may interfere with the bolt’s grip on the concrete and affect its stability.
Here are the steps to clean the holes:
- Use a wire brush or a vacuum cleaner with a brush attachment to remove any loose debris from the hole. Make sure to clean both the bottom and the sides of the hole.
- Blow compressed air into the hole to remove any remaining dust or particles. This will help ensure a clean surface for the bolt to bond with the concrete.
- Inspect the hole to make sure it is free from any obstructions or loose materials. If necessary, repeat steps 1 and 2 until the hole is completely clean.
By thoroughly cleaning the holes, you can ensure that the bolts will have a strong and secure grip on the concrete, reducing the risk of movement or failure. This step is crucial for the overall stability and longevity of the installation.
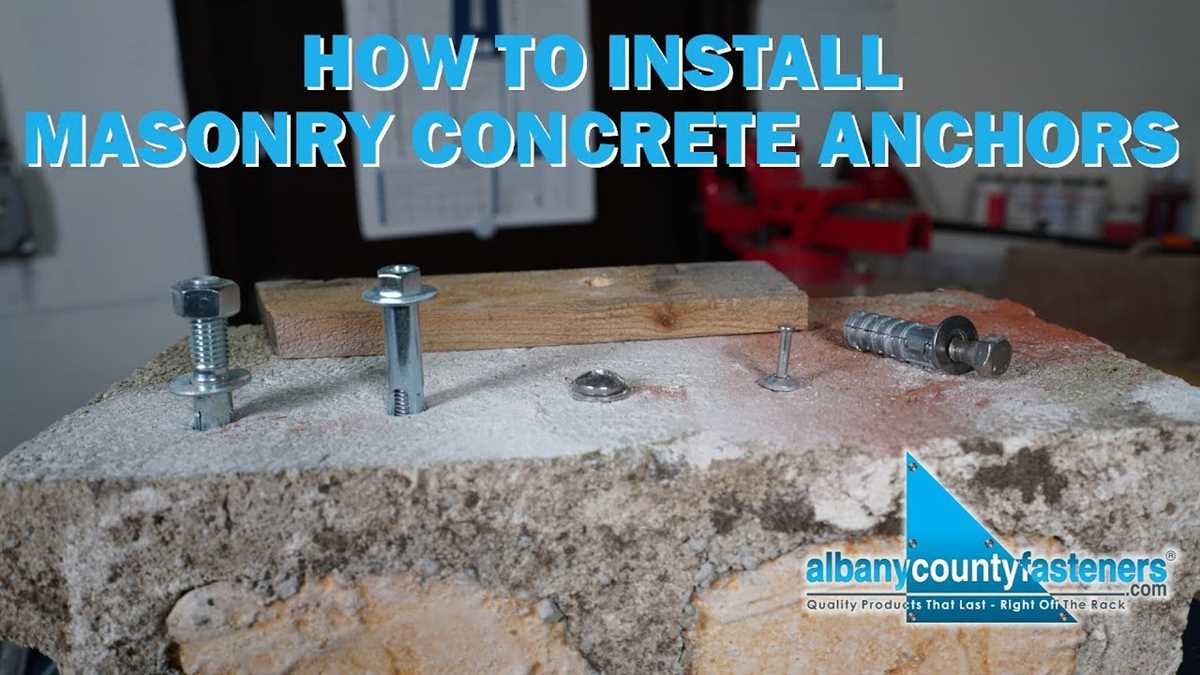
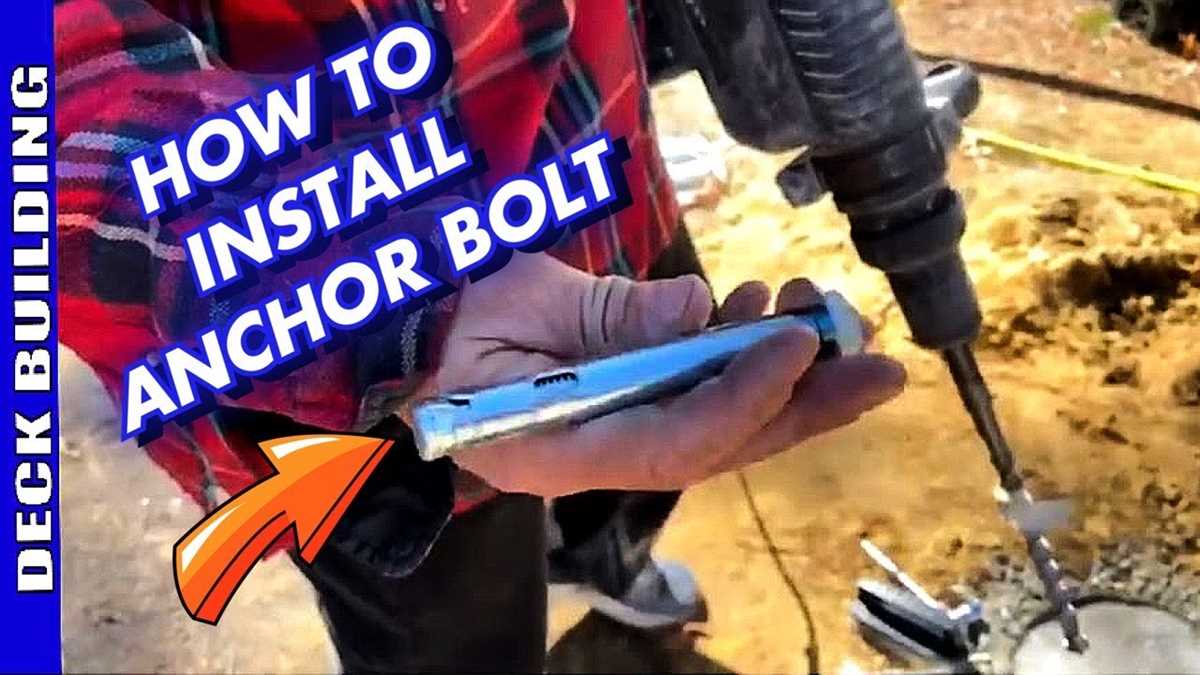
Inserting the Bolts and Securing Them
Once you have drilled the holes into the concrete, it’s time to insert the bolts and secure them properly. Follow these steps to ensure a secure and stable installation:
- Prepare the bolts: Make sure the bolts you are using are the correct size and type for your project. Check the specifications provided by the manufacturer to ensure the bolts can withstand the weight or pressure they will be subjected to.
- Clean the holes: Before inserting the bolts, remove any dust or debris from the drilled holes. Use a brush or vacuum to clean out the hole, ensuring a proper fit for the bolts.
- Apply adhesive (if necessary): If your project requires additional strength, consider using an adhesive. Apply the adhesive to the inside of the hole according to the manufacturer’s instructions. This will help secure the bolts in place and provide added stability.
- Insert the bolts: Carefully place the bolts into the drilled holes, making sure they are aligned properly. Use gentle pressure to push the bolts into the hole, ensuring they are inserted fully.
- Tighten the nuts: Once the bolts are inserted, use a wrench or socket to tighten the nuts securely. Make sure to tighten them evenly, alternating between nuts to ensure a balanced and secure installation.
- Check the alignment: After tightening the nuts, double-check the alignment of the bolts. Ensure they are straight and properly positioned. Make any necessary adjustments before moving forward.
- Test the stability: Give the bolts a test by applying pressure or weight to the installed structure. Check for any movement or instability. If the bolts are secure, you can proceed with the remaining steps of your project.
By following these steps, you can successfully insert and secure bolts into concrete, providing a stable and reliable foundation for your project.
FAQ:
What tools do I need to drill bolts into concrete?
To drill bolts into concrete, you will need a hammer drill, masonry drill bits, bolts, a hammer, a vacuum, safety goggles, and gloves.
Do I need to use a special type of drill bit for drilling into concrete?
Yes, you will need to use masonry drill bits specifically designed for drilling into concrete. These drill bits are made of carbide or diamond tips, which are capable of drilling through the hard surface of concrete.
How do I choose the right size of drill bit?
When choosing the right size of drill bit for your bolt, you should select a drill bit that matches the diameter of the bolt. It’s important to choose the correct size to ensure a secure fit and proper anchoring in the concrete.
What is the best technique for drilling into concrete?
The best technique for drilling into concrete is to start with a small pilot hole. Once the pilot hole is created, you can gradually increase the size of the hole by using larger masonry drill bits. It’s important to apply steady pressure and let the drill do the work, without forcing it too much.
Is it necessary to use a vacuum while drilling into concrete?
Using a vacuum while drilling into concrete is not necessary, but it can help to control the dust produced during the drilling process. This can help to keep the work area clean and minimize the inhalation of dust particles.
What safety precautions should I follow while drilling into concrete?
While drilling into concrete, it is important to wear safety goggles to protect your eyes from flying debris. Gloves should be worn to provide a better grip and protect your hands. Additionally, you should always follow the manufacturer’s instructions for the drill and other tools, and be cautious of electrical hazards if using a corded drill.
Video:

How to revive a bonsai tree

Meet Harrison Clayton, a distinguished author and home remodeling enthusiast whose expertise in the realm of renovation is second to none. With a passion for transforming houses into inviting homes, Harrison's writing at https://thehuts-eastbourne.co.uk/ brings a breath of fresh inspiration to the world of home improvement. Whether you're looking to revamp a small corner of your abode or embark on a complete home transformation, Harrison's articles provide the essential expertise and creative flair to turn your visions into reality. So, dive into the captivating world of home remodeling with Harrison Clayton and unlock the full potential of your living space with every word he writes.


