How to Drill a Hole in a Wine Bottle: A Step-by-Step Guide

If you have ever wanted to repurpose a wine bottle for a DIY project, drilling a hole in it can be a useful skill to have. Whether you want to create a unique vase, a lamp, or a centerpiece, drilling a hole in a wine bottle can allow you to transform it into a functional and decorative item. However, drilling a hole in glass can be challenging if you don’t have the right tools and techniques. In this step-by-step guide, we will walk you through the process of drilling a hole in a wine bottle, so you can confidently tackle your next DIY project.
Step 1: Gather the necessary materials and tools.
Before you begin drilling, make sure you have all the materials and tools you need. You will need a wine bottle, a drill, a diamond drill bit, water, masking tape, and a container to catch the water. It’s important to use a diamond drill bit specifically designed for drilling through glass, as other drill bits may shatter the glass or create uneven holes. You can find diamond drill bits at most hardware stores or online.
Step 2: Prepare the wine bottle.
Start by removing the label and cleaning the wine bottle thoroughly. Make sure there are no residues or substances on the glass that could interfere with the drilling process. Fill a container with water and place it near the drilling area, as you will need to continuously cool down the drill bit throughout the process.

Step 3: Mark the drilling spot.
Using masking tape, mark the spot where you want to drill the hole on the wine bottle. The tape will help to prevent the drill bit from slipping and provide a guide for drilling a straight hole. Make sure to measure and mark the spot precisely to achieve the desired results.
Step 4: Start drilling.
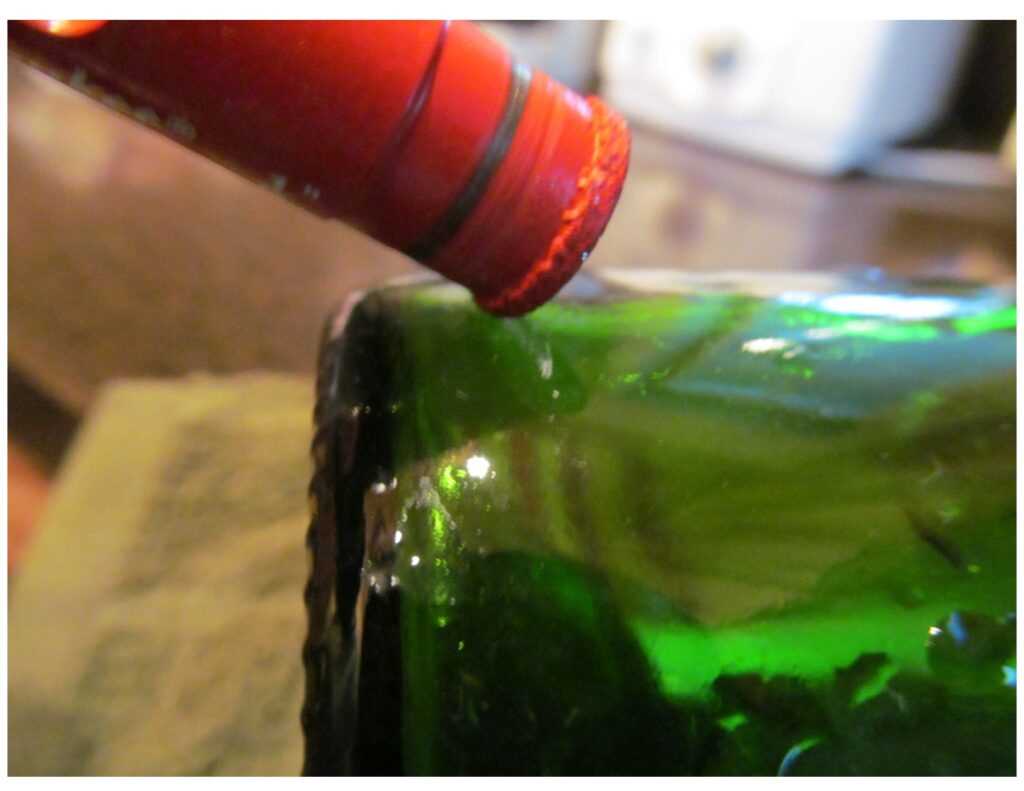
With the wine bottle securely positioned and the drill set to a low speed, gently start drilling into the marked spot. It’s important to keep the drill bit lubricated with water to prevent overheating and to help control the glass dust. Apply light pressure and let the drill bit do the work, rather than pushing too hard. Slow and steady is the key to successfully drilling through glass.
Remember to take breaks and let the drill cool down if it becomes too hot. This will prevent the glass from cracking or shattering. If necessary, you can gently tap on the opposite side of the glass to help break through the bottom layer.
Step 5: Finish and clean up.
Once you have drilled all the way through the glass, remove the masking tape and clean up any debris or glass dust. Rinse the inside of the bottle with water and let it dry completely before using it for your DIY project.
Remember, drilling a hole in a wine bottle requires patience, caution, and the right tools. Always wear safety goggles and gloves to protect yourself from any potential hazards. With practice and careful technique, you can master the art of drilling holes in glass and unlock a whole new world of DIY possibilities.
Safety Precautions for Drilling a Hole in a Wine Bottle
1. Wear Safety Glasses
Before starting the drilling process, it’s essential to wear safety glasses to protect your eyes from any flying glass shards. Glass can shatter unexpectedly, so having proper eye protection is crucial.
2. Use Gloves
To avoid cuts and injuries, it’s advisable to wear gloves while handling the wine bottle and during the drilling process. The gloves will provide a layer of protection and minimize the risk of accidents.
3. Choose the Right Drill Bit
When drilling a hole in a wine bottle, it’s important to use the right drill bit. A diamond glass drill bit or a tile drill bit with a carbide tip is recommended for best results. These specialized drill bits are designed to cut through glass without cracking or chipping it.

4. Start with a Small Hole
It’s best to start with a small pilot hole before drilling the final hole. This will help prevent the drill bit from slipping and damaging the glass. Gradually increase the size of the hole until you reach the desired diameter.
5. Apply Lubrication
Lubricating the drill bit with water or a glass-cutting oil will help keep it cool and reduce the friction between the bit and the glass. This will improve the drilling process and prevent the glass from cracking or breaking.
6. Secure the Bottle
While drilling, make sure to secure the wine bottle in place to minimize movement and instability. You can use clamps or a vise to hold the bottle securely, ensuring that it doesn’t slip or shift during the drilling process.

7. Work in a Well-Ventilated Area
When drilling a hole in a wine bottle, it’s important to choose a well-ventilated area. Glass dust and debris can be harmful to inhale, so ensure that there is proper ventilation to keep the air clean and clear.
8. Take Breaks
Drilling through glass can be a time-consuming process. It’s important to take breaks to avoid fatigue and prevent the drill from overheating. Let the drill bit cool down, and take regular breaks to rest and rehydrate.
9. Dispose of Glass Safely
After drilling the hole in the wine bottle, handle the broken pieces of glass with caution. Dispose of them in a secure container or wrap them in newspaper before disposing of them in the trash to prevent injuries.
10. Clean Up Properly
Once you’ve finished drilling, clean up any glass shards or debris from the drilling process. Use a broom or vacuum cleaner with a filter specifically designed for small particles to ensure a thorough clean-up.
By following these safety precautions, you can minimize the risk of accidents and ensure a safe drilling process when working with wine bottles.
Gathering the Necessary Tools and Materials
- Wine bottle: Select a wine bottle that you would like to drill a hole in. Make sure it is clean and free from any labels or stickers.
- Glass drill bit: Purchase a drill bit specifically designed for drilling holes in glass. These can usually be found at hardware stores or online.
- Power drill: Use a power drill to make the hole in the glass bottle. Make sure the drill is in good working condition and has enough power to penetrate the glass.
- Tape: Use masking tape or painter’s tape to create a guide for drilling the hole. This will help prevent the drill bit from slipping and scratching the glass.
- Bucket of water: Fill a bucket or container with water to use as a lubricant while drilling. The water will keep the drill bit cool and prevent the glass from cracking or shattering.
- Safety glasses: Protect your eyes by wearing safety glasses while drilling. This will prevent any shards of glass from getting into your eyes.
- Gloves: Optional, but some people prefer to wear gloves to protect their hands from any glass splinters.
Before starting the drilling process, make sure you have all the necessary tools and materials gathered and ready to use. This will make the process smoother and safer.
Preparing the Wine Bottle for Drilling
Before you can start drilling a hole in a wine bottle, you need to properly prepare the bottle to ensure a successful drilling process. Follow these steps to prepare your wine bottle:
-
Clean the bottle: Make sure the wine bottle is thoroughly cleaned and free from any labels or debris. Use warm soapy water and a bottle brush to scrub the inside and outside of the bottle. Rinse it well and let it dry completely before proceeding.
-
Remove the wine cork: If there is still a cork in the bottle, carefully remove it using a corkscrew. Be cautious not to break the cork or damage the bottle neck in the process.
-
Measure and mark the drilling point: Decide where on the wine bottle you want to drill the hole. Use a marker or tape to mark the exact spot.
-
Wear safety goggles and gloves: Drilling glass can be potentially hazardous, so it’s important to protect yourself. Put on a pair of safety goggles to shield your eyes and wear gloves to protect your hands from any glass shards.
-
Create a water bath: Fill a shallow container or a sink with cold water. Make sure it is deep enough to submerge the wine bottle up to the drilling point.
Once you have completed these preparation steps, you are ready to proceed with drilling a hole in your wine bottle. Remember to take your time and maintain caution throughout the drilling process to ensure a smooth and safe experience.
Marking the Spot for the Hole
Before you start drilling, it’s important to mark the spot on the wine bottle where you want to create the hole. This will help you to drill accurately and ensure that the hole is in the desired location.

Here are the steps to mark the spot for the hole:
- Clean the wine bottle to remove any dirt or residue that may interfere with marking.
- Decide where you want the hole to be. This will depend on the purpose of the hole. For example, if you want to create a hole for a string of lights, you may want to mark the bottom of the bottle. If you want to make a hole for a candle, you may want to mark the side of the bottle.
- Use a permanent marker to make a small dot or cross at the desired location. Make sure the mark is clearly visible.
- Double check the placement of the mark to ensure it is where you want the hole to be. You can use a ruler or measuring tape to measure the distance from the mark to the base or top of the bottle if needed.
Once you have marked the spot for the hole, you are ready to proceed to the next step of drilling the hole in the wine bottle.
Drilling the Hole in the Wine Bottle
Drilling a hole in a wine bottle may seem like a challenging task, but with the right tools and technique, it can be accomplished easily. Follow these steps to drill a hole in a wine bottle:
Step 1: Gather the necessary materials
Before you start drilling, make sure you have the following materials:
- A wine bottle
- A glass drill bit
- A marker or masking tape
- A drill
- A diamond file or sandpaper
- Safety goggles and gloves
Step 2: Mark the drilling spot
Using a marker or masking tape, mark the spot on the wine bottle where you want to drill the hole. Make sure the spot is away from any seams or labels on the bottle.
Step 3: Prepare the drill
Attach the glass drill bit to your drill. Make sure the drill bit is securely tightened.
Step 4: Put on safety gear
Before you start drilling, put on safety goggles and gloves to protect yourself from any glass shards that may fly off during the drilling process.
Step 5: Start drilling
Place the drill bit on the marked spot on the wine bottle and apply gentle pressure. Start drilling at a slow speed to prevent the glass from cracking. As you drill, continue to apply steady and even pressure.
Step 6: Keep the area clean and cool
While drilling, it is important to keep the area clean and cool. Pour water over the drill bit and bottle to keep them cool and lubricated. This will prevent the glass from overheating and cracking.
Step 7: Double-check the hole
After drilling the hole, carefully remove the drill bit and inspect the hole. If necessary, use a diamond file or sandpaper to smooth out any rough edges.
Step 8: Clean the bottle
Thoroughly clean the wine bottle to remove any glass shards or debris. Rinse it with water and dry it completely before using it for any purpose.
Now that you have successfully drilled a hole in the wine bottle, you can use it for various DIY projects, such as creating a flower vase or a lamp. Just remember to use caution and follow proper safety guidelines when working with glass.
Removing the Glass Burrs
After drilling a hole in the wine bottle, there may be sharp glass burrs left around the edges of the hole. It is important to remove these burrs to prevent any injuries while handling the bottle.
Here are the steps to remove the glass burrs:
- Gather the necessary materials: To remove the glass burrs, you will need a piece of sandpaper or a sanding block, a deburring tool, or a diamond file. These tools will help you smooth out the edges of the drilled hole.
- Inspect the drilled hole: Before starting the deburring process, closely examine the inside and outside edges of the hole to identify any sharp glass burrs that need to be removed.
- Use sandpaper or a sanding block: If the glass burrs are minor, you can use sandpaper or a sanding block to gently rub against the edges of the hole in a circular motion. This will help smooth out any rough edges or burrs.
- Use a deburring tool or diamond file: If the glass burrs are more significant and cannot be easily removed with sandpaper, use a deburring tool or a diamond file. These tools are designed to safely remove burrs and smooth out the edges of the drilled hole. Hold the tool at a slight angle and move it around the edges of the hole to remove the burrs.
- Clean the bottle: Once you have successfully removed the glass burrs, clean the bottle thoroughly to remove any glass debris or residue from the deburring process. This will ensure that the bottle is safe to handle and use.
Remember to take caution when removing glass burrs and always wear safety goggles and gloves to protect yourself. With these steps, you can safely remove glass burrs from a drilled hole in a wine bottle.
Cleaning and Finishing the Drilled Wine Bottle
Once you have successfully drilled a hole in your wine bottle, it’s important to properly clean and finish the bottle for a polished final product. Follow these steps to ensure a professional and presentable result:
Materials Needed:
- Warm water
- Dish soap
- Microfiber cloth
- Sandpaper (fine grit)
- Polishing compound
- Soft cloth or buffing wheel
Step 1: Clean the Bottle
- Fill a sink or basin with warm water and add a few drops of dish soap.
- Place the drilled wine bottle in the soapy water and gently scrub the exterior and interior of the bottle with a microfiber cloth.
- Rinse the bottle thoroughly with clean water to remove any soap residue.
- Dry the bottle with a clean microfiber cloth.
Step 2: Smooth the Edges
- Inspect the edges of the drilled hole for any rough or sharp areas.
- If necessary, use fine-grit sandpaper to gently smooth out any jagged edges. Be careful not to apply too much pressure to avoid cracking or damaging the bottle.
- Once the edges are smooth, wipe away any dust with a microfiber cloth.
Step 3: Polish the Bottle
- Apply a small amount of polishing compound to a soft cloth or buffing wheel.
- Gently rub the compound onto the surface of the wine bottle, focusing on the area around the drilled hole.
- Continue to buff the bottle until it shines and any scratches or imperfections are minimized.
- Wipe away any excess compound with a clean cloth.
Once you have cleaned and finished the drilled wine bottle, you can use it for various crafts or as a unique decorative piece. Remember to handle the bottle with care to avoid accidental breakage.
Ideas for Using Wine Bottles with Drilled Holes
If you recently drilled a hole in a wine bottle using the step-by-step guide above, congratulations! Now it’s time to get creative and find some exciting ways to use your newly drilled wine bottle.
1. Create a Wine Bottle Lamp
A popular and stylish idea for using wine bottles with drilled holes is to turn them into lamps. Simply insert a small string of LED lights through the hole and watch as your wine bottle transforms into a beautiful, illuminated centerpiece. You can place the lamp on a table, shelf, or even hang it from the ceiling for a unique lighting effect.
2. Design a Wine Bottle Vase
Another creative idea for using wine bottles with drilled holes is to transform them into vases. Drill a hole near the base of the bottle and insert a test tube or a small glass jar to hold water for fresh flowers. This charming and eco-friendly vase will add a touch of elegance to any room. You can even paint the bottle or decorate it with ribbons and beads to match your decor.
3. Make a Wine Bottle Bird Feeder
If you love birds and want to attract them to your garden or balcony, consider turning a wine bottle into a bird feeder. Attach a dish or plate to the bottle’s bottom and drill small holes near the top to insert perches. Fill the bottle with birdseed, hang it from a tree branch or a hook, and enjoy watching the feathered visitors flock to your mini bird buffet.
4. Craft a Wine Bottle Wind Chime
For a tinkling and melodic addition to your outdoor space, repurpose your drilled wine bottles into wind chimes. Drill multiple holes near the bottom of the bottles and thread strings through them. Hang the bottles at varying lengths from a wooden or metal frame, and let the wind create soothing sounds as it passes through the bottles.
5. Build a Wine Bottle Herb Garden
If you have green thumbs and limited space, consider creating a wine bottle herb garden. Drill holes in the bottom of the bottles for drainage, and fill them with soil and your favorite herbs. Hang the bottles vertically from a fence or wall, and watch as your mini garden grows. This clever idea not only saves space but also adds a unique touch to your culinary endeavors.
These are just a few ideas to inspire you, but the possibilities are endless when it comes to using wine bottles with drilled holes. Let your imagination run wild and turn your empty bottles into functional and decorative pieces that will impress your guests and add a personal touch to your home.
FAQ:
What tools do I need to drill a hole in a wine bottle?
To drill a hole in a wine bottle, you will need a few tools: a glass drill bit, a power drill, water, masking tape, and safety goggles.
Is it difficult to drill a hole in a wine bottle?
Drilling a hole in a wine bottle is not overly difficult, but it does require some patience and precision. With the right tools and technique, you can successfully drill a hole in a wine bottle.
How do I choose the right glass drill bit?
When choosing a glass drill bit, look for one that is specifically designed for drilling through glass and ceramics. It should have a diamond or carbide tip for effective drilling and should be of the appropriate size for the hole you want to make.
What safety precautions should I take when drilling a hole in a wine bottle?
When drilling a hole in a wine bottle, it is important to take proper safety precautions. Wear safety goggles to protect your eyes from flying glass shards, and make sure to work in a well-ventilated area. It is also a good idea to wear gloves to protect your hands.
Can I reuse the wine bottle after drilling a hole in it?
Yes, you can reuse the wine bottle after drilling a hole in it. Once you have finished drilling the hole, you can clean the bottle and use it as a decorative vase or for other creative purposes.
Video:


Meet Harrison Clayton, a distinguished author and home remodeling enthusiast whose expertise in the realm of renovation is second to none. With a passion for transforming houses into inviting homes, Harrison's writing at https://thehuts-eastbourne.co.uk/ brings a breath of fresh inspiration to the world of home improvement. Whether you're looking to revamp a small corner of your abode or embark on a complete home transformation, Harrison's articles provide the essential expertise and creative flair to turn your visions into reality. So, dive into the captivating world of home remodeling with Harrison Clayton and unlock the full potential of your living space with every word he writes.


