How to Drill a Hole in a Wall Stud: A Step-by-Step Guide
Drilling a hole in a wall stud may seem like a daunting task, but with the right tools and techniques, it can be a straightforward process. Whether you’re hanging a heavy object, installing electrical wiring, or creating a new home improvement project, knowing how to properly drill into a wall stud is essential for a secure and safe installation.
Step 1: Locate the Wall Stud: Before you start drilling, you need to locate the wall stud. Wall studs are vertical boards that provide structural support to the wall. Use a stud finder or tap the wall gently to locate the stud. Once you find it, mark the spot with a pencil.
Step 2: Prepare your Tools: Gather the necessary tools for the job, including a drill with the appropriate drill bit for your project, a level, a pencil, and a tape measure. Make sure you have a firm grip on the drill and that the drill bit is securely attached.
Step 3: Measure and Mark: Use a tape measure to determine the desired location of the hole on the stud. Make sure to measure accurately to ensure proper placement. Then, use a pencil to mark the exact spot where you will drill the hole.
Step 4: Start Drilling: With the drill in the correct position, slowly start drilling into the stud. Apply steady pressure while keeping the drill level and straight. Be patient and avoid forcing the drill, as this can cause damage to the stud or your drill bit.

Step 5: Check the Depth: As you drill, periodically check the depth of the hole to ensure it reaches the desired length. Use a piece of masking tape wrapped around the drill bit to mark the desired depth and prevent drilling too deep.
Step 6: Clean the Hole: Once you have drilled the hole to the desired depth, remove the drill and clean any debris from the hole. This will allow for easier installation of screws or other hardware later on.
Remember to always exercise caution and wear appropriate safety gear, such as safety goggles and gloves, when drilling into a wall stud. If you are unsure about any part of the process or if you encounter any difficulties, consult a professional for assistance.
Drilling a hole in a wall stud may require some patience and precision, but with the right steps, it can be accomplished by anyone. By following this step-by-step guide and taking the necessary precautions, you’ll be able to confidently install whatever you need on a wall stud, ensuring a secure and sturdy result.
The Importance of Drilling Holes in Wall Studs
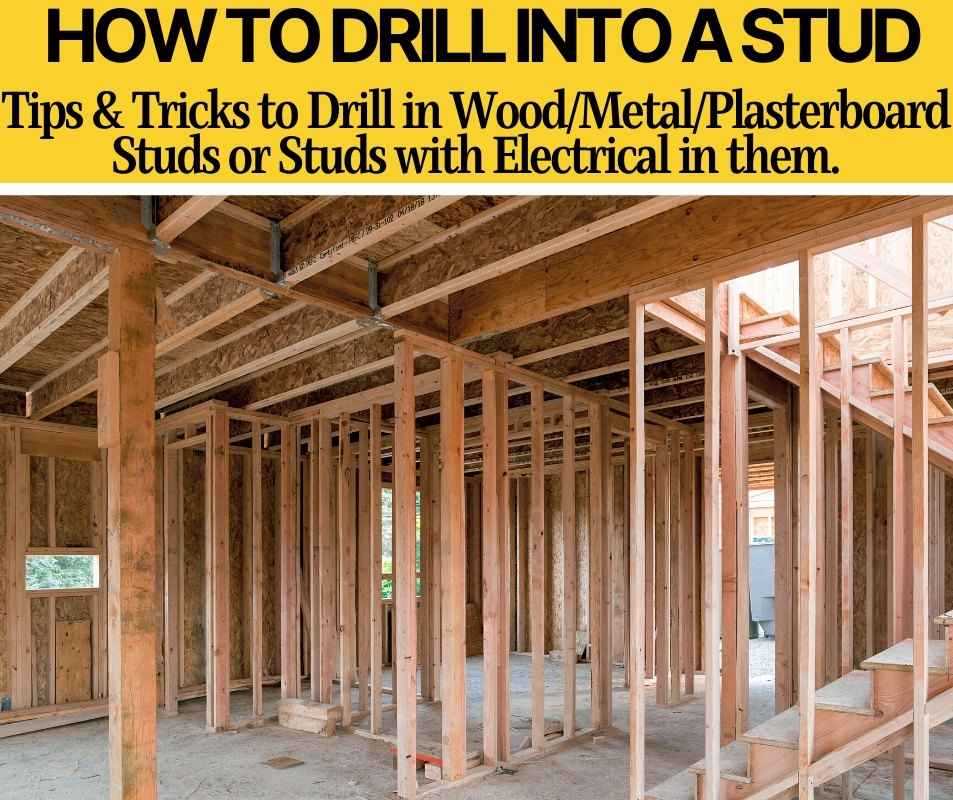
When it comes to home improvement projects that involve hanging heavy items on the wall, such as shelves, mirrors, or cabinets, it is crucial to drill holes in wall studs. Wall studs are vertical framing members that provide the main support for the walls of a building. They are typically made of wood or metal and are spaced evenly throughout the wall.
Support and Stability
Drilling holes in wall studs ensures that whatever you hang on the wall is properly supported and stable. Wall studs are designed to carry a significant amount of weight, making them the ideal anchor point for heavy objects. By attaching your item to a wall stud, you prevent it from falling or tilting, providing much-needed stability and peace of mind.

Distributing Weight
When you hang heavy objects on the wall, they exert force on the wall and the anchor points. If these anchor points are not securely attached to the wall studs, the weight may cause the drywall or plaster to crack or even cause the object to fall. By drilling holes in wall studs, you distribute the weight evenly along the stud, reducing the strain on the surrounding materials.
Preventing Damage
Not only do wall studs provide structural support, but they also help protect the wall from damage. When you drill into a wall stud, you are creating a secure attachment point that minimizes the risk of holes or cracks in the surrounding wall. This is especially important when hanging heavy items or performing tasks that require a lot of force, such as installing a TV mount or a wall-mounted bookshelf.
Choosing the Right Hardware
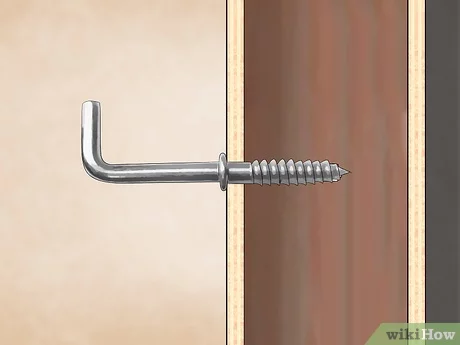
Another reason why drilling holes in wall studs is essential is that it allows you to choose the right hardware for your project. When you drill into a stud, you can use screws or bolts that are longer and stronger, providing a more secure attachment. This ensures that your item is held firmly in place and reduces the risk of it becoming loose or falling over time.
Overall, drilling holes in wall studs is vital for the stability, support, and long-term durability of any item you hang on the wall. It not only ensures the safety of your belongings but also protects the integrity of your walls. Before starting any DIY project that involves hanging objects on the wall, always locate and securely attach them to the wall studs for a job well done.
Step 1: Gather the Necessary Tools
Before drilling a hole in a wall stud, you will need to gather the necessary tools. Having the right tools at hand will make the process much easier and ensure a successful outcome.

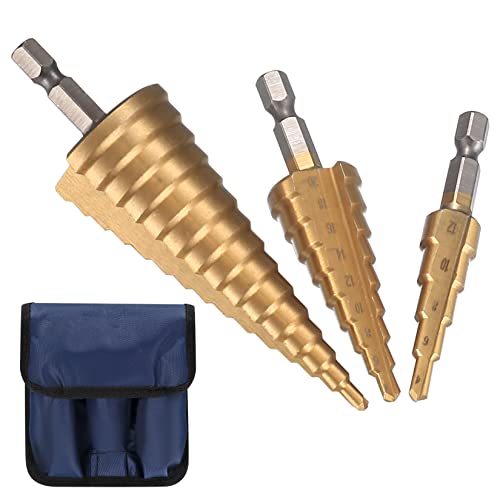
- Power drill: A power drill will be used to create the hole in the wall stud. Make sure the drill is fully charged or plugged in before starting.
- Drill bit: Select a drill bit that is appropriate for the size of the hole you need to make. For example, if you are installing a standard wall anchor, a 1/4-inch drill bit will be suitable.
- Tape measure: Use a tape measure to accurately measure the location where you want to drill the hole. This will ensure that the hole is in the desired position.
- Pencil or marker: Mark the exact spot where you want to drill the hole using a pencil or marker. This will serve as a guide for drilling.
- Level: A level will help you ensure that the hole is drilled straight. This is important for aesthetic purposes and to ensure that any objects or fixtures you hang on the wall are aligned properly.
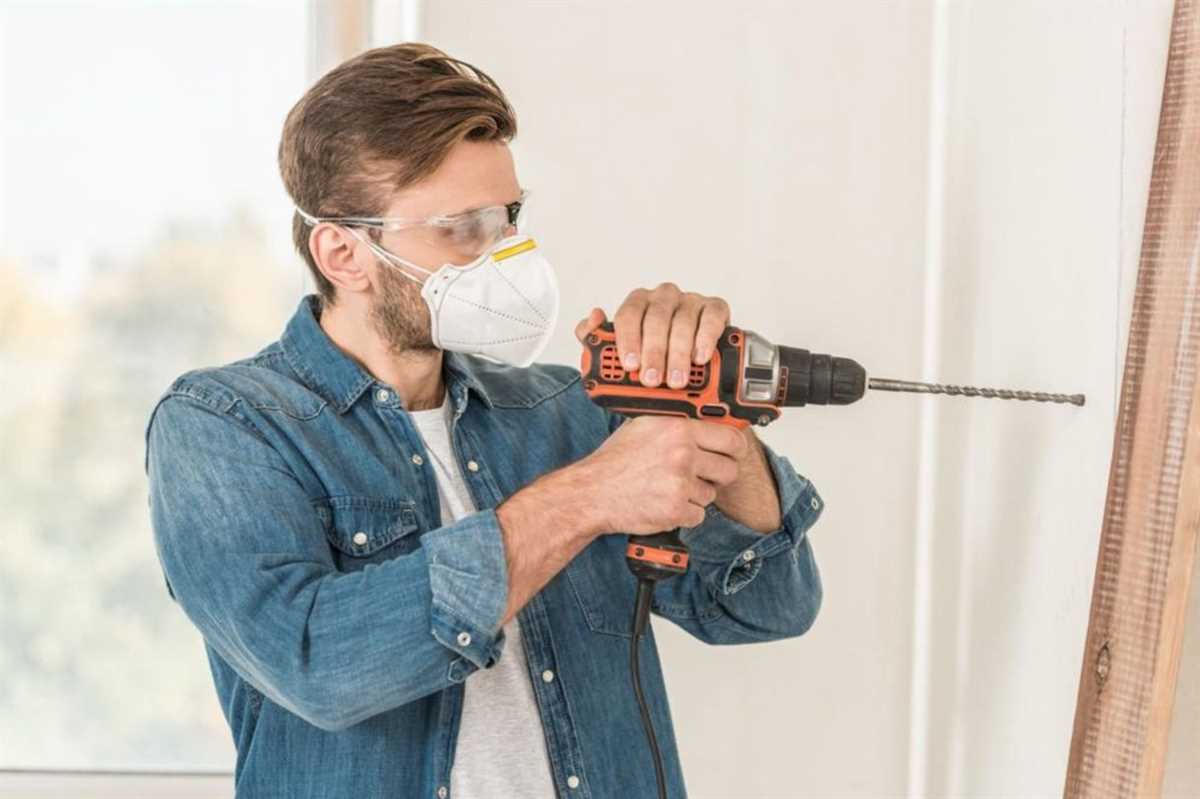
- Safety glasses: Protect your eyes while drilling by wearing safety glasses. These will shield your eyes from any debris or particles that may fly off during the drilling process.
- Work gloves: To protect your hands while handling the power drill or any sharp objects, always wear work gloves.
Once you have gathered all the necessary tools, you will be ready to proceed with drilling a hole in a wall stud.
Step 2: Mark the Location
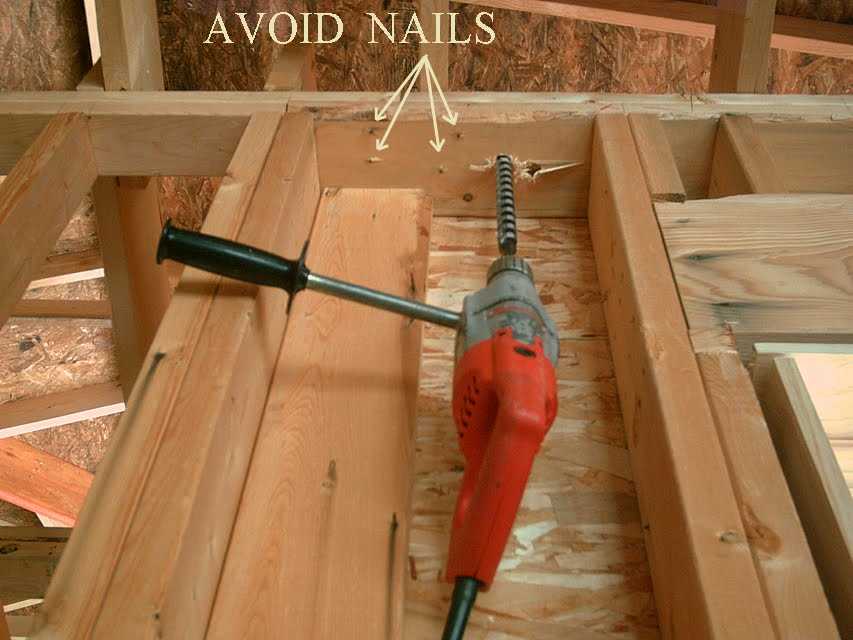
Once you have located the wall stud using a stud finder, it’s time to mark the exact spot where you want to drill the hole. This step is crucial as it ensures that you drill into the center of the stud and avoid any electrical wirings or pipes behind the wall.
To mark the location, follow these steps:
- Using a pencil or a marker, make a small mark on the wall slightly above the height where you want the hole to be.
- If you’re drilling multiple holes, make sure to mark the center of each hole separately.
By marking the location, you can easily reference it while drilling. This small step will help you maintain accuracy and prevent any unnecessary damage to the wall or surrounding areas.
Step 3: Prepare the Drill

Before you start drilling, it’s important to properly prepare the drill to ensure efficient and safe operation.
1. Choose the Right Drill Bit
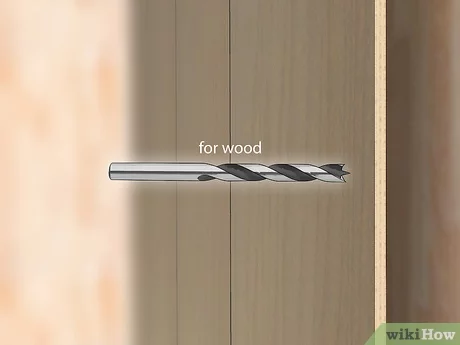
Selecting the correct drill bit is crucial to ensure a clean and accurate hole. For drilling into wall studs, a twist bit or a spade bit is typically recommended. Make sure the bit is sharp and in good condition.
2. Adjust the Drill Speed and Torque Settings
Most drills have speed and torque adjustment settings. For drilling into wall studs, it is recommended to set the drill speed to a medium setting. This will provide enough power to drill through the stud without causing excessive damage.
3. Secure the Drill Bit in the Chuck
Insert the selected drill bit into the chuck of the drill. Tighten the chuck securely to ensure the bit is held in place and won’t slip during operation.

4. Prepare Safety Gear
Drilling can create dust and debris, so it’s important to wear safety glasses or goggles to protect your eyes. Additionally, you may want to wear ear protection if your drill is particularly loud.
5. Use a Level and Mark the Hole Location
Using a level, make sure the mark indicating where you want to drill the hole is straight and level. Double-check the location to ensure it aligns with the stud.
6. Clear the Work Area
Before you start drilling, clear the immediate area around the stud to avoid any potential hazards or obstructions. Remove any furniture, decorations, or other items that may get in the way during the drilling process.
Once you have prepared the drill and marked the hole location, you are ready to move on to the next step: drilling the hole in the wall stud.
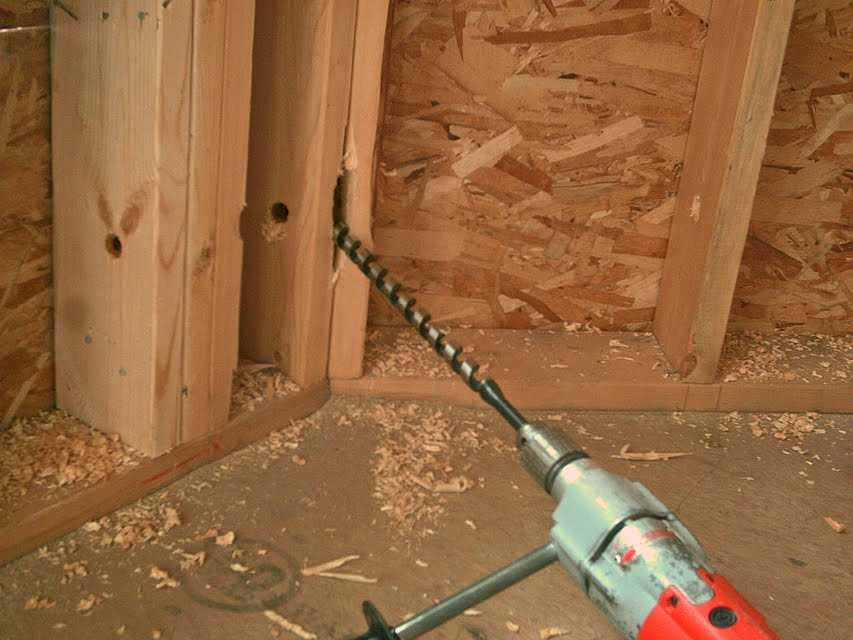
Step 4: Drill the Hole
Before drilling the hole, make sure you have selected the correct drill bit size for the job. It should be slightly smaller than the diameter of the screw you plan to use.
Once you have the right drill bit, hold it firmly and position it on the marked spot on the wall stud. Apply steady pressure and start drilling into the stud, keeping the drill perpendicular to the surface.
Be careful not to drill too quickly or with excess force, as this can cause the drill bit to overheat or break. Slow and steady is the key.
As the drill bit penetrates the stud, you may feel some resistance. This is normal, and you should continue drilling until the bit has gone through the entire stud.
Remember to always wear safety goggles to protect your eyes from flying debris while drilling. Keep the drill steady and maintain a firm grip on it throughout the process.
Once the hole is complete, remove the drill from the stud and set it aside.
Step 5: Check the Depth
Before proceeding with drilling the hole, it’s important to check the depth of the stud. This will ensure that the hole you drill doesn’t go all the way through the stud and potentially damage any electrical wiring or plumbing pipes that may be hidden inside.
To check the depth of the stud, use a tape measure or a ruler to measure the thickness of the wall. This will give you an estimate of the depth of the stud. Keep in mind that studs are generally 1.5 inches thick, but the actual thickness may vary depending on the construction of your walls.
Once you have measured the thickness of the wall, subtract this measurement from the length of your drill bit. This will give you an idea of how far you should drill into the stud without going all the way through.
If you’re unsure about the depth of the stud, you can also use a stud finder to locate the edges of the stud. This will give you a visual reference of where the stud is located.
Remember, it’s better to drill a hole that’s slightly shorter than the depth of the stud and make adjustments as needed, rather than drilling all the way through and causing potential damage to the internal structure of your wall.
Step 6: Remove the Drill Bit
Once you have drilled the hole in the wall stud, it is time to remove the drill bit from the stud. This step is important to ensure that you don’t damage the stud or create any further problems.
To remove the drill bit, follow these steps:
- Switch off the power tool and unplug it from the power source.
- Wait for the drill to come to a complete stop before attempting to remove the bit.
- Release the trigger and gently pull the bit out of the hole.
- Inspect the drill bit for any signs of damage or wear. Replace it if necessary.
- If the bit is stuck or difficult to remove, try gently twisting and pulling it at the same time.
It is important to handle the drill bit with care during this step to avoid injury or damage to the bit itself. Always make sure to store your drill bits properly when not in use to prevent damage or loss.
Step 7: Test the Hole
Once you have successfully drilled the hole in the wall stud, it is important to test it to ensure it is the correct size and depth. Testing the hole will help ensure that it is suitable for the purpose you intended, whether it be for hanging a heavy object or running wires through the wall.
Tools and Materials Needed:
- Tape measure
- Level
- Marker or pencil
Instructions:
- Measure the depth of the hole using a tape measure. This will help determine if the hole is deep enough for your intended use.
- Use a level to check that the hole is drilled perpendicular to the wall stud. A level will ensure that the hole is straight and will prevent any objects or wires from slanting or tilting.
- Inspect the hole visually to ensure there are no obstructions or debris that may interfere with the insertion of screws or wires.
- Insert a screw or wire into the hole to test its size and functionality. If the hole is too small or too shallow, you may need to drill a larger or deeper hole.
- If the hole passes the test, mark it with a marker or pencil for future reference. This will allow you to easily locate the hole when hanging objects or running wires.
- Clean up any debris or dust that was created during the drilling process. This will prevent any interference with the insertion of screws or wires.
Testing the hole is an important step in the drilling process, as it ensures that the hole is suitable for its intended use. By following these steps, you can be confident in the quality and functionality of the hole you drilled in the wall stud.
Summary of Steps and Final Tips
Step 1: Gather the necessary tools
Make sure you have the following tools on hand:
- Drill
- Drill bit suitable for drilling into studs
- Measuring tape
- Marker or pencil
- Safety goggles
Step 2: Locate the stud
Use a stud finder or knock on the wall to determine the location of the stud.
Step 3: Mark the spot
Use the measuring tape to measure approximately 1.5 inches from the edge of the stud and mark the spot with a marker or pencil.
Step 4: Attach the drill bit

Insert the appropriate drill bit into the drill, making sure it is securely attached.
Step 5: Drill the hole
Hold the drill steady and apply gentle pressure as you drill into the marked spot on the stud. Use a slow speed to prevent splintering or damaging the stud.
Step 6: Remove the drill bit
Carefully remove the drill bit from the hole and set the drill aside.
Final Tips
- Always wear safety goggles to protect your eyes from flying debris.
- Take your time and go slow when drilling into the stud to ensure accuracy and avoid damaging the stud.
- Double-check the location of the stud before drilling to ensure you are drilling in the correct spot.
- If you are unsure about drilling into a stud, consult a professional or use alternative methods for hanging items on the wall.
FAQ:
What tools do I need to drill a hole in a wall stud?
To drill a hole in a wall stud, you will need a drill, a drill bit, a stud finder, a pencil, and a measuring tape.
Can I drill a hole in a wall stud without a stud finder?
While it is possible to drill a hole in a wall stud without a stud finder, it is not recommended. A stud finder helps you locate the exact position of the stud, ensuring that you drill the hole in the right place.
How do I find a wall stud without a stud finder?
If you don’t have a stud finder, you can still find a wall stud by using other methods. One way is to look for clues such as electrical outlets or switch boxes, which are typically attached to a stud. You can also try tapping the wall with a hammer to listen for a solid, rather than hollow, sound, indicating the presence of a stud.
Do I need to use a specific type of drill bit to drill a hole in a wall stud?
Yes, when drilling a hole in a wall stud, it is best to use a wood drill bit. This type of drill bit is designed to easily cut through wood, which is the material that most wall studs are made of. It is important to choose the right size of drill bit based on the diameter of the hole you need to drill.
Video:


Meet Harrison Clayton, a distinguished author and home remodeling enthusiast whose expertise in the realm of renovation is second to none. With a passion for transforming houses into inviting homes, Harrison's writing at https://thehuts-eastbourne.co.uk/ brings a breath of fresh inspiration to the world of home improvement. Whether you're looking to revamp a small corner of your abode or embark on a complete home transformation, Harrison's articles provide the essential expertise and creative flair to turn your visions into reality. So, dive into the captivating world of home remodeling with Harrison Clayton and unlock the full potential of your living space with every word he writes.


