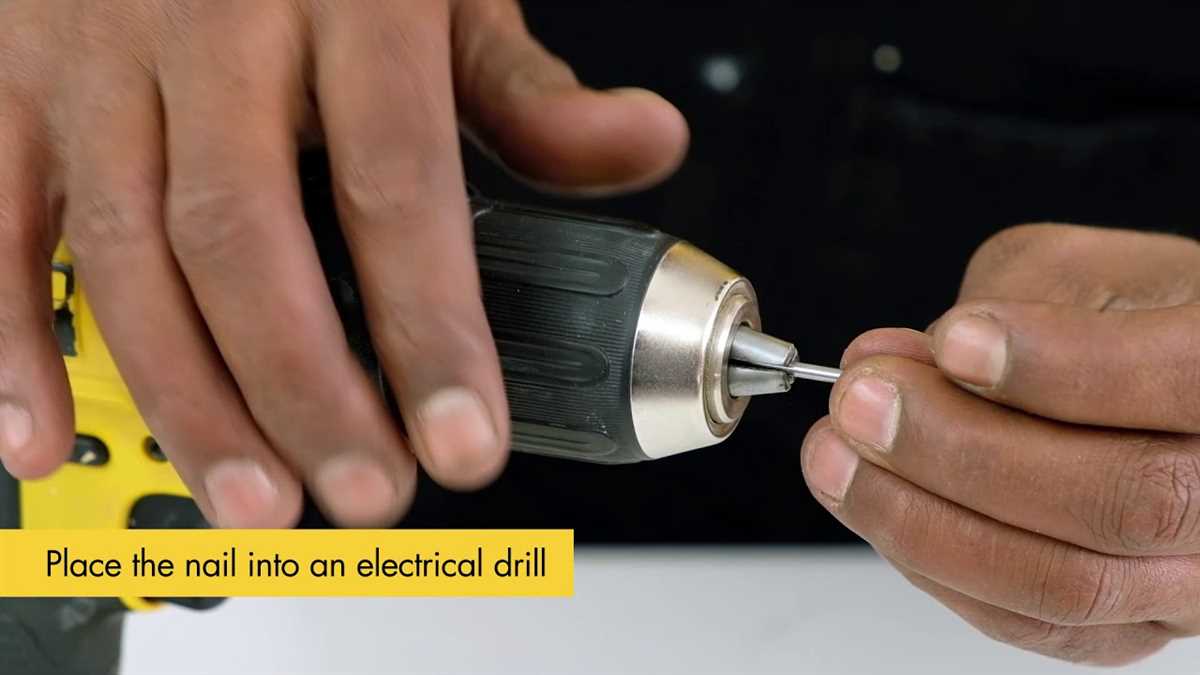
How to Create a Pilot Hole without a Drill

When you’re working on a home improvement project and you need to drive a screw or a nail into a hard material like wood or metal, creating a pilot hole is essential. A pilot hole is a small hole that helps guide the screw or nail and prevents the material from splitting or cracking. But what if you don’t have access to a drill? Don’t worry, there are several alternative methods you can use to create a pilot hole without a drill.
Method 1: Using a Hammer and Nail
If you don’t have a drill, one of the simplest ways to create a pilot hole is by using a hammer and a nail. Start by positioning the nail where you want the pilot hole to be and gently tap the nail into the material. As the nail starts to pierce the material, use the hammer to slowly drive it deeper. Be sure to hold the nail at a slight angle to create a small hole that will guide the screw or nail.
Method 2: Using a Screwdriver
If you have a screwdriver, you can also use it to create a pilot hole. Start by positioning the screwdriver where you want the hole to be and apply downward pressure while rotating the screwdriver in a clockwise direction. The twisting motion will help create a small indentation that serves as a guide for the screw or nail. Repeat this process a few times until the indentation is deep enough to guide the screw or nail.

Method 3: Using a Punch and Hammer
If you have access to a punch and a hammer, you can use them to create a pilot hole. Place the punch where you want the hole to be and gently tap it with the hammer to create a small indentation. Once the indentation is deep enough, you can use the punch to pierce through the material and create a pilot hole. This method works well for harder materials like metal.
Method 4: Using an Awl or a Nail Set
If you have an awl or a nail set, you can use them to create a pilot hole. Simply position the awl or nail set where you want the hole to be and apply downward pressure while twisting or tapping it with a hammer. This will create a small indentation that will guide the screw or nail. This method works best for softer materials like wood.
Conclusion

Creating a pilot hole without a drill may require a bit more effort and time, but it is possible with the right tools and techniques. Whether you use a hammer and nail, a screwdriver, a punch and hammer, or an awl or nail set, the key is to start small and gradually increase the size of the hole until it is large enough to guide the screw or nail. So next time you find yourself without a drill, remember these alternative methods to create a pilot hole and ensure your home improvement project goes smoothly.
Why Do You Need a Pilot Hole?
When it comes to woodworking or any other DIY project that involves driving screws or nails into wood, it is essential to create a pilot hole. A pilot hole is a small hole that is drilled into the material before inserting screws or nails. It may seem like an extra step in the process, but there are several reasons why a pilot hole is necessary.
Prevents Splitting of Wood
One of the main reasons why you need a pilot hole is to prevent the wood from splitting. When you drive a screw or nail directly into the wood without a pilot hole, the wood fibers can separate and cause the wood to split. This is especially true when working with hardwood or dense types of wood. By creating a pilot hole, you are essentially creating a pathway for the screw or nail to follow, reducing the chances of the wood splitting.
Eases Insertion of Screws or Nails
Another reason why a pilot hole is needed is that it makes it easier to insert screws or nails into the wood. By drilling a small hole first, you create a guide for the screw or nail, making it easier to start and ensure that it goes in straight. This is particularly important when working with longer screws or nails that require more force to insert. Without a pilot hole, the screw or nail may go off track or cause the material to shift, making it difficult to get a secure fit.
Prevents Damage to the Material
Creating a pilot hole also helps prevent damage to the material you are working with. When you attempt to drive a screw or nail into the wood without a pilot hole, there is a higher risk of the material splintering or cracking. This can result in an unsightly finish or, in some cases, render the material unusable. By drilling a small pilot hole first, you minimize the chances of damaging the material, ensuring a clean and professional-looking outcome.

Improves Screw or Nail Placement Accuracy
Using a pilot hole can greatly improve the accuracy of screw or nail placement. It allows you to precisely position the fastener exactly where you want it to go. With a pilot hole, you have more control over the depth and angle of insertion, ensuring that the fastener is positioned correctly. This is particularly important when working on projects that require precise assembly or when using screws or nails to secure delicate or valuable materials.
Conclusion
A pilot hole is a simple yet essential step in any woodworking or DIY project that involves driving screws or nails into wood. It prevents the wood from splitting, eases the insertion of fasteners, prevents damage to the material, and improves accuracy in screw or nail placement. Taking the time to create a pilot hole will ultimately result in a better quality and more professional-looking finished product.
Alternative Ways to Create a Pilot Hole
1. Hammer and Nail
If you don’t have a drill or don’t want to use one, you can create a pilot hole using a hammer and nail. Start by placing the tip of the nail on the spot where you want the pilot hole. Then, use the hammer to gently tap the nail into the material. Continue tapping until the nail has created a hole deep enough for your screw to go in smoothly. Make sure to keep the nail as straight as possible to ensure a straight pilot hole.

2. Screwdriver and Hammer
If you have a screwdriver but no drill, you can also use it to create a pilot hole. Choose a screwdriver bit that is slightly smaller in diameter than your screw. Place the tip of the screwdriver on the spot where you want the pilot hole and use the hammer to tap the handle of the screwdriver, driving the tip into the material. Continue tapping until the screwdriver has created a hole deep enough for your screw to go in smoothly.
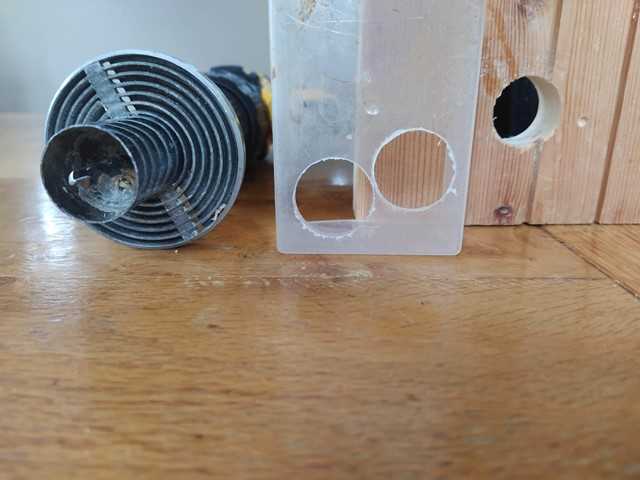
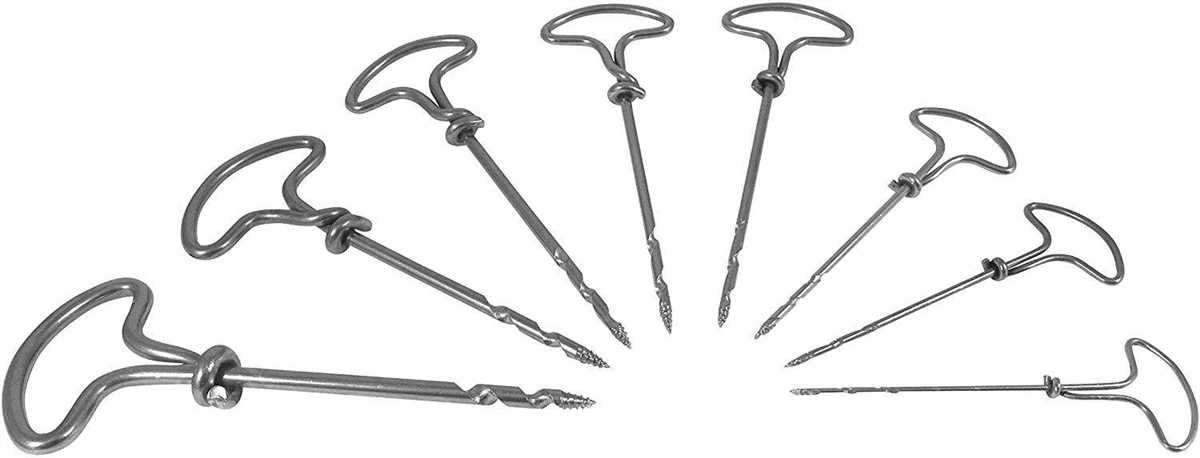
3. Brad Point Punch
A brad point punch is a specialized tool used to create small starter holes for screws or nails. It is a small metal tool with a sharp point that you can press into the material to create a pilot hole. Simply position the brad point punch on the spot where you want the pilot hole and apply pressure, twisting slightly if necessary, until the punch creates a small hole. The brad point punch can be especially useful for creating pilot holes in delicate materials like wood veneer or thin metal.
4. Countersink Bit
If you have a countersink bit, you can use it to create a pilot hole and countersink it at the same time. A countersink bit has a pilot drill bit in the center and a wider outer ring that creates the countersink hole. Simply position the countersink bit on the spot where you want the pilot hole and apply pressure, allowing the bit to drill into the material. Once the pilot hole is deep enough, the outer ring will create the countersink hole, allowing the head of the screw to sit flush with the material’s surface.
5. Masonry Nail
For creating pilot holes in masonry or concrete, a masonry nail can be used. Masonry nails have a hardened tip that is designed to penetrate hard materials. Start by marking the spot where you want the pilot hole and then use a hammer to drive the masonry nail into the material. Continue hammering until the nail has created a hole deep enough for your screw. Note that it may be necessary to use a masonry drill bit to provide a starting point for the masonry nail.

| Method | Pros | Cons |
|---|---|---|
| Hammer and Nail | Simple and widely available tools | Requires precision to keep nail straight |
| Screwdriver and Hammer | Can be used with a common household tool | Requires precision to keep screwdriver straight |
| Brad Point Punch | Creates precise pilot holes | Specialized tool that may not be widely available |
| Countersink Bit | Creates countersink hole simultaneously | Requires a countersink bit |
| Masonry Nail | Can be used on masonry and concrete | May require a masonry drill bit for starting |
Using a Nail and Hammer
If you don’t have access to a drill, you can still create a pilot hole using a nail and a hammer. Here’s how:
- Choose the right nail: Select a nail that is slightly smaller in diameter than the screw you plan to use. The nail should have a sharp point to penetrate the material easily.
- Mark the position: Use a pencil or marker to mark the exact spot where you want to create the pilot hole. This will ensure accurate placement.
- Position the nail: Place the tip of the nail on the marked spot and hold it perpendicular to the surface. Make sure you have a firm grip on the nail to avoid any accidents.
- Start hammering: Begin striking the nail with the hammer, applying moderate force. Make sure to keep the nail straight and prevent it from slipping off the marked spot.
- Create the pilot hole: Continue hammering the nail until it penetrates the material and forms a small hole. This hole will act as a guide for the screw.
- Remove the nail: Once the pilot hole is created, gently pull the nail out of the material using pliers or by tapping it with the hammer.
Using a nail and hammer may take more time and effort compared to using a drill, but it can be an effective alternative when a drill is not available. However, keep in mind that this method may not work well with harder materials such as metal or concrete.
Using a Screwdriver
A screwdriver can be an effective tool for creating a pilot hole when a drill is not available. While it may take a bit more effort and time, the following steps will guide you through the process of creating a pilot hole with a screwdriver.
Materials Needed:
- A screwdriver
- A sharp nail or awl
- A hammer
Step 1: Mark the Spot
Identify the spot where you want to create the pilot hole. Use a pencil or marker to make a small dot on the surface of the material.

Step 2: Position the Screwdriver
Take the screwdriver and position it on the marked spot. Hold it firmly with one hand while applying downward pressure.
Step 3: Tap the Screwdriver
Take the hammer and carefully tap the handle of the screwdriver. The point of the screwdriver will start to penetrate the material.
Step 4: Increase Pressure
Once the screwdriver has made a small indentation, increase the downward pressure on the screwdriver. Apply steady force while rotating the screwdriver to create the pilot hole.
Step 5: Widen the Hole (Optional)
If needed, you can increase the size of the pilot hole by using a sharp nail or awl. Insert it into the hole and wiggle it around to widen the opening.

Remember, using a screwdriver to create a pilot hole can be more time-consuming and physically demanding compared to using a drill. However, with patience and determination, you can still achieve the desired results.
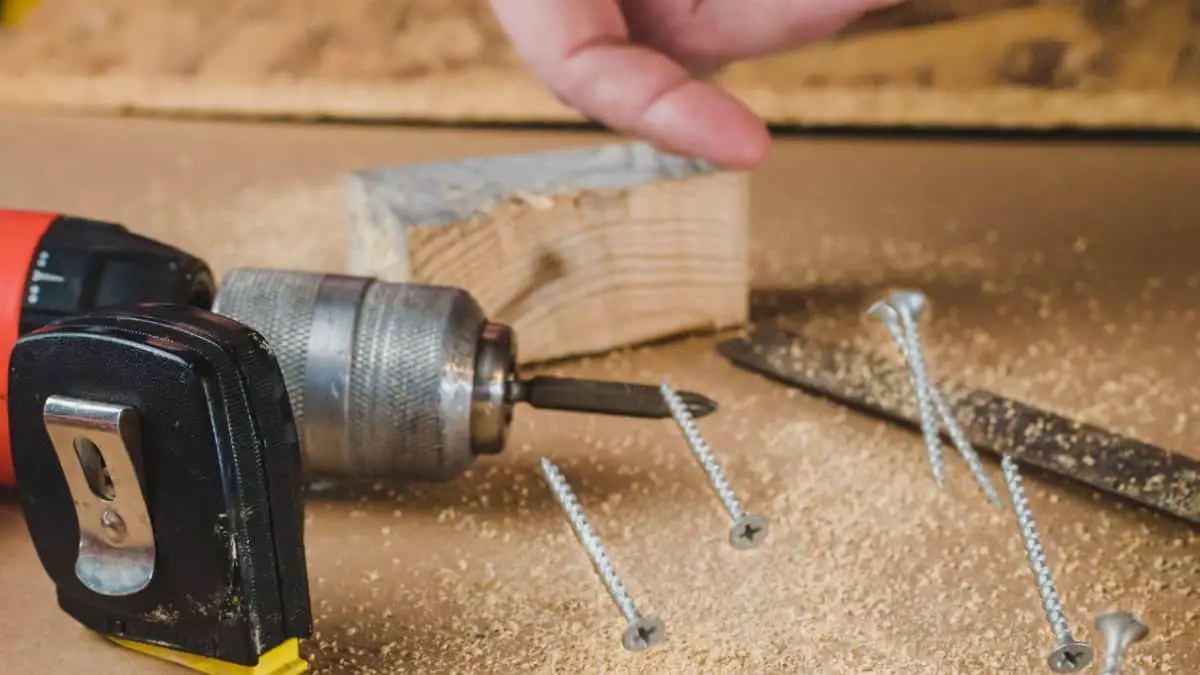
Using a Drill Bit
A drill bit is a tool specifically designed for creating pilot holes in various materials. It is a common choice for creating pilot holes as it provides accuracy and speed. Here are the steps to create a pilot hole using a drill bit:
- Choose the appropriate drill bit: Select a drill bit that matches the size of the screw or fastener you will be using. The drill bit should be slightly smaller in diameter than the screw to create a snug fit.
- Secure the material: Clamp the material securely to a work surface to prevent it from moving while drilling.
- Mark the spot: Use a pencil or marker to mark the exact location where you want to create the pilot hole.
- Set the drill: Insert the drill bit into the chuck of the drill. Tighten the chuck to secure the bit in place. If you are using a cordless drill, make sure the battery is fully charged.
- Drill the pilot hole: Position the drill bit against the marked spot on the material. Apply gentle pressure and start drilling at a slow speed. Keep the drill perpendicular to the material to ensure a straight pilot hole. Continue drilling until the desired depth is reached.
Note: It is important to use the appropriate drill bit for the material you are drilling into. Different materials may require different types of drill bits, such as wood, metal, or masonry bits.
Advantages of using a drill bit:
- Accurate and precise pilot holes
- Fast and efficient drilling
- Wide range of drill bit sizes available
- Compatible with most power drills
You can find drill bits at your local hardware store or online. Make sure to choose high-quality drill bits that are suitable for the materials you are working with.
Using a Hot Nail
Another method for creating a pilot hole without a drill is to use a hot nail. This technique is best suited for smaller projects and when you only need to create a few pilot holes.
Materials You’ll Need:
- A nail
- A heat source (such as a lighter or a stove)
- A pair of pliers or tongs
- A fire-resistant surface (such as a metal plate or a brick)
Step-by-Step Instructions:
- Select a nail that is appropriate for the size of the pilot hole you need.
- Heat the nail using a heat source, such as a lighter or a stove. Hold the nail with a pair of pliers or tongs to prevent burning yourself.
- Place the heated nail on a fire-resistant surface, such as a metal plate or a brick, to avoid damaging any other surfaces.
- Press the hot nail onto the material where you want to create the pilot hole. Apply pressure and rotate the nail in a circular motion to create the hole.
- Continue this process for each pilot hole you need, reheating the nail as necessary.
Note: Be careful when handling the hot nail and always work in a well-ventilated area to avoid any fumes or smoke from the heated metal. Additionally, keep in mind that this method may not be suitable for all materials, especially those that are heat-sensitive or prone to melting.
| Pros | Cons |
|---|---|
| Doesn’t require a drill | Only suitable for smaller projects |
| Can create pilot holes in various materials | May not be precise or consistent |
| Relatively inexpensive | Can be time-consuming |
Using a Metal File
A metal file is a tool with a roughened surface consisting of ridges or teeth that can be used to create a pilot hole in various materials, including wood, metal, and plastic. Here are the steps to create a pilot hole using a metal file:
- Select the appropriate metal file: Depending on the material you are working with, choose a metal file with the appropriate tooth size and pattern. For example, a rasp file may work well for softwoods, while a mill file may be more suitable for metal.
- Mark the location: Use a pencil or marker to mark the exact location where you want the pilot hole to be.
- Secure the workpiece: Place the workpiece in a vice or clamp it down securely to prevent movement while filing.
- Position the metal file: Hold the metal file perpendicular to the surface of the workpiece.
- Apply pressure and begin filing: Apply firm pressure with one hand and use long, smooth strokes to file away material. Start at the center of the marked location and work outward in a circular motion.
- Check your progress: Periodically check the depth and diameter of the hole to ensure it meets your requirements. Adjust your filing technique or switch to a different file if necessary.
- Create a chamfer (optional): If desired, you can use the metal file to create a slight chamfer at the entrance of the pilot hole. This can help prevent splitting and provide a smoother entry point for screws or other fasteners.
- Smooth the edges: After creating the pilot hole, use the file to smooth any rough edges around the hole for a clean finish.
Remember to wear safety goggles or protective eyewear while using a metal file to prevent any potential eye injuries from metal shavings or debris.
FAQ:
What is a pilot hole?
A pilot hole is a small hole that is drilled into a material before inserting a screw or nail. It helps to guide and prevent the material from splitting or cracking.
Can I create a pilot hole without using a drill?
Yes, there are several alternative methods to create a pilot hole without using a drill. One method is using a hammer and nail to create a small hole by gently tapping the nail into the material. Another method is using a screw and screwdriver to create a pilot hole by slowly turning the screw into the material.
What materials are suitable for creating a pilot hole without a drill?
Materials such as wood, plastic, and soft metals are suitable for creating a pilot hole without a drill. However, for harder materials like concrete or metal, it’s recommended to use a drill for better results.
Are there any disadvantages of creating a pilot hole without a drill?
One disadvantage of creating a pilot hole without a drill is that it may be more difficult to achieve precision and control compared to using a drill. Additionally, without a drill, the process may be slower and require more effort.
Do I need any special tools to create a pilot hole without a drill?
No, you don’t need any special tools. Common household items like a hammer, nail, screw, and screwdriver can be used to create a pilot hole without a drill.
Video:


Meet Harrison Clayton, a distinguished author and home remodeling enthusiast whose expertise in the realm of renovation is second to none. With a passion for transforming houses into inviting homes, Harrison's writing at https://thehuts-eastbourne.co.uk/ brings a breath of fresh inspiration to the world of home improvement. Whether you're looking to revamp a small corner of your abode or embark on a complete home transformation, Harrison's articles provide the essential expertise and creative flair to turn your visions into reality. So, dive into the captivating world of home remodeling with Harrison Clayton and unlock the full potential of your living space with every word he writes.


