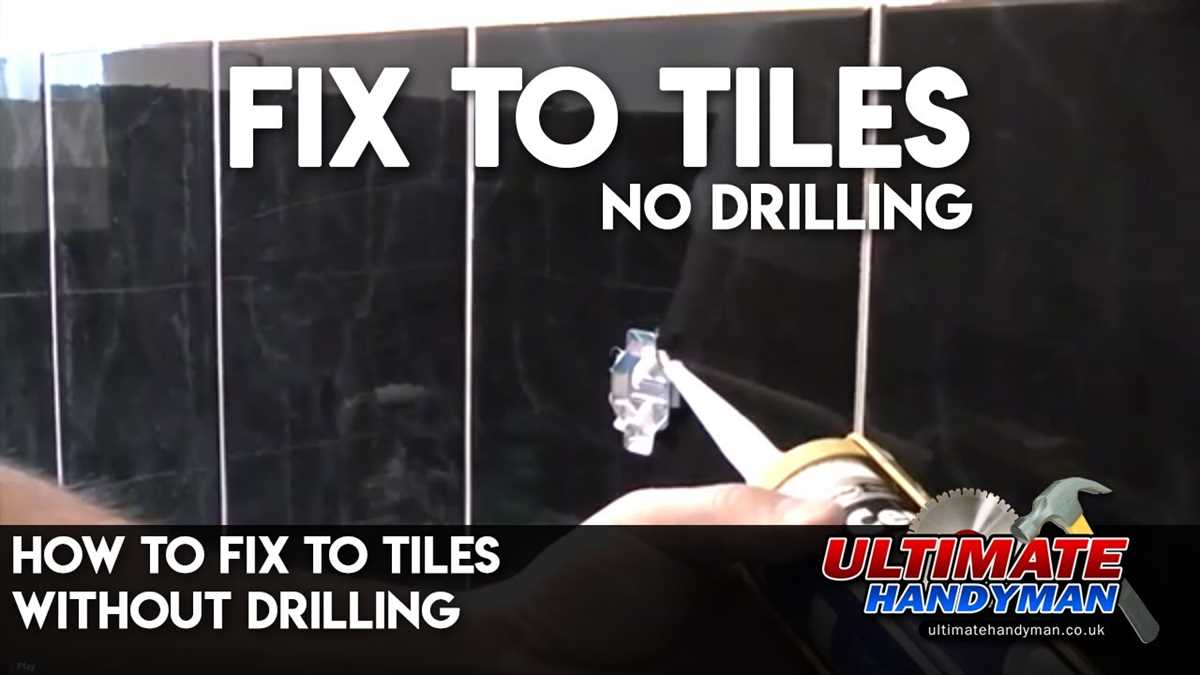
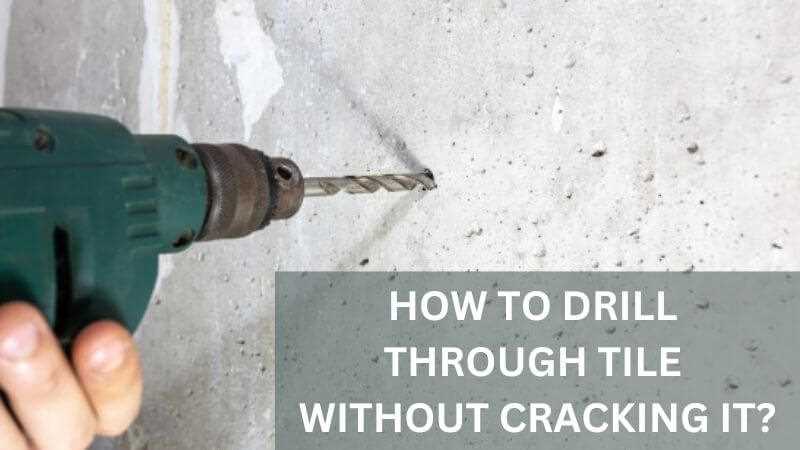
How to create a hole in tile without using a drill

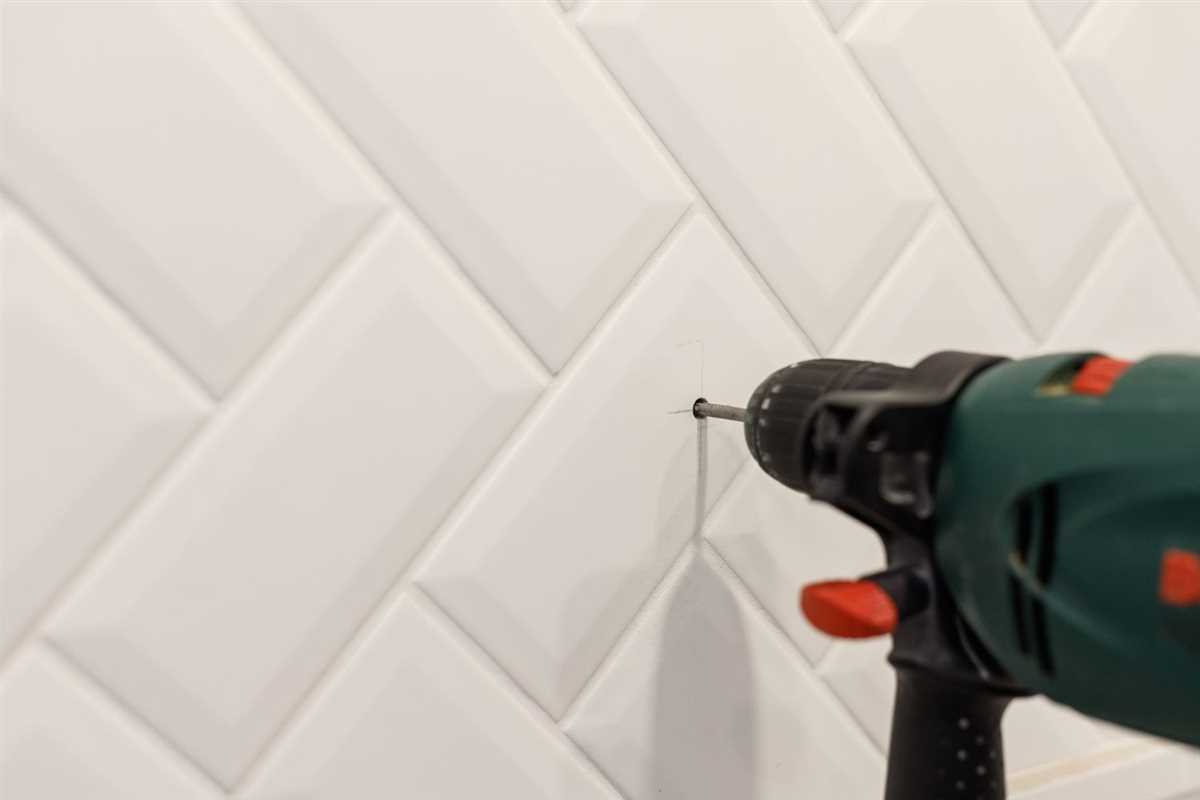
Tiles are a popular choice for flooring and wall coverings, but drilling holes in them can be a challenge. The traditional method involves using a power drill with a masonry bit, but not everyone has access to this equipment. Fortunately, there are alternative methods that can be used to create a hole in tile without the need for a drill.
Method 1: Using a Hammer and Nail
One simple method is to use a hammer and nail. Start by marking the location of the hole on the tile. Then, place the tip of the nail on the marked spot and gently tap it with the hammer. Continue tapping until the nail breaks through the tile. Be sure to use caution and apply gentle pressure to avoid cracking or damaging the tile.
Method 2: Using a Screwdriver and Mallet
Another method is to use a screwdriver and mallet. Like the previous method, start by marking the location of the hole on the tile. Then, place the tip of the screwdriver on the marked spot and strike it with the mallet. Continue striking until the screwdriver pierces through the tile. Again, it is important to be cautious and apply controlled force to prevent tile breakage.
By using these alternative methods, you can create a hole in a tile without the need for a drill. Remember to always take proper safety precautions and work slowly and carefully to avoid any accidents or damage to the tile.
Why you might not want to use a drill for creating holes in tiles
While drills are commonly used for creating holes in a variety of materials, including tiles, there are certain situations where using a drill may not be the best option. Here are some reasons why you might want to consider alternative methods:

- Potential for damage: Using a drill on tiles requires a steady hand and careful control. One wrong move can result in cracking or chipping the tile, potentially ruining the entire piece.
- Noisy and messy: Drilling through tiles can create a lot of noise and dust, which can be inconvenient, especially if you are working in a residential setting or a small space. The dust generated during drilling can also make the cleaning process more time-consuming.
- Expensive equipment: Drills, especially those designed for tile work, can be quite expensive. If you only require occasional hole creation in tiles, investing in a drill may not be cost-effective.
- Difficult access: Sometimes, tiles are placed closely together or in hard-to-reach areas such as corners or edges. In such cases, using a drill can be challenging or even impossible due to the limited space.
- Time-consuming: Drilling holes in tiles can be a slow and tedious process, particularly if you are working with a large number of tiles. This can be especially problematic if you have a tight deadline or limited time available.
Considering these potential drawbacks of using a drill, it is worth exploring alternative methods for creating holes in tiles that may be more suitable for your specific project.
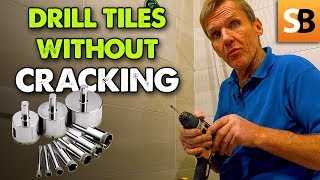
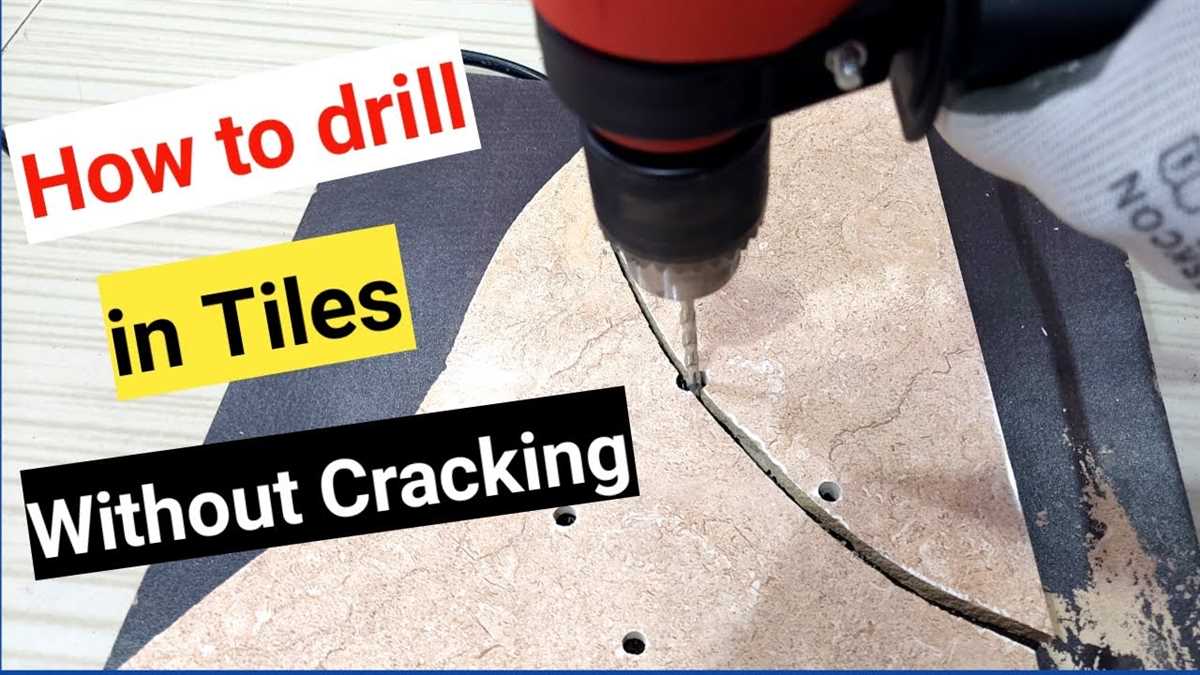
Using a hole saw
A hole saw is a specialized tool that can be used to cut clean holes in tiles. It consists of a cylindrical blade with serrated edges and a pilot drill bit in the center. Here’s how you can use a hole saw to create a hole in a tile without using a drill:
- Choose the right size hole saw: Measure the diameter of the hole you need to make and select a hole saw of the appropriate size.
- Prepare the tile: Mark the center of the hole on the tile using a pencil or marker. Make sure the tile is secured and won’t move during the cutting process.
- Attach the hole saw: Insert the hole saw into a power drill or rotary tool. Make sure it is securely attached.
- Apply lubrication: Apply a small amount of lubrication, such as water or cutting oil, to the surface of the tile. This will help reduce friction and heat during the cutting process.
- Start cutting: Position the pilot drill bit at the center mark on the tile and start drilling. Apply light pressure and let the saw do the work. Keep the saw straight and steady to ensure a clean cut.
- Control the speed: Adjust the speed of the drill or rotary tool depending on the type of tile you are cutting. For harder tiles, a slower speed is recommended to prevent cracking or chipping.
- Finish the cut: Once the pilot drill bit has penetrated the tile, increase the speed and continue cutting until the hole saw has cut through the entire tile.
- Remove the cut piece: After the cut is complete, remove the cut piece from the hole saw. Be careful as it may be hot.
- Clean up: Clear away any debris or dust from the cut area.
Using a hole saw provides a precise and efficient way to create holes in tiles without the need for a drill. It is important to take safety precautions, such as using eye protection and securing the tile, before attempting to use a hole saw.
Step-by-step guide to using a hole saw to create a hole in tile
Materials Needed:
- Hole saw with diamond dust-coated edge
- Water
- Tape
- Drill
- Ruler or measuring tape
- Marker or pencil
- Masking tape
- Safety glasses
- Gloves
Instructions:

- Measure and mark the spot where you want to create the hole on the tile. Use a ruler or measuring tape to ensure accurate placement.
- Cover the marked spot with masking tape. This will help prevent the drill bit from slipping and protect the tile from cracking.
- Secure the tile to prevent it from moving during the drilling process. You can use clamps or ask someone to hold it steady for you.
- Attach the diamond dust-coated hole saw to the drill. Make sure it is securely attached and tightened.
- Pour a small amount of water on the tile where you will be drilling the hole. This will act as a lubricant and keep the hole saw cool.
- Put on safety glasses and gloves for protection.
- Position the hole saw on the marked spot and start drilling at a slow speed. Apply gentle but consistent pressure on the drill.
- Keep the hole saw level and perpendicular to the tile. Avoid tilting or applying too much pressure, as this can cause the hole saw to break or the tile to crack.
- If needed, periodically add more water to the area being drilled to keep the tile and hole saw cool.
- Continue drilling until the hole saw has cut through the tile completely. Be patient and avoid rushing the process to ensure a clean and accurate hole.
- Once the hole is complete, remove the masking tape and wipe away any excess water or debris.
Note: It is important to follow safety precautions such as wearing safety glasses and gloves throughout the process. Take your time and be cautious to avoid accidents or damage to the tile.
| 1. | Practice on a spare tile before working on the actual tile to gain confidence and ensure you are comfortable with the drilling process. |
| 2. | Choose a hole saw with a diameter slightly larger than the size of the hole you need to create to allow for some room. |
| 3. | Use a slow drilling speed to maintain control and reduce the risk of damaging the tile or hole saw. |
Using a glass cutter
If you don’t have a drill or don’t want to use one, you can create a hole in a tile using a glass cutter. Here’s how:
Materials you’ll need:
- Glass cutter
- Masking tape
- Work gloves
- Eye protection
- Marker or pencil
Steps to create a hole in tile:
- Clean the tile surface and mark the spot where you want to create the hole using a marker or pencil.
- Place a strip of masking tape over the mark. This will help prevent the glass cutter from slipping and protect the surface of the tile.
- Put on your work gloves and eye protection to protect your hands and eyes from any potential shards of glass or tile.
- Hold the glass cutter firmly and align the cutting wheel with the marked spot on the tile.
- Apply firm, even pressure while rotating the glass cutter in a circular motion. You should hear a scratching sound as the cutting wheel scores the surface of the tile.
- Continue to score the surface of the tile along the marked circle, applying steady pressure.
- Once the score line is complete, remove the masking tape from the tile.
- Gently tap the tile around the score line with a hammer or a similar tool, applying light pressure.
- The tile should break along the scored line, creating a hole. Be careful when handling the broken tile pieces, as they may have sharp edges.
Using a glass cutter is a precise method to create a hole in a tile without using a drill. However, it requires patience and steady hand to ensure a clean and accurate cut. Make sure to follow all safety precautions and take your time to achieve the desired result.

Step-by-step guide to using a glass cutter to create a hole in tile
Materials needed:
- Glass cutter
- Masking tape
- Tile
- Ruler or measuring tape
- Marker or pencil
- Safety glasses
Step 1: Measure and mark the hole
- Clean the tile surface and make sure it is dry.
- Measure the diameter of the hole you want to create on the tile.
- Use a ruler or measuring tape to find the center point of the hole and mark it with a marker or pencil. You can also use masking tape to mark the center.
Step 2: Prepare the glass cutter
- Put on your safety glasses to protect your eyes.
- Hold the glass cutter firmly in your hand and make sure the cutting wheel is clean and sharp.
- Adjust the cutting wheel so it extends slightly past the tip of the glass cutter.
Step 3: Score the tile
- Position the glass cutter over the center point of the hole.
- Apply firm, even pressure as you roll the glass cutter along the marked line, making sure to score the tile surface.
- Make multiple passes along the marked line to ensure a clean and deep score.
Step 4: Break the tile
- Place the scored tile on a flat surface with the scored line facing up.
- Hold the tile firmly and gently tap along the scored line using a tool such as a tile nipper or a hammer with a tile chisel attachment.
- Continue tapping along the scored line until the tile breaks cleanly along the scored line.
Step 5: Smooth the edges
- Inspect the edges of the hole and use a file or sandpaper to smooth out any rough or jagged edges.
- Remove any sharp or loose fragments from the hole to ensure a clean finish.
Step 6: Clean the tile
- Use a damp cloth or sponge to remove any debris or dust from the tile.
- Dry the tile thoroughly before installation or further use.
Congratulations! You have successfully created a hole in a tile using a glass cutter. Remember to always use caution and wear safety equipment when working with tools.
Using a carbide-tipped scoring tool
One effective way to create a hole in a tile without using a drill is by using a carbide-tipped scoring tool. This method is often used by professionals and can produce clean and precise results.
Materials Needed:
- Carbide-tipped scoring tool
- Ruler or straight edge
- Masking tape
- Pen or marker
- Safety goggles
- Gloves
Instructions:
- Start by measuring and marking the exact location where you want the hole to be on the tile. Use a ruler or straight edge to ensure accuracy.
- Place a strip of masking tape over the marked area. This will help prevent the tile from cracking or chipping during the drilling process.
- Put on safety goggles and gloves to protect yourself from any potential injuries.
- Hold the carbide-tipped scoring tool at a slight angle against the marked area on the tile.
- With firm and consistent pressure, use the scoring tool to make repeated back-and-forth motions on the tile. This will gradually chip away at the surface and create a groove.
- Continue scoring the tile until the groove is deep enough and wide enough to accommodate the desired hole size.
- Once the groove is created, apply more pressure and make deeper cuts along the groove to weaken the tile further.
- Use the scoring tool to carefully chip away any remaining pieces of the tile until the hole is fully formed.
- Remove the masking tape and clean any debris from the hole.
Tips:
- Be patient and take your time when scoring the tile. Rushing can lead to mistakes or uneven cuts.
- It’s important to wear safety goggles and gloves to protect yourself from potential injuries while using the scoring tool.
- Practice on a spare tile or a small inconspicuous area of the tile before attempting to create the hole. This will help you get a feel for the scoring tool and gauge the amount of pressure needed.
Using a carbide-tipped scoring tool to create a hole in tile can be a slower process compared to using a drill, but it is a viable option if a drill is not available or if you prefer a manual method. Remember to always exercise caution and wear the necessary safety gear when working with tools.
Step-by-step guide to using a carbide-tipped scoring tool to create a hole in tile
Materials needed:
- Carbide-tipped scoring tool
- Tile
- Masking tape
- Marker pen
- Safety goggles
- Protective gloves
Step 1: Prepare the tile
Clean the surface of the tile where you want to create the hole. Make sure there are no dust or debris on the surface that may interfere with the scoring tool.
Step 2: Mark the hole
Using a marker pen, mark the center of the hole on the surface of the tile. This will act as a guide for where to use the scoring tool.
Step 3: Secure the tile
Place the tile on a stable work surface and secure it in place using masking tape. This will help prevent the tile from moving while you’re using the scoring tool.
Step 4: Put on safety gear
Wear safety goggles and protective gloves to protect your eyes and hands while working with the scoring tool.
Step 5: Score the tile
- Hold the scoring tool firmly in your dominant hand, with the carbide tip facing down.
- Position the scoring tool directly over the marked center of the hole on the tile.
- Apply downward pressure and use a twisting motion to score the surface of the tile.
- Continue scoring until you have created a groove that goes at least halfway through the thickness of the tile.
Step 6: Break the tile
- Using a pair of pliers or tile nippers, carefully break off the scored section of the tile.
- Apply gentle pressure to the scored area to break it along the scored line.
Step 7: Smooth the edges
Use sandpaper or a tile file to smooth out any rough edges around the hole you created. This will help ensure a clean finish.
Step 8: Clean up
Remove the masking tape and clean the tile to remove any debris from the hole creation process.
Using a carbide-tipped scoring tool is a simple and effective method to create a hole in tile without using a drill. Follow these steps carefully, and you’ll be able to create precise and clean holes in tiles for your various projects.
Using a rotary tool
A rotary tool, such as a Dremel, can be a versatile tool for creating holes in tiles without using a drill. Follow these steps to create a hole using a rotary tool:
- Prepare the tile: Clean the area where you want to create the hole and mark the center of the hole with a pencil or marker.
- Choose the right bit: Select the appropriate cutting bit for the type of tile you are working with. Diamond-coated bits are commonly used for drilling through tile.
- Add water: Fill a bowl with water and place it near your work area. The water will help to cool down the tile and the bit during the drilling process.
- Secure the tile: Place the tile on a stable surface, such as a workbench or a piece of plywood, to prevent it from moving while drilling.
- Start drilling: Turn on the rotary tool and position the bit on the marked center of the hole. Apply gentle pressure and begin drilling at a slow speed.
- Keep the area wet: While drilling, periodically dip the bit into the water to lubricate and cool it down.
- Maintain control: Hold the rotary tool with a firm grip and guide it along the marked circle, applying consistent pressure. Avoid applying excessive force, as it may damage the tile.
- Finishing touches: Once the hole is created, turn off the rotary tool and clean away any debris. You can smooth the edges of the hole using a sanding attachment on the rotary tool, if desired.
Always wear safety goggles and protective gloves while using a rotary tool to prevent any injury. Additionally, be cautious of the amount of pressure applied to avoid cracking or chipping the tile.
Step-by-step guide to using a rotary tool to create a hole in tile
Materials needed:
- Rotary tool with a diamond-tipped drill bit
- Masking tape
- Safety goggles
- Gloves
- Water
Step 1: Preparation
Before you begin, make sure you have all the necessary materials and safety equipment. Ensure that the tile you want to drill a hole in is securely placed and won’t break or move during the process.
Step 2: Marking the hole
Use a pencil or marker to mark the center of the hole you want to create on the tile. This will serve as a reference point for accurate drilling.
Step 3: Secure the tile
Place a piece of masking tape over the area where you will be drilling the hole. This will help prevent the drill bit from slipping and minimize the risk of damaging the tile.
Step 4: Safety precautions
Put on safety goggles and gloves to protect yourself from any flying debris or potential accidents during the drilling process.
Step 5: Start drilling
Attach the diamond-tipped drill bit to your rotary tool. Set the tool to a low speed and apply gentle pressure to the tile. Begin drilling at a slow and steady pace, keeping the drill bit perpendicular to the tile surface. Remember to periodically apply water to the drilling area to keep the drill bit cool and prevent it from overheating.
Step 6: Cool down and clean up
After drilling the hole, allow the tile and drill bit to cool down. Carefully remove any debris or dust from the hole and surrounding area using a soft brush or cloth.
Step 7: Test the hole
Before proceeding with any installation or use, test the hole to ensure it is the correct size and shape. If necessary, use a file or sandpaper to adjust the hole to the desired specifications.
Step 8: Clean and store your tools
Clean the rotary tool and diamond-tipped drill bit thoroughly with water and a mild detergent. Allow them to dry completely before storing them in a safe place for future use.
Following these steps will enable you to create a hole in a tile using a rotary tool and a diamond-tipped drill bit. Remember to prioritize safety and take your time to ensure accurate results.
Using a hammer and chisel
Another option for creating a hole in a tile without using a drill is to use a hammer and chisel. This method requires careful precision and patience, but it can be effective if executed correctly.
- Mark the location: Begin by marking the precise spot where you want the hole to be on the tile. Use a pencil or marker to make a clear and visible mark.
- Protect the tile: To prevent the tile from cracking or shattering, it is important to place a layer of masking tape over the marked area. This will help absorb the force of the chisel and protect the tile from damage.
- Prepare the chisel: Choose a sharp and sturdy chisel that is appropriate for the size of the hole you want to create. Hold the chisel firmly and position it perpendicular to the tile’s surface.
- Start chiseling: Begin by gently tapping the chisel with a hammer to create a small indentation on the tile’s surface. Slowly increase the force of the hammering while maintaining precision and control.
- Create the hole: Continue chiseling along the marked line, placing each strike close to the previous one. Gradually increase the depth of the hole until it reaches the desired size.
- Remove any rough edges: Once the hole is created, use the chisel to smooth out any rough edges or uneven surfaces around the hole.
It is important to note that this method may take some practice to achieve the desired results. Using a hammer and chisel requires patience, as well as careful control and precision. Make sure to take breaks and assess your progress as you work to avoid damaging the tile or compromising its integrity.
Always wear appropriate safety gear, such as safety goggles and gloves, when working with tools. Additionally, be mindful of the surrounding area and any nearby objects or fixtures that could be damaged during the process.
| Protective gear: | Wear safety goggles and gloves to protect yourself from flying tile fragments and sharp tools. |
| Work area: | Ensure that the area surrounding the tile is clear of any obstacles or fragile objects that could be accidentally damaged. |
| Control and precision: | Take your time and work slowly to maintain control and achieve accurate results. Avoid applying excessive force that could damage the tile. |
FAQ:
Is there a way to create a hole in a tile without using a drill?
Yes, there are alternative methods to create a hole in a tile without using a drill. One method is to use a hammer and a chisel. You can carefully score the tile using the chisel and hammer, creating a small groove. Then, you can gradually chip away at the tile along the scored line until you create a hole.
What tools can I use to create a hole in a tile, other than a drill?
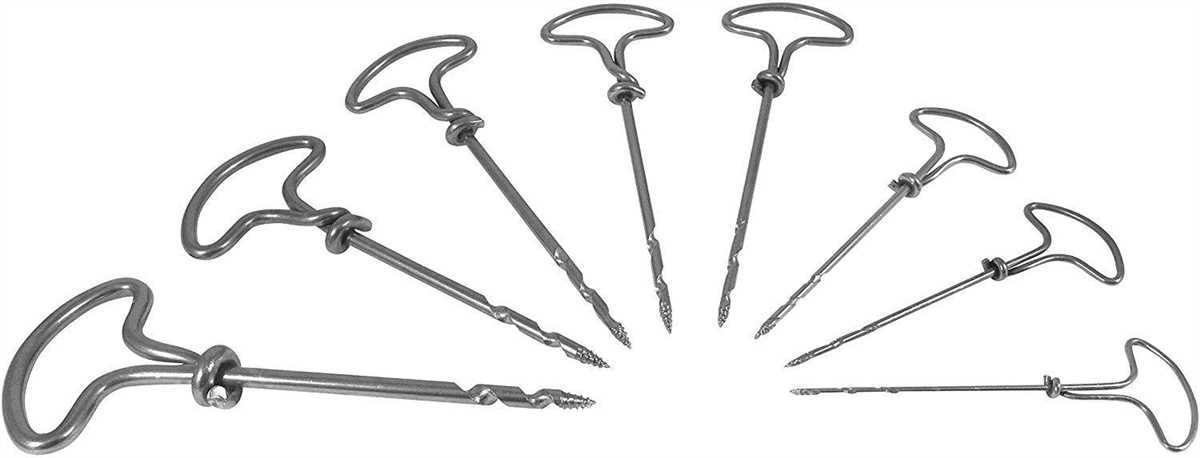
Aside from a drill, there are several tools you can use to create a hole in a tile. One option is a hole saw, which can be attached to a regular drill or a rotary tool. Another option is a tile nipper, which can be used to slowly nibble away at the tile until a hole is formed. Additionally, a carbide-tipped pencil can be used to score the tile and create a starting point for drilling.
Are there any tips for creating a hole in a tile without using a drill?
Yes, there are a few tips that can help with creating a hole in a tile without using a drill. First, make sure to wear safety goggles to protect your eyes from any tile shards. Second, use a slow and steady hand when using alternative tools such as a chisel or tile nipper. Slowly work your way through the tile to avoid cracking or damaging it. Lastly, always start with a small hole or groove before gradually increasing the size.
What are the advantages of using alternative methods to create a hole in a tile?
Using alternative methods to create a hole in a tile can have several advantages. Firstly, these methods may be more accessible to individuals who do not have access to a drill or prefer not to use one. Additionally, alternative methods such as scoring and chiseling can allow for greater control and precision when creating the hole. Finally, using alternative tools can often be a more cost-effective solution compared to purchasing or renting a power drill.
Video:


Meet Harrison Clayton, a distinguished author and home remodeling enthusiast whose expertise in the realm of renovation is second to none. With a passion for transforming houses into inviting homes, Harrison's writing at https://thehuts-eastbourne.co.uk/ brings a breath of fresh inspiration to the world of home improvement. Whether you're looking to revamp a small corner of your abode or embark on a complete home transformation, Harrison's articles provide the essential expertise and creative flair to turn your visions into reality. So, dive into the captivating world of home remodeling with Harrison Clayton and unlock the full potential of your living space with every word he writes.


