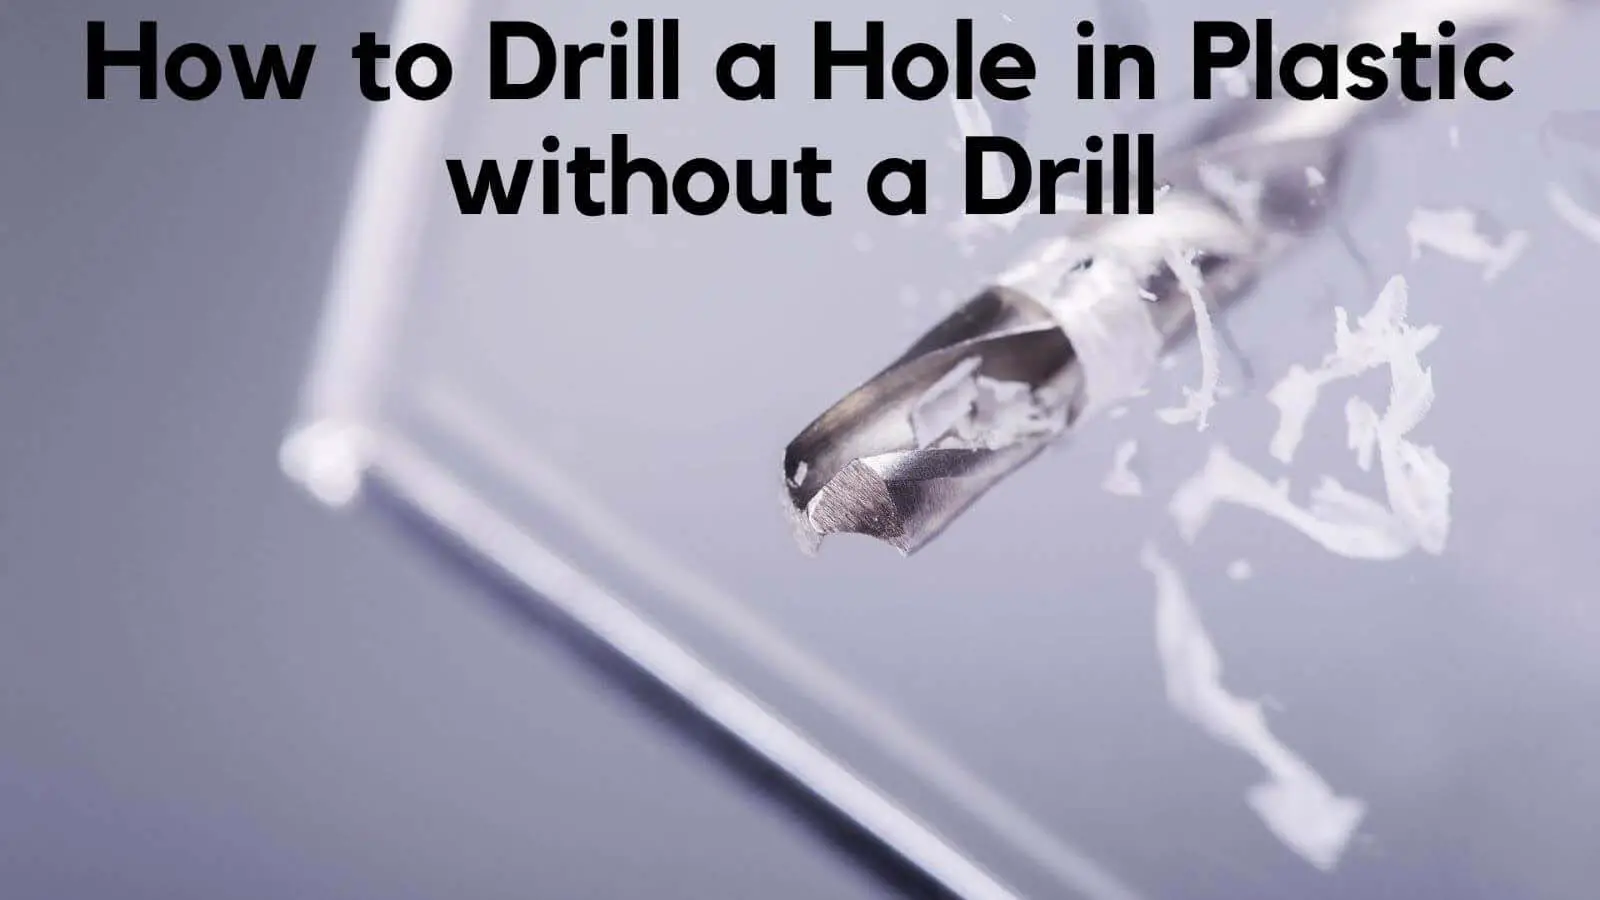
How to Create a Hole in Acrylic Sheet without a Drill

Acrylic sheets are a popular material for a wide range of projects, from signs and displays to furniture and artwork. One of the challenges when working with acrylic sheets is creating holes for screws, bolts, or other attachments. While a drill is the most common tool for this task, it may not always be available or practical. Fortunately, there are alternative methods that can be used to create a hole in an acrylic sheet without a drill.
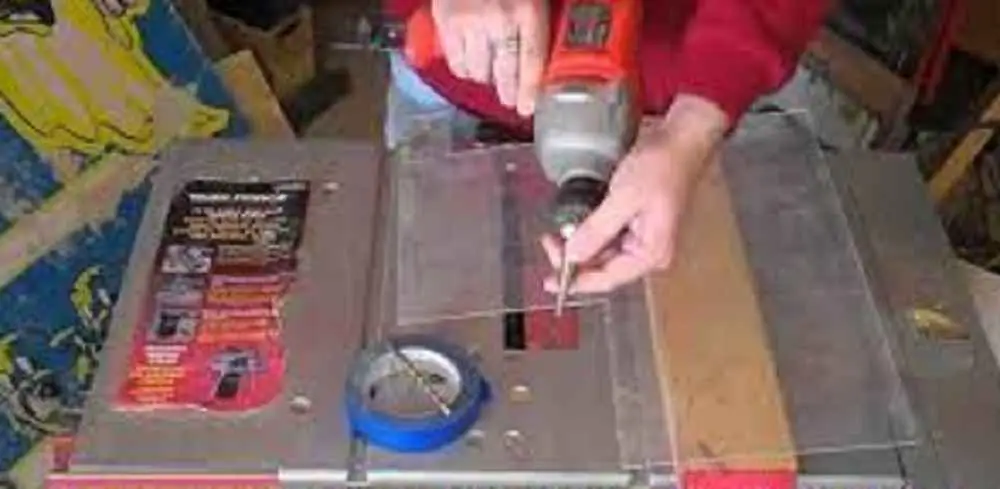
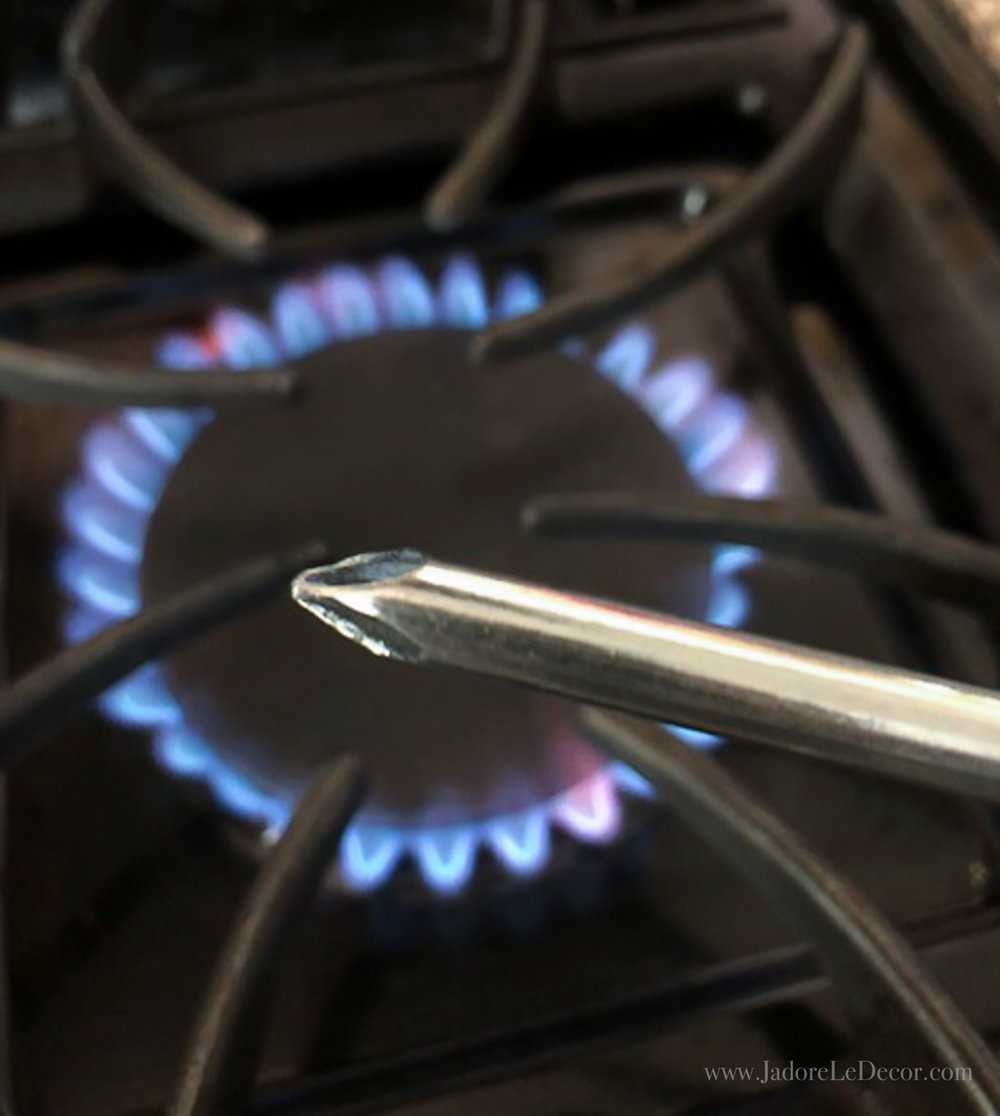
One method involves using a hot needle or awl to melt through the acrylic. To do this, heat the needle or awl over a flame until it is hot enough to melt the acrylic. Then, apply pressure to the heated needle or awl and slowly push it through the acrylic sheet. This method requires caution and precision, as the heat can cause the acrylic to melt unevenly or crack if too much pressure is applied.
Another method is to use a rotary tool with a cutting or grinding attachment. This tool can be used to slowly and carefully carve out a hole in the acrylic sheet. It is important to use a low speed setting and to apply light pressure to avoid cracking or chipping the acrylic. This method may take longer than using a drill, but it can be effective for creating smaller or more intricate holes.
Finally, if neither of these methods is suitable, adhesive-backed fasteners or mounting brackets can be used instead. These fasteners are designed to adhere to acrylic surfaces and can provide a secure attachment point without the need for drilling. They are available in various sizes and styles, making them versatile for different projects.
In conclusion, while a drill may be the most common tool for creating holes in acrylic sheets, there are alternative methods that can be used when a drill is not available or practical. By using a hot needle or awl, a rotary tool, or adhesive-backed fasteners, it is possible to create holes in acrylic sheets without a drill. However, it is important to exercise caution and precision when working with acrylic, as it can be prone to melting or cracking if handled improperly.

What is an Acrylic Sheet
An acrylic sheet is a type of plastic material that is commonly used in various applications due to its versatility and durability. It is made from polymethyl methacrylate (PMMA), which is a transparent thermoplastic. Acrylic sheets are often referred to as plexiglass or acrylic glass.
Acrylic sheets have a wide range of uses in different industries and sectors. They are popular in the construction industry for windows, skylights, and doors. They are also used in the signage industry for making outdoor signs and displays. In addition, acrylic sheets are commonly used in the automotive industry, medical industry, and even in art and design projects.
One of the main advantages of acrylic sheets is their transparency. They have excellent optical clarity, allowing light to pass through without distortion. This makes them a popular choice for applications where clarity and visibility are important.
Acrylic sheets also have high impact resistance, making them a durable option for various applications. They are resistant to weathering, UV radiation, and chemicals, which makes them suitable for outdoor use.
Another advantage of acrylic sheets is their ease of customization. They can be easily cut, shaped, and molded into different forms and sizes. This makes them highly adaptable to different design requirements.

Overall, acrylic sheets are a versatile and durable material that is widely used in various applications. Whether it’s for practical or aesthetic purposes, acrylic sheets offer a range of benefits that make them a popular choice in many industries.
Why Create a Hole in Acrylic Sheet
There are several reasons why you may need to create a hole in an acrylic sheet. Here are a few common scenarios:
- Mounting or hanging: If you want to mount or hang the acrylic sheet, you will need to create holes to insert screws or hooks.
- Customization: Sometimes, you may need to customize your acrylic sheet by adding holes for specific purposes, such as ventilation or cable management.
- Adding accessories: If you have accessories or attachments that need to be secured to the acrylic sheet, you will need to create holes to accommodate them.
- Installation: In certain installations, like in the case of acrylic signs or displays, holes are necessary to attach the sheet securely to a frame or stand.
Creating holes in an acrylic sheet can be challenging, especially if you don’t have access to a drill or want to avoid using one. However, there are alternative methods that can effectively create holes, such as using a heated tool, scoring and snapping, or using specialized hole punchers.
It’s important to ensure that the method you choose is appropriate for the thickness and type of acrylic sheet you’re working with. It’s also crucial to take the necessary safety precautions and wear appropriate protective gear when working with acrylic sheets.
By creating holes in an acrylic sheet, you can enhance its functionality, customization options, and overall usability for your specific needs.

Methods of Creating Holes in Acrylic Sheet
When working with acrylic sheet, it may be necessary to create holes to accommodate screws, bolts, or other fasteners. While using a drill is the most common method, there are several alternative techniques that can be used to create holes in acrylic without a drill.
1. Punching
Punching is a quick and simple way to create small holes in acrylic sheet. To punch a hole, you will need a punch tool with a sharp point. Simply position the tool on the desired location, and apply pressure with a hammer or mallet. The force will cause the tool to penetrate the acrylic and create a hole.
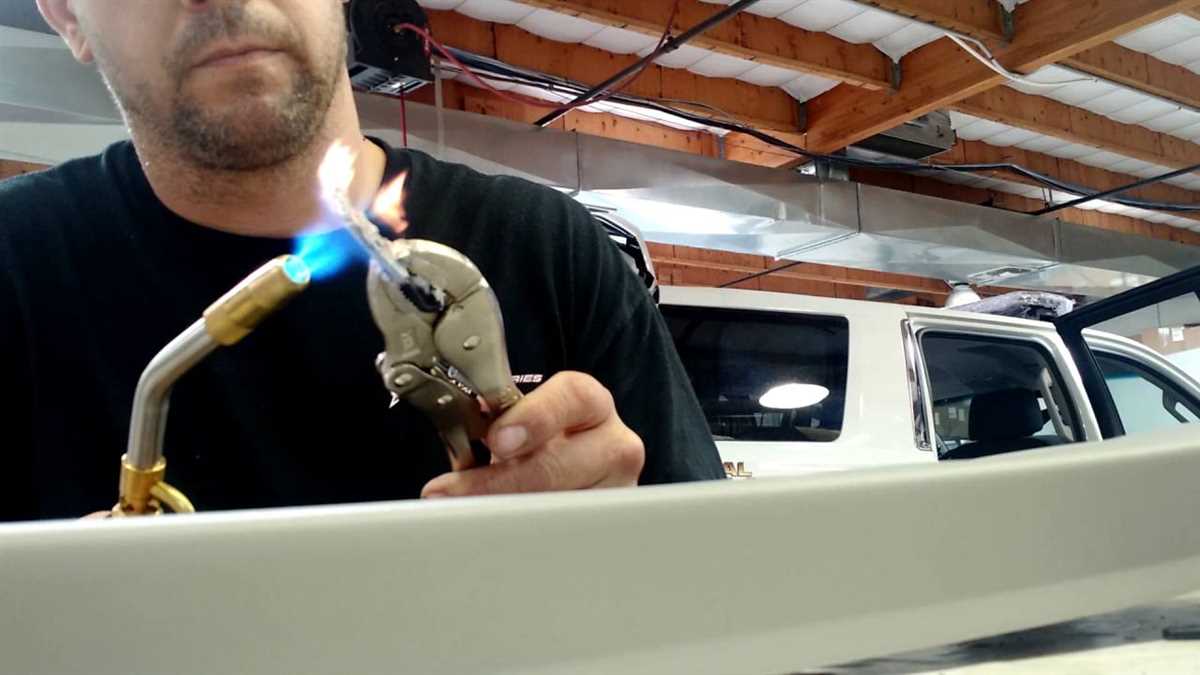
2. Heating and Melting
Another method to create holes in acrylic is by heating and melting it. This technique works best for creating larger holes. To do this, you will need a heat source like a heat gun or a torch. Heat the acrylic sheet in the area where the hole is desired. Once the acrylic becomes soft and pliable, use a rod or other heated object to melt and push through the material, creating a hole.
3. Cutting and Filing
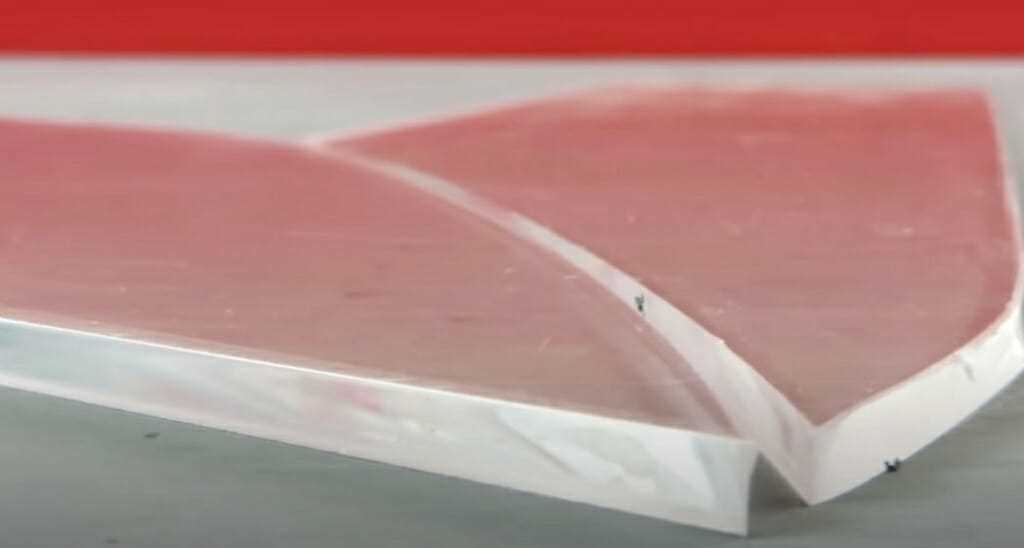
If your acrylic sheet is thin enough, you can use a sharp utility knife or a blade to create a hole. Start by scoring the outline of the hole, then apply pressure to cut through the material. Once the hole is cut, use a file to smooth and shape the edges. This method is suitable for smaller holes and requires patience and precision.

4. Router or Dremel Tool
If you have access to a router or a Dremel tool with a cutting attachment, you can use it to create holes in acrylic. Attach the appropriate cutting bit, and slowly guide the tool along the outline of the hole. Take your time and be sure to use proper safety precautions such as wearing protective goggles and gloves. This method is ideal for creating precise and clean holes in acrylic.
5. Laser Cutting
For more advanced and precise hole creation, laser cutting can be used. Laser cutting machines can accurately cut holes in acrylic sheets with great speed and precision. However, laser cutting machines are expensive and may not be easily accessible for everyone.
When using any of these methods, it is essential to work slowly and carefully to avoid damaging the acrylic sheet. Always wear safety goggles and gloves to protect yourself from any debris or accidental injury.
Using a Heat Source
1. Gather your materials
Before attempting to create a hole in an acrylic sheet using a heat source, gather the following materials:

- Acrylic sheet
- Heat gun or butane torch
- Masking tape
- Marker or pen
- Scrap piece of wood or metal
2. Prepare the acrylic sheet
Clean the surface of the acrylic sheet and make sure it is dry. Place it on a flat and heat-resistant surface, such as a workbench or a metal sheet.
3. Mark the hole location
Using a marker or pen, mark the location where you want the hole to be on the acrylic sheet. You can also use masking tape to create a guide for more precise positioning if desired.
4. Heat the acrylic sheet
Hold the heat gun or butane torch about 2-3 inches away from the marked spot on the acrylic sheet. Move the heat source in a circular motion, evenly distributing the heat across the marked area. Be careful not to concentrate the heat in one spot for too long as it can cause the acrylic to bubble or scorch.
5. Test the heat
After heating for a few moments, test the heat of the acrylic sheet with the scrap piece of wood or metal. Touch the heated area gently to see if it is softening and becoming pliable. If it is still firm, continue heating for a little longer.
6. Apply pressure
Once the heated area is soft and pliable, quickly press the scrap piece of wood or metal against the acrylic sheet at the marked spot. Apply firm and even pressure, allowing the heated acrylic to mold around the shape of the object. Hold the pressure for a few seconds to ensure proper bonding.
7. Allow to cool
Remove the pressure and allow the acrylic sheet to cool completely before handling. This will ensure that the hole has properly formed and the acrylic has hardened back to its original state.
8. Clean up
Remove any masking tape or residue from the acrylic sheet. Clean the surface with a mild soap and water solution to remove any marks or debris.
Using a heat source to create a hole in an acrylic sheet can be an effective method when a drill is not available. However, it is important to exercise caution and follow safety guidelines when working with heat sources. Always wear appropriate protective gear, such as gloves and eye protection, and work in a well-ventilated area.
Using a Sharp Object
Materials Needed:
- Acrylic sheet
- Sharp object (such as a knife or chisel)
- Clamp or vice
- Protective gloves
Step-by-Step Guide:
- Put on your protective gloves to prevent any injuries.
- Secure the acrylic sheet by clamping it down or using a vice to hold it firmly in place.
- Mark the spot where you want to create the hole using a pencil or marker.
- Select a sharp object suitable for the size of the hole you want to make. A knife or chisel with a sharp tip should work well.
- Hold the chosen sharp object at a 90-degree angle to the acrylic sheet and position it over the marked spot.
- Apply steady pressure and start rotating the sharp object in a circular motion, gradually increasing the pressure as you go. Be patient and careful with your movements to avoid slipping or damaging the acrylic sheet.
- Continue rotating the sharp object until you have created a pilot hole, which is a small indentation or groove in the acrylic sheet.
- Once the pilot hole is created, switch to a larger sharp object if necessary, such as a wider knife or chisel, and repeat the circular motion with increased pressure to enlarge the hole to the desired size.
- Periodically release any built-up heat and debris by lifting the sharp object slightly from the acrylic sheet and blowing on the hole or using compressed air.
- Once the hole is the desired size, carefully remove the clamps or release the vice, and gently clean any debris or shavings from the acrylic sheet.
It’s important to note that creating a hole in acrylic sheet with a sharp object may not provide the cleanest or most precise results compared to using a drill or specialized tools. If you require a high level of accuracy or smooth edges, it is recommended to use a drilling machine or seek professional assistance.
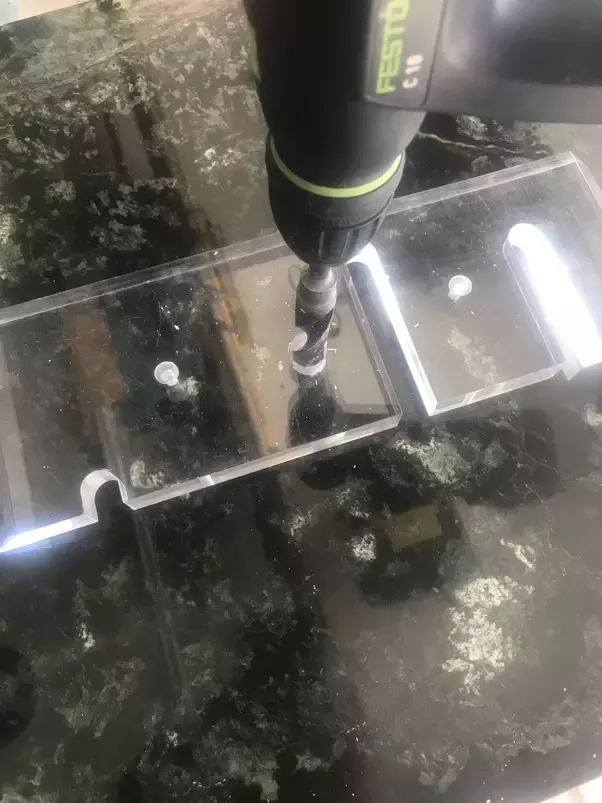
Using a Hole Saw
One of the most efficient tools for creating holes in acrylic sheet is a hole saw. Hole saws have a cylindrical shape with sharp teeth on the edge that cut through the material when rotated.
To use a hole saw, you will need the following materials:
- An electric drill
- A hole saw with the desired diameter
- Masking tape or painter’s tape
- A clamp or vise to secure the acrylic sheet
- Safety goggles and gloves
Follow these steps to create a hole in an acrylic sheet using a hole saw:
- Measure and mark the exact location of the hole on the acrylic sheet using a ruler or measuring tape. Make sure the sheet is securely fastened to a work surface.
- Place a piece of masking tape or painter’s tape over the marked spot. This helps prevent the hole saw from skidding across the surface and provides added stability.
- Attach the hole saw to your electric drill. Ensure that the hole saw is securely tightened and aligned with the marked spot on the tape.
- Put on your safety goggles and gloves before starting the drilling process.
- Make sure your drill is set to a low speed, as high speeds can cause acrylic to melt or crack. Begin drilling slowly and steadily, applying gentle pressure on the hole saw.
- Continue drilling until the hole saw has completely penetrated the acrylic sheet. Take breaks if necessary to prevent overheating.
- Once the hole is complete, remove the masking tape and inspect the edges of the hole for any roughness or burrs. Use sandpaper or a file to smooth out any imperfections if needed.
Remember to handle the acrylic sheet with care to prevent any accidental damage or injury. Always wear the appropriate safety gear and take your time during the drilling process. With the right tools and technique, you can easily create a clean and precise hole in acrylic sheet using a hole saw.
Tips and Considerations
- Always wear safety goggles and gloves when working with acrylic sheet to protect your eyes and hands from debris and shards.
- Work in a well-ventilated area to avoid inhaling fumes or dust particles released during the drilling process.
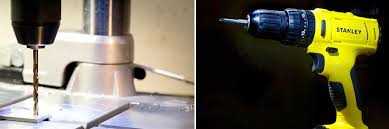
- Choose the right drill bit for your project. A drill bit specifically designed for acrylic or plastic is recommended to ensure clean and smooth holes.
- Before drilling, mark the exact spot where you want the hole to be using a marker or tape. This will help guide your drilling and ensure accuracy.
- Secure the acrylic sheet firmly in place to prevent it from moving or slipping during drilling. You can use clamps or a vise to hold it steady.
- Start drilling at a slow speed to avoid cracking or chipping the acrylic. Apply steady and even pressure to the drill as you go. Take breaks if necessary to prevent overheating.
- Keep a steady stream of coolant flowing over the drill bit to prevent it from overheating. You can use water or a specialized acrylic coolant for this purpose.
- Periodically check the progress and condition of the hole as you drill. If you notice any signs of cracking or stress, stop drilling and make adjustments as needed.
- After drilling, remove any debris or excess material from the hole using a vacuum or compressed air. This will ensure a clean and smooth finish.
- If necessary, use sandpaper or a file to smooth the edges of the hole for a more polished look and to remove any roughness.
Selecting the Right Size
When creating a hole in an acrylic sheet without a drill, it is important to select the right size for the desired outcome. The size of the hole will depend on the purpose it serves and the size of the object or attachment that will be inserted into it.
Here are some considerations to keep in mind when selecting the right size:
- Object or Attachment: Determine the size of the object or attachment that will be inserted into the hole. Measure its width or diameter to ensure a proper fit.
- Function: Consider the purpose of the hole. If it is for decorative purposes or to hang a lightweight object, a smaller hole may be sufficient. However, if the hole will be used for plumbing or wiring, it may need to be larger to accommodate the necessary components.
- Sheet Thickness: Take into account the thickness of the acrylic sheet. Thicker sheets may require larger holes to avoid cracking or splitting.
- Support: Consider the amount of support the surrounding acrylic sheet will provide to the hole. If there is limited support, a smaller hole may be more suitable to prevent the sheet from cracking.
It is always a good idea to start with a smaller hole and gradually increase the size if needed. This will allow for more control and minimize the risk of damaging the acrylic sheet. It is recommended to use a step drill bit or a hole saw to create the hole, as they provide more control and reduce the likelihood of material cracking.
By carefully selecting the right size for your hole, you can ensure a successful outcome and maintain the integrity of the acrylic sheet. Always measure and plan accordingly before starting your project.
Practicing on a Scrap Piece
Before attempting to create a hole in your actual acrylic sheet, it’s always a good idea to practice on a scrap piece. This will allow you to get a feel for the process and ensure that you achieve the desired outcome.
Here are some steps to follow when practicing on a scrap piece:
- Select a scrap acrylic sheet: Find a small piece of acrylic sheet that is similar in thickness to the one you will be working with. This will give you a realistic sense of how the process will work on the actual sheet.
- Mark your desired hole location: Use a marker or pen to carefully mark the spot where you want to create the hole. This will ensure that you achieve accurate results.
- Gather your tools: Prepare the necessary tools for creating the hole. This may include a drill bit or alternative tools such as a hot metal rod or a hole saw.
- Secure the scrap piece: Place the scrap piece on a stable surface, such as a workbench or a sturdy table, to provide support during the hole creation process.
- Start creating the hole: Follow the specific instructions for the tool you are using to create the hole. Take your time and use steady pressure to ensure a clean and precise hole.
- Inspect the hole: Once the hole is created, carefully examine it to ensure that it meets your expectations. Check for any rough edges or imperfections that may need to be addressed.
By practicing on a scrap piece, you can refine your technique and gain confidence before working on your actual acrylic sheet. Remember to always use caution and safety measures when working with tools and materials.
Ensuring Safety
When working with acrylic sheets and tools, it is important to prioritize safety. Here are some key considerations to keep in mind:
1. Protective Gear
Always wear appropriate protective gear, such as safety goggles and gloves, to protect yourself from any potential hazards. Acrylic sheets can be sharp and can cause injury if mishandled.
2. Ventilation
Work in a well-ventilated area to avoid inhaling any fumes or dust particles that may be generated during the process. This is especially important when using power tools or heat sources.
3. Secure Work Surface
Make sure that your work surface is stable and secure. This will prevent the acrylic sheet from moving or slipping while you are working on it, reducing the risk of accidents.
4. Proper Tool Usage
Use tools specifically designed for working with acrylic sheets. This includes scoring tools, jigsaws, or hole saws that are suitable for cutting through the material. Follow the manufacturer’s instructions and recommendations for safe and effective use.
5. Take Breaks
Take regular breaks to prevent fatigue and maintain focus. Working for long periods without breaks can lead to accidents due to decreased concentration or muscle strain.
6. Fire Safety
Be cautious when using heat sources, such as a heat gun or a blowtorch, as acrylic sheets are flammable. Keep a fire extinguisher nearby and ensure that you are familiar with its operation.
By following these safety guidelines, you can reduce the risk of accidents and work confidently when creating holes in acrylic sheets without a drill.
FAQ:
Can I create a hole in acrylic sheet without using a drill?
Yes, it is possible to create a hole in an acrylic sheet without using a drill. There are alternative methods that you can use.
What other methods can be used to create a hole in acrylic sheet without a drill?
There are a few alternative methods that you can use to create a hole in an acrylic sheet without a drill. One method is to use a hot soldering iron or a heated nail to melt a hole through the acrylic. Another method is to use a hole punch specifically designed for acrylic sheets. You can also use a rotary tool with a cutting wheel attachment to cut a hole through the acrylic.
Are there any precautions I should take when using a soldering iron or heated nail to create a hole in acrylic sheet?
Yes, there are precautions you should take when using a soldering iron or heated nail to create a hole in acrylic sheet. It is important to work in a well-ventilated area or use a respirator mask to avoid inhaling fumes. Additionally, you should wear protective gloves to avoid burns. It is also important to work slowly and carefully to avoid cracking or damaging the acrylic.
How do I create a hole in acrylic sheet using a hole punch?
To create a hole in an acrylic sheet using a hole punch, you will need a specifically designed hole punch for acrylic sheets. Place the sheet on a sturdy surface and position the hole punch over the desired location. Apply even pressure to the punch and squeeze the handles together until the punch cuts through the acrylic. Remove the punch and you will have a clean hole in the acrylic sheet.
Can I use a rotary tool to create a hole in acrylic sheet?
Yes, a rotary tool can be used to create a hole in acrylic sheet. Attach a cutting wheel to the rotary tool and carefully guide it along the desired cut line to create a hole. It is important to work slowly and steadily to avoid cracking or damaging the acrylic. Be sure to wear safety goggles and protective gloves when using a rotary tool.
Are there any other tools or methods I can use to create a hole in acrylic sheet without a drill?
Yes, there are other tools and methods you can use to create a hole in acrylic sheet without a drill. You can try using a jigsaw with a fine-toothed blade to cut out a hole in the acrylic. Another option is to use a heated wire to melt a hole through the acrylic. Be sure to practice caution and take the necessary safety precautions with any method you choose.
Video:


Meet Harrison Clayton, a distinguished author and home remodeling enthusiast whose expertise in the realm of renovation is second to none. With a passion for transforming houses into inviting homes, Harrison's writing at https://thehuts-eastbourne.co.uk/ brings a breath of fresh inspiration to the world of home improvement. Whether you're looking to revamp a small corner of your abode or embark on a complete home transformation, Harrison's articles provide the essential expertise and creative flair to turn your visions into reality. So, dive into the captivating world of home remodeling with Harrison Clayton and unlock the full potential of your living space with every word he writes.


