How to Create a Hole in a Plastic Bucket Without a Drill

Plastic buckets are a versatile tool used for a variety of tasks, from gardening to home improvement projects. However, sometimes you may find yourself in a situation where you need to create a hole in a plastic bucket, but you don’t have access to a drill.
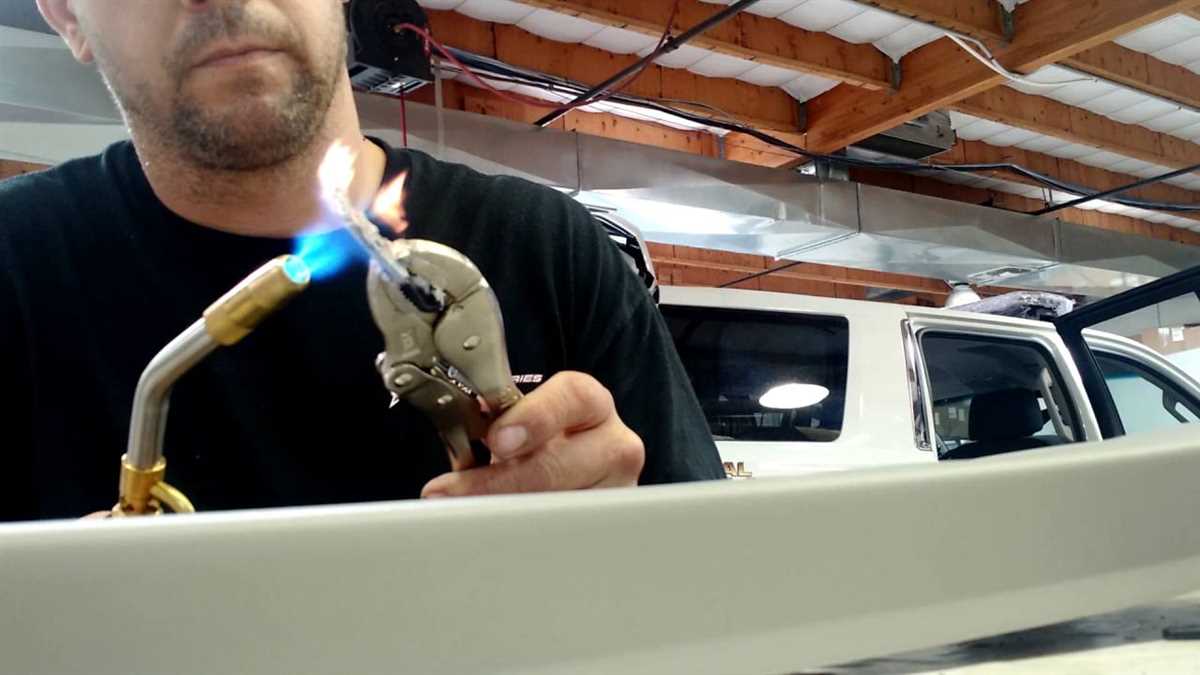
Fortunately, there are alternative methods that you can use to create a hole in a plastic bucket without a drill. One simple method is using a heated screwdriver. By heating the tip of the screwdriver and applying pressure, you can melt a hole in the plastic bucket.
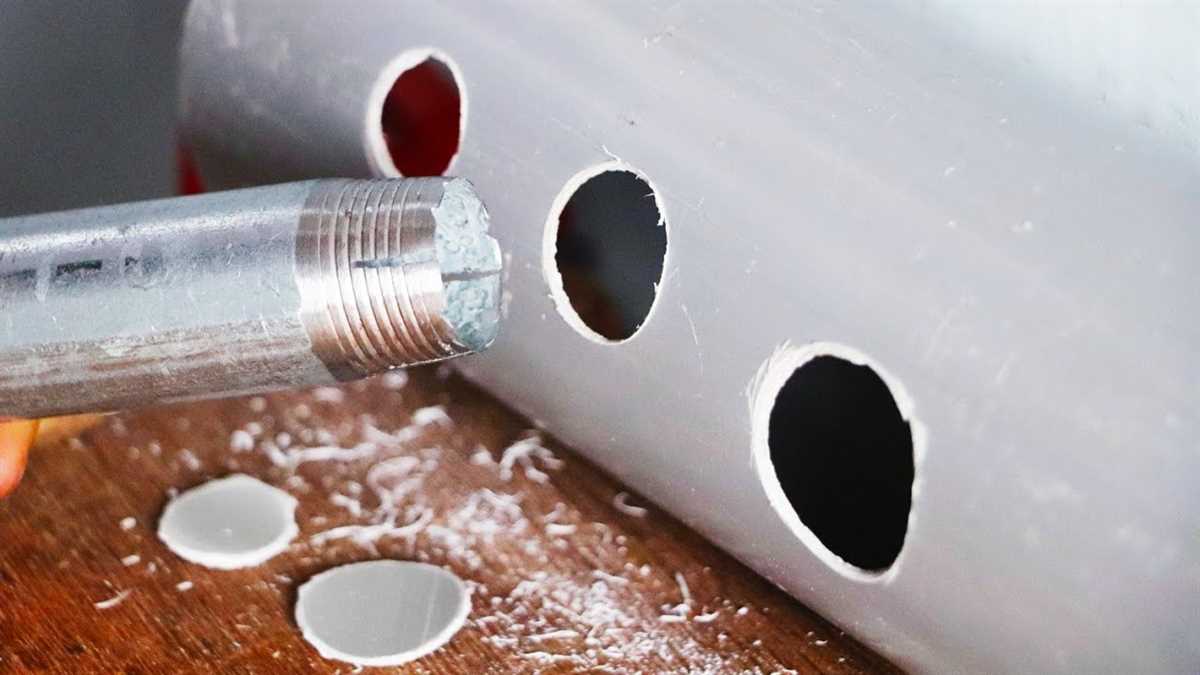
Another method that you can use is a hole saw. A hole saw is a cutting tool that is typically used in drilling holes in wood or metal, but it can also be used on plastic. By attaching the hole saw to a power drill, you can create a hole in the plastic bucket. However, if you don’t have access to a power drill, you can use a wrench to turn the hole saw and create the hole manually.
Alternatively, you can use a knife or a pair of scissors to create a hole in the plastic bucket. By gently applying pressure and cutting a small hole, you can create an opening in the plastic. However, it’s important to exercise caution when using this method, as knives and scissors can be sharp and potentially dangerous.
Remember to always wear protective gloves and eyewear when working with plastic and sharp tools.
In conclusion, while a drill may be the most convenient tool for creating a hole in a plastic bucket, there are alternative methods that you can use if a drill is not available. Whether you choose to use a heated screwdriver, a hole saw, or a knife, make sure to prioritize safety and take the necessary precautions to avoid any accidents or injuries.

Overview
Creating a hole in a plastic bucket can be useful for various purposes, such as drainage or the insertion of pipes or wires. While a drill is typically the most commonly used tool for creating holes in plastic, there are alternative methods that can be employed if a drill is not available. This article will explore some of these alternative methods, providing step-by-step instructions and tips to help you successfully create a hole in a plastic bucket without a drill.
Before attempting any of the methods outlined in this article, it is important to note that safety should always be a top priority. Take the necessary precautions to protect yourself and avoid injury during the hole creation process.
Materials You Will Need
- Plastic bucket
- Marker or pencil
- Measuring tape or ruler
- Heat source (such as a hot nail or soldering iron)
- Utility knife or box cutter
- Sandpaper or file
- Protective gloves
- Eye protection
Methods
There are two primary methods that can be used to create a hole in a plastic bucket without a drill: the heat method and the cutting method.

The Heat Method
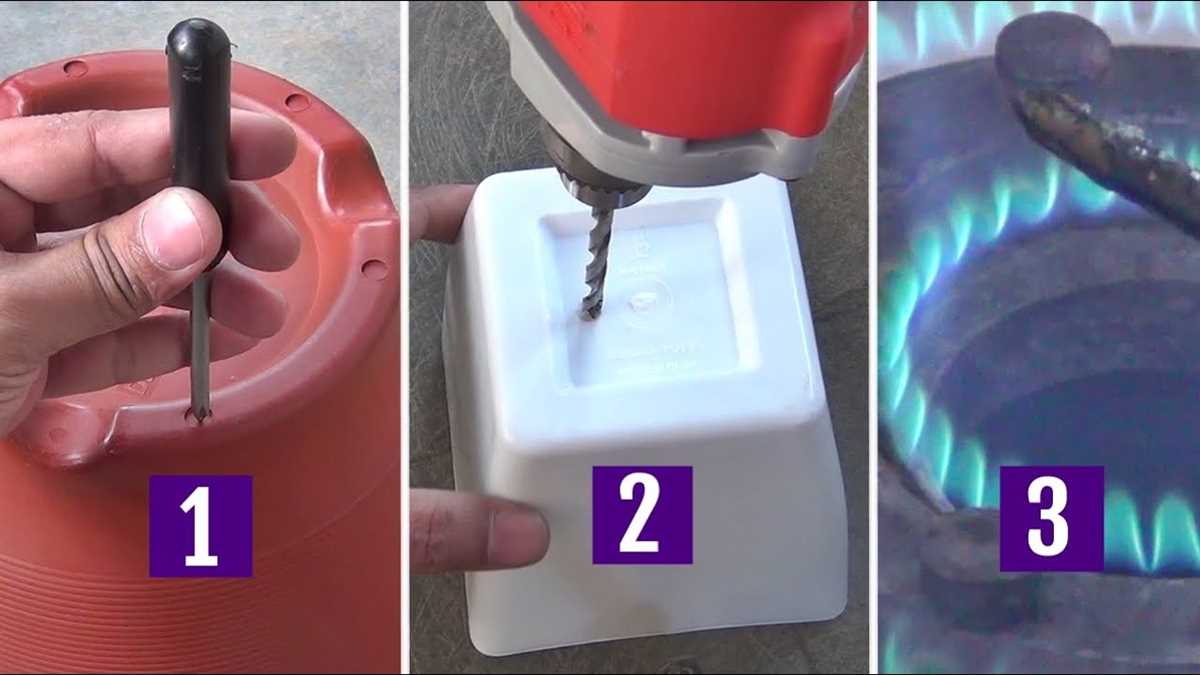
The heat method involves using a heat source, such as a hot nail or soldering iron, to melt a hole through the plastic.
- Measure and mark the desired location for the hole on the plastic bucket.
- Put on protective gloves and eye protection.
- Heat the tip of the nail or soldering iron until it is hot enough to melt the plastic.
- Press the hot tip of the nail or soldering iron onto the marked spot on the bucket and apply firm, steady pressure.
- Continue applying pressure until the hot tip melts through the plastic, creating a hole.
- Remove the nail or soldering iron and allow the plastic to cool before handling.
- Check the hole to ensure it is the desired size and shape. If necessary, use sandpaper or a file to adjust and smooth the edges of the hole.
The Cutting Method
The cutting method involves using a utility knife or box cutter to manually cut a hole in the plastic.
- Measure and mark the desired location for the hole on the plastic bucket.
- Put on protective gloves and eye protection.
- Use the utility knife or box cutter to carefully score the plastic along the marked line, applying firm and steady pressure.
- Repeat the scoring process several times, gradually increasing the pressure with each pass, until the plastic is sufficiently cut.
- Hold the plastic bucket with one hand firmly on the marked spot, and use the palm of your other hand to strike the bottom of the bucket. This should cause the scored plastic to break away, creating a hole.
- Inspect the hole to ensure it is the desired size and shape. If necessary, use sandpaper or a file to adjust and smooth the edges of the hole.
By following these step-by-step instructions and safety precautions, you should be able to successfully create a hole in a plastic bucket without a drill using either the heat method or the cutting method.
Materials and Tools


- A plastic bucket
- A pointed object (such as a nail or a screwdriver)
- Ice cubes or a frozen water bottle
- A hammer or a mallet
- A heating source (such as a candle or a lighter)
- Sandpaper or a file
- A water source (such as a sink or a garden hose)
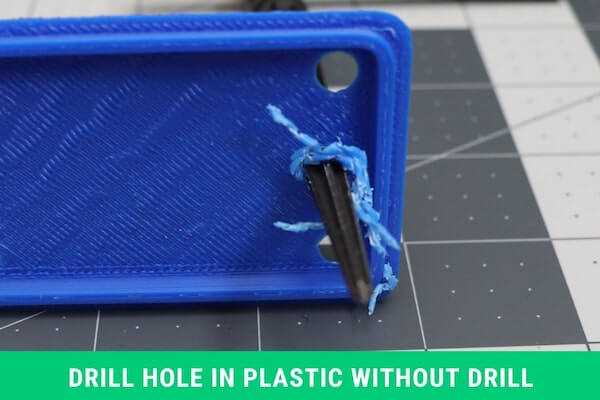
Method 1: Using a Hot Nail
To create a hole in a plastic bucket without a drill, you can use a hot nail. This method requires some caution, as you will be working with heat. Follow these steps to create a hole using a hot nail:
- Gather the necessary materials: a plastic bucket, a nail, pliers, and a heat source like a candle or a lighter.
- Choose a location on the bucket where you want to create the hole. Make sure it is a spot where the hole won’t compromise the structural integrity of the bucket.
- Hold the nail with the pliers, leaving a small portion exposed. This will prevent you from accidentally burning your fingers.
- Hold the exposed portion of the nail over the heat source and wait until it becomes hot. You can test the temperature by touching the nail briefly with your finger, making sure not to burn yourself.
- Once the nail is hot, carefully press it against the chosen spot on the bucket. Apply constant pressure and rotate the nail slightly to create a hole. Be cautious not to apply too much force, as it may crack the plastic.
- Continue pressing and rotating the nail until it goes through the plastic. The heat from the nail will melt the plastic, creating a clean hole.
- After creating the hole, remove the nail from the bucket and let it cool down. Dispose of the nail safely, as it will remain hot for some time.
- You can test the hole by pouring a small amount of water into the bucket. If the water comes out from the hole, then you have successfully created a hole using a hot nail.
Remember to exercise caution when using this method, as the heated nail can cause burns. It is essential to work in a well-ventilated area and to keep a fire extinguisher or a bucket of water nearby in case of emergencies.
Method 2: Using a Heated Screwdriver
If you don’t have access to a drill, another method you can use to create a hole in a plastic bucket is by using a heated screwdriver. This method involves heating the tip of a screwdriver and melting through the plastic to create the hole.
Materials:
- Plastic bucket
- Screwdriver
- Heat source (e.g., stove, lighter, candle)
- Protective gloves
Steps:
- Put on your protective gloves to ensure your hands are protected while working.
- Select a screwdriver that is suitable for the size of the hole you want to create.
- Choose a heat source. This could be a stove, a lighter, or a candle. Make sure you have a safe and controlled environment to work with.
- Hold the screwdriver with the tip pointing towards the flame or heat source.
- Heat the tip of the screwdriver until it becomes hot. Be careful not to touch the heated tip with your bare hands.
- Once the screwdriver’s tip is hot, position it on the desired location on the plastic bucket.
- Apply pressure and push the heated tip of the screwdriver through the plastic. The heat will melt the plastic, creating a hole.
- Continue pushing until the screwdriver goes through the plastic completely.
- Remove the screwdriver slowly and carefully to avoid any injuries.
- Inspect the hole to ensure it is the desired size and shape. If necessary, you can enlarge the hole by reheating the screwdriver and repeating the process.
It’s important to note that using a heated screwdriver can be dangerous, as it involves working with heat and melting plastic. Always exercise caution and ensure you have a safe working environment. Additionally, this method may not be suitable for all types of plastic buckets, so make sure to test it on a small, inconspicuous area before proceeding with creating the hole.
Method 3: Using a Sharp Knife
If you don’t have access to a drill or a soldering iron, you can still create a hole in a plastic bucket using a sharp knife. While this method requires more effort and time, it can be an effective solution, especially if you only need to make a few small holes.
Materials you will need:
- Plastic bucket
- Sharp knife
- Marker or pencil
- Heat source (optional)
Steps:
- Prepare the plastic bucket by cleaning it thoroughly and drying it completely.
- Decide on the location of the hole you want to create. Use a marker or pencil to mark the exact spot on the bucket.
- Hold the knife firmly and position it at the marked spot on the bucket.
- Apply pressure and start rotating the knife in a circular motion. Keep repeating this motion, gradually exerting more pressure on the bucket.
- Continue rotating and applying pressure until the knife pierces through the plastic. This may take some time, especially if the plastic is thick.
- Once the knife has made a small hole, you can enlarge it by continuing to rotate and push the knife through the plastic. Be careful not to apply too much force, as it may cause the knife to slip.
- If the plastic is particularly thick or tough, you can try heating the knife over a flame or stove to soften the plastic before making the hole. This can make the process easier and faster, but exercise caution to avoid burns or melting the plastic excessively.
- Once you have created the desired hole, inspect it to ensure it is the right size and shape. If necessary, you can use the knife to trim any rough edges.
- Dispose of any plastic shavings or debris properly to avoid accidents or environmental pollution.
Note: This method requires caution and precision, as using a knife can be dangerous. Make sure to work in a well-lit area, keep your fingers away from the blade, and take your time to avoid accidents. If you feel uncomfortable or unsure about using a knife, it’s better to seek alternative methods or tools.
Method 4: Using a Soldering Iron
Using a soldering iron is another effective method for creating a hole in a plastic bucket. Here are the steps:
Materials you’ll need:
- Plastic bucket
- Soldering iron
- Heat-resistant gloves
- Marker or pencil
Instructions:
- Put on your heat-resistant gloves to protect your hands from the heat of the soldering iron.
- Choose the desired location for the hole in the plastic bucket.
- Using a marker or pencil, mark the center of the spot where you want to create the hole.
- Plug in the soldering iron and let it heat up for a few minutes.
- Place the heated soldering iron tip on the marked spot on the plastic bucket.
- Apply gentle pressure and slowly rotate the soldering iron in a circular motion to create the hole.
- Continue rotating the soldering iron until you have created a hole of the desired size.
- Once the hole is created, remove the soldering iron and allow the plastic to cool down before handling.
Note: It is important to work in a well-ventilated area and take necessary safety precautions when using a soldering iron, as the fumes emitted can be harmful. Additionally, be cautious not to apply excessive pressure or overheat the plastic, as this may cause it to melt or deform.
Using a soldering iron provides a precise and controlled way to create holes in plastic buckets, especially when you require a specific size or shape. However, it requires caution and careful handling due to the high heat involved.
FAQ:
What should I do if I don’t have a drill to create a hole in a plastic bucket?
If you don’t have a drill, there are other methods you can use to create a hole in a plastic bucket. One option is to use a hot metal rod or soldering iron to melt a hole in the bucket. Another option is to use a sharp knife or scissors to carefully cut a hole in the plastic.
What materials do I need to create a hole in a plastic bucket without a drill?
To create a hole in a plastic bucket without a drill, you can use a hot metal rod or soldering iron, a sharp knife or scissors, and a heat-resistant surface to work on. It’s also important to have protective gloves and a well-ventilated area to work in.
Can I use a soldering iron to create a hole in a plastic bucket?
Yes, a soldering iron can be used to create a hole in a plastic bucket. Simply heat up the soldering iron and carefully press it against the area where you want the hole. The heat from the soldering iron will melt through the plastic and create a hole. Be sure to work in a well-ventilated area and use protective gloves.
Is there a safe way to cut a hole in a plastic bucket without a drill?
Yes, there are safe methods to cut a hole in a plastic bucket without a drill. One option is to use a sharp knife or scissors to carefully cut a hole in the plastic. Start by making a small incision and gradually enlarge it by cutting along the edges. Be cautious and take your time to prevent any accidents or injuries.
Video:

Harrison Clayton
Meet Harrison Clayton, a distinguished author and home remodeling enthusiast whose expertise in the realm of renovation is second to none. With a passion for transforming houses into inviting homes, Harrison's writing at https://thehuts-eastbourne.co.uk/ brings a breath of fresh inspiration to the world of home improvement. Whether you're looking to revamp a small corner of your abode or embark on a complete home transformation, Harrison's articles provide the essential expertise and creative flair to turn your visions into reality. So, dive into the captivating world of home remodeling with Harrison Clayton and unlock the full potential of your living space with every word he writes.


