How to Create a Hole in a Ceramic Cup Without Using a Drill

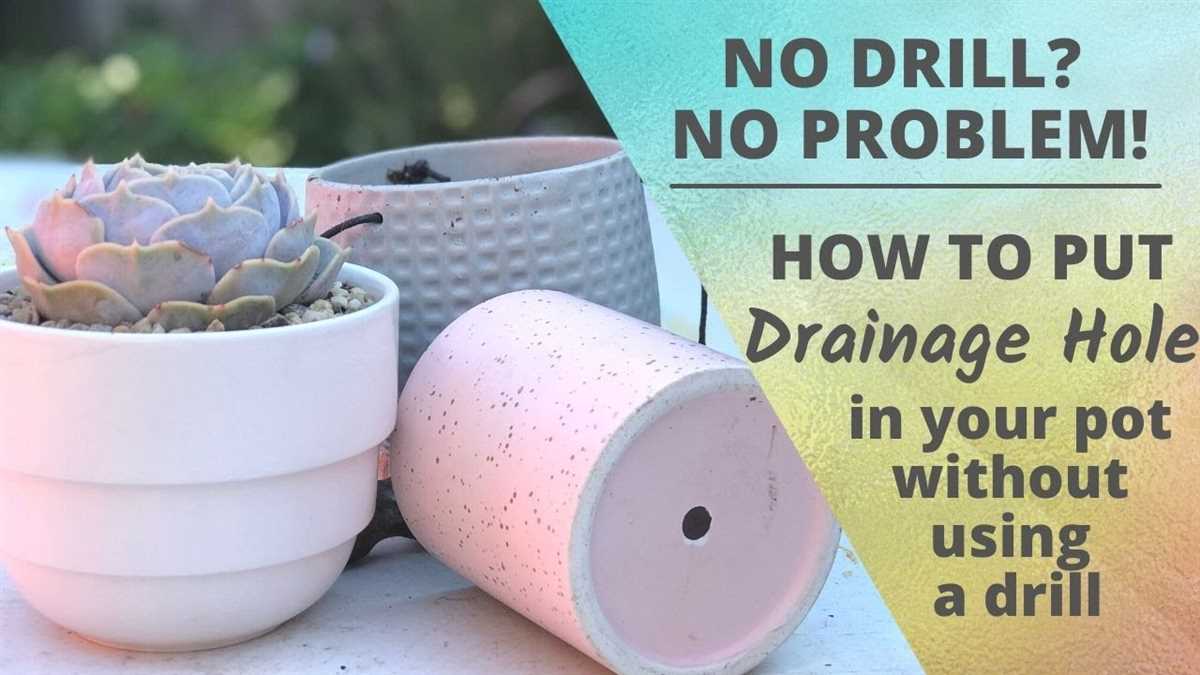
If you’ve ever wanted to create a hole in a ceramic cup but don’t have access to a drill, don’t worry! There are alternative methods that you can use to achieve the same result. Whether you want to create a hole for a straw or a drainage hole for a ceramic planter, these methods are simple and effective.
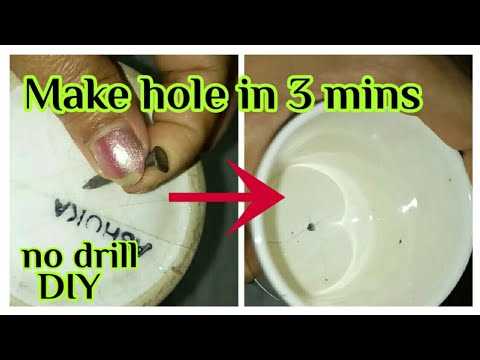
Method 1: Using a nail and hammer
First, place a piece of tape over the area where you want to create the hole to prevent any cracks from forming. Then, hold the nail firmly against the tape and gently tap it with the hammer. Gradually increase the force until the nail breaks through the ceramic. Be sure to go slowly and carefully to avoid damaging the cup.
Method 2: Using a glass cutter
First, mark the area where you want to create the hole with a pen or marker. Then, using the glass cutter, apply pressure and score along the marked line. Once you have a deep score, place a wooden dowel or a nail against the score line and gently tap it with a hammer. The ceramic should break along the score line, creating the desired hole.
By following these alternative methods, you can create a hole in a ceramic cup without the need for a drill. Remember to always work slowly and carefully to avoid damaging the cup, and use caution when working with sharp objects. Happy hole-making!
Tools Needed for Creating a Hole

- 1. Ceramic Piercing Tool: This is a specialized tool designed specifically for creating holes in ceramic cups. It has a sharp point that can easily puncture through the ceramic without damaging it.
- 2. Dremel Rotary Tool: A Dremel rotary tool can be used to create holes in ceramic cups. It has various attachments and accessories that can be used for drilling, grinding, and cutting. By attaching a diamond-coated drill bit, you can easily create a hole in the ceramic.
- 3. Tile Nipper: A tile nipper is a handheld tool used for cutting and shaping ceramic tiles. It can also be used to create holes in ceramic cups. By carefully nibbling away small pieces of the cup, you can gradually create a hole.
- 4. Diamond Core Drill Bit: Diamond core drill bits are specifically designed for drilling holes in hard materials like ceramic. They have a diamond coating that helps to cut through the ceramic surface. By using a drill machine with this type of drill bit, you can easily create a clean hole in the ceramic cup.
- 5. Carbide Drill Bit: Carbide drill bits are another option for drilling holes in ceramic cups. They are made from a durable carbide material that can withstand high heat and pressure. These drill bits are suitable for medium-sized holes in ceramic cups.
Step-by-Step Process of Creating a Hole
Materials Needed:
- Ceramic cup
- Nail
- Hammer
- Water
- Sandpaper
Instructions:
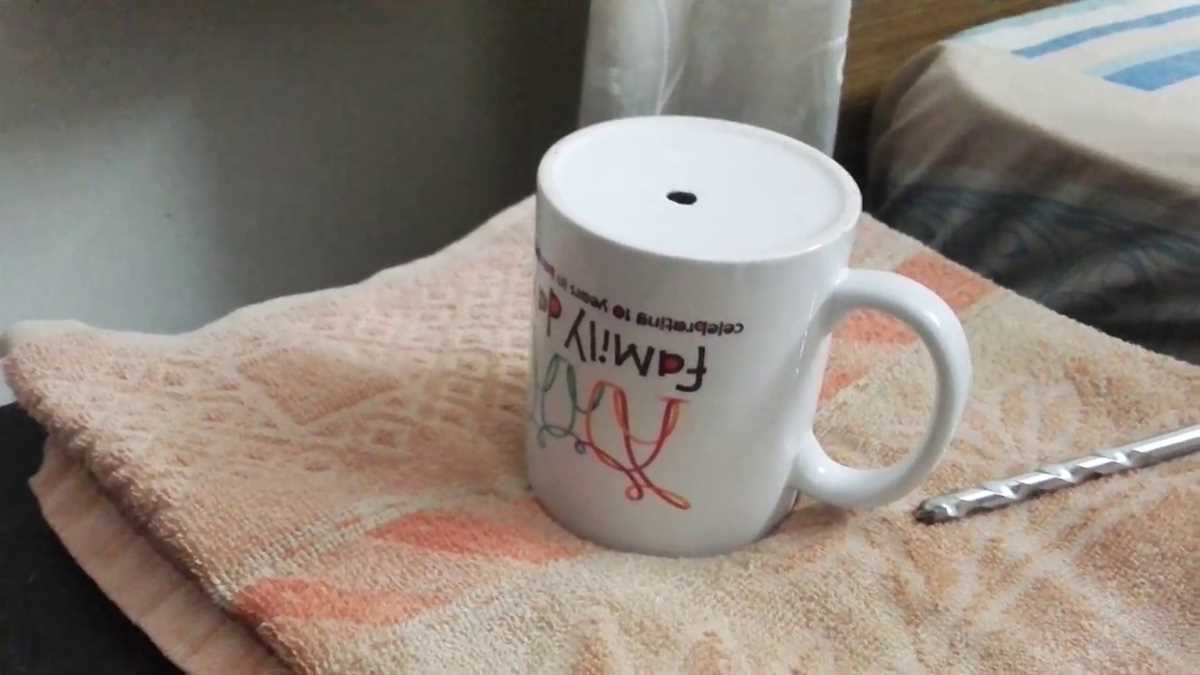
- Prepare the area: Find a flat, stable surface to work on. Place a towel or a piece of cloth on the surface to protect it from scratches or damage.
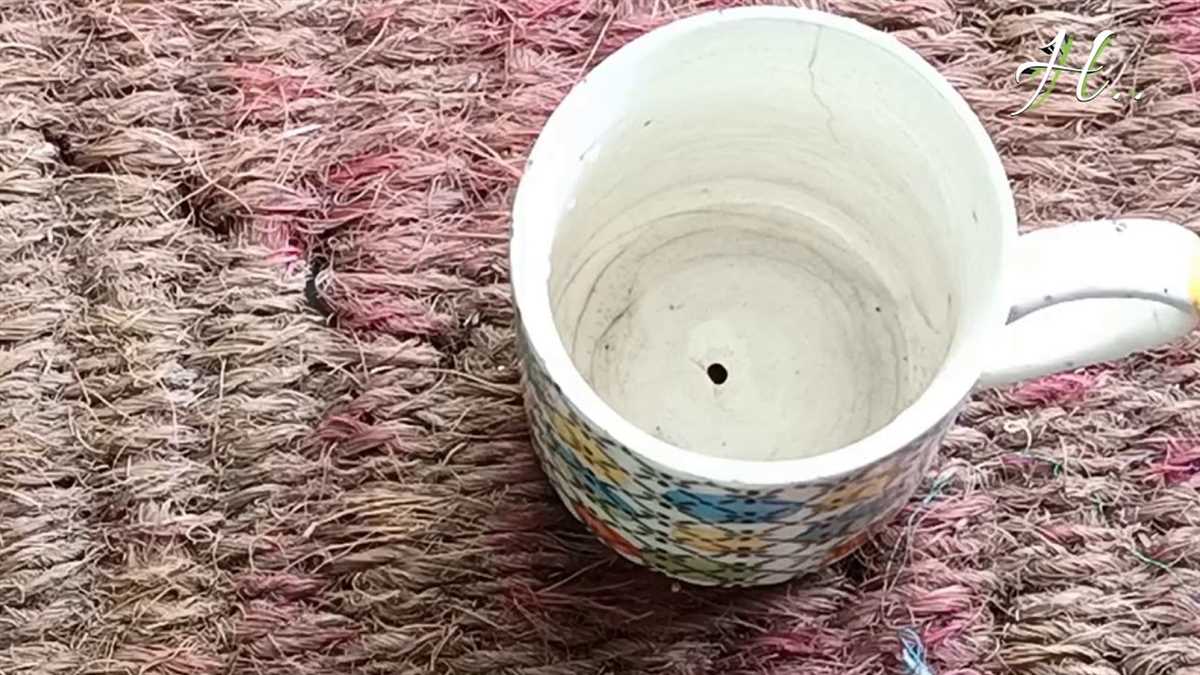
- Mark the spot: Decide where you want to create the hole on the ceramic cup. Use a pencil or a marker to make a small dot or mark on the cup.
- Create a pilot hole: Take the nail and gently tap it on the marked spot using the hammer. This will help create a starting point for the hole.
- Apply water: Dip the nail in water to keep it cool and prevent the ceramic cup from cracking. It is important to keep the nail lubricated throughout the process.
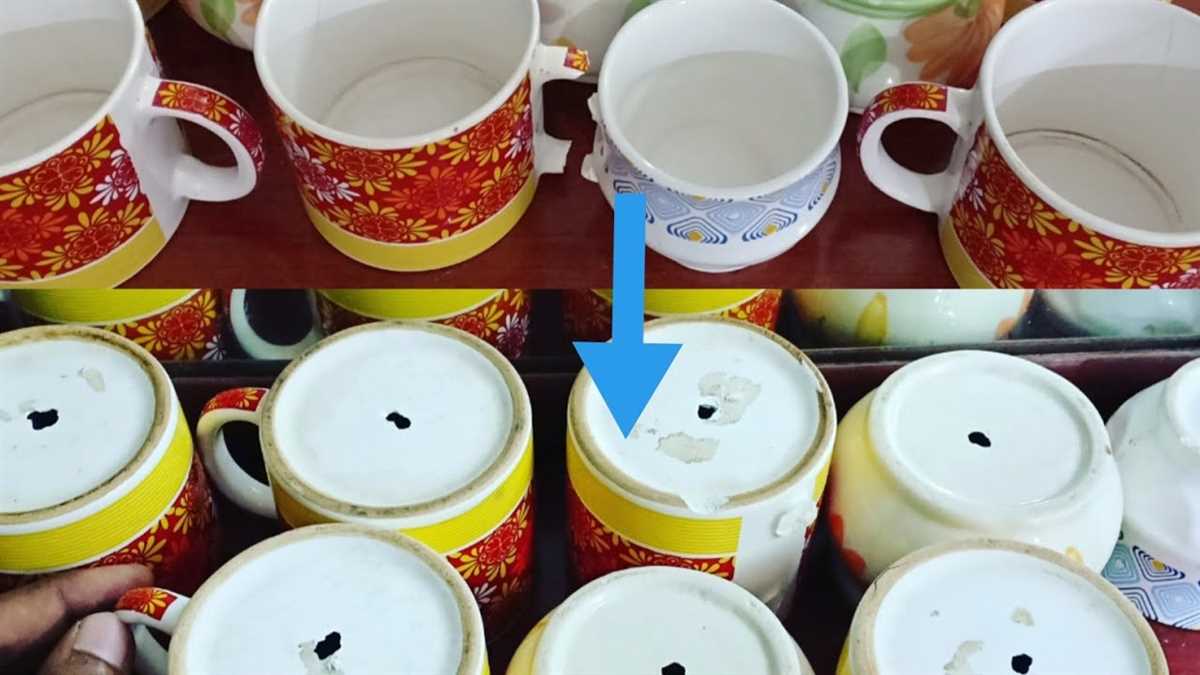
- Enlarge the hole: Gently tap the nail on the marked spot, gradually increasing the force. Rotate the nail in a circular motion to enlarge the hole. Apply more water if necessary.
- Smooth the edges: After you have created the desired hole, use sandpaper to smooth the edges. This will prevent any sharp edges from forming and make the hole safer to handle.
- Clean the cup: Rinse the cup thoroughly to remove any ceramic dust or debris. Make sure the hole is clean and free from any obstructions.
| Tip: | Warning: |
|---|---|
|
|
By following these step-by-step instructions, you can create a hole in a ceramic cup without using a drill. Remember to take your time and work with caution to achieve the desired result. Happy crafting!
Alternative Methods for Creating a Hole
If you don’t have a drill or prefer not to use one, there are several alternative methods you can try to create a hole in a ceramic cup.
1. Hammer and Nail
One method is to use a hammer and nail. Place the cup on a sturdy surface and position the nail where you want the hole to be. Gently tap the nail with the hammer until it pierces through the ceramic. Be careful not to apply too much force, as it can crack the cup.
2. Hot Needle
Another option is to use a hot needle. Heat a needle over an open flame until it becomes red hot. Carefully and slowly push the heated needle through the ceramic cup, applying gentle pressure. This method requires caution to avoid burns.
3. Tile Drill Bit
If you have a tile drill bit or a glass cutter, you can use it to create a hole in the ceramic cup. These tools are specifically designed for working with hard materials like ceramic and can make the process easier and more accurate. Make sure to follow the instructions provided with the tool and apply light pressure to prevent cracking.

4. Diamond Hole Saw

For more advanced projects, you can use a diamond hole saw, which is a specialized tool for cutting through ceramic and glass. This tool attaches to a power drill and creates clean and precise holes. It is recommended to use water as a coolant while drilling to avoid overheating and damage to the cup.
5. Ceramic Hole Punch
If you prefer a tool specifically made for creating holes in ceramic, you can use a ceramic hole punch. This tool features a sharp tip and a handle that allows you to apply pressure evenly. Follow the manufacturer’s instructions on how to use the punch effectively.
6. Professional Services
If you are uncomfortable or unsure about creating a hole in a ceramic cup yourself, you can seek professional help. Local pottery studios or glass and ceramic repair shops may have the necessary tools and expertise to create the hole for you.
Remember to always wear protective eyewear when using any of these methods, as ceramic fragments can fly and cause eye injuries.

When using alternative methods to create a hole in a ceramic cup, proceed with caution and take your time to ensure the best results without damaging the cup.
Tips for Successful Hole Creation
1. Safety First
Before you begin drilling a hole in a ceramic cup, it’s important to prioritize safety. Make sure you are wearing safety goggles to protect your eyes from any flying debris. Additionally, consider wearing gloves to protect your hands from sharp edges or fragments.
2. Choose the Right Drill Bit
Using the correct drill bit is crucial for successful hole creation. For drilling holes in ceramic, it is recommended to use a diamond-tipped drill bit or a carbide-tipped masonry drill bit. These types of drill bits are designed to effectively cut through hard materials like ceramic.
3. Mark the Hole Placement
Before you start drilling, mark the exact spot where you want the hole to be. You can do this by using a marker or a piece of masking tape. This will help ensure that you drill in the correct location and avoid any unnecessary mistakes.

4. Start with a Pilot Hole
When drilling into ceramic, it’s often best to start with a small pilot hole. This will help guide the drill and prevent it from slipping or skidding across the surface. Choose a drill bit that is slightly smaller than the desired hole size and use it to create a shallow pilot hole.
5. Use a Slow Speed
Drilling into ceramic requires patience and a slow drilling speed. Set your drill to a slow speed setting to avoid generating excess heat that can damage the ceramic or cause it to crack. Applying steady pressure and keeping the drill speed low will help you maintain control throughout the drilling process.
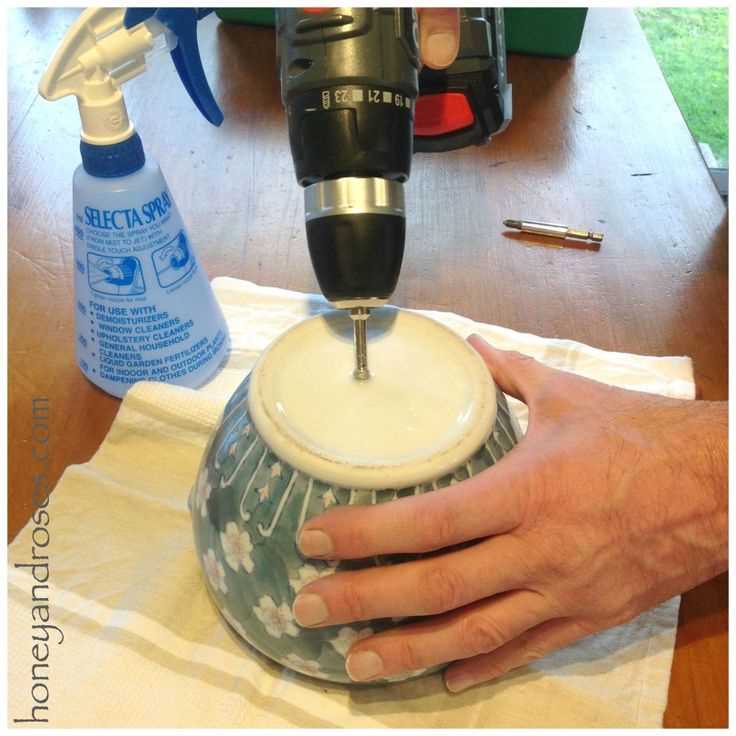
6. Use Water as Lubricant
To keep the drill bit and the ceramic cool during drilling, it is recommended to use water as a lubricant. Simply dip the drill bit in water periodically while drilling or use a spray bottle to keep the drilling area damp. This will help prevent the ceramic from overheating and reduce the risk of cracking.
7. Take Breaks When Needed
Drilling into ceramic can be a time-consuming task, especially if you are drilling multiple holes. Don’t rush the process and make sure to take breaks when needed. This will prevent overheating of the drill bit and give you time to evaluate your progress.

8. Clean and Smooth the Edges
Once you have successfully drilled the hole, it’s important to clean and smooth the edges. Use sandpaper or a ceramic file to remove any rough or sharp edges around the hole. This will ensure a neat and finished appearance and prevent any potential injuries.
9. Practice on a Scrap Piece
If you are new to drilling ceramic or unsure of your technique, it’s a good idea to practice on a scrap piece of ceramic first. This will allow you to familiarize yourself with the drilling process and gain confidence before working on your actual ceramic cup.
10. Double-Check the Hole Size

Before you finish the hole creation process, double-check the size of the hole. Ensure that it matches your requirements and make any adjustments if necessary. This will help you avoid any surprises or disappointments after you have finished drilling.
By following these tips, you can successfully create a hole in a ceramic cup without using a drill, ensuring a clean and professional result.
Safety Precautions to Take
1. Wear Protective Gear
When creating a hole in a ceramic cup, it is important to protect yourself by wearing the appropriate protective gear. This includes safety goggles to protect your eyes from any flying ceramic particles or shards, as well as gloves to protect your hands from any potential cuts or injuries.
2. Work in a Well-Ventilated Area
It is essential to work in a well-ventilated area when creating a hole in a ceramic cup. This will help to minimize the inhalation of any dust or fumes that may be produced during the process. Ensure that there is sufficient airflow and, if necessary, use a fan or open windows to improve ventilation.
3. Use the Proper Tools
Using the correct tools is crucial for both your safety and the success of creating a hole in a ceramic cup. Make sure to use a ceramic drill bit or diamond-tipped drill bit specifically designed for drilling into ceramics. Using the wrong type of drill bit can cause damage to the cup and increase the risk of accidents.
4. Secure the Cup Properly
Before drilling the hole, it is important to secure the ceramic cup properly to prevent it from slipping or spinning during the drilling process. Place the cup on a stable surface or use a clamp to hold it securely in place. This will help ensure better control and reduce the risk of accidents.
5. Take Breaks and Rest
Creating a hole in a ceramic cup can be a time-consuming task, especially if you are using a manual method. It is important to take regular breaks and rest to avoid fatigue and maintain focus. This will help prevent accidents caused by loss of concentration due to tiredness.
6. Clean Up Any Spills and Debris
After successfully creating a hole in a ceramic cup, make sure to clean up any spills or debris that may have been generated during the process. Wipe down the work area and dispose of any ceramic dust or shards properly. Keeping the workspace clean will minimize the risk of accidents or injuries.
7. Follow Manufacturer’s Instructions
Always refer to the manufacturer’s instructions and guidelines when using any tools or equipment for drilling holes in ceramics. This will ensure that you are using the tools correctly and following any specific safety precautions recommended by the manufacturer.
Benefits of Creating a Hole without a Drill
Creating a hole in a ceramic cup without using a drill can offer several benefits. Whether you don’t have access to a drill or simply prefer not to use one, here are some advantages of alternative methods:
- Simplicity: The methods for creating a hole without a drill are often straightforward and require minimal tools. This makes it easier for individuals who may not be familiar with operating power tools.
- Accessibility: Not everyone has a drill readily available, especially if you’re in a location without access to one. Alternative methods allow you to create a hole using everyday items found in many households.
- Cost-effective: If you only need to create a few holes, using an alternative method can save you money compared to buying or renting a drill. Furthermore, you won’t need to spend additional money on drill bits.
- Less noise and mess: Using a drill can be noisy and create a significant amount of dust or debris. By using alternative methods, you can minimize noise and mess, making it a cleaner and more peaceful process.
- Creative flexibility: Alternative methods can provide more creative freedom when it comes to the size and shape of the hole you want to create. This allows you to customize the hole based on your specific needs or preferences.
- Avoiding potential damage: If you’re working with delicate or fragile materials, using a drill can pose the risk of cracking or shattering. Alternative methods may offer more control and reduce the likelihood of damaging the ceramic cup.
While using a drill may be the most common method for creating holes, exploring alternative approaches can be beneficial in certain situations. These alternative methods offer simplicity, accessibility, cost-effectiveness, cleanliness, and creative flexibility, while also minimizing the risk of damage to delicate materials. So the next time you need a hole in a ceramic cup and don’t have a drill on hand, consider the advantages of creating one without using a drill.
FAQ:
Is it possible to create a hole in a ceramic cup without using a drill?
Yes, it is possible to create a hole in a ceramic cup without using a drill. There are alternative methods that can be used.
What are some alternative methods to create a hole in a ceramic cup?
Some alternative methods to create a hole in a ceramic cup include using a nail and hammer, a rotary tool with a ceramic cutting accessory, or a diamond-tipped glass cutter.
Can a regular nail and hammer be used to create a hole in a ceramic cup?
Yes, a regular nail and hammer can be used to create a hole in a ceramic cup. However, it requires caution and steady hands to avoid cracking the cup.
How can a rotary tool with a ceramic cutting accessory be used to create a hole in a ceramic cup?
A rotary tool with a ceramic cutting accessory can be used to create a hole in a ceramic cup by slowly grinding away the ceramic material with the cutting accessory. It is important to have a steady hand and apply even pressure to avoid damaging the cup.
Is it possible to create a hole in a ceramic cup using a diamond-tipped glass cutter?
Yes, it is possible to create a hole in a ceramic cup using a diamond-tipped glass cutter. The glass cutter needs to be used with a steady hand, and the ceramic cup should be scored with light pressure before applying a stronger force to create the hole.
Video:


Harrison Clayton
Meet Harrison Clayton, a distinguished author and home remodeling enthusiast whose expertise in the realm of renovation is second to none. With a passion for transforming houses into inviting homes, Harrison's writing at https://thehuts-eastbourne.co.uk/ brings a breath of fresh inspiration to the world of home improvement. Whether you're looking to revamp a small corner of your abode or embark on a complete home transformation, Harrison's articles provide the essential expertise and creative flair to turn your visions into reality. So, dive into the captivating world of home remodeling with Harrison Clayton and unlock the full potential of your living space with every word he writes.