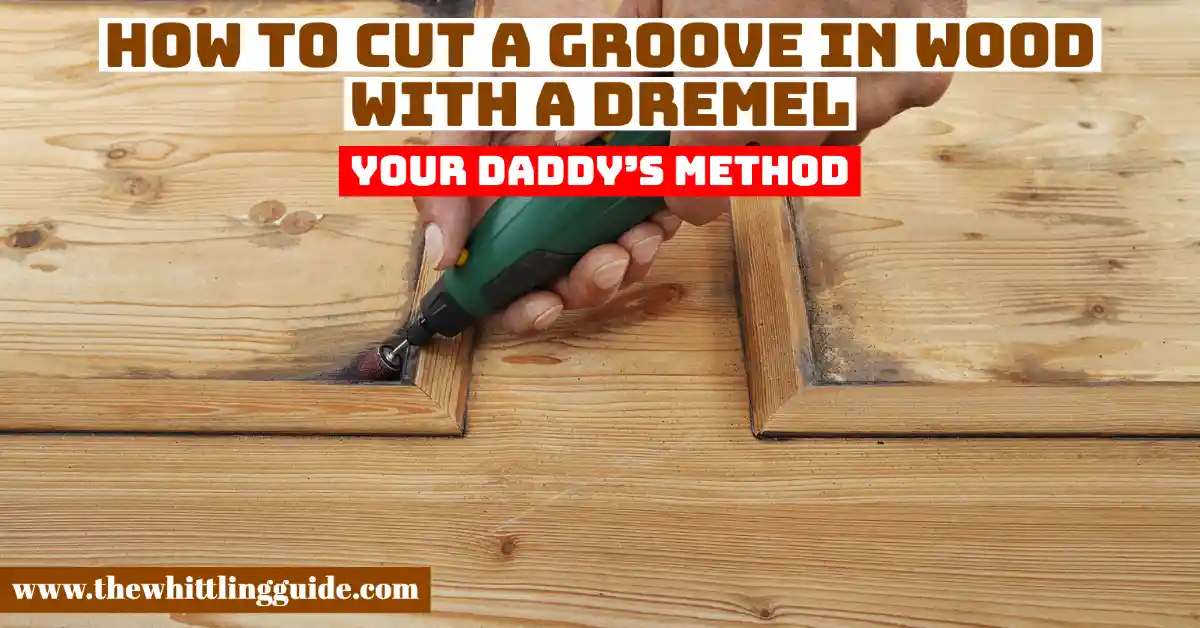
How to Create a Groove in Wood with a Drill: A Step-by-Step Guide

Creating a groove in wood with a drill can be a useful skill for any woodworker or DIY enthusiast. Whether you’re looking to add a decorative touch to your woodworking project or need to create a channel for wiring or piping, knowing how to create a groove with a drill is a valuable technique to have in your repertoire. In this step-by-step guide, we will walk you through the process of creating a groove in wood using a drill.
Step 1: Choose the Right Drill Bit
The first step in creating a groove in wood with a drill is to choose the right drill bit. For most grooves, a spiral fluted drill bit is recommended. The spiral flutes help to remove wood chips and prevent the bit from binding in the groove. Select a drill bit that is slightly larger in diameter than the depth of the groove you want to create.
Step 2: Mark the Starting and Ending Points
Next, mark the starting and ending points of the groove on the wood surface. Use a ruler or a straight edge to ensure that the groove is straight and even. It’s important to have a clear guide before you start drilling to ensure that the groove turns out exactly as you intended.

Step 3: Secure the Wood
Before you begin drilling, secure the wood piece firmly in place. You can use clamps or a vise to hold the wood steady and prevent any movement during the drilling process. This will help you maintain control and accuracy as you create the groove.
Step 4: Start Drilling
Now it’s time to start drilling. Position the drill bit at the marked starting point and slowly lower it into the wood. Apply gentle, steady pressure as you drill to prevent any splitting or splintering of the wood. Be sure to maintain a straight and consistent angle as you drill along the marked groove line.
Step 5: Check the Depth and Clean the Groove
Periodically check the depth of the groove as you drill to ensure that you’re reaching the desired depth. Once the groove is complete, use a brush or a vacuum cleaner to remove any wood chips or debris from the groove. This will help you achieve a clean and professional-looking finish.
Now that you know the step-by-step process of creating a groove in wood with a drill, you can confidently take on woodworking projects that require this skill. With practice and attention to detail, you’ll be able to create precise and elegant grooves that add a professional touch to your finished pieces.
Selecting the Right Drill Bit
When it comes to creating a groove in wood with a drill, selecting the right drill bit is essential. The type and size of the drill bit you choose will determine the width and depth of the groove. Here are a few factors to consider when selecting a drill bit:
- Size: The size of the drill bit will determine the width of the groove. If you want a wider groove, choose a larger drill bit. Keep in mind that the size should be appropriate for the project you are working on.
- Material: Different drill bits are designed to work with different materials. For wood, a standard twist drill bit or a brad point drill bit is typically used. These types of drill bits are sharp and have a pointy tip, allowing them to cut through wood easily.
- Length: The length of the drill bit should be chosen based on the depth of the groove you want to create. Make sure the drill bit is long enough to reach the desired depth without going too far.
- Speed: Some drill bits are designed to be used at high speeds, while others are better suited for lower speeds. Consider the recommended operating speed of the drill bit and make sure it matches the speed range of your drill.
- Coating: Some drill bits come with a coating that helps reduce friction and heat build-up. This can be beneficial when working with hardwood or other dense materials. However, if you are working with soft wood, a coated drill bit may not be necessary.
It’s important to have a good selection of drill bits on hand to ensure you have the right one for each project. Investing in a set of drill bits with various sizes and types is a smart choice for any woodworker or DIY enthusiast.
Marking the Wood
Before you start creating a groove in the wood, it’s important to mark the area where you want the groove to be placed. This will help ensure that your groove is straight and centered.
Here are the steps to marking the wood:
- Measure and mark the starting and ending points of the groove on the wood using a pencil or marker. Make sure these marks are visible and easy to follow.
- Use a ruler or straight edge to connect the two marks and create a straight line. This line will guide your drill and help you create an accurate groove.
- If you’re creating multiple grooves, use a measuring tool to mark the spacing between each groove. This will help ensure that your grooves are evenly spaced and aesthetically pleasing.
By taking the time to mark the wood before you start drilling, you’ll increase your chances of creating a clean and precise groove that meets your desired specifications.
Setting the Depth of the Groove
Before you begin drilling, it’s important to set the depth of the groove to ensure it matches your project’s requirements. This will prevent you from drilling too deep or too shallow, resulting in an uneven or ineffective groove.
First, identify the desired depth for your groove. This can be determined based on the specific requirements of your project, such as the thickness of the material you’re working with or the depth needed for a specific purpose.
Once you have determined the desired depth, you can adjust the depth stop on your drill. The depth stop is a feature that allows you to set a specific drilling depth by limiting how far the drill bit can penetrate into the material.
Most drills have a depth stop that can be adjusted by tightening or loosening a collar or a screw located near the chuck. Refer to your drill’s manual or consult the manufacturer’s website for specific instructions on how to adjust the depth stop on your particular drill model.
When adjusting the depth stop, make sure to measure and mark the desired depth on the side of the drill bit or use a depth gauge to accurately set the desired depth.
Once the depth stop is properly adjusted, place the drill bit into the chuck and secure it tightly. Double-check that the depth stop is set to the desired depth before starting to drill.
If you’re unsure about the exact depth you need for your groove, it’s always better to start with a shallower groove and make adjustments as needed. You can always deepen the groove later if necessary, but it’s much harder to fix a groove that has been drilled too deep.
Remember to wear appropriate safety gear, such as safety goggles and gloves, when operating power tools.
Securing the Wood
Before you begin creating a groove in wood with a drill, it’s important to properly secure the wood to ensure stability and prevent any accidents. Here are some steps to follow when securing the wood:
- Choose a suitable work surface: Place your piece of wood on a sturdy workbench or a surface that is solid and level. This will provide a stable foundation for your drilling.
- Use clamps: If your wood piece is small or has an irregular shape, consider using clamps to hold it in place. Position the clamps on either side of the wood, making sure they are securely fastened to the work surface.
- Consider a bench vise: For larger pieces of wood, a bench vise can provide even more stability. Attach the wood securely in the vise, making sure it is held tightly and cannot move while you work.
- Support long pieces: If you are working with a long piece of wood, it may sag or flex under its own weight. To prevent this, use additional support beneath or beside the wood. You can place it on a couple of sawhorses or use wooden blocks strategically placed along its length.
- Double-check stability: Before you start drilling, give the wood a gentle shake to ensure it is firmly secured. If there is any wobbling or movement, readjust the clamps or vise to make it more stable.
Remember, securing the wood properly is essential for safety and achieving accurate results. Taking the time to set up your work area correctly will help prevent accidents and ensure your groove is created precisely according to your needs.
Making the Initial Hole
To create a groove in wood with a drill, the first step is to make an initial hole. This hole will serve as a starting point for creating the groove.
Step 1: Choose the Right Drill Bit

Before starting, make sure you have the appropriate drill bit for the project. The size of the drill bit will depend on the desired width and depth of the groove.
Step 2: Mark the Starting Point
Using a pencil or a marker, mark the spot where you want to create the groove. This will serve as your starting point for drilling.
Step 3: Secure the Wood
Place the piece of wood on a sturdy work surface, such as a workbench, and secure it using clamps. This will prevent the wood from moving or vibrating during the drilling process.
Step 4: Drill the Initial Hole
Insert the chosen drill bit into the drill. Hold the drill perpendicular to the wood surface and position it over the marked starting point. Apply gentle pressure and slowly start drilling into the wood, creating the initial hole. Make sure to stop drilling once the desired depth is reached.
Step 5: Clear the Dust
After drilling the initial hole, use a brush or a blow nozzle to remove any dust or wood shavings from the hole. This will ensure a clean and precise groove.
Step 6: Test the Groove
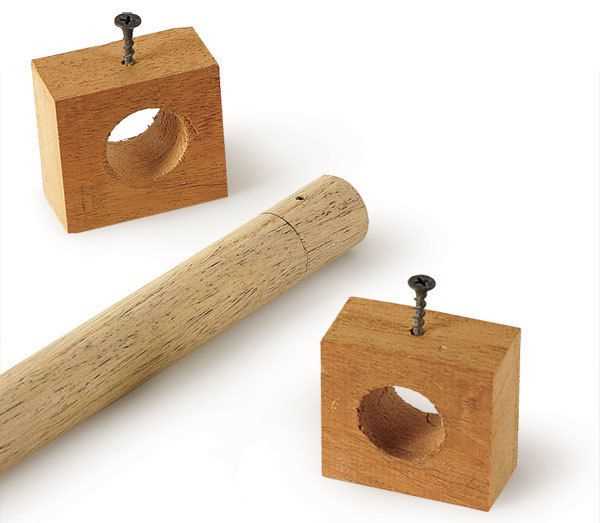
Once the initial hole is made, test the groove by sliding a test piece into it. If the groove is too tight or too loose, you can adjust the drill bit size and repeat the process until you achieve the desired fit.
Now that the initial hole is made, you are ready to move on to the next step in creating a groove in wood with a drill.
Creating the Groove
Once you have marked the location of the groove on your wood and prepared the necessary tools, you can proceed with creating the groove. Follow the step-by-step guide below:
- Secure the wood: Place the wood on a stable surface, such as a workbench, and clamp it down securely to prevent it from moving while you work.
- Choose the appropriate drill bit: Select a drill bit that matches the width and depth of the groove you want to create. It’s important to use the right size drill bit to ensure the groove is the correct dimensions.
- Attach the drill bit to the drill: Insert the chosen drill bit into the chuck of your drill and tighten it securely. Make sure it is centered and straight to avoid any wobbling or inaccurate grooves.
- Set the drill speed: Adjust the speed of your drill to a level suitable for creating the groove in your wood. Generally, a slower speed is preferred for more control.
- Position the drill: Place the tip of the drill bit at the starting point of the groove, ensuring it is aligned with the marked line.
- Start drilling: Gently squeeze the trigger of your drill and begin drilling into the wood, applying consistent pressure. Slowly and steadily move the drill along the marked line to create the groove. Be sure to maintain straight and controlled movements to achieve the desired result.
- Monitor the depth: As you drill, periodically check the depth of the groove to ensure it matches your specifications. You can use a ruler or depth gauge to measure the depth accurately.
- Remove wood dust: Throughout the drilling process, wood dust may accumulate in the groove. Use a brush or compressed air to remove the dust and maintain visibility of your work.
- Complete the groove: Continue drilling until you have reached the end of the marked line. Take your time and be patient to achieve a clean and accurate groove.
- Inspect the groove: Once you have finished drilling, inspect the groove for any imperfections or rough edges. You can use sandpaper or a file to smooth out any irregularities if necessary.
By following these steps, you can create a groove in wood with a drill. Remember to work safely, wear protective goggles, and take your time to ensure precise and satisfactory results.
Finishing and Sanding the Groove

Once you have cut the groove in the wood using a drill, it is important to finish and sand it to ensure a smooth and polished result. Here, we will guide you through the steps of finishing and sanding the groove to achieve a professional look.
1. Clean the Groove
Before starting the finishing process, make sure the groove is free of any debris, dust, or wood shavings. Use a brush or compressed air to remove any loose particles from the groove.
2. Apply Wood Filler (Optional)
If there are any gaps or imperfections in the groove, you can fill them with wood filler. Apply the wood filler using a putty knife, ensuring that it is evenly spread and fills the entire groove. Let the filler dry according to the manufacturer’s instructions and then sand it until it is level with the surrounding wood.
3. Sand the Groove
Begin the sanding process by using coarse-grit sandpaper (around 80-100 grit) to smooth the groove and remove any rough edges. Sand in the direction of the grain, applying even pressure. Once the groove feels smooth, switch to a finer-grit sandpaper (around 150-200 grit) and continue sanding to achieve a smoother finish.
4. Remove Sanding Dust
After sanding, clean the groove again to remove the sanding dust. Use a clean cloth or brush to ensure the groove is completely free of debris before proceeding to the next step.
5. Apply Stain or Finish (Optional)
If desired, you can apply a stain or finish to the groove to enhance its appearance and protect the wood. Follow the instructions on the stain or finish product and apply it evenly using a brush or cloth. Allow the stain or finish to dry completely before moving on to the next step.
6. Apply a Protective Coat
To further protect the groove, apply a protective coat such as polyurethane or varnish. This will help seal the wood and prevent any moisture or damage. Apply the protective coat according to the manufacturer’s instructions, ensuring even coverage. Allow the protective coat to dry completely before using the wood.
7. Final Sanding (Optional)

If necessary, perform a final sanding using a fine-grit sandpaper (around 220 grit) to smooth any rough areas or imperfections. This step is optional and depends on the desired level of smoothness and finish.
By following these steps, you can achieve a groove in wood that is smooth, polished, and ready for use in your woodworking projects.
FAQ:
What are the tools and materials needed to create a groove in wood with a drill?
The tools and materials needed to create a groove in wood with a drill include a drill, drill bits of various sizes, a router, a chisel, safety goggles, and clamps.
Can I use any type of drill to create a groove in wood?
Yes, you can use any type of drill to create a groove in wood. However, a corded drill or a cordless drill with high torque is recommended for this task as it provides more power and control.
Is it necessary to use clamps while creating a groove in wood with a drill?
Yes, it is highly recommended to use clamps when creating a groove in wood with a drill. Clamps will securely hold the wood in place, preventing it from moving or vibrating while you work.
What are the safety precautions to follow while creating a groove in wood with a drill?
When creating a groove in wood with a drill, it is important to wear safety goggles to protect your eyes from flying wood chips. It is also recommended to work in a well-ventilated area and to wear a dust mask to avoid breathing in sawdust. Additionally, always keep your hands away from the drill bit and make sure to unplug the drill when not in use.
Video:


Meet Harrison Clayton, a distinguished author and home remodeling enthusiast whose expertise in the realm of renovation is second to none. With a passion for transforming houses into inviting homes, Harrison's writing at https://thehuts-eastbourne.co.uk/ brings a breath of fresh inspiration to the world of home improvement. Whether you're looking to revamp a small corner of your abode or embark on a complete home transformation, Harrison's articles provide the essential expertise and creative flair to turn your visions into reality. So, dive into the captivating world of home remodeling with Harrison Clayton and unlock the full potential of your living space with every word he writes.


