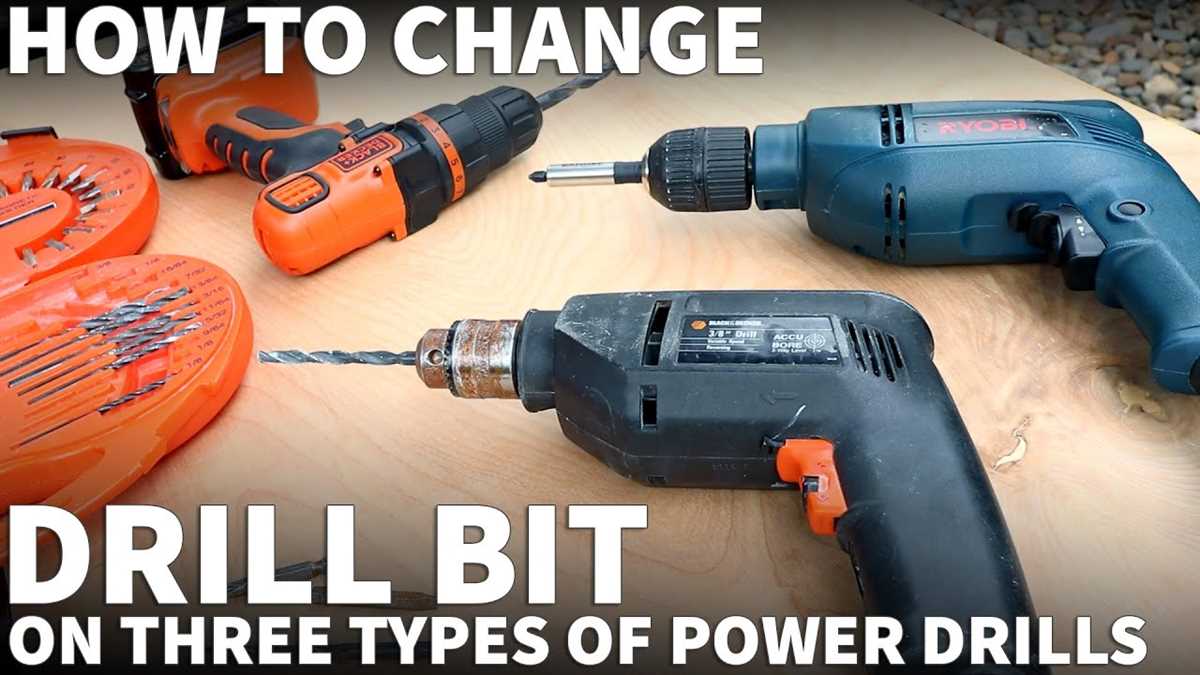
How to Change Bits on a Black and Decker Drill

Changing bits on a Black and Decker drill is a simple process that can be done by anyone, regardless of their experience level. Whether you’re a DIY enthusiast or a professional tradesperson, knowing how to change bits on your drill is an essential skill to have.
First, make sure the drill is turned off and unplugged from any power source. This is an important safety precaution that should never be overlooked. Once you’ve ensured the drill is safely disconnected, locate the chuck – the cylindrical part at the front of the drill where the bits are inserted.
To loosen the chuck and remove the old bit, hold the drill with one hand and grip the chuck with your other hand. Rotate the chuck counterclockwise to loosen it. Once the chuck is loose, pull out the old bit and set it aside. Be careful not to touch the sharp edges of the bit.
Now it’s time to insert the new bit. Simply align the shank of the bit with the jaws of the chuck and push it in until it is securely seated. To tighten the chuck, grasp it with one hand and turn it clockwise until it is snug. Make sure it is tight enough so that the bit won’t slip during use, but be careful not to overtighten it as this can damage the chuck.
With the new bit securely in place, plug in the drill and test it to ensure everything is working properly. If the drill is not functioning as expected, double-check that the chuck is tightened properly and that the bit is inserted correctly. If you have any doubts or encounter any difficulties, consult the drill’s user manual or contact the manufacturer for assistance.

Remember, always follow safety guidelines when operating power tools and make sure you wear appropriate protective gear, such as safety glasses and gloves. Take your time and practice changing bits on your Black and Decker drill – it’s a skill that will serve you well in your future DIY projects and professional endeavors.
Gather Your Materials
Before you begin changing the bits on your Black and Decker drill, it’s important to gather all the necessary materials. Having everything ready will make the process easier and more efficient. Here’s what you’ll need:
- A Black and Decker drill
- A new drill bit
- A chuck key (usually included with the drill)
- Protective gloves (optional, but recommended)
Make sure to check that your drill and the new drill bit are compatible. Different drills may require different types and sizes of drill bits. Refer to the drill’s manual or the packaging of the new bit to ensure compatibility.
Having a chuck key is crucial for changing the bits on most Black and Decker drills. The chuck key is a small, L-shaped tool that fits into the chuck, allowing you to tighten or loosen it. It will make the bit-changing process much easier.
Lastly, wearing protective gloves can help prevent injuries while handling the drill and bits. While it’s not mandatory, it’s a good safety precaution to consider.

Prepare Your Drill
Before changing bits on your Black and Decker drill, there are a few steps you need to follow to ensure the process goes smoothly. Make sure to read through the following instructions carefully before proceeding.
- Gather Your Tools: To prepare your drill, you will need a few basic tools on hand, including a pair of pliers and a drill bit set with the desired bit size.
- Power Off the Drill: Always make sure that your drill is turned off and unplugged before changing the bits. This is important for your safety and to prevent the drill from accidentally turning on during the process.
- Inspect the Chuck: Take a moment to inspect the chuck of your Black and Decker drill. Make sure there are no debris or obstructions that could interfere with the bit change.
- Loosen the Chuck: Most Black and Decker drills have a keyless chuck, which means you can loosen it by hand. Hold onto the drill securely, then rotate the chuck counterclockwise to loosen it.
- Remove the Old Bit: Once the chuck is loose, remove the old bit by pulling it straight out of the chuck. If the bit is stuck, you can use a pair of pliers to help you remove it.
- Clean the Chuck: Before inserting the new bit, take a moment to clean the chuck and remove any debris or dust. This will ensure a secure connection with the new bit.
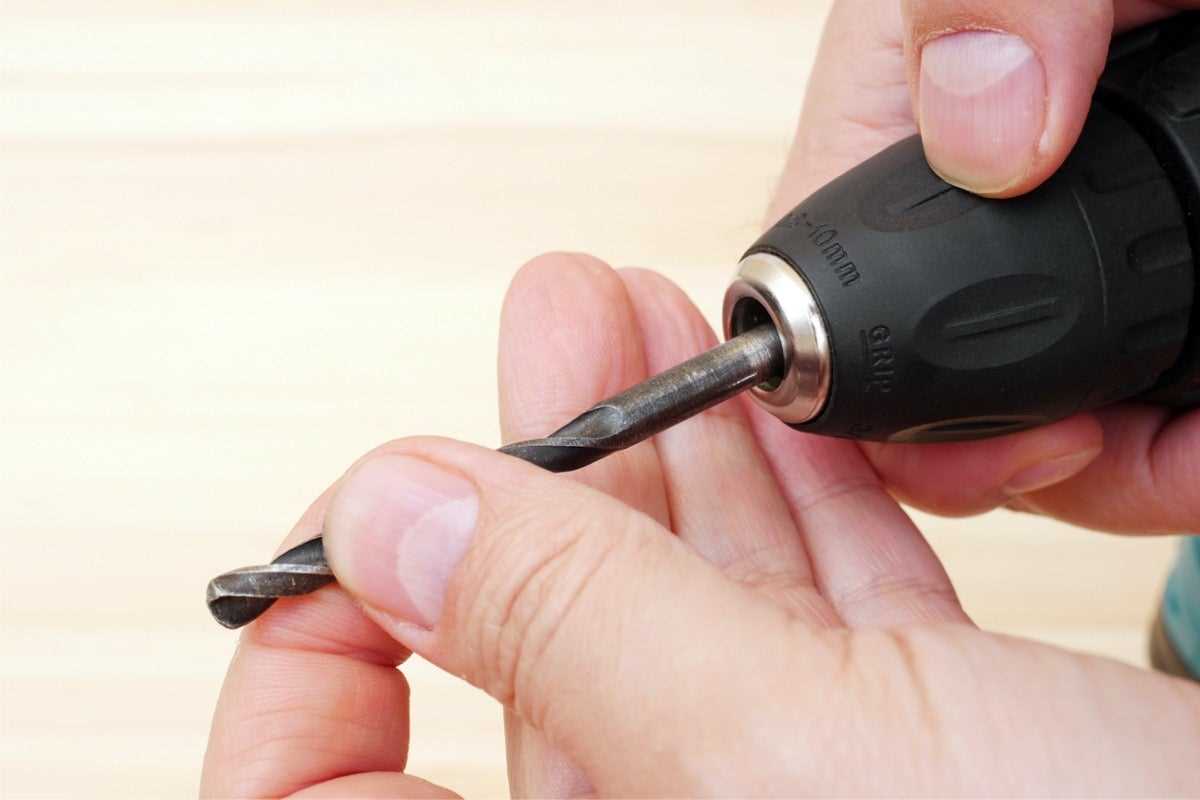
- Choose and Insert the New Bit: Select the appropriate drill bit from your set based on your project requirements. Insert the new bit into the chuck, ensuring that it is straight and fully seated.
- Tighten the Chuck: Once the new bit is inserted, hold onto the drill securely and rotate the chuck clockwise to tighten it. Make sure it is tightened securely to prevent the bit from slipping during use.
Now that you have prepared your Black and Decker drill, you are ready to proceed with your drilling project. Remember to always follow proper safety precautions and consult the drill’s manual for any specific instructions or limitations.
Locate the Bit Release Button
The first step in changing the bits on a Black and Decker drill is to locate the bit release button. This button is located on the top or the side of the drill, depending on the model. It is typically a small button that you can press with your thumb or finger.
- Look for a button labeled “bit release” or a symbol that resembles a drill bit.
- If you can’t find the button, consult the drill’s user manual for more specific instructions.
The location of the bit release button may vary depending on the model of the drill, so it’s important to take a moment to find it before attempting to change the bit. Trying to change the bit without releasing it properly can be unsafe and may damage the drill or the bit.
Once you have located the bit release button, you can proceed to the next step, which is releasing the current bit from the drill.

Press the Bit Release Button
To change the bits on your Black and Decker drill, you’ll first need to locate the bit release button. This button is typically found near the front of the drill, close to the chuck.
The bit release button is designed to securely hold the drill bit in place while the drill is in use. When you’re ready to change the bit, follow these steps:
- Make sure the drill is turned off and unplugged from any power source.
- Locate the bit release button on the drill.
- Press and hold the bit release button down with your thumb or finger.
- While holding down the bit release button, rotate the chuck counterclockwise to loosen it.
- Once the chuck is loose, release the bit release button to lock it in the open position.
- Remove the old drill bit by pulling it straight out of the chuck.
Now that the old bit is removed, you can insert a new bit by following these steps:
- Select the desired drill bit and align the shank with the chuck opening.
- Push the new bit into the chuck firmly to ensure it is securely in place.
- Rotate the chuck clockwise to tighten it and secure the new bit.
- Ensure the bit is properly tightened by giving it a gentle tug to make sure it doesn’t come loose.
Once you’ve completed these steps, you’re ready to use your Black and Decker drill with the new bit securely in place. Remember to always wear protective eyewear and follow proper safety precautions when using power tools.
Remove the Old Bit
To remove the old bit from your Black and Decker drill, follow these steps:
![WHJJK [2 in 1] Headphone Adapter for iPhone to 3.5mm AUX Audio Jack Dual Adaptor Dongle Splitter Earphone Adapter Converter Compatible with iPhone 12/11/XR/X/8/7, Supports All iOS](https://m.media-amazon.com/images/I/41TT5C89smL._SS520_.jpg)
- Power off the drill by pressing the trigger and releasing it. Ensure that the drill is completely stopped before proceeding.
- If there is a battery pack attached to the drill, remove it by pressing the release buttons on the sides of the pack and pulling it out.
- Locate the chuck at the front of the drill. The chuck is the part that holds the drill bit in place.
- Using one hand to hold the drill body and the other hand to hold the chuck, twist the chuck counterclockwise to loosen it. You might hear a clicking sound as the chuck loosens.
- Continue twisting the chuck counterclockwise until it is loose enough to release the old bit.
- Once the chuck is loose, pull the old bit out of the chuck. It should come out easily.
Now that you have successfully removed the old bit from your Black and Decker drill, you can proceed with inserting a new bit or any other necessary tasks.
Choose the Right Bit for Your Project
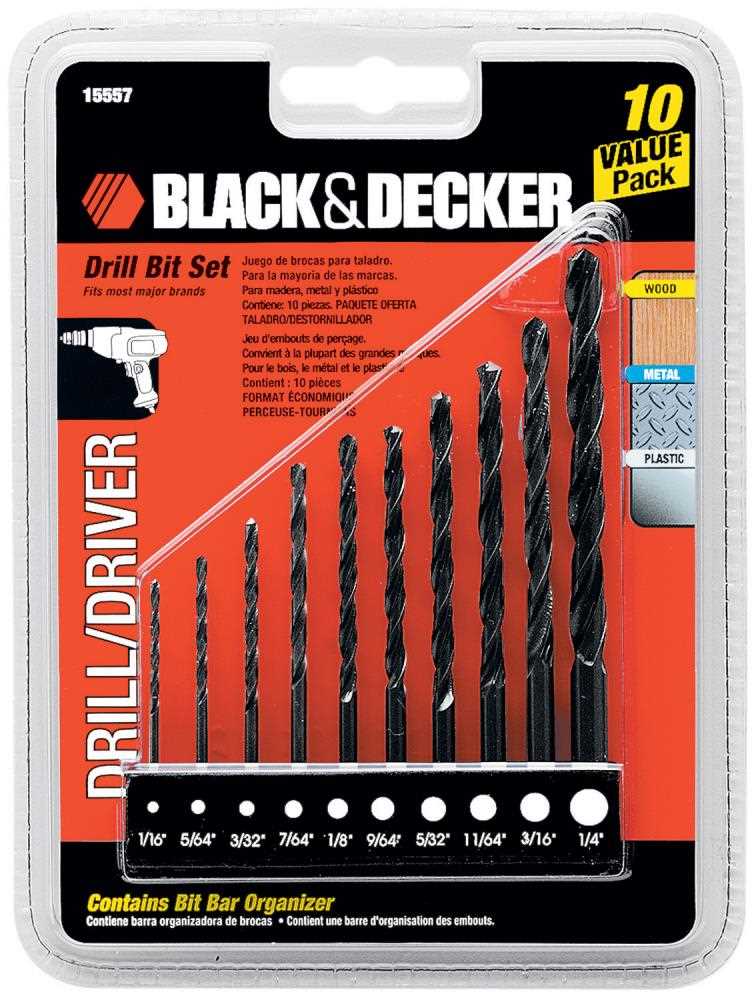
Choosing the right bit is important to ensure that your Black and Decker drill performs optimally for your project. Here are some factors to consider when selecting a bit:
1. Material of the Project:
The material you are working with will determine the type of bit you should use. For example, if you’re drilling into wood, a wood drill bit is suitable. Whereas, if you’re working with metal, a metal drill bit is the better option.
2. Size of the Hole:
The size of the hole you need to drill will determine the size of the bit you should choose. Black and Decker drills come with a range of bits with different diameters to accommodate various hole sizes.

3. Type of Bit:
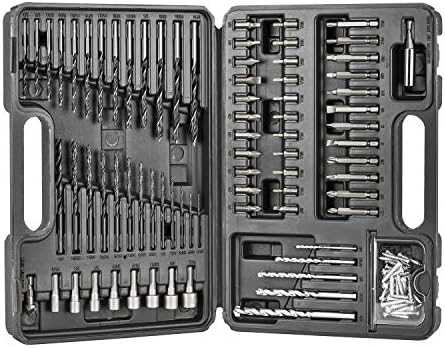
Black and Decker drills offer a wide variety of bits for different applications. Some common types of bits include:
- Twist Bits: These are the most common type of drill bits and can be used for drilling through wood, plastic, and metal.
- Spade Bits: These are used for drilling large holes in wood.
- Masonry Bits: These bits are designed for drilling into concrete, brick, and stone.
- Countersink Bits: These bits are used to create a conical recess to accommodate the heads of screws.
- Step Bits: These bits are ideal for drilling holes of different sizes with a single bit.
4. Additional Features:
Consider if you need any additional features for your project. For example, some drill bits have a hex shank that allows for quick bit changes without the need for a chuck key. Additionally, some bits have a coating that reduces friction and heat for extended bit life.
5. Safety Considerations:
Always prioritize safety when choosing a bit. Ensure that the bit you select is compatible with your Black and Decker drill and is securely fastened before starting your project. Take the necessary precautions, such as wearing safety goggles and gloves, to protect yourself while using the drill.
By considering these factors, you can select the right bit for your Black and Decker drill and ensure successful completion of your project.
Insert the New Bit
Once you have removed the old bit from your Black and Decker drill, you are ready to insert the new one. Follow these steps to safely and correctly insert the new bit:
- Choose the appropriate bit for the task at hand. Make sure the new bit is compatible with your Black and Decker drill.
- Hold the drill firmly with one hand and locate the chuck at the front end of the drill.
- Rotate the chuck counterclockwise to loosen it, making sure it opens wide enough to accommodate the new bit.
- Take the new bit and insert it into the chuck. Ensure that the bit is aligned properly and firmly seated.
- Tighten the chuck by rotating it clockwise. Use your hand or a chuck key, depending on the type of chuck on your Black and Decker drill.
- Hold the drill with both hands and give the chuck a final twist to ensure that it is securely tightened. Make sure there is no wobbling or movement when the chuck is tightened.
- Double-check the security of the new bit by gently pulling on it to ensure it is firmly held in place.
With the new bit securely inserted, you are now ready to use your Black and Decker drill for your desired task. Remember to always follow safety precautions and wear appropriate protective gear when operating power tools.
Secure the Bit in Place
Once you have chosen the appropriate bit for your project, it is important to securely fasten it into the chuck of your Black and Decker drill. Follow these steps to ensure the bit is properly secured:
-
Turn off the drill: Before attempting to change the bit, make sure the drill is switched off and unplugged from the power source. This will prevent any accidental injury.
-
Unlock the chuck: Locate the chuck on the front of the drill and rotate it counterclockwise to loosen it. Most Black and Decker drills have a keyless chuck, so you can rotate it by hand. If your drill has a key chuck, insert the chuck key and turn it counterclockwise to loosen the chuck.
-
Remove the previous bit: Once the chuck is loose, gently pull out the previous bit from the chuck. Set it aside in a safe place.
-
Insert the new bit: Take the new bit and align the end with the jaws of the chuck. Insert the bit into the chuck and push it in as far as it will go.
-
Tighten the chuck: Use your hand to rotate the chuck clockwise to tighten it around the bit. Make sure the chuck is fully tightened to avoid any wobbling or slippage while drilling.
-
Test the bit: Once the bit is securely in place, give it a gentle tug to make sure it is properly seated. If it feels loose, repeat steps 4 and 5 to ensure a tight fit.
By following these steps, you can securely fasten the bit in place on your Black and Decker drill, allowing you to confidently tackle your drilling tasks.
FAQ:
What is the purpose of changing bits on a Black and Decker drill?
The purpose of changing bits on a Black and Decker drill is to allow the user to switch between different types of drill bits for different applications. For example, a user may need to switch from a drill bit used for drilling holes to a screwdriver bit for driving screws.
Can I use any type of drill bit with a Black and Decker drill?
You can use most standard drill bits with a Black and Decker drill, as long as they are the correct size and compatible with the drill’s chuck. However, there may be some specialty drill bits that are not compatible or recommended for use with certain Black and Decker drill models. It is always best to consult the drill’s manual or contact the manufacturer for specific compatibility information.
Video:

How to tie a nuce

Meet Harrison Clayton, a distinguished author and home remodeling enthusiast whose expertise in the realm of renovation is second to none. With a passion for transforming houses into inviting homes, Harrison's writing at https://thehuts-eastbourne.co.uk/ brings a breath of fresh inspiration to the world of home improvement. Whether you're looking to revamp a small corner of your abode or embark on a complete home transformation, Harrison's articles provide the essential expertise and creative flair to turn your visions into reality. So, dive into the captivating world of home remodeling with Harrison Clayton and unlock the full potential of your living space with every word he writes.


