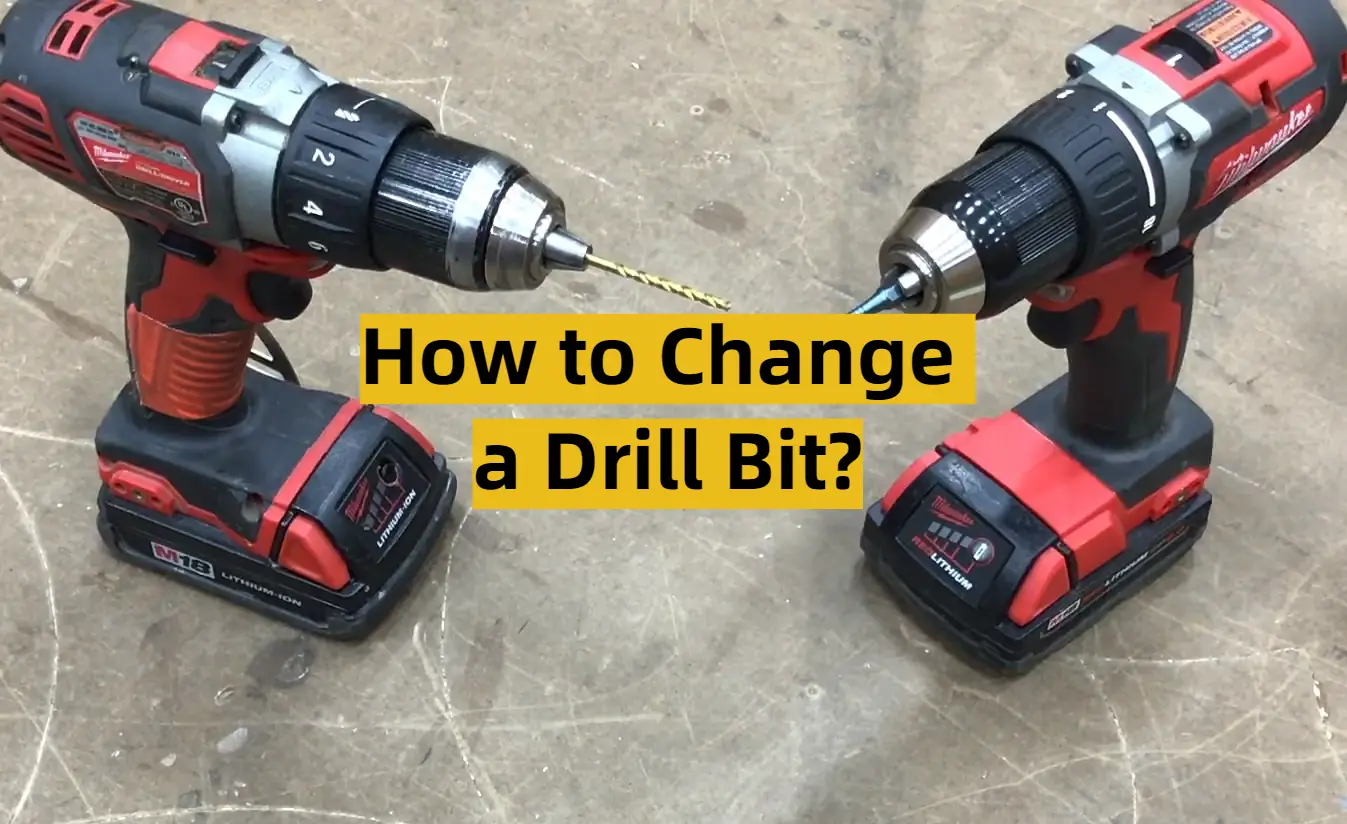
How to Change a Drill Bit: Step-by-Step Guide

Whether you’re a beginner or a seasoned DIY enthusiast, knowing how to change a drill bit is an essential skill. The drill bit is the tool that does the drilling, and it comes in various sizes and types for different applications. Being able to quickly and easily change drill bits will save you time and ensure you’re using the correct tool for the job.
Here is a step-by-step guide to help you change a drill bit:
- Turn off the power: Before changing the drill bit, make sure the power to the drill is turned off. This ensures your safety and prevents any accidental injuries. If the drill is corded, unplug it from the power outlet. If it is cordless, remove the battery.
- Select the correct bit: Choose the appropriate drill bit for your task. Different drill bits are used for drilling into wood, metal, or masonry. Make sure the bit matches the material you are drilling into.
- Loosen the chuck: The chuck is the part of the drill that holds the bit in place. To loosen it, grip the chuck with one hand and rotate it counterclockwise. This will open the jaws of the chuck and release the old bit.
- Remove the old bit: Once the chuck is loosened, pull the old bit out of the chuck. Some drill bits may require a bit of force to remove, so don’t be afraid to give it a firm tug.
- Insert the new bit: Take the new drill bit and align it with the jaws of the chuck. Push it into the chuck until it is securely in place. Give it a tug to make sure it is held firmly.
- Tighten the chuck: With the new bit in place, grip the chuck with one hand and rotate it clockwise. This will tighten the jaws of the chuck around the bit and secure it in place.
And that’s it! You have successfully changed the drill bit. Remember to always wear safety glasses when using a drill and to use the correct drill bit for the job. Now you can confidently tackle any drilling project with ease.
Gather the Necessary Tools
Before changing a drill bit, it’s important to have the right tools on hand. Gather the following items before starting the process:

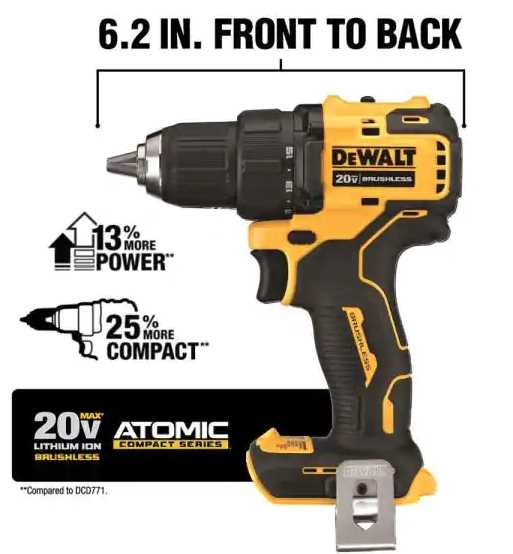
- Drill: Make sure you have a drill that is in good working condition and has a chuck that can be easily opened and closed.
- New drill bit: Have the new drill bit ready for installation. Choose the appropriate size and type for the job you will be doing.
- Chuck key or drill bit replacement tool: Depending on the type of drill you have, you may need a chuck key or a drill bit replacement tool to loosen and remove the old drill bit.
- Pliers or adjustable wrench: In case the chuck is stuck or difficult to open, have pliers or an adjustable wrench on hand to provide extra leverage.
- Clean cloth or paper towel: Keep a clean cloth or paper towel nearby to wipe off any dirt or debris from the chuck or drill bit.
Having these tools readily available will make the process of changing a drill bit easier and more efficient. It’s always a good idea to double-check that you have everything you need before starting any project.
Turn Off the Power and Unplug the Drill
Before changing the drill bit, it is important to ensure the power is turned off and the drill is safely unplugged. This step is crucial to avoid any accidental injury while working with the drill.
To turn off the power, locate the power switch on the drill and slide it to the “Off” position. Make sure the drill is completely powered down before proceeding.
Next, unplug the drill from the power source. If the drill is cordless, remove the battery pack to ensure it cannot accidentally turn on during the bit changing process.

By turning off the power and unplugging the drill, you are taking necessary precautions to ensure your safety and the safety of others in the vicinity.
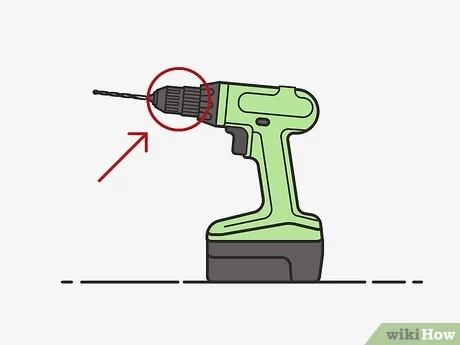
Locate the Chuck and Chuck Key
Before you can change the drill bit, you need to locate the chuck and chuck key. The chuck is the part of the drill that holds the bit in place, and the chuck key is the tool used to tighten and loosen the chuck.
Most drills have a keyless chuck, which means you don’t need a chuck key to change the drill bit. If you have a keyless chuck, simply turn the chuck counterclockwise to loosen it and remove the current drill bit.
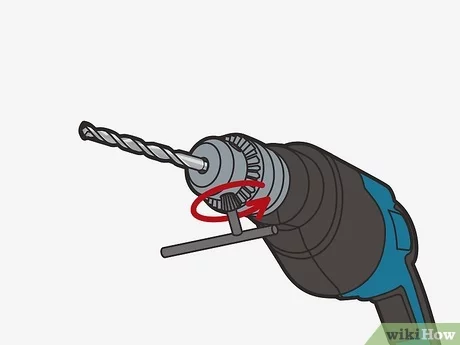
If you have a drill with a keyed chuck, you will need to use the chuck key. The chuck key usually has a T-shaped handle and teeth that fit into the chuck to tighten or loosen it. Look for a small storage compartment on the drill where the chuck key is stored.

Once you have located the chuck key, position it so that the teeth line up with the notches on the chuck. Insert the chuck key into the notches and rotate it clockwise to tighten or counterclockwise to loosen the chuck.
It’s important to note that not all drills have a chuck key. Some drills have a keyless chuck that can be tightened or loosened by hand. In this case, simply grip the chuck and turn it counterclockwise to loosen or clockwise to tighten.
Now that you have located the chuck and chuck key, you are ready to move on to the next step of changing the drill bit.
Insert the Chuck Key and Loosen the Chuck
Before you can change a drill bit, you need to insert the chuck key into the chuck and loosen it. The chuck key is a specialized tool that fits into the small holes on the chuck, allowing you to tighten or loosen the chuck.

Follow these steps to insert the chuck key and loosen the chuck:
- Locate the chuck key. It is usually included with your drill and can be found in a designated compartment on the drill or in the drill case.
- Identify the chuck key holes on the chuck. These are usually located on the sides of the chuck.
- Insert the chuck key into one of the chuck key holes.
- Hold the chuck key firmly and turn it counterclockwise to loosen the chuck.
- Continue turning the chuck key until the jaws of the chuck are wide enough to remove the current drill bit or to insert a new drill bit.
- Once the chuck is sufficiently loose, remove the chuck key from the chuck key holes and set it aside.
It is important to ensure that the chuck key is securely inserted into the chuck key holes and that you hold it firmly while loosening the chuck. This will prevent any accidents or slippage that can cause injury.
After loosening the chuck, you are now ready to remove the current drill bit or insert a new one. Follow the next steps in this guide to complete the process.
Remove the Old Drill Bit
To start with, you need to remove the old drill bit from your drill. Follow these simple steps:

- Make sure your drill is turned off and unplugged if it is a corded drill. If it is a cordless drill, remove the battery to prevent accidental startup.
- Locate the chuck on your drill. The chuck is the part of the drill that holds the drill bit.
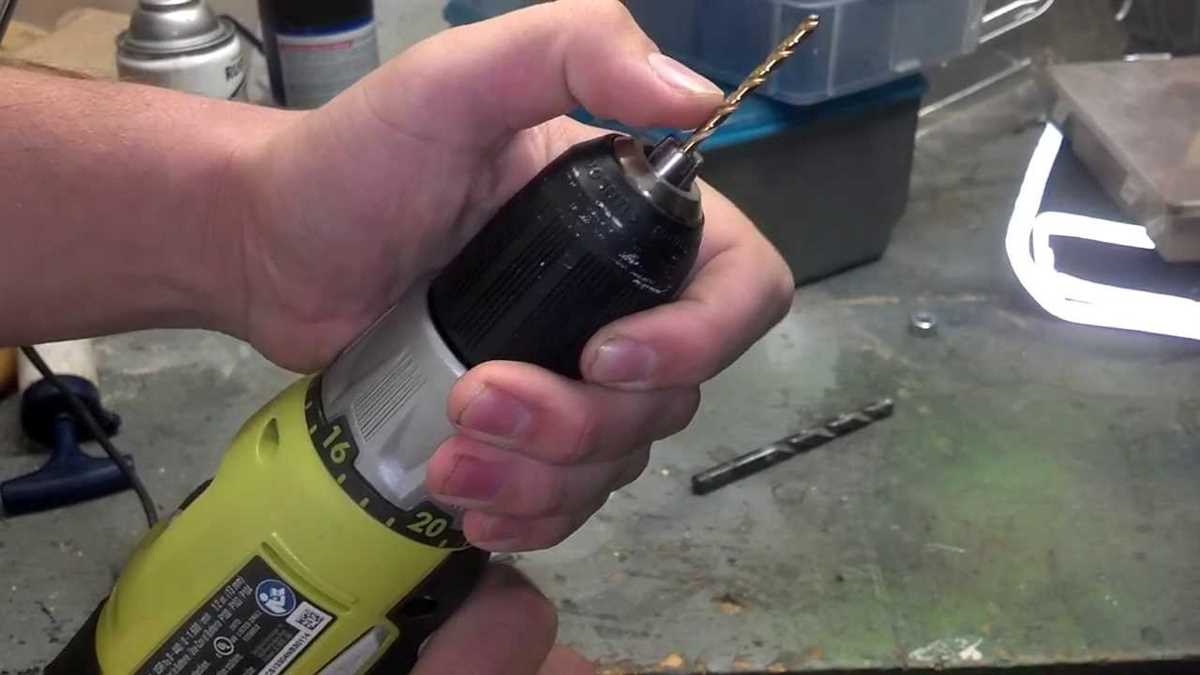
- Some drills have a keyless chuck, which means you can loosen and tighten the chuck by hand. If your drill has a keyless chuck, hold the drill body in one hand and use your other hand to twist the chuck counterclockwise to loosen it.
- If your drill has a keyed chuck, you will need to use a chuck key to loosen the chuck. Insert the chuck key into one of the holes on the side of the chuck and turn it counterclockwise to loosen the chuck.
- Once the chuck is loose, open it wide enough to remove the old drill bit. You can do this by rotating the chuck in the opposite direction of tightening.
- With the chuck open, carefully pull the old drill bit straight out of the chuck. Be cautious as the bit may be hot if you have recently been using the drill or it may be sharp.
- If the drill bit is stuck or difficult to remove, you can tap the chuck lightly with a rubber mallet to loosen it.
- Inspect the chuck and make sure there are no obstructions or debris that could interfere with inserting a new drill bit.
Once you have removed the old drill bit and inspected the chuck, you are ready to move on to the next step of inserting a new drill bit.
Select and Insert the New Drill Bit
Once you have removed the old drill bit from your power drill, it’s time to select and insert a new one. Follow these steps to ensure a successful replacement:
- Choose the right drill bit: Consider the type of material you will be drilling into and select a drill bit that is appropriate for that material. Different drill bits are designed for wood, metal, masonry, or other specific materials.
- Inspect the new drill bit: Before inserting the new drill bit, make sure it is in good condition. Check for any signs of damage or wear that may affect its performance or safety.
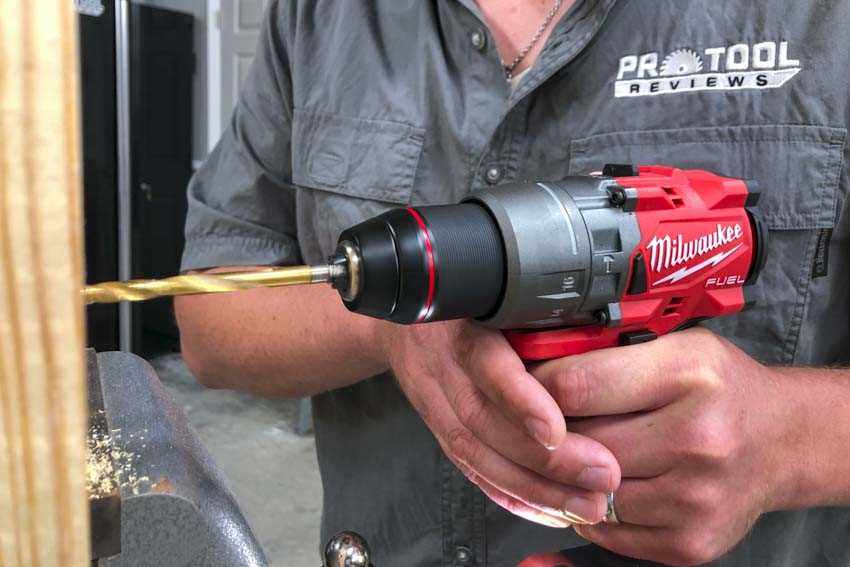
- Secure the drill: Place the power drill on a secure surface or in a drill press, depending on your setup. This will provide stability and prevent any accidents while inserting the new drill bit.
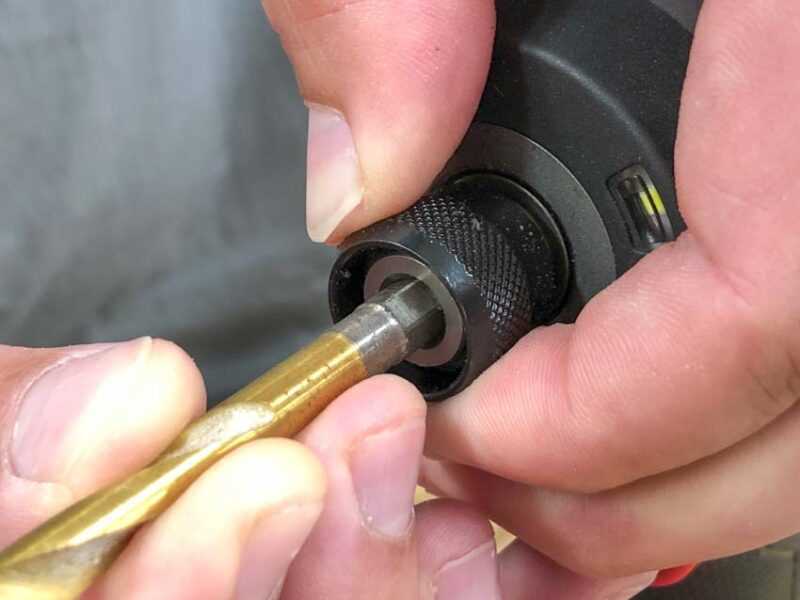
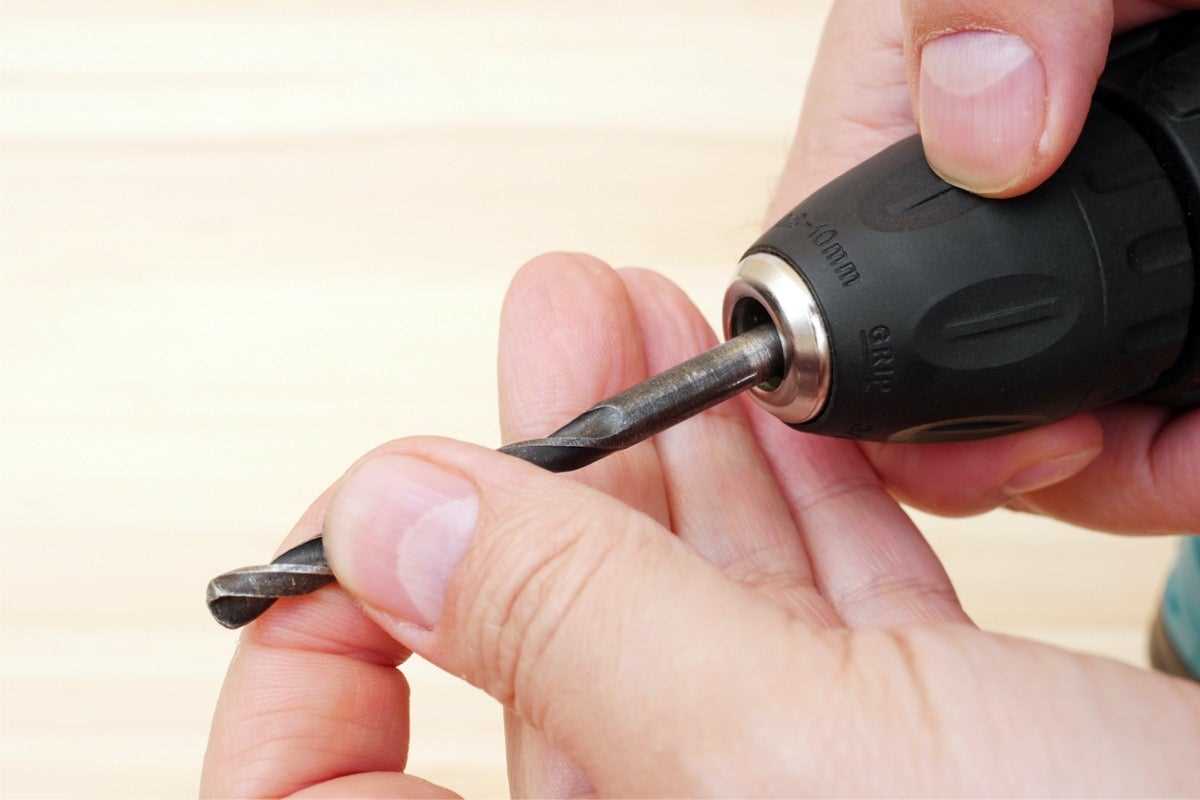
- Insert the new drill bit: Align the shank of the new drill bit with the keyless chuck (the part that holds the drill bit) of your power drill. Push the drill bit firmly into the chuck until it is securely in place.
- Tighten the chuck: Firmly grip the chuck with one hand while using the other hand to turn the chuck in a clockwise direction. This will tighten the chuck and ensure that the new drill bit is securely held in place.
- Test the new drill bit: Before you start drilling, it’s a good idea to test the new drill bit on a scrap piece of material to ensure that it is working properly and is securely fastened.
With the new drill bit securely inserted and the chuck tightened, you are now ready to use your power drill for your desired drilling tasks.
Tighten the Chuck and Remove the Chuck Key
Before you can change the drill bit, you need to ensure that the chuck is tightened and the chuck key is removed.
- Check the chuck: Make sure that the chuck is securely tightened. Hold the drill bit with one hand and use the chuck key or keyless chuck to tighten the chuck with the other hand. Rotate the chuck clockwise until it is tight.
- Remove the chuck key: If your drill has a chuck key, you will need to remove it before changing the drill bit. Insert the chuck key into one of the holes on the chuck and rotate it counterclockwise to loosen the chuck. Once the chuck is loose, remove the chuck key from the chuck.
By tightening the chuck and removing the chuck key, you are now ready to proceed with changing the drill bit.
Test the New Drill Bit
- Before you start using the new drill bit, it’s important to test it to ensure that it’s installed correctly and in good working condition.
- Insert the new drill bit into the chuck of the drill by placing it into the jaws and tightening the chuck securely.
- Make sure the drill is turned off and the power cord is unplugged before proceeding.
- Once the drill bit is installed, turn on the drill to test its functionality.
- Hold the drill firmly with both hands and press the trigger to start the drill.
- Listen for any unusual noises or vibrations coming from the drill. If you notice anything out of the ordinary, turn off the drill and inspect the bit for damage or defects.
- If the drill runs smoothly and sounds normal, you can proceed to test the new bit’s drilling capabilities.
- Place a piece of scrap material securely on a workbench or another stable surface.
- Position the drill bit over the desired location on the scrap material.
- Apply moderate pressure and start the drill by pulling the trigger.
- Observe how the new bit performs while drilling through the material.
- Take note of any issues such as excessive heat, slow drilling progress, or the bit getting stuck.
- If the new drill bit performs well and meets your expectations, it is ready to be used for your intended drilling tasks.
- If you encounter any problems during the testing process, you may need to recheck the installation of the drill bit or consider replacing it with a different one.
FAQ:
What is a drill bit?
A drill bit is a cutting tool attached to a drill that is used for drilling holes into different materials.
Why would I need to change a drill bit?
You may need to change a drill bit to switch to a different size or type of bit, depending on the hole you want to drill or the material you are working with.
What tools do I need to change a drill bit?
To change a drill bit, you will need a drill, the new drill bit, and sometimes a chuck key or wrench to loosen and tighten the chuck.
Can I change a drill bit without any tools?
No, you will need at least a drill to change a drill bit. Some drills also require the use of a chuck key or wrench to loosen and tighten the chuck.
How do I know which drill bit to use?
The type and size of the drill bit you should use depends on the material you are drilling into. It’s important to match the right bit to the material for the best results.
Is it difficult to change a drill bit?
Changing a drill bit is a relatively simple process and can be done in just a few steps. With a little practice, you’ll be able to change drill bits quickly and easily.
Video:


Meet Harrison Clayton, a distinguished author and home remodeling enthusiast whose expertise in the realm of renovation is second to none. With a passion for transforming houses into inviting homes, Harrison's writing at https://thehuts-eastbourne.co.uk/ brings a breath of fresh inspiration to the world of home improvement. Whether you're looking to revamp a small corner of your abode or embark on a complete home transformation, Harrison's articles provide the essential expertise and creative flair to turn your visions into reality. So, dive into the captivating world of home remodeling with Harrison Clayton and unlock the full potential of your living space with every word he writes.


