How to Bite the Drill: A Guide to Drilling Techniques

Drilling is a common task that is often taken for granted. However, there is much more to drilling than simply sticking a drill bit into a material and turning it on. To achieve the best results and avoid common pitfalls, it is important to understand and master various drilling techniques. Whether you are a DIY enthusiast or a professional tradesperson, this guide will provide you with a comprehensive overview of drilling techniques.
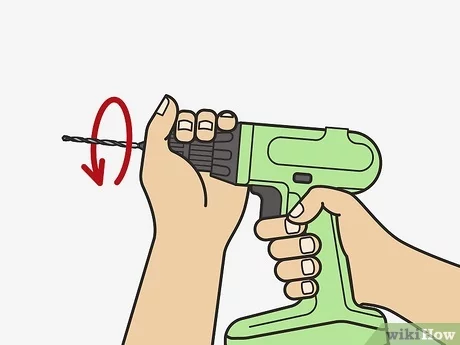
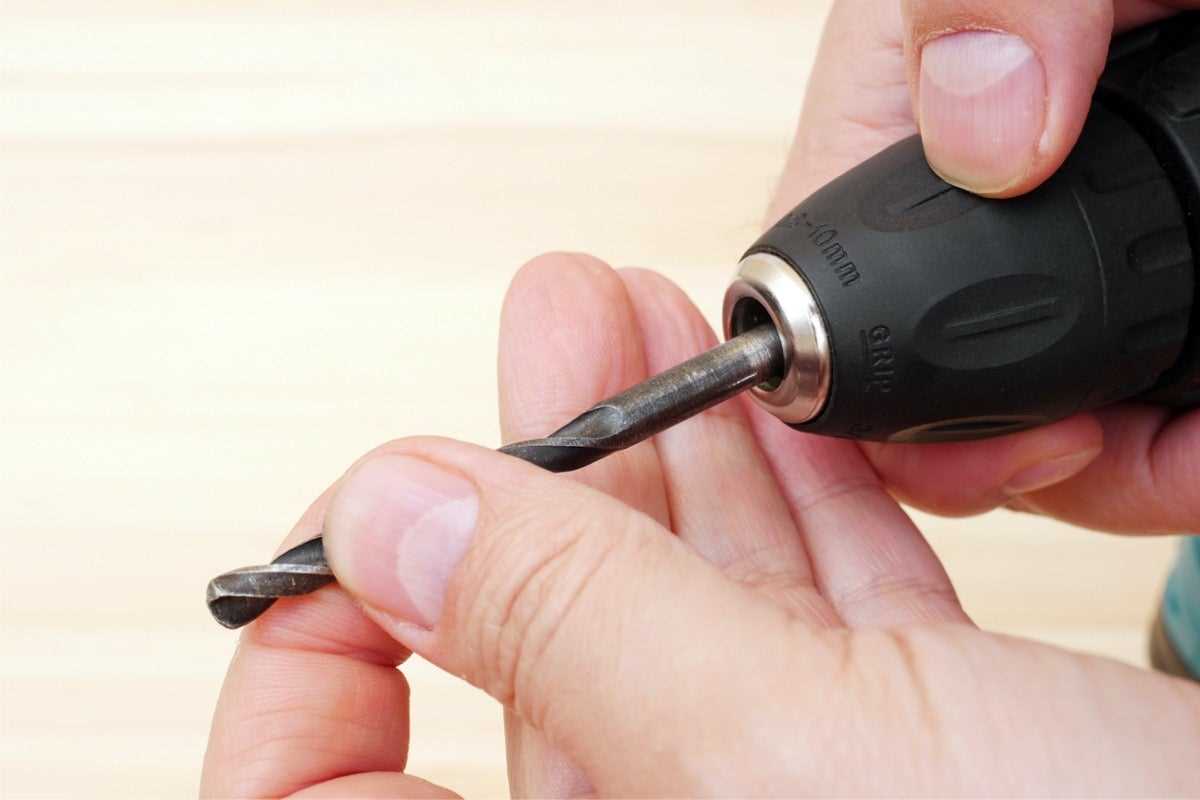
One of the most important aspects of drilling is choosing the right drill bit for the job. Different materials require different types of drill bits, and using the wrong one can lead to poor results and even damage to the material. This guide will cover the different types of drill bits available and their specific uses, helping you make informed decisions when selecting the right tool for your project.
In addition to choosing the right drill bit, it is also crucial to know how to use the drill effectively. This guide will explain the proper techniques for drilling into various materials, such as wood, metal, and concrete. You will learn how to control the speed and pressure applied to the drill, as well as how to maintain accuracy and prevent splintering or breakage.
Furthermore, this guide will also cover advanced drilling techniques, such as countersinking, pilot hole drilling, and creating clean exit holes. These techniques can be essential for specific applications, such as furniture assembly or installing fixtures.
By mastering the various drilling techniques outlined in this guide, you will be able to tackle a wide range of projects with confidence and achieve professional-grade results. Whether you are a beginner or an experienced driller, this guide will serve as an invaluable resource on your quest to bite the drill and take your drilling skills to the next level.

Choose the Right Drill Bit for Your Project
Choosing the right drill bit is essential to ensure a successful drilling project. The type of material you are drilling into, as well as the size and depth of the hole you need, will determine the type of drill bit you should use. Here are some common drill bits and their recommended applications:
Twist Bits
- Twist bits are the most common type of drill bit and are suitable for drilling into wood, plastic, and soft metals like aluminum.
- They have a helical flute design that helps to remove chips and debris from the hole.
- Twist bits are available in various sizes to accommodate different hole diameters.
Brad Point Bits
- Brad point bits are designed specifically for drilling clean and accurate holes in wood.
- They have a sharp point that helps to prevent them from wandering or slipping on the surface of the wood.
- Brad point bits are available in various sizes and are commonly used for doweling and other woodworking applications.
Masonry Bits
- Masonry bits are used for drilling into materials like brick, concrete, and stone.
- They have a carbide tip that is designed to withstand the hardness of masonry materials.
- Masonry bits are available in various lengths and diameters to accommodate different drilling requirements.
Forstner Bits

- Forstner bits are used for drilling flat-bottomed, clean holes in wood.
- They are ideal for drilling holes for hinges, dowels, and other specialized woodworking applications.
- Forstner bits have a small center point that helps to guide the bit and prevent it from wandering.
Step Bits
- Step bits are primarily used for drilling holes in thin materials like sheet metal.
- They have a conical shape with multiple stepped sizes, allowing you to gradually enlarge the hole.
- Step bits are often used in electrical and plumbing applications.
Remember to always use the appropriate drill bit for your project and follow proper safety precautions when drilling. Choosing the right drill bit will help you achieve accurate and efficient results.
Secure Your Workpiece Before Drilling
Before you begin drilling, it is essential to secure your workpiece to prevent any movement or slipping during the drilling process. Properly securing your workpiece will ensure accurate and precise holes, as well as minimize the risk of accidents or injuries.
1. Workbench or Clamping System
If you are working with a small or lightweight workpiece, you can use a workbench to hold it securely in place. Make sure the workbench is stable and the workpiece is positioned at a comfortable height for drilling.

For larger or heavier workpieces, a clamping system is recommended. Clamps can hold the workpiece firmly in place, allowing you to drill without worrying about it moving around. Choose clamps that are appropriate for the size and shape of your workpiece and ensure they are tightened securely.
2. Double Check Stability
Before you start drilling, double check the stability of your workpiece. Give it a gentle tug or shake to see if it moves. If there is any movement, readjust the clamps or reposition the workpiece until it is secure.
3. Use Supports
If your workpiece is long or extended, use additional supports to prevent sagging or bending during drilling. You can use blocks or wedges to prop up the ends of the workpiece and provide extra stability.
4. Consider a Drill Press
If you frequently work with delicate or precise drilling tasks, you may want to invest in a drill press. A drill press offers more stability and control, as the workpiece is held securely in place on a table and the drill is guided by a vertical column. This eliminates the need for manual securing and reduces the risk of accidents.
By taking the time to secure your workpiece before drilling, you will ensure safe and accurate drilling results. Remember to always wear protective gear and use caution when operating power tools.

Avoid Common Drilling Mistakes
Drilling can be a useful and efficient way to complete various projects, but it’s important to avoid common mistakes that can lead to damage or poor results. By following these tips, you can improve your drilling techniques and achieve better outcomes.
1. Using the Wrong Drill Bit
Selecting the right drill bit for your project is crucial. Using the wrong bit can result in a slow and inefficient drilling process, damaged materials, or even injury. Make sure to match the drill bit to the material you are drilling, whether it’s wood, metal, or concrete. Different materials require different types of drill bits, so do your research or consult with a professional if you are unsure.
2. Neglecting Safety Precautions
Safety should always be a top priority when drilling. Make sure to wear protective gear, such as safety goggles, gloves, and a dust mask. Keep your work area clear of clutter and secure your materials properly to prevent accidents. Additionally, it’s important to follow the instructions and warnings provided by the drill manufacturer to minimize the risk of injury.
3. Forgetting to Mark the Drilling Spot

Before you start drilling, take the time to mark the spot where you want to drill. This will help ensure that you drill in the right location and avoid potential errors. Use a pencil or marker to make a clear and visible mark, and double-check your measurements before proceeding with the drilling process.
4. Applying Too Much Pressure
Applying too much pressure while drilling can cause the drill bit to get stuck, break, or create an uneven hole. Instead, let the drill do the work and apply gentle, steady pressure. Be patient, especially when drilling through tougher materials, to achieve better results and prevent damage.
5. Ignoring the Drill Speed Setting
Many drills come with adjustable speed settings that allow you to control the drilling speed. Different materials require different drilling speeds, so make sure to adjust the speed setting accordingly. Using the wrong speed can result in overheating, damaged materials, or ineffective drilling.
6. Failing to Clean Up Properly
After completing your drilling project, remember to clean up properly. Remove any debris or dust created during the drilling process, as it can pose a safety hazard and potentially damage your drill. Use a brush or vacuum to clean the area thoroughly, and store your drill and drill bits in a clean and dry place.
By avoiding these common drilling mistakes, you can improve your drilling techniques and achieve better results in your projects. Remember to always prioritize safety and take your time to ensure accuracy and precision.

Drilling into Different Materials: Tips and Tricks
Drilling into different materials requires careful consideration of the specific properties and characteristics of the material. Here are some tips and tricks to help you achieve successful drilling results:
1. Wood:
- Use a brad point or twist drill bit for clean holes in wood.
- Drill at a slow speed to avoid splintering the wood.
- To prevent the wood from splitting, start with a smaller pilot hole before drilling the final hole.
- Consider using a drill press for precision and stability when drilling larger or deeper holes.
2. Metal:
- Choose the appropriate drill bit for the type of metal you are drilling, such as high-speed steel (HSS) or cobalt.
- Apply cutting fluid or lubricant while drilling to reduce friction and heat buildup.
- Use a slower speed and apply steady, even pressure to avoid overheating and damaging the drill bit.
- Consider using a center punch to create a small indentation before drilling to help guide the drill bit.
3. Concrete:
- Use a masonry drill bit designed for drilling into concrete.
- Apply steady pressure and drill at a slow speed to prevent the drill bit from overheating.
- Consider using a hammer drill or rotary hammer for more efficient drilling in concrete.
- Use a vacuum or blow out the dust from the drilled hole to ensure proper anchoring of screws or other fasteners.
4. Tiles:
- Use a tile drill bit with a diamond or carbide tip for drilling into ceramic tiles.
- Apply light pressure and drill at a slow speed to minimize the risk of cracking or chipping the tile.
- Place a piece of masking tape over the drilling area to help prevent the drill bit from slipping on the smooth tile surface.
- Consider using a drill guide or template to ensure accurate hole placement on tiled surfaces.
Remember, regardless of the material you are drilling into, always wear safety goggles and use proper drilling techniques to ensure a safe and successful drilling experience.
Proper Drill Speed and Pressure for Optimal Results
Drill Speed
The speed at which you operate your drill is crucial to achieving optimal results. Different materials require different drill speeds, as using the wrong speed can result in damage or inefficiency.
When drilling through metal, it is recommended to operate your drill at a slower speed. This allows for better control and reduces the risk of the drill bit overheating, which can cause it to become dull or even break.
For drilling through wood or plastic, a higher drill speed can be used. This helps to quickly remove material and creates cleaner holes. However, be mindful not to go too fast as this can lead to a loss of control and potential damage to the material.
Drill Pressure
The amount of pressure you apply while drilling also affects the quality of the results. Too much pressure can cause the drill bit to become dull quickly and can even result in the material splintering or cracking. On the other hand, too little pressure can result in the drill bit spinning in place without making progress.
It is best to start with light pressure and gradually increase as needed. You should allow the drill bit to do the work and avoid forcing it through the material. If you notice the drill bit is struggling or the material is starting to smoke, it is a sign that you may be applying too much pressure.
Finding the Right Balance
Finding the proper speed and pressure for drilling requires practice and experimentation. It is essential to consider the type of material, the size of the drill bit, and the desired outcome when adjusting your settings.
A helpful technique is to start drilling at a lower speed and with lighter pressure. As you become more comfortable, you can gradually increase both the speed and pressure while monitoring the results. Take note of what works best for each material and application, as this will help you achieve optimal results in the future.
Conclusion
Proper drill speed and pressure are essential factors to consider for achieving optimal drilling results. By using the correct speed and applying the right amount of pressure, you can avoid damage to the material and the drill bit while creating clean and precise holes.
Remember to always adjust your speed and pressure based on the material you are drilling through and the desired outcome. With practice and experimentation, you will become more skilled at finding the perfect balance for each drilling situation.
Use a Drill Guide for Precision Drilling
If you want to achieve precise and accurate holes when drilling, using a drill guide can be extremely helpful. A drill guide is a tool that helps to steady the drill and guide it in a straight line, ensuring that the hole is drilled exactly where you want it. Whether you are a beginner or an experienced DIYer, using a drill guide can help you achieve professional-looking results.
Here are some tips on how to use a drill guide effectively:
- Choose the right drill guide: There are different types of drill guides available, so it’s important to choose one that suits your needs. Some drill guides are designed for handheld drills, while others are meant for use with a drill press. Consider the type of project you are working on and the size of the holes you need to drill.
- Secure the drill guide: Make sure that the drill guide is securely clamped or anchored in place before you begin drilling. This will prevent any movement or slippage during the drilling process, ensuring accurate results.
- Mark your drilling location: Before using the drill guide, mark the exact spot where you want to drill the hole. Use a pencil or a marker to make a small dot or crosshair on the surface. This will serve as a guide for positioning the drill guide.
- Position the drill guide: Align the drill guide with the marked spot on the surface. The drill guide should be flush against the surface to ensure that the hole is drilled straight and perpendicular to the surface. Adjust the drill guide if necessary.
- Secure the workpiece: If you are drilling into a workpiece, make sure that it is securely clamped or anchored in place. This will prevent any movement or shifting while drilling, which could lead to inaccuracies.
- Start drilling: Once everything is set up, start drilling slowly and steadily. Allow the drill bit to penetrate the surface gradually and apply consistent pressure. Keep the drill straight and aligned with the drill guide throughout the drilling process.
- Monitor the drilling depth: If you need to drill to a specific depth, use the depth stop feature on the drill guide or measure the depth with a ruler. This will help you achieve consistent hole depths.
- Clean up: After drilling, clean up any debris or dust from the drilling area. This will help prevent any interference when working on your project or when using the drill guide for subsequent holes.
Using a drill guide for precision drilling can make a significant difference in the outcome of your projects. By following these tips and practicing proper technique, you can achieve accurate and professional results every time.
Safely Handle and Store Your Drill
1. Wear Protective Gear
Before using your drill, make sure to put on appropriate protective gear such as safety glasses and ear protection. This will help prevent any accidental injuries.
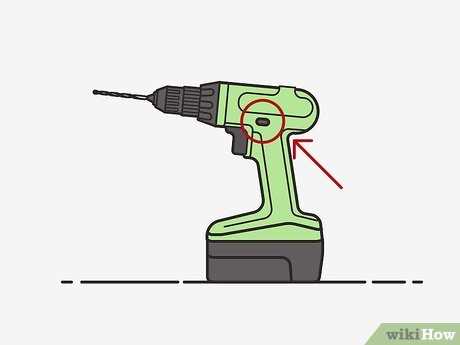
2. Familiarize Yourself with the Drill
Read the user manual that comes with your drill to understand its features, settings, and safety instructions. Familiarize yourself with the different buttons and switches, and always follow the manufacturer’s recommendations.
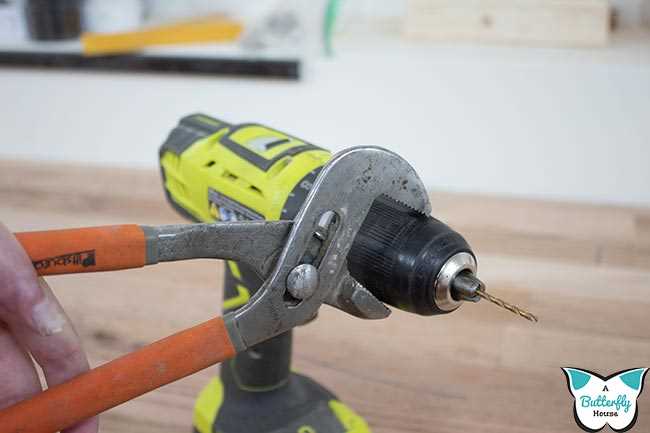
3. Use the Correct Drill Bits
Using the wrong drill bit for a specific task can cause the drill to become unstable and potentially lead to accidents. Make sure to use the appropriate drill bit for the material you are drilling into.
4. Secure the Workpiece
Always secure the workpiece properly before drilling. This will help prevent it from moving or spinning unexpectedly, reducing the risk of accidents. Use clamps or a vise when necessary.
5. Maintain a Stable Position
When drilling, maintain a stable position by standing with your feet shoulder-width apart and keeping a firm grip on the drill. This will help you maintain control and balance throughout the drilling process.
6. Keep A Clean Work Area
Before drilling, ensure that your work area is clean and free from any obstructions. This will help prevent accidents and ensure that you have a clear path for drilling.
7. Store the Drill Properly
After using your drill, make sure to store it in a dry and secure location. Keep it away from children and ensure that it is stored in a way that prevents it from falling or being damaged.
8. Regular Maintenance
Regularly clean and inspect your drill for any damage or wear. Replace any worn or damaged parts promptly. Keeping your drill in good condition will not only help ensure safe operation but also extend its lifespan.
9. Unplug the Drill
When not in use, unplug the drill from the power source. This will help prevent accidental starts and keep the drill in a safe state.
10. Seek Professional Help
If you encounter any issues or problems with your drill, do not attempt to fix it yourself unless you are qualified to do so. Seek professional help or consult the manufacturer for assistance.
By following these safety guidelines and properly handling and storing your drill, you can ensure safe and efficient use for all your drilling needs.
Drilling Safety Tips: Protect Yourself and Your Work Area
1. Wear Protective Gear
Before you start drilling, make sure to wear appropriate protective gear. This includes safety goggles to protect your eyes from flying debris, gloves to protect your hands from sharp edges, and a dust mask to prevent inhaling harmful dust particles.
2. Choose the Right Drill Bit
Using the correct drill bit is crucial for both your safety and the quality of your work. Make sure to select a drill bit that is suitable for the material you are drilling into. Different materials require different drill bits, so check the manufacturer’s recommendations or seek professional advice if you are unsure.
3. Inspect the Work Area
Prior to drilling, carefully inspect the work area and remove any potential hazards. Clear away clutter, ensure that the surface is clean and stable, and identify any hidden obstacles or live wires that could pose a danger.
4. Secure the Workpiece
Secure the workpiece firmly in place using clamps or a vice to prevent it from moving or spinning during drilling. This will help maintain control over the drill and reduce the risk of accidents or damage to the workpiece.
5. Use Proper Technique
When drilling, it is important to use proper technique to minimize the risk of injury. Hold the drill with a firm grip and maintain a stable stance. Apply consistent pressure without forcing the drill, and allow the drill bit to do the work. Avoid excessive tilting or angling of the drill, as this can cause the bit to bind or break.
6. Take Breaks and Stay Hydrated
Drilling can be physically demanding, so it is important to take regular breaks to rest and hydrate. Fatigue can impair your concentration and lead to accidents. Listen to your body and give yourself time to recover if needed.
7. Clean Up Properly
After you have finished drilling, always clean up your work area properly. Clear away any debris and return tools to their designated places. This will help prevent accidents and ensure a safe and organized workspace for future projects.
8. Seek Professional Help if Needed
If you are unfamiliar with drilling techniques or have limited experience, it is best to seek professional help. Don’t hesitate to consult a knowledgeable expert who can guide you through the process and ensure your safety.
| Gear | Purpose |
|---|---|
| Safety goggles | Protects eyes from flying debris |
| Gloves | Protects hands from sharp edges |
| Dust mask | Prevents inhalation of harmful dust particles |
FAQ:
What are the basic drilling techniques?
The basic drilling techniques include the following: center drilling, spot drilling, peck drilling, and drilling to a specific depth.
What is center drilling?
Center drilling is the process of creating a small, centered hole in a workpiece to serve as a starting point for a larger drill bit.
When is spot drilling used?
Spot drilling is used to create a small indentation on the surface of a workpiece to guide the drill bit and prevent it from wandering.
What is peck drilling?
Peck drilling is a technique in which the drill bit is repeatedly lifted and lowered while drilling to help clear the chips and prevent the drill bit from overheating.
How can I drill to a specific depth?
To drill to a specific depth, you can use a depth stop or set the depth on your drilling machine.
Video:


Meet Harrison Clayton, a distinguished author and home remodeling enthusiast whose expertise in the realm of renovation is second to none. With a passion for transforming houses into inviting homes, Harrison's writing at https://thehuts-eastbourne.co.uk/ brings a breath of fresh inspiration to the world of home improvement. Whether you're looking to revamp a small corner of your abode or embark on a complete home transformation, Harrison's articles provide the essential expertise and creative flair to turn your visions into reality. So, dive into the captivating world of home remodeling with Harrison Clayton and unlock the full potential of your living space with every word he writes.


