How to Attach Objects to a Concrete Wall Without a Drill

Attaching objects to a concrete wall can be a daunting task, especially if you don’t have a drill. Whether you want to hang a picture frame or install a shelf, there are several methods that can help you securely attach objects to a concrete wall without the need for power tools.
One method is using adhesive hooks or strips. These hooks are designed to stick to surfaces without damaging them, making them a great option for concrete walls. Simply clean the wall surface, peel off the backing of the adhesive hook, and press it firmly against the wall. Make sure to follow the instructions on the packaging for weight limitations and proper installation.
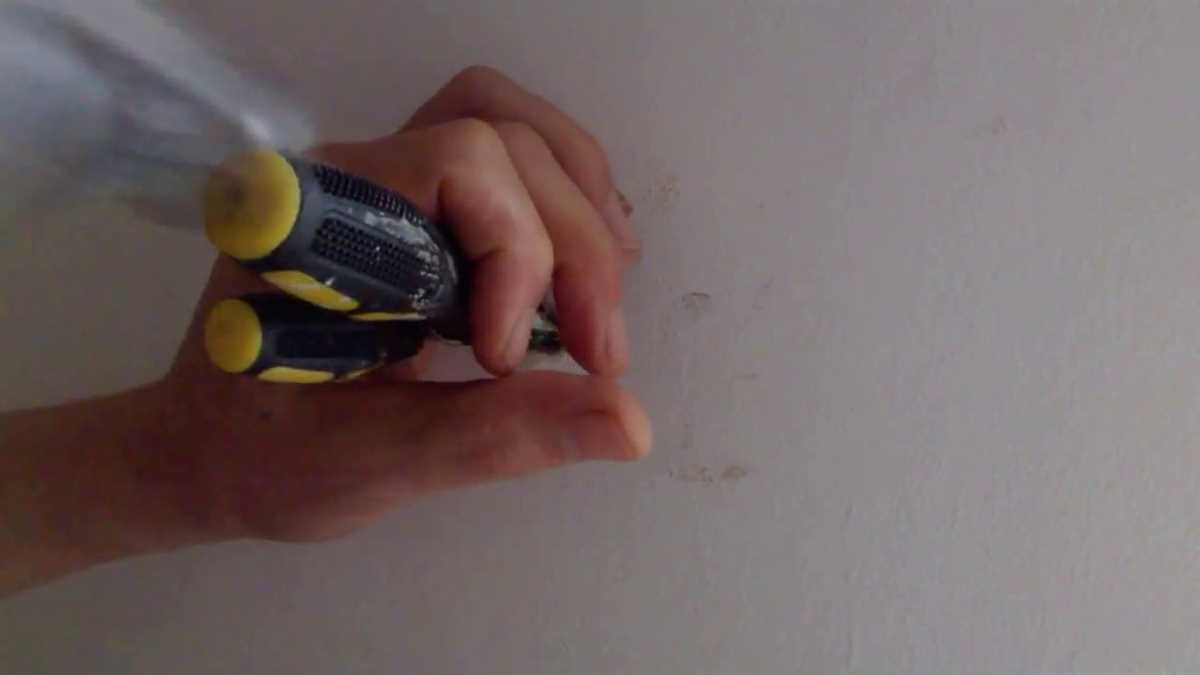
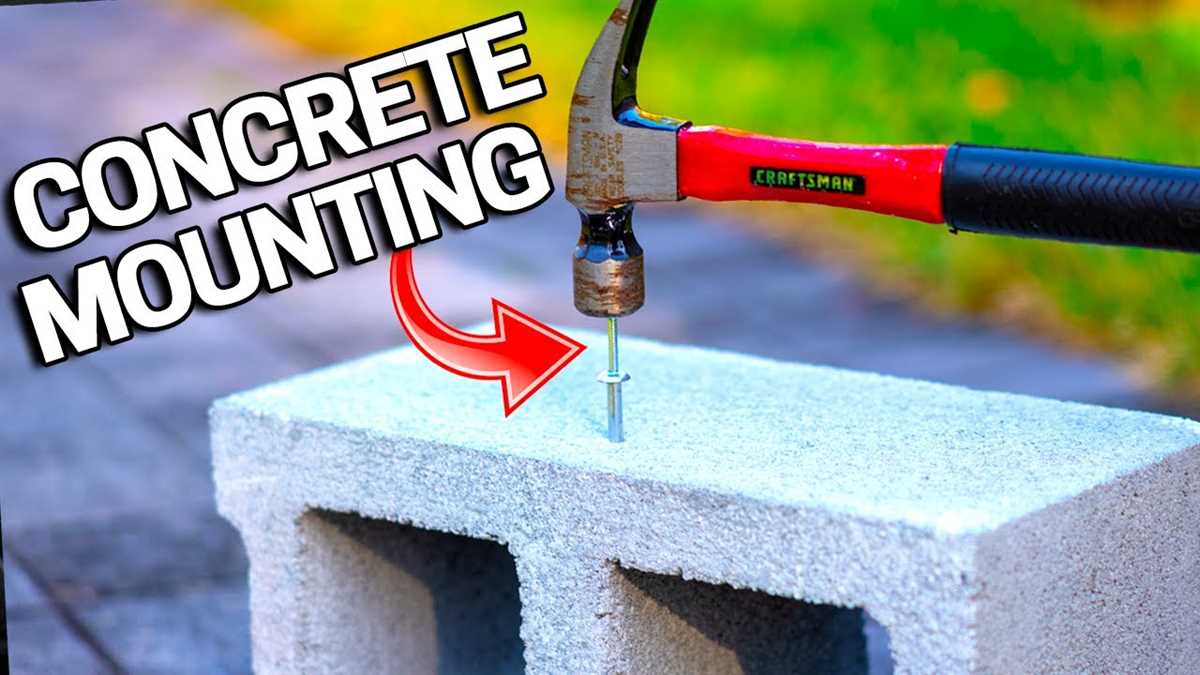
Another option is using concrete anchors. These anchors are specifically designed for use in concrete walls and are available in various sizes and types. To install a concrete anchor, you will need a hammer and a masonry bit. First, mark the desired location on the wall and drill a hole using the masonry bit. Once the hole is drilled, insert the concrete anchor and tap it gently with a hammer until it is flush with the surface of the wall.
If you’re unable to use adhesive hooks or concrete anchors, you can also consider using a picture rail system. This system involves installing a metal or wooden rail near the top of the wall, which allows you to hang objects using picture wires and hooks. To install a picture rail, you will need a level, screws, and a screwdriver. Simply measure and mark the desired location for the rail, attach it to the wall using screws, and make sure it is level before hanging your objects.
Remember, when attaching objects to a concrete wall without a drill, it’s important to consider the weight and size of the object. Make sure to use the appropriate method for your specific needs and always follow the manufacturer’s instructions for installation. With these methods, you can confidently hang or install objects on your concrete walls without the need for a drill.
Choosing the Right Adhesive for your Concrete Wall
When it comes to attaching objects to a concrete wall without a drill, using the right adhesive is crucial. The adhesive you choose should be strong enough to hold the weight of the object and durable enough to withstand various weather conditions.

Consider the Type of Object
Before selecting an adhesive, consider the type of object you want to attach to the concrete wall. Different adhesives are designed for different materials. For example, if you want to attach wooden shelves, a construction adhesive specifically formulated for wood may be your best choice. On the other hand, if you want to hang a heavy mirror, an adhesive that works well with glass and mirrors would be more suitable.
Look for Strength and Durability
Ensure that the adhesive you choose has the strength and durability to hold the weight of the object and withstand the conditions it will be exposed to. The packaging of the adhesive should provide information on weight limits, temperature resistance, and other relevant factors. Consider using an adhesive that is specifically designed for concrete surfaces, as these are likely to have the necessary strength and durability.
Consider the Installation Location
The location where you plan to attach the object to the concrete wall is also important. If it is an indoor location with controlled temperature and humidity, a regular construction adhesive may work fine. However, for outdoor or high-moisture locations, you may need to choose an adhesive that is designed to withstand these conditions. Look for adhesives that are labeled as weatherproof or waterproof for these scenarios.
Read Reviews and Recommendations
One way to ensure that you are choosing the right adhesive for your concrete wall is to read reviews and recommendations from other people who have used the adhesive for similar applications. Look for testimonials or product reviews online to get an idea of how well the adhesive has worked for others. This can give you more confidence in your choice.
Remember, it’s important to follow the instructions provided with the adhesive to ensure proper application and maximum effectiveness. If you are unsure about which adhesive to choose or how to apply it, consult with a professional or seek advice from a home improvement store.

Preparing the Surface for Attachment
Before attaching objects to a concrete wall without a drill, it is important to properly prepare the surface to ensure a strong and secure hold. By following these steps, you can ensure that the adhesive or mounting solution will adhere effectively to the concrete wall.
Clean the Surface
The first step in preparing the surface is to clean it thoroughly. Remove any dirt, dust, or debris from the wall using a broom or vacuum cleaner. Additionally, use a mild detergent and water solution to clean any stains or grease that may be present. Allow the wall to dry completely before proceeding to the next step.
Remove Loose Material
Inspect the concrete wall and remove any loose or crumbling material using a wire brush or scraper. This will ensure that the adhesive or mounting solution has a solid surface to bond to. Be sure to wear protective gloves and eyewear when removing loose material to prevent injury.
Repair Any Damage
If there are any cracks or holes in the concrete wall, it is important to repair them before attaching objects. Use a concrete patching compound to fill in any cracks or holes and smooth the surface using a trowel. Allow the compound to dry fully according to the manufacturer’s instructions before continuing.

Prime the Surface
Once the wall is clean and free of loose material, apply a concrete bonding primer to the surface. This primer will improve the adhesion of the adhesive or mounting solution to the concrete. Follow the manufacturer’s instructions for proper application, including drying time.
Test the Surface

Before attaching any objects, it is recommended to conduct a test on a small inconspicuous area of the concrete wall. Apply a small amount of adhesive or mounting solution and allow it to cure according to the manufacturer’s instructions. After the curing period, check the bond strength by trying to dislodge the test object gently. If the bond is strong, you can proceed with attaching the objects. If not, consider trying a different adhesive or mounting solution.
Conclusion

By properly preparing the surface of a concrete wall before attaching objects without a drill, you can ensure a secure and long-lasting hold. Cleaning the surface, removing loose material, repairing any damage, priming the surface, and conducting a test are all essential steps in preparing the wall. Following these steps will help you attach objects to a concrete wall effectively and safely.
Using Adhesive Hooks for Lightweight Objects
If you have lightweight objects that need to be attached to a concrete wall and you don’t want to use a drill, adhesive hooks can be a great alternative. Adhesive hooks are easy to use, and they can hold up a variety of lightweight items securely. Here’s how you can attach objects to a concrete wall using adhesive hooks:
- Choose the right adhesive hook: Before starting, make sure you select adhesive hooks that are suitable for attaching to concrete walls. Look for hooks that are specifically designed for use on this type of surface.
- Clean the wall: It’s important to clean the wall surface thoroughly before attaching the adhesive hooks. Use a solution of warm water and mild detergent to remove any dirt or dust. Dry the wall completely before proceeding.
- Prepare the adhesive: Most adhesive hooks come with an adhesive strip already attached. However, for better adhesion, you can use additional adhesive tape or double-sided adhesive pads. Cut the tape or pads into smaller pieces that fit the back of the hook. Remove the backing from the adhesive strips or pads.
- Position the hooks: Determine the desired location for your hooks on the concrete wall. Press the adhesive side of the hooks firmly against the wall, making sure they are level and properly aligned. Apply pressure for a few seconds to ensure a strong bond.
- Let it set: Allow the adhesive to set for the recommended time suggested by the manufacturer. This will usually be a few hours or overnight.
- Hang lightweight objects: Once the adhesive is fully set, you can hang your lightweight objects on the hooks. Make sure not to exceed the weight limit specified by the manufacturer.
Adhesive hooks are a quick and convenient solution for attaching lightweight objects to a concrete wall. They can be easily removed without leaving any damage or residue behind. Just follow these steps and enjoy the benefits of having your objects securely mounted on your concrete wall.
Installing Wall Anchors for Medium-weight Objects
When you need to hang medium-weight objects on a concrete wall without a drill, using wall anchors is a great option. Wall anchors provide stability and support for objects such as mirrors, shelves, or small artworks. Here’s a step-by-step guide to installing wall anchors for medium-weight objects:

- Choose the right wall anchor: There are various types of wall anchors available, including plastic anchors, metal anchors, and toggle bolts. Consider the weight and type of the object you want to hang, and choose an anchor that can support its weight.
- Prepare the wall: Clean the area where you want to install the wall anchor, removing any dust or debris. This will ensure a secure installation.
- Mark the spot: Use a pencil or marker to mark the spot on the wall where you want to install the wall anchor. Make sure it is level and at the desired height.
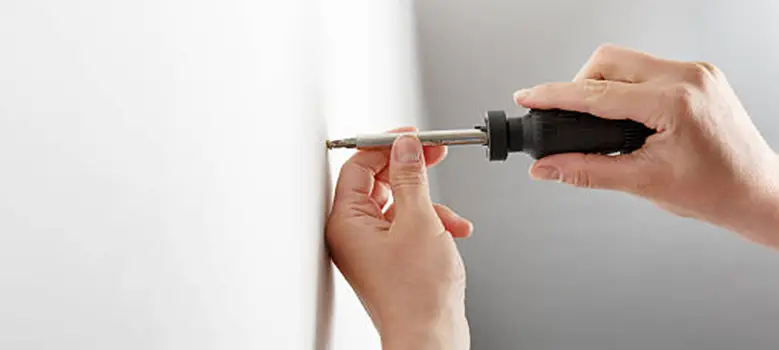
- Drill a pilot hole: While you don’t need a drill for the wall anchor itself, you may need a drill to create a pilot hole. Use a masonry drill bit that is slightly smaller than the diameter of the wall anchor. Drill the pilot hole to the depth recommended by the anchor manufacturer.
- Insert the wall anchor: Insert the wall anchor into the pilot hole. If you’re using a plastic anchor, tap it gently with a hammer until it is flush with the wall. If you’re using a metal anchor or toggle bolt, follow the specific instructions provided by the manufacturer.
- Attach the object: Once the wall anchor is securely in place, you can attach your medium-weight object. Follow the instructions included with the object to ensure proper installation.
- Test for stability: Give the object a gentle tug to make sure it is secure. If it feels loose, you may need to use a different type of wall anchor or consult a professional for assistance.
By following these steps, you can successfully install wall anchors for medium-weight objects on a concrete wall without a drill. Remember to always consider the weight and type of object you want to hang, and choose the appropriate wall anchor accordingly.
Mounting Shelf Brackets Without a Drill
If you want to mount shelf brackets on a concrete wall but don’t have access to a drill, there are still several options available to you. While drilling is the most secure method, these alternative methods can be effective for lighter shelves or temporary installations.
Option 1: Adhesive Strips
One option is to use adhesive strips to attach the shelf brackets to the wall. Make sure to clean the wall surface with rubbing alcohol before applying the adhesive strips for better adhesion. Attach one side of the adhesive strip to the back of the bracket and the other side to the wall. Press firmly and hold in place for a few seconds. This method is best suited for lightweight shelves and is not recommended for heavy items.
Option 2: Brick Clips
If your concrete wall has a brick texture, you can use brick clips to mount the shelf brackets. Brick clips are specially designed clips that attach to the mortar joints between the bricks. Simply place the clip over the mortar joint, insert the shelf bracket into the clip, and tighten the screws to secure it in place. This method is relatively easy to install and allows for quick removal if needed.
Option 3: Wall Anchors
Another option for mounting shelf brackets on a concrete wall without drilling is to use wall anchors. Wall anchors are small plastic or metal inserts that provide more grip in the wall surface. To use wall anchors, first, mark the position on the wall where you want to mount the brackets. Then, drill a small hole just big enough to fit the anchor. Insert the anchor into the hole and tap it gently until it is flush with the wall. Finally, screw the bracket into the anchor. This method provides a more secure hold and is suitable for heavier shelves.
Option 4: Command Hooks

If you prefer a non-permanent solution, you can use adhesive Command Hooks to mount lightweight shelves. Choose hooks that can support the weight of your shelf. Clean the surface of the wall with rubbing alcohol, then attach the hooks according to the instructions provided. Once the hooks are in place, hang the shelf brackets on them. Keep in mind that Command Hooks may not be as sturdy as other methods and are best suited for temporary or decorative shelving.
Before choosing any of these options, consider the weight and size of the shelves you plan to install. It’s important to select a method that can safely support the weight of the shelves and their contents. If you have any doubts, it’s always best to consult a professional or use a drill for a more secure installation.
Hanging Pictures and Artwork with Adhesive Strips
If you are looking for a quick and easy way to hang pictures and artwork on a concrete wall without using a drill, adhesive strips can be a great solution. Adhesive strips are a simple and effective method for attaching lightweight objects to the wall. They are easy to use, leave no mess or damage, and can be removed without leaving any residue.
Materials Needed:
- Adhesive picture hanging strips
- Clean cloth or alcohol wipe
- Level
Step 1: Prepare the Wall and the Picture Frame
- Ensure that the surface of the concrete wall is clean and free from dust or debris. Use a clean cloth or alcohol wipe to wipe the area where the adhesive strips will be applied.
- If the picture frame has a hanging wire or sawtooth hanger, remove it as adhesive strips work best when directly applied to the frame.
Step 2: Apply the Adhesive Strips
- Measure the width and height of the picture frame, and mark the desired hanging position on the wall with a pencil.
- Take one adhesive strip and separate the two sides. Apply one side to the back of the picture frame, and the other side to the marked position on the wall.
- Press firmly on both sides of the adhesive strip for about 30 seconds to ensure a secure bond.
- Repeat this process for the remaining corners and sides of the picture frame, using as many adhesive strips as necessary to securely hold the weight of the frame.
Step 3: Check for Level
Use a level to ensure that the picture frame is hanging straight on the wall. Make any necessary adjustments by gently sliding the frame up or down.
Step 4: Test the Adhesion
Wait for at least an hour before hanging any artwork or pictures on the adhesive strips. This will allow the adhesive to fully bond with the wall and provide maximum strength. Once the wait time has passed, gently pull downwards on the picture frame to test the adhesion. If it feels secure, you can proceed to hang your artwork. If it feels loose, reapply the adhesive strips or consider using additional strips for added support.
Note: Adhesive strips may not be suitable for heavy or large picture frames as they are designed for lightweight objects. Always check the weight limit and instructions provided by the manufacturer.
Step 5: Hang the Artwork
- Attach any wires, hooks, or hanging hardware to the back of your artwork, if necessary.
- Align the hardware with the hanging position on the wall and gently press to secure it onto the adhesive strip.
- Step back and admire your beautifully hung artwork!
Using adhesive strips to hang pictures and artwork on a concrete wall without a drill is an easy and convenient alternative. With proper preparation and care, you can achieve a secure and damage-free display of your favorite pieces.
Securing Heavy Objects with Epoxy Putty
Epoxy putty is a versatile adhesive that can be used to secure heavy objects to a concrete wall. It provides a strong bond and is resistant to moisture and temperature changes, making it ideal for outdoor applications. Here are the steps to attach heavy objects to a concrete wall with epoxy putty:
Materials Needed:
- Epoxy putty
- Heavy objects
- Cleaning solution (optional)
- Sandpaper (optional)
- Paint (optional)
Instructions:
- Clean the surface of the concrete wall where you will be attaching the heavy object. You can use a cleaning solution to remove any dirt, grease, or loose particles. If the surface is rough, you may want to sand it down to create a smooth and even base.
- If desired, you can apply a coat of paint to the wall to improve the aesthetics.
- Prepare the epoxy putty according to the manufacturer’s instructions. This usually involves mixing equal parts of the epoxy resin and hardener until they are thoroughly combined.
- Apply the epoxy putty to the back of the heavy object. Make sure to spread it evenly and cover the entire surface that will be in contact with the wall.
- Press the heavy object firmly against the concrete wall. Hold it in place for a few minutes to allow the epoxy putty to set.
- Leave the heavy object undisturbed for the recommended curing time specified by the epoxy putty manufacturer. This can vary depending on the brand and type of putty used.
- Once the epoxy putty has fully cured, the heavy object should be securely attached to the concrete wall. Test the stability by gently applying pressure or giving it a slight tug.
Tips:
- Always follow the instructions provided by the epoxy putty manufacturer for the best results.
- Make sure the heavy object is evenly distributed and does not put excessive stress on any one area of the concrete wall.
- If you need to remove the heavy object in the future, you can use a putty knife or scraper to carefully pry it off the concrete wall. However, this may damage the surface, so consider using alternative attachment methods if you anticipate the need for removal.
By using epoxy putty to secure heavy objects to a concrete wall, you can avoid the need for drilling and still achieve a strong and reliable attachment. This method is particularly useful for situations where drilling is not feasible or desirable, such as in rented properties or on walls with delicate finishes.
Hanging Mirrors and Bathroom Fixtures with Adhesive Tape
Attaching mirrors and bathroom fixtures to a concrete wall can be challenging without the use of a drill. However, adhesive tape offers a convenient and damage-free solution. Here are some steps to follow:
- Clean the wall surface: Before attaching anything to the concrete wall, it is important to clean the surface thoroughly. Use a mild detergent and warm water to remove any dirt, grease, or dust. Dry the area completely before proceeding.
- Choose the right adhesive tape: When it comes to hanging heavy objects like mirrors or bathroom fixtures, it is essential to use a strong adhesive tape. Look for products specifically designed for mounting heavy items onto walls. These tapes are usually highly adhesive and have a high weight-bearing capacity.
- Measure and mark the placement: Use a measuring tape and a pencil to mark the desired placement of the mirror or fixture on the wall. Take into consideration the height and the symmetry of the object to ensure a visually pleasing installation.
- Apply the adhesive tape: Cut the adhesive tape into strips that match the length of the object you are hanging. Peel off the backing of the tape and press it firmly onto the back of the mirror or fixture. Make sure to apply the tape evenly and avoid any gaps.
- Position and press: Carefully position the mirror or fixture against the wall, aligning it with the marked placement. Press the object firmly against the wall to ensure a strong bond between the adhesive tape and the concrete surface.
- Hold and wait: Hold the mirror or fixture against the wall for a few minutes to allow the adhesive tape to set properly. Follow the manufacturer’s instructions for the recommended amount of time required for the tape to fully bond.
- Test and secure: Once the adhesive tape has set, gently tug on the mirror or fixture to test its stability. If it feels secure, you can proceed with attaching any additional components, such as brackets or hooks, to provide extra support if needed.
Using adhesive tape to hang mirrors and bathroom fixtures on a concrete wall is a simple and effective method. It eliminates the need for drilling and prevents any potential damage to the wall surface. However, it is important to ensure that the adhesive tape you choose is strong enough to securely hold the weight of the object. Always follow the manufacturer’s instructions for the specific product you are using to achieve the best results.
FAQ:
What are some alternative methods for attaching objects to a concrete wall without using a drill?
There are several alternative methods for attaching objects to a concrete wall without using a drill. One option is to use adhesive hooks or strips, which can be easily stuck onto the wall and removed without leaving any damage. Another option is to use adhesive putty, which can hold lightweight objects in place. Additionally, you can use a heavy-duty adhesive such as epoxy or construction adhesive to attach objects to the wall.
Can I use double-sided tape to attach objects to a concrete wall?
Yes, you can use double-sided tape to attach lightweight objects to a concrete wall. It is important to use a strong and heavy-duty double-sided tape that is specifically designed for use on concrete surfaces. Make sure to clean the wall thoroughly before applying the tape to ensure proper adhesion. Additionally, keep in mind that double-sided tape may not be suitable for attaching heavy or bulky objects to a concrete wall.
Are there any drawbacks to using adhesive hooks or strips to attach objects to a concrete wall?
While adhesive hooks or strips can be a convenient option for attaching objects to a concrete wall without a drill, there are a few drawbacks to consider. Firstly, adhesive hooks or strips may not be as strong as drilling and using screws, so they may not be suitable for holding heavy or bulky objects. Additionally, the adhesive may not stick well to all types of concrete surfaces, so it is important to follow the manufacturer’s instructions and test the adhesive on a small area of the wall before attaching the object.
What is the best method for attaching heavy objects to a concrete wall without a drill?
When attaching heavy objects to a concrete wall without a drill, one of the best methods is to use a heavy-duty adhesive such as epoxy or construction adhesive. These strong adhesives can provide a secure hold for heavy objects. It is important to clean the wall thoroughly and follow the adhesive manufacturer’s instructions for proper application. Additionally, it may be helpful to use other supporting methods such as brackets or anchors to ensure the object stays securely in place.
Video:


Meet Harrison Clayton, a distinguished author and home remodeling enthusiast whose expertise in the realm of renovation is second to none. With a passion for transforming houses into inviting homes, Harrison's writing at https://thehuts-eastbourne.co.uk/ brings a breath of fresh inspiration to the world of home improvement. Whether you're looking to revamp a small corner of your abode or embark on a complete home transformation, Harrison's articles provide the essential expertise and creative flair to turn your visions into reality. So, dive into the captivating world of home remodeling with Harrison Clayton and unlock the full potential of your living space with every word he writes.


