How to Attach a Socket to a Drill: Step-by-Step Guide
Attaching a socket to a drill can be a useful skill when working on various projects, from home repairs to automotive maintenance. With the right tools and technique, you can easily transform your drill into a powerful tool capable of handling different fasteners.
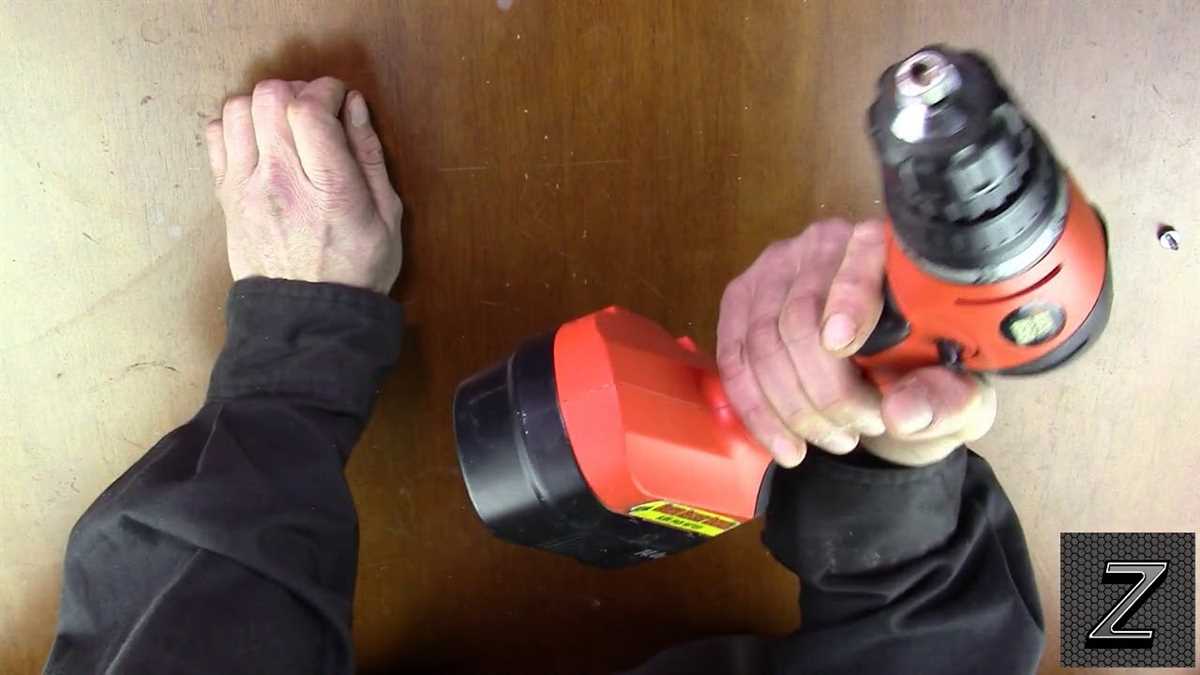
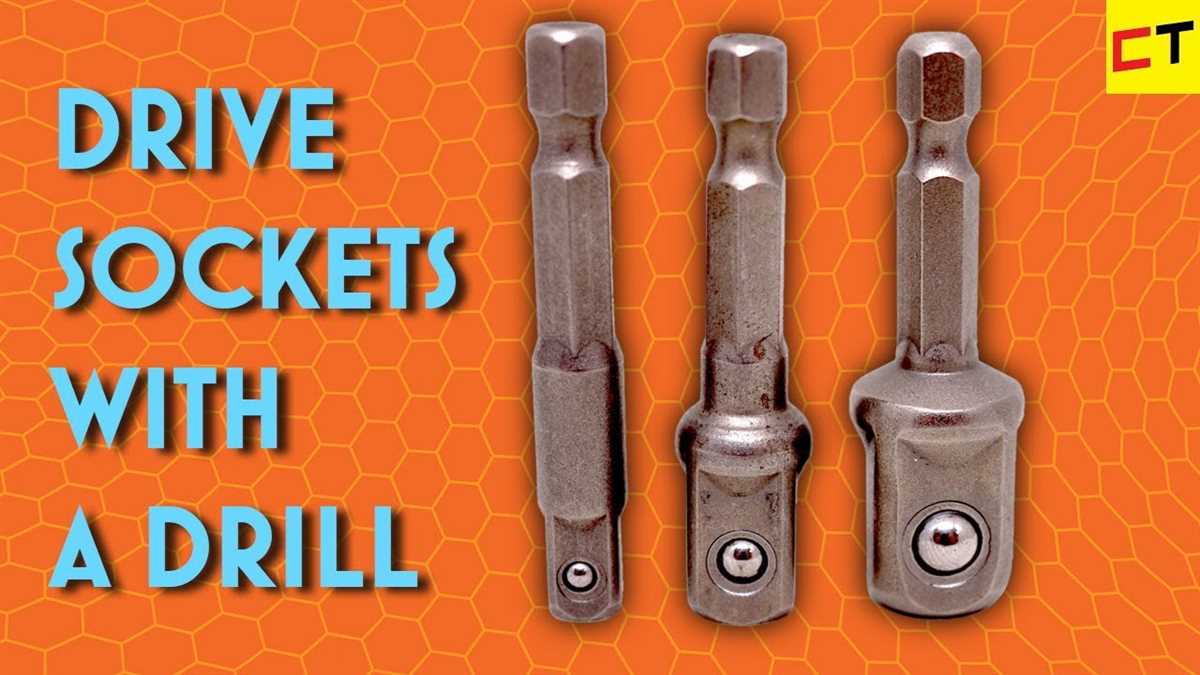
Step 1: Gather the necessary materials. You will need a drill, a socket, and an adapter that matches the size of your socket. The adapter is crucial as it allows the socket to securely attach to the drill.
Step 2: Ensure the drill is turned off and unplugged before starting. Safety should always be a priority when working with power tools.
Step 3: Identify the chuck on your drill. The chuck is the part of the drill that holds the tool, and it usually consists of two or three jaws that can be tightened or loosened. Check whether your drill has a keyless or keyed chuck.
Step 4: If your drill has a keyless chuck, simply open the jaws by rotating the chuck counterclockwise. This allows you to insert the adapter into the chuck.

Step 5: Once the adapter is securely in the chuck, tighten the jaws by rotating the chuck clockwise. Make sure the adapter is firmly locked in place to prevent any accidents during use.
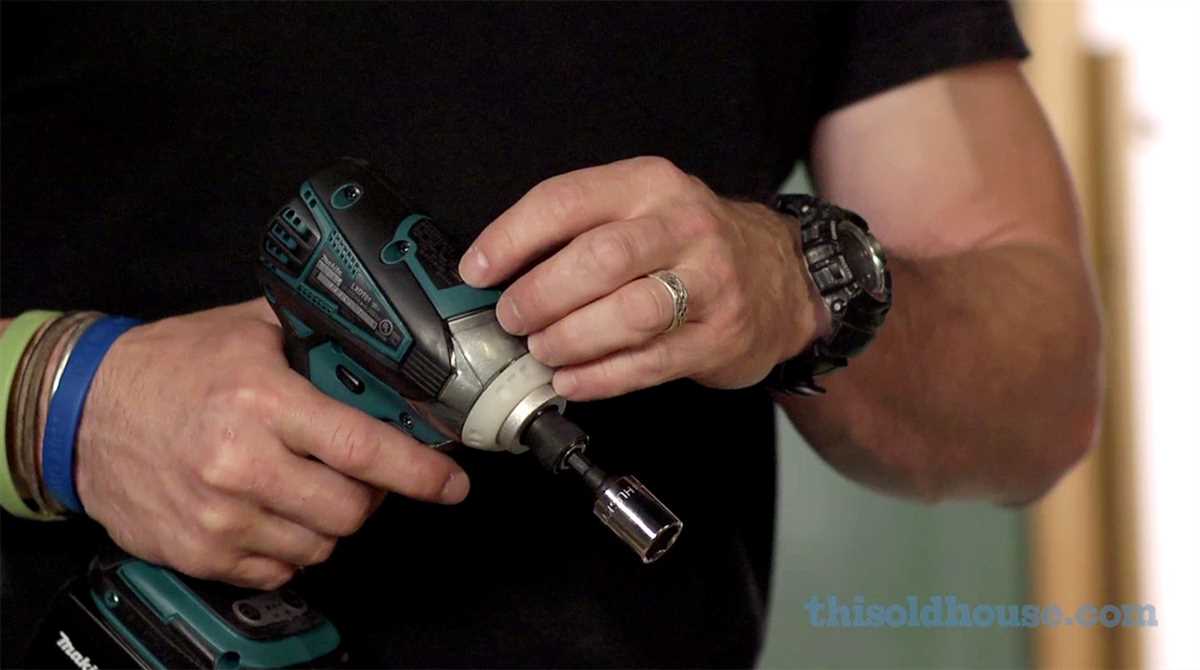
Step 6: Take your socket and slide it onto the end of the adapter until it fits securely. The socket should lock into place and be ready for use.
Step 7: Test the connection by gently trying to pull the socket off the adapter. If it remains secure, you are ready to use the drill with your socket.
Remember to always follow safety guidelines and wear protective gear when operating power tools. A drill with a socket attachment can be a versatile tool, but it should be used responsibly and with caution.
With this step-by-step guide, you can easily attach a socket to a drill and expand the capabilities of your tool. Whether you’re looking to remove or tighten fasteners, having a socket attachment can make your projects easier and more efficient.
Choosing the Right Socket Size
When attaching a socket to a drill, it’s important to choose the right socket size for the job. Using the wrong size socket can result in poor tool performance, damage to the socket or drill, and even injury. Here are some steps to help you choose the correct socket size:

- Identify the fastener: Before selecting a socket, determine the size and type of the fastener you will be working with. Common fasteners include bolts, nuts, and screws. Knowing the fastener type will help you choose the appropriate socket size.
- Measure the fastener: Once you have identified the fastener, use a measuring tool such as a caliper or a ruler to measure the diameter of the fastener head or nut. This will give you the necessary information to select the right socket size.
- Consult a socket size chart: Socket size charts are widely available online and provide a comprehensive list of socket sizes based on fastener measurements. These charts typically provide the socket size in both metric and imperial units.
- Consider the application: In addition to the fastener size, consider the specific application for which you will be using the socket. For example, if you are working on a vehicle, you may require sockets with specific dimensions that are suitable for automotive purposes.
- Acquire a socket set: To ensure you have the right socket size for any situation, it’s recommended to acquire a socket set that includes a range of sizes. This will allow you to have a variety of sockets on hand to handle different fasteners.
Remember, selecting the correct socket size is crucial for the safety and effectiveness of your drilling tasks. Always double-check the socket size before attaching it to your drill to avoid any mishaps.
Preparing the Drill
Gather the Required Materials
Before you can attach a socket to a drill, you will need to gather the following materials:
- A drill
- A socket adapter
- A socket set
- A screwdriver
- Optional: lubricating oil
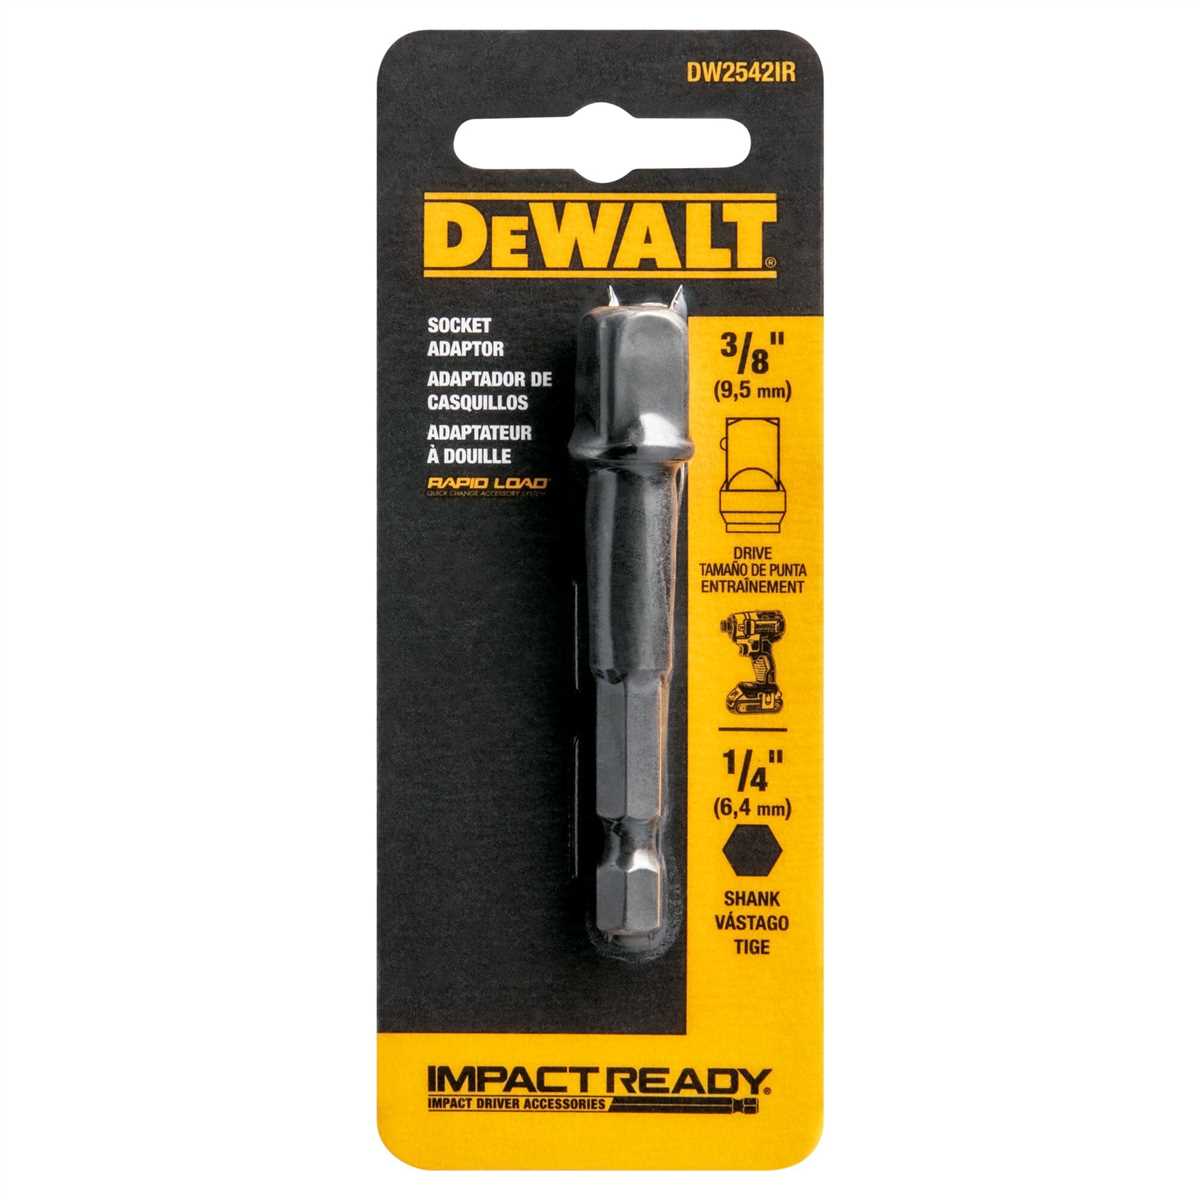
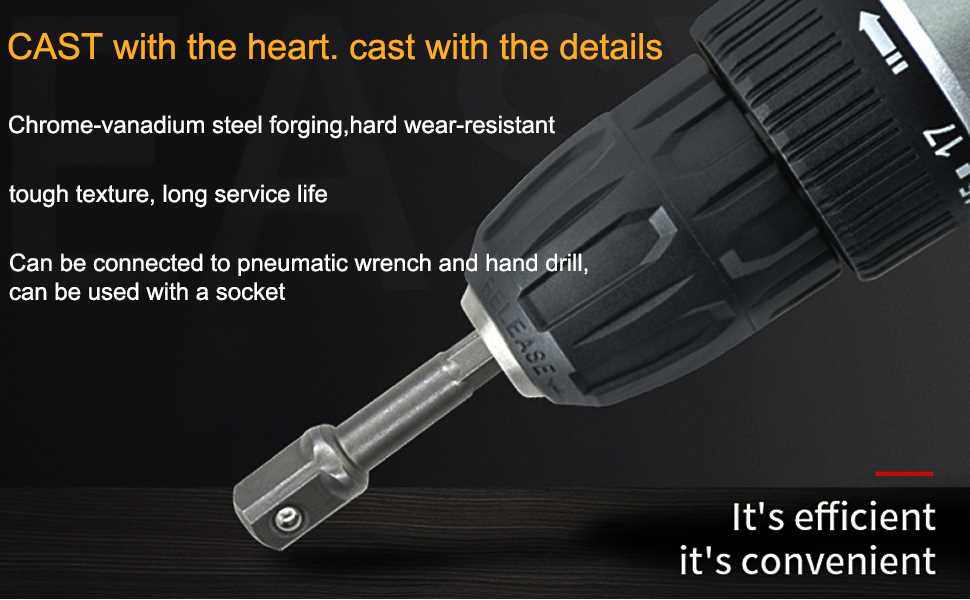
Choose the Right Socket Adapter
The first step in preparing the drill is to choose the right socket adapter. The adapter should be compatible with both your drill and the socket set you plan to use. Check the size and shape of the adapter to ensure it will fit securely in your drill’s chuck.
Inspect the Drill Chuck
Next, inspect the drill chuck to ensure it is clean and free from debris. If the chuck is dirty or has any obstructions, use a screwdriver or other small tool to remove any debris.
Apply Lubricating Oil (Optional)
If the drill chuck feels stiff or difficult to turn, you may want to apply a small amount of lubricating oil. Use a cloth or paper towel to apply a thin layer of oil to the chuck, then open and close it several times to distribute the oil evenly.

Secure the Socket Adapter
Finally, insert the socket adapter into the chuck of the drill and tighten it securely. Use a screwdriver or your hand to tighten the chuck, making sure the adapter is held firmly in place.
Attaching the Socket
Attaching the socket to a drill is a simple process that can be done in a few easy steps:
- Ensure that your drill is turned off and unplugged before attaching the socket. Safety should always be a top priority.
- Identify the chuck on your drill. The chuck is the part of the drill that holds the socket.
- Insert the socket onto the chuck. Make sure that it fits securely and is aligned properly.
- Once the socket is in place, tighten the chuck to secure the socket. This is typically done by turning the chuck clockwise with your hand or using a chuck key if your drill has one.
- After tightening the chuck, give the socket a slight tug to make sure it is securely attached. It should not come off easily.
- Once you have confirmed that the socket is securely attached, you can now proceed to use the drill with the socket for your desired task.
It is important to note that different drills may have slightly different procedures for attaching sockets. Always refer to the manufacturer’s instructions for your specific drill model.
Remember to always use caution when working with power tools and never attempt to attach or detach a socket while the drill is on or plugged in.

Securing the Socket
Once you have selected the correct socket size for your drill, it’s important to ensure that the socket is securely attached to the drill to prevent any accidents or injuries. Follow these steps to properly secure the socket:
- Hold the drill securely in one hand, making sure to keep a firm grip on the handle.
- Insert the shank of the socket into the chuck of the drill. Make sure it is straight and properly aligned.
- Tighten the chuck by turning it clockwise. Use your other hand to hold the drill steady while tightening.
- Continue to tighten the chuck until it is secure and the socket is firmly in place. Make sure there is no play or movement in the socket.
- If your drill has a keyless chuck, simply hold the drill firmly and rotate the chuck clockwise until the socket is securely attached.
It’s important to regularly check the tightness of the socket throughout your drilling tasks. If you notice any looseness or movement, stop using the drill and re-tighten the socket before continuing.
Remember to always follow the manufacturer’s instructions and safety guidelines when using power tools. Failure to securely attach the socket to the drill can result in the socket coming loose during operation, causing damage to the drill or potential injury to yourself or others.
Testing the Connection
Once you have attached the socket to the drill, it is important to test the connection to ensure that it is secure. Testing the connection will also help identify any issues or problems before starting to use the drill.
Step 1: Inspection
Begin by visually inspecting the attachment. Check to make sure that the socket is properly aligned with the drill and that the connection is tight and secure. Look for any signs of damage or wear that could compromise the connection.

Step 2: Physical Test
Next, perform a physical test of the connection. Hold the drill securely and firmly grasp the attached socket. Apply gentle pressure and try to wiggle or rotate the socket. A properly attached socket should not move or come loose. If the socket feels loose or unstable, it may not be securely attached.
Step 3: Functional Test
To further test the connection, turn on the drill and run it at a low speed. While the drill is running, gently apply pressure to the socket. Observe if there are any abnormal sounds, vibrations, or movements. A stable and secure connection should result in smooth operation without any unusual noises or wobbling.
Step 4: Safety Check
Lastly, make sure to check any safety mechanisms or features of the drill. Ensure that the drill is properly locked or engaged to prevent accidental starts. Double-check any safety switches or guards to ensure they are functioning correctly.
By performing these tests, you can verify the connection between the socket and drill, ensuring the safety and reliability of your equipment. If any issues are identified during the testing process, do not use the drill and socket until the problem has been resolved.
Removing the Socket
To remove the socket from the drill, follow these steps:
- Power off the drill and make sure it is unplugged from the power source.
- Locate the socket release button, usually positioned near the base of the drill.
- Depress the release button and hold it down while gently pulling the socket away from the drill.
- If the socket is stuck, you may need to wiggle it slightly to loosen it from the drill.
- Once the socket is detached, check for any debris or build-up that may have accumulated inside the socket or on the drill’s chuck.
- Clean the socket and chuck thoroughly if necessary, using a soft cloth or compressed air.
- Inspect the socket and chuck for any signs of wear or damage, such as cracks or stripped threads. Replace them if needed.
Removing the socket from your drill is an essential step before attaching a different drill bit or accessory. Always ensure that the drill is powered off and unplugged before attempting to remove the socket to avoid any accidents or injuries.
Cleaning and Maintenance
Proper cleaning and maintenance of your socket and drill are essential to ensure their longevity and optimal performance. Here are some important steps to follow:
1. Regular Cleaning
- After each use, make sure to clean the socket and drill with a soft cloth or brush to remove any dust, debris, or residue.
- Wipe down the exterior surfaces of the tools to keep them free from dirt and grime.
- Use a mild detergent or cleaning solution when necessary to remove stubborn stains or grease.
2. Lubrication
- Apply a small amount of lubricating oil or silicone spray to the moving parts of the socket and drill.
- Ensure that the lubricant reaches all the parts that require it, such as gears, bearings, and hinges.
- Regular lubrication helps reduce friction, prevents wear and tear, and prolongs the life of your tools.
3. Inspection
- Regularly inspect the socket and drill for any signs of damage, wear, or loose parts.
- Tighten any loose screws or bolts to maintain the stability and functionality of the tools.
- If you notice any cracks, breaks, or other major damage, discontinue use and replace the affected parts or the entire tool if necessary.
4. Storage
- Always store your socket and drill in a clean and dry environment.
- Keep them away from moisture, extreme temperatures, and direct sunlight, as these can cause damage.
- Use proper storage cases or racks to protect the tools from dust, impact, and other potential hazards.
5. Follow Manufacturer’s Instructions
Finally, it is crucial to follow the specific cleaning and maintenance instructions provided by the manufacturer for your socket and drill. Different models may have unique requirements, and adhering to these guidelines will help ensure your tools remain in good working condition.
| Task | Frequency |
|---|---|
| Cleaning | After each use |
| Lubrication | Every few months |
| Inspection | Regularly |
| Storage | After each use |
By following these cleaning and maintenance practices, you can ensure that your socket and drill remain in excellent condition, allowing you to carry out your tasks efficiently and safely.
Safety Precautions
Before you begin attaching a socket to a drill, it is important to take certain safety precautions to ensure your well-being. Failure to follow these precautions can result in accidents and injuries.
1. Wear Proper Safety Gear
Always wear appropriate safety gear when working with power tools, including a drill. This should include safety goggles to protect your eyes from flying debris, gloves to protect your hands, and ear protection if necessary.
2. Use the Right Socket Size
Make sure you are using the correct socket size for the drill you are using. Using the wrong socket size can cause the socket to slip off the drill, leading to potential injuries.
3. Check for Damaged Sockets
Before attaching a socket to a drill, inspect it for any signs of damage, such as cracks or chips. Using a damaged socket can put you at risk of injury, as it may not securely attach to the drill.
4. Ensure the Drill is Turned Off
Before attaching or removing a socket, always ensure that the drill is turned off and unplugged. This will prevent any accidental starts or movements that could cause harm.
5. Securely Fasten the Socket
When attaching a socket to the drill, make sure it is securely fastened and locked in place. A loose socket can come off during operation, potentially causing injury to yourself or others nearby.
6. Avoid Loose Clothing and Jewelry
When operating a drill, avoid wearing loose clothing or jewelry that could get caught in the drill or socket. These items can pose a serious safety hazard.
7. Keep a Firm Grip
Always maintain a firm grip on the drill and socket while in use. This will give you more control and reduce the risk of accidents caused by the tool slipping or becoming unsteady.
8. Work in a Well-Ventilated Area
When using a drill to attach a socket, make sure you are working in a well-ventilated area. This will help prevent the inhalation of any fumes or dust that may be produced during the drilling process.
9. Follow Manufacturer’s Instructions
Lastly, always refer to the manufacturer’s instructions and guidelines for your specific drill and socket. They will provide important information on proper usage and safety precautions specific to your tools.
FAQ:
How do I know which socket size to choose?
To choose the right socket size, you need to match it with the size of the bolt or nut you are working with. Measure the diameter of the bolt or nut and compare it to the sizes marked on the sockets. Choose the socket that closely matches the size of the bolt or nut. If in doubt, it’s better to go slightly larger than smaller to avoid damaging the fastener.
Can I attach any socket to any drill?
No, you cannot attach any socket to any drill. The socket needs to have a square drive that matches the square drive of the drill. Most drills have a 3/8-inch or ½-inch square drive, but there are also drills with different sizes. Make sure the square drives of the socket and the drill are compatible before attempting to attach them.
Is it necessary to use an extension bar to attach a socket to a drill?
It is not always necessary to use an extension bar to attach a socket to a drill, especially if the socket size is small and the bolt or nut is easily accessible. However, in some cases, an extension bar may be required to reach bolts or nuts in tight or hard-to-reach areas. The extension bar provides extra length and makes it easier to attach the socket.
What should I do if the socket does not click into place on the drill?
If the socket does not click into place on the drill, make sure that the square drive of the socket and the square drive of the drill are aligned properly. Double-check that the socket size matches the size of the bolt or nut you are working with. If everything appears to be in order and the socket still does not click into place, it is possible that the drill’s square drive is worn or damaged, in which case you may need to replace the drill or have it repaired.
Video:


Meet Harrison Clayton, a distinguished author and home remodeling enthusiast whose expertise in the realm of renovation is second to none. With a passion for transforming houses into inviting homes, Harrison's writing at https://thehuts-eastbourne.co.uk/ brings a breath of fresh inspiration to the world of home improvement. Whether you're looking to revamp a small corner of your abode or embark on a complete home transformation, Harrison's articles provide the essential expertise and creative flair to turn your visions into reality. So, dive into the captivating world of home remodeling with Harrison Clayton and unlock the full potential of your living space with every word he writes.


