Fixing a Drilled Hole That’s Too Big: Tips and Solutions

Drilling holes is a common task for many DIY projects, but occasionally things don’t go as planned and you end up with a hole that’s too big. Whether you’re working with wood, drywall, or another material, there are several solutions to fix a hole that’s larger than intended.
One option is to use a plug or filler to fill the hole: If the hole is just slightly too big, you may be able to fill it with a plug made from the same material as the item you’re working with. For example, if you drilled a hole in a wooden surface that’s too big, you can create a wooden plug to fit in the hole. Simply apply wood glue to the plug and insert it into the hole, then sand the surface smooth once the glue dries. If you’re working with drywall, you can use joint compound or spackle to fill the hole, then sand it down once it dries.
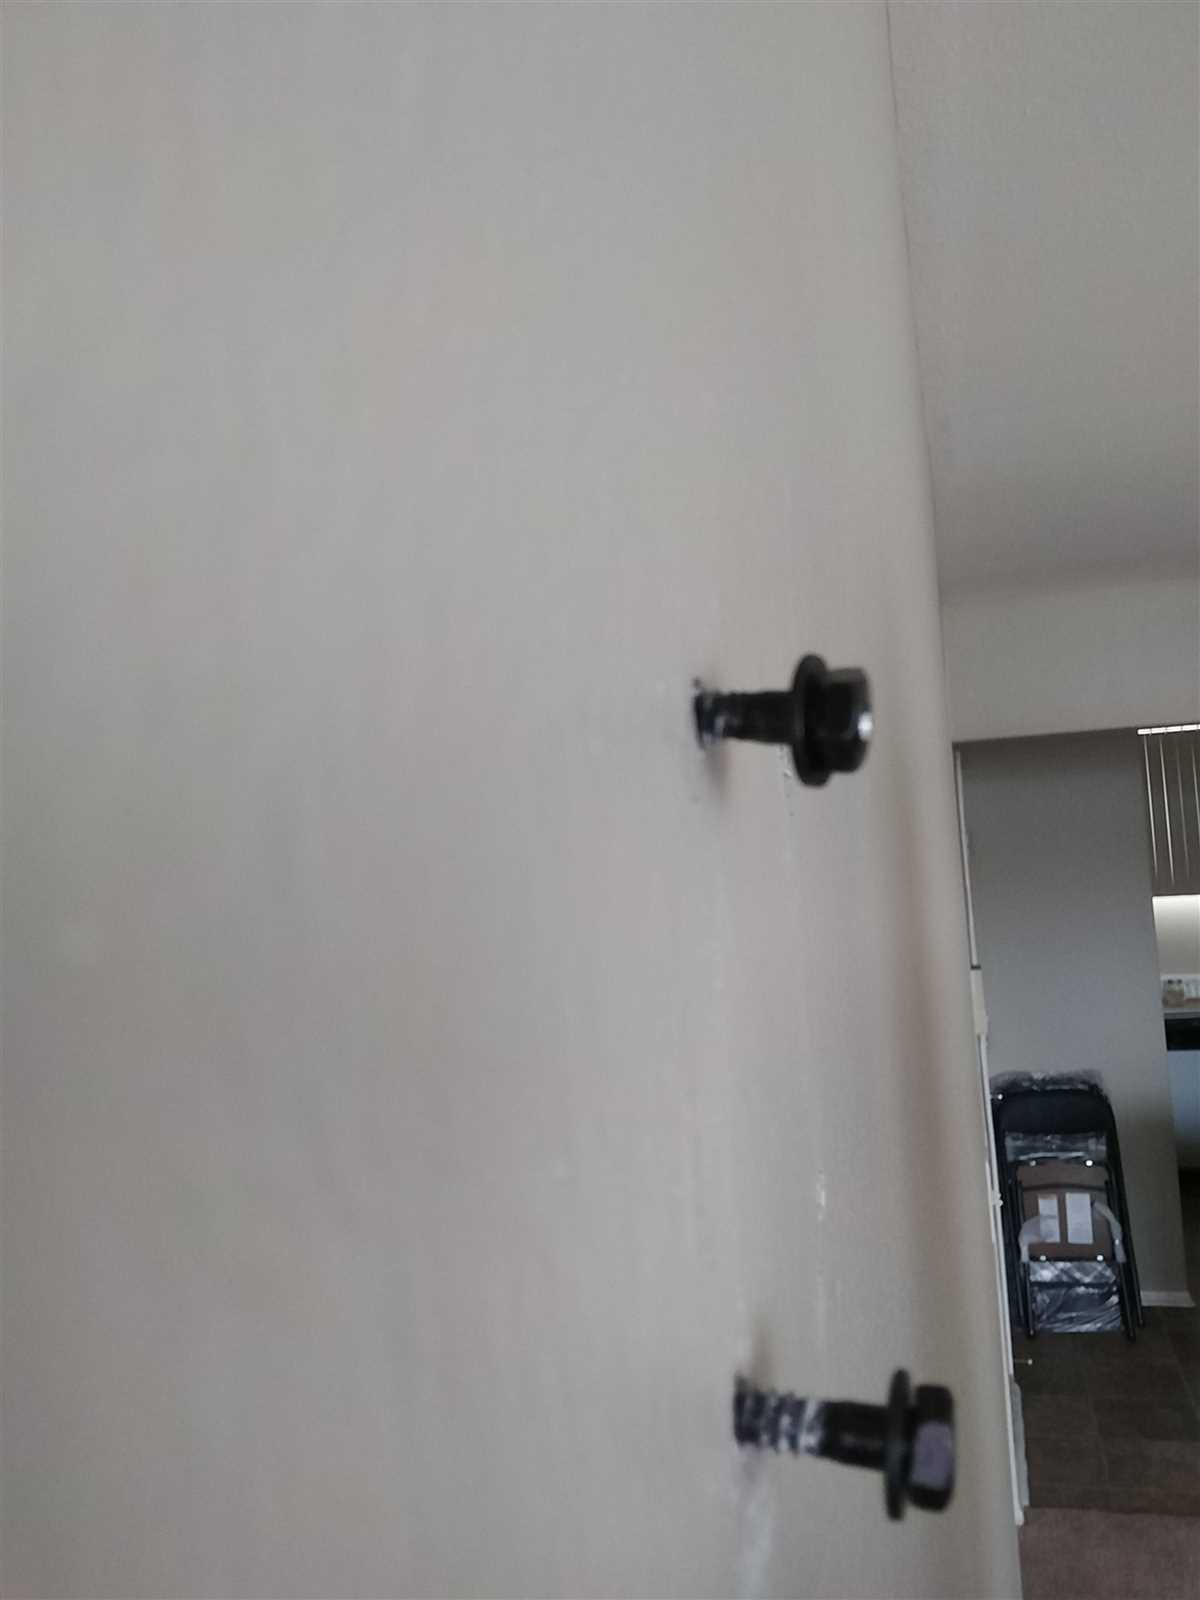
Another option is to use a shim or washer to make the hole smaller: If the hole is significantly larger than intended, you may need to use a shim or washer to reduce the size of the hole. This method is particularly useful for fixing holes in doors or cabinets where the size of the hole needs to be precise. To use this method, simply insert the shim or washer into the hole, then screw or nail the item you’re working with back into place. The shim or washer will fill the excess space and provide a secure fit.
Alternatively, you can use a larger anchor or screw to secure the item:
If the hole is too big to effectively use a plug, filler, or shim, you may need to use a larger anchor or screw to secure the item in place. This method is often used for fixing holes in walls when hanging heavy objects, such as shelves or mirrors. Simply drill a new hole next to the original one, insert a larger anchor, then screw the item into place. The larger anchor will provide a stronger hold and prevent the item from coming loose.
Regardless of the method you choose, it’s important to take your time and be patient when fixing a drilled hole that’s too big. With the right tools and techniques, you can easily repair the hole and achieve professional-quality results. Remember to measure twice and drill once to avoid this issue in the future!

Assess the Damage
Before you can start fixing a drilled hole that’s too big, it’s important to assess the damage and understand the extent of the problem. Here are some steps to follow:
- Measure the hole: Use a measuring tape or ruler to get the exact dimensions of the hole. This will help you determine the method and materials needed for the repair.
- Inspect the surrounding area: Check for any damage around the hole, such as cracks or splintered wood. Take note of these issues as they may need to be addressed before fixing the hole itself.
- Identify the material: Determine what material the hole is in, as different materials may require different repair methods. Common materials include wood, drywall, and metal.
By assessing the damage, you’ll be able to plan an effective repair strategy and gather the necessary tools and materials for the job.
Choose the Right Fixing Material
When it comes to fixing a drilled hole that’s too big, choosing the right fixing material is crucial. The material you use can determine the success of your repair and the longevity of the fix. Here are some options to consider:
Wood Filler
If the hole is in a wooden surface, wood filler can be a good option. Wood filler is a putty-like substance that can be molded and shaped to fill the hole. Once it dries, it can be sanded down to create a smooth and seamless surface. Wood filler is available in different colors to match the existing wood, making it blend in seamlessly.
Wooden Plug

For larger holes in wooden surfaces, using a wooden plug can provide a strong and durable fix. A wooden plug is essentially a wooden dowel that is cut to the size of the hole and glued in place. The plug is then sanded down to create a smooth finish. This method works well for holes that need to support weight or are in a highly visible area.
Anchor and Screw
If the hole is in a wall or another non-wooden surface, using an anchor and screw can be an effective solution. Anchors provide support and stability to the screw, making it possible to securely fasten items to the wall. Make sure to choose an anchor and screw that are appropriate for the weight and size of the item you are hanging.
Patching Compound
If the hole is in a drywall or plaster surface, using a patching compound can be a quick and easy fix. Patching compound is a thick paste that can be applied over the hole and smoothed out with a putty knife. Once dry, it can be sanded down and painted to match the surrounding area. This method works well for small to medium-sized holes.
Epoxy Resin
For holes in any material, epoxy resin can provide a strong and long-lasting fix. Epoxy resin is a two-part adhesive that, when mixed together, creates a strong bond. It can be used to fill the hole and once dry, it can be sanded down to create a smooth finish. Epoxy resin is versatile and can be used on various surfaces, including wood, metal, and plastic.
Summary
Choosing the right fixing material is essential when repairing a drilled hole that’s too big. Consider the type of material the hole is in, the size of the hole, and the desired result. Whether it’s wood filler, a wooden plug, an anchor and screw, patching compound, or epoxy resin, selecting the appropriate fixing material will ensure a successful repair.

Measure and Cut the Filling Piece
Once you have determined the size of the filling piece needed to fix the drilled hole that is too big, it is time to measure and cut the piece accordingly.
Materials needed:
- Tape measure or ruler
- Pencil or marker
- Wood or other suitable filler material
- Saw or other cutting tool
- Sandpaper or file
Step 1: Measure the Hole
Using a tape measure or ruler, measure the width and depth of the drilled hole. Make sure to measure the widest part of the hole to ensure a tight fit for the filling piece.
Step 2: Mark the Filling Piece
Transfer the measurements onto the filler material using a pencil or marker. Take into account any additional material needed for a snug fit.
Step 3: Cut the Filling Piece

Using a saw or other appropriate cutting tool, carefully cut along the marked lines to create the filling piece. Take your time to ensure a clean and accurate cut.
Step 4: Sand or File the Filling Piece
After cutting, use sandpaper or a file to smooth the edges of the filling piece. This will ensure a seamless blend with the surrounding surface when it is inserted into the drilled hole.
Note: Be sure to wear appropriate safety gear such as goggles and gloves when cutting and sanding the filling piece.
Once the filling piece has been measured, cut, and prepared, you are ready to proceed with the next steps of fixing the drilled hole that is too big.
Prepare the Hole
Before you can fix a drilled hole that’s too big, you need to prepare the hole for the repair. Here are some steps you can take:

1. Clean the Hole
Start by cleaning the hole thoroughly. Use a brush or compressed air to remove any debris or dust from the hole. This will ensure that the repair material adheres properly.
2. Measure the Size of the Hole
Next, measure the size of the hole so that you know how much material you will need for the repair. Use a tape measure or ruler to determine both the diameter and depth of the hole.
3. Gather the Necessary Materials
Once you know the size of the hole, gather the appropriate materials for the repair. This may include wood filler, epoxy, caulk, or another suitable filler. Make sure to choose a filler that is compatible with the material surrounding the hole.
4. Sand the Edges of the Hole
Before applying any filler, gently sand the edges of the hole to create a smooth surface. This will help the filler adhere better and blend in with the surrounding area.
5. Mask Off the Area
If necessary, mask off the surrounding area to protect it from any excess filler or paint. Use painter’s tape or masking paper to cover any adjacent surfaces that you want to keep clean.
By following these preparation steps, you will be ready to effectively fix a drilled hole that’s too big in no time. The preparation process is crucial for achieving a seamless and long-lasting repair.
Apply the Fixing Material
After preparing the hole and gathering the necessary materials, it’s time to apply the fixing material. The choice of material will depend on the size of the hole and the type of surface you are working with.
Wood Surfaces
If you are working with a wood surface, you can use a wooden dowel or a wooden plug to fix the hole. Measure the diameter of the hole and select a dowel or plug that is slightly larger. Apply wood glue to the dowel or plug and insert it into the hole, making sure it is flush with the surface. Allow the glue to dry completely before sanding and painting over the repaired area.
Drywall Surfaces
For drywall surfaces, you can use a drywall patch or joint compound to fix the hole. If the hole is small, such as a nail hole, you can use spackling paste. Apply the patch, compound, or paste to the hole, smoothing it out with a putty knife. Allow it to dry according to the manufacturer’s instructions, sand it down if necessary, and then paint over the repaired area.
Plaster Surfaces
If you are working with a plaster surface, you can use plaster patching compound to fix the hole. Apply the compound using a putty knife, filling the hole and smoothing it out. Allow it to dry completely before sanding and painting over the repaired area.
Other Surfaces
For other surfaces such as metal or plastic, you may need to use different types of fillers or repair kits specific to the material. Follow the instructions on the packaging to apply the fixing material correctly.
Once the fixing material has been applied and dried, it’s important to sand it down if necessary to ensure a smooth, even surface. This will make it easier to paint or conceal the repaired area to match the surrounding surface.
Remember to read and follow the instructions provided with the fixing material you are using, as different products may have specific application and drying requirements.
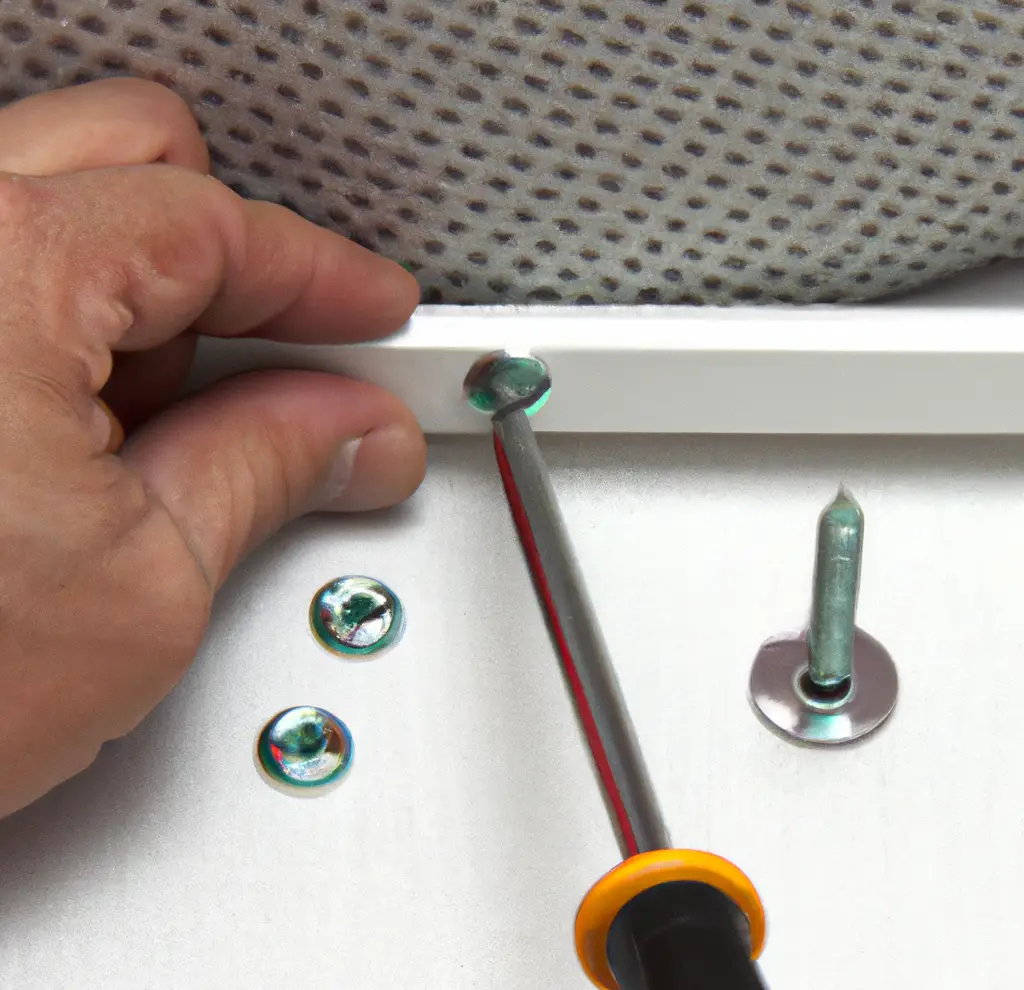
Insert and Secure the Filling Piece
After preparing the filling piece, it’s time to insert and secure it in the drilled hole that’s too big. Follow these steps:
Step 1: Apply Wood Glue
Apply a generous amount of wood glue to the edges of the filling piece. Make sure to coat all sides and corners of the piece.
Step 2: Insert the Piece
Insert the filling piece into the drilled hole, ensuring it fits snugly. Press it down firmly to ensure proper adhesion with the surrounding wood.
Step 3: Tap Gently
Using a hammer or mallet, tap the filling piece gently to ensure it is fully inserted and level with the surface of the wood. Be careful not to overdo this step, as it may cause damage to the surrounding area.
Step 4: Allow the Glue to Dry
Leave the glued filling piece to dry according to the instructions on the wood glue packaging. This may take several hours or overnight, depending on the specific glue used.
Step 5: Sand the Surface
Once the glue is completely dry, use sandpaper to smooth out the surface of the filled hole. Start with a coarse-grit sandpaper and gradually move to a finer grit until the surface is even and flush with the surrounding wood.
Step 6: Finish the Surface
If desired, you can finish the surface of the filled hole to match the rest of the wood. This may involve staining or painting the area, applying a wood filler or putty, and sanding again for a seamless finish.
By following these steps, you can effectively insert and secure a filling piece in a drilled hole that’s too big, restoring the integrity and appearance of the wood surface.
Sand and Smooth the Surface
Once you have filled the drilled hole and allowed the filler to dry, the next step is to sand and smooth the surface. This will help to ensure that the repaired area blends seamlessly with the surrounding wood.
Materials Needed
- Sandpaper
- Sanding block or sanding sponge
Instructions
- Begin by using a coarse-grit sandpaper to sand down the filled area. This will help to remove any excess filler and create a smooth surface.
- After sanding with the coarse-grit paper, switch to a finer-grit sandpaper to further smooth the surface. This will help to eliminate any roughness or visible filler lines.
- Make sure to sand the surrounding area as well, blending the edges of the filled hole with the rest of the wood.
- Use a sanding block or sanding sponge to maintain a flat and even surface. This will help to prevent any unevenness or gouges in the wood.
- Be sure to sand in the direction of the wood grain for the best results. Sanding against the grain can lead to visible scratches and damage to the wood.
- After sanding, wipe away any dust or debris with a clean cloth.
Once you have finished sanding and smoothing the surface, you can proceed with finishing and refinishing the wood as desired. This may involve staining, sealing, or painting the repaired area to match the surrounding wood.
Remember, sanding and smoothing the surface is an important step in fixing a drilled hole that’s too big. It helps to ensure a seamless repair and a professional-looking result.
Paint or Finish the Repaired Area
After successfully fixing a drilled hole that’s too big, the next step is to paint or finish the repaired area to ensure a seamless appearance and protect the surface.
Here are some tips and solutions for painting or finishing the repaired area:
1. Select the Right Paint or Finish
Choose a paint or finish that matches the surrounding area. Consider the type of material you are working with and the existing finish on the surface. If you are unsure, consult with a professional at a local hardware store.
2. Prepare the Surface
Before applying paint or finish, make sure the repaired area is clean and free of dust or debris. Use a dry cloth or brush to remove any loose particles. If there are any rough edges or uneven spots, sand them smooth with fine-grit sandpaper.
3. Prime, if Necessary
If you are painting over a repaired area that is different in color or texture from the surrounding area, it may be necessary to apply a primer. This will help the paint adhere and ensure an even finish.
4. Apply the Paint or Finish
Use a small brush or roller to carefully apply the paint or finish to the repaired area. Start with a thin coat, and allow it to dry completely before applying additional coats. Follow the manufacturer’s instructions for drying time.
5. Blend the Finish
If the repaired area is still slightly noticeable after painting or finishing, you can try blending the finish with the surrounding area. Use a feathering technique by lightly brushing or feathering the paint or finish from the repaired area into the surrounding surface.
6. Evaluate and Touch Up
Once the paint or finish is completely dry, step back and evaluate the repaired area. If necessary, touch up any areas that may need additional paint or finish. Take your time to ensure a seamless blend between the repaired area and the surrounding surface.
Following these tips and solutions will help you paint or finish a repaired area that was once a drilled hole that’s too big. With a little patience and attention to detail, your repaired area will be practically invisible.
FAQ:
What should I do if I accidentally drilled a hole that’s too big?
If you accidentally drilled a hole that’s too big, don’t worry! There are several solutions you can try to fix it. One option is to use a wooden dowel or toothpicks along with wood glue to fill the hole. Another solution is to use a plastic wall anchor or a toggle bolt to secure the object you’re mounting. You can also use a larger screw to fit the hole or use a wall plug. Overall, it’s important to choose a solution that best suits your needs and the type of material you’re working with.
What materials can I use to fix a drilled hole that’s too big?
There are several materials you can use to fix a drilled hole that’s too big. One common option is using a wooden dowel or toothpicks along with wood glue. This method works well for wood surfaces. For drywall or plaster walls, you can use a plastic wall anchor or a toggle bolt to secure the object you’re mounting. If you’re working with metal, you may need to use a larger screw to fit the hole or use a wall plug. It’s important to consider the type of material you’re working with and choose the appropriate solution accordingly.
Can I fix a drilled hole that’s too big without using any additional materials?
If you don’t have any additional materials on hand, there are still some solutions you can try to fix a drilled hole that’s too big. One option is to use toothpicks or wooden matchsticks along with wood glue to fill the hole. Another solution is to insert a larger screw into the hole, which can help secure the object you’re mounting. However, keep in mind that these solutions may not be as effective or long-lasting as using dedicated materials such as wooden dowels or wall anchors. It’s always best to use the appropriate materials for the job if possible.
Video:


Meet Harrison Clayton, a distinguished author and home remodeling enthusiast whose expertise in the realm of renovation is second to none. With a passion for transforming houses into inviting homes, Harrison's writing at https://thehuts-eastbourne.co.uk/ brings a breath of fresh inspiration to the world of home improvement. Whether you're looking to revamp a small corner of your abode or embark on a complete home transformation, Harrison's articles provide the essential expertise and creative flair to turn your visions into reality. So, dive into the captivating world of home remodeling with Harrison Clayton and unlock the full potential of your living space with every word he writes.


