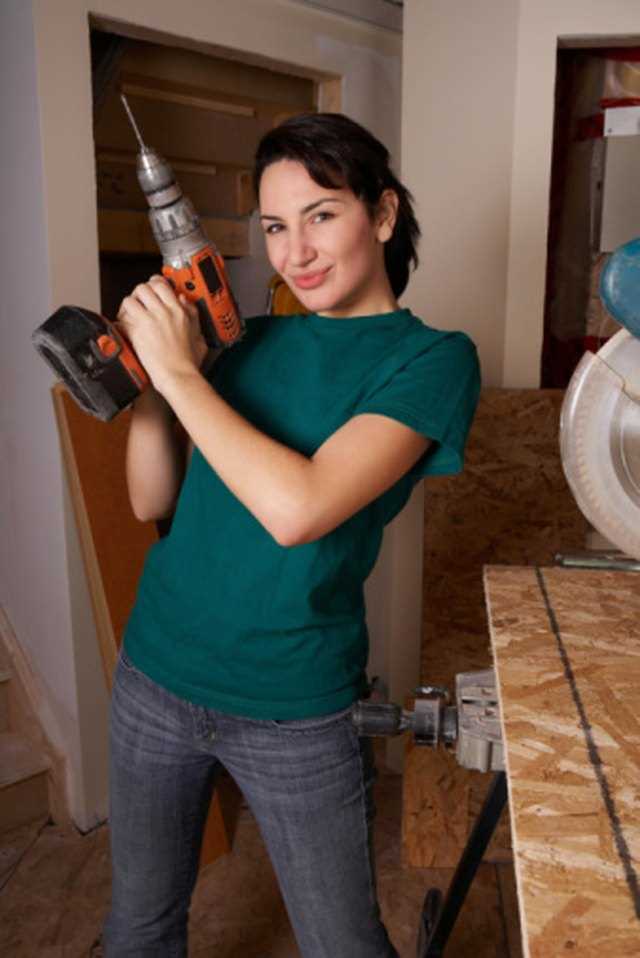
Expert tips for drilling into plaster and brick

Drilling into plaster and brick requires careful planning and precision to avoid damaging your walls and achieving the desired result. Whether you’re installing shelves, hanging pictures, or mounting a TV, here are some expert tips to help you drill into plaster and brick like a pro.
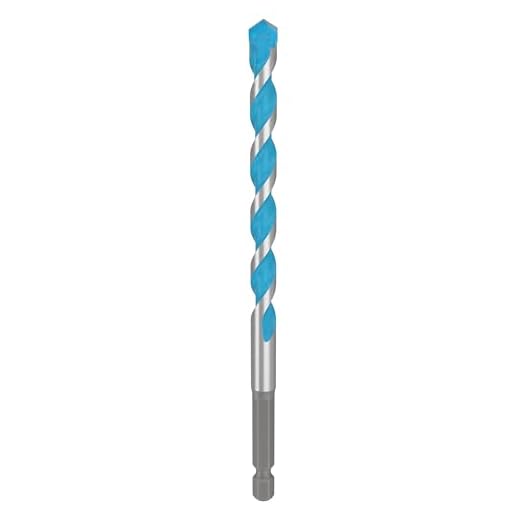
1. Choose the right drill bit
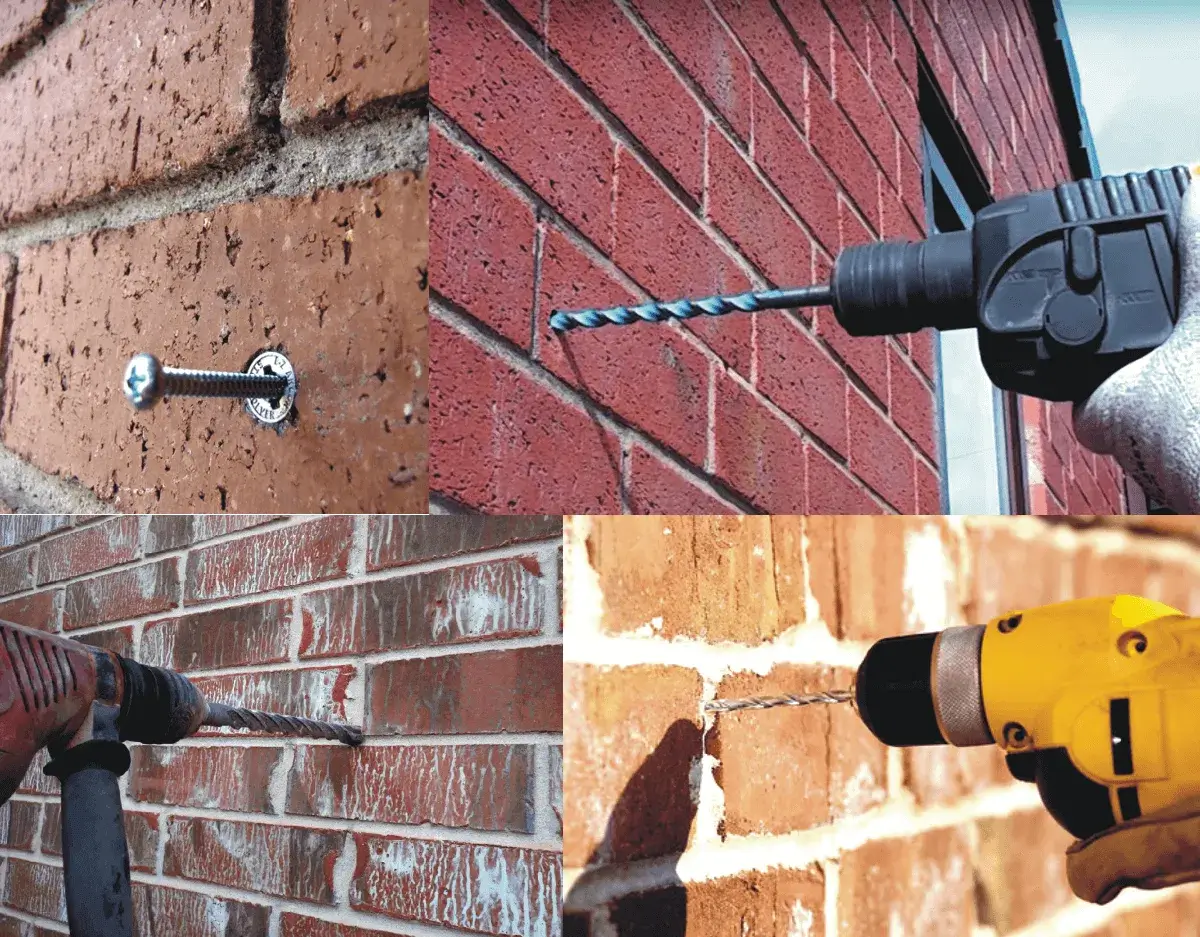
When drilling into plaster, it’s important to use a specialized drill bit that is designed for the material. A carbide-tipped or diamond-tipped masonry bit is ideal for drilling into hard surfaces like brick. These bits are durable and can easily penetrate the surface without causing cracks or chips.
Tip: Before drilling, make sure to inspect the area for any electrical wires or plumbing pipes. Use a stud finder to locate studs and avoid drilling into them.
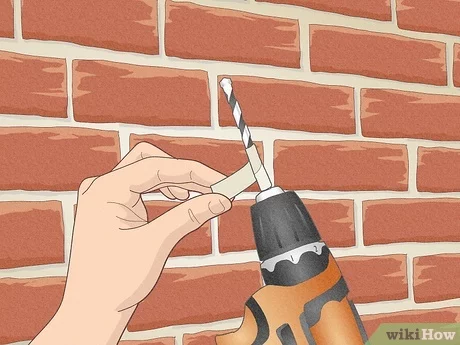
2. Mark the drilling spot
Before you start drilling, it’s essential to mark the drilling spot with a pencil or masking tape. This will help ensure that you drill in the right location and at the correct angle. Measure and mark the spot with precision to achieve accurate results.
Tip: If you’re drilling into plaster, avoid drilling near the edges, as these areas are more prone to cracking. Instead, aim for the center of the wall where it’s stronger and less likely to cause damage.
3. Start with a pilot hole
For both plaster and brick, it’s recommended to start with a pilot hole before drilling the full-sized hole. This will help guide the drill bit and prevent it from slipping or wandering off course. Use a smaller drill bit for the pilot hole and then gradually increase the size as needed.
Tip: When drilling into brick, use a hammer drill for better efficiency. This type of drill provides a hammering action that makes it easier to penetrate the hard surface.

4. Use proper drilling technique
When drilling into plaster, apply gentle force and avoid excessive pressure, as this can cause cracks and damage. For brick, however, you can be more aggressive with the drilling process. Keep the drill steady and use a slow to medium speed to maintain control.
Tip: To prevent the drill bit from overheating and to prolong its lifespan, periodically stop and withdraw it to clear away any debris.
5. Use anchors or wall plugs
Finally, if you’re drilling into plaster or brick to hang heavy objects, it’s essential to use anchors or wall plugs. These devices provide additional support and prevent the screws or nails from pulling out of the wall. Choose anchors or wall plugs that are suitable for the weight and size of the object you’re hanging.

Tip: Use a hammer to gently tap the anchor or wall plug into the drilled hole until it is flush with the surface. This will ensure a secure fit.
By following these expert tips, you can confidently drill into plaster and brick without causing damage to your walls and achieve professional-looking results.
Expert Tips for Drilling into Plaster and Brick
1. Choose the right drill bit
When drilling into plaster and brick, it’s important to choose the right drill bit for the job. For plaster, a masonry drill bit is recommended, while for brick, a carbide-tipped masonry drill bit is more effective.
2. Mark the drilling spot
Before drilling into plaster or brick, it’s helpful to mark the spot where you want to drill. This will ensure that you drill in the correct location and prevent any unnecessary damage to the surface.
3. Use a pilot hole

When drilling into plaster or brick, it’s a good idea to start with a small pilot hole. This will help guide the drill bit and prevent it from slipping or wandering off course. Once the pilot hole is made, you can then use a larger drill bit for the desired size hole.
4. Start with a slow speed
When drilling into plaster or brick, it’s best to start with a slow speed on your drill. This will give you more control and prevent the drill bit from overheating or causing any damage to the surface. Once you have started the hole, you can then increase the speed if necessary.
5. Use steady and even pressure
When drilling into plaster or brick, it’s important to apply steady and even pressure. This will help prevent the drill bit from getting stuck or causing any cracks in the surface. Avoid applying too much force, as this can lead to damage.
6. Clean the hole afterwards
After drilling into plaster or brick, it’s a good idea to clean out the hole. This can be done by blowing away any dust or debris with compressed air or using a vacuum cleaner. This will ensure that the hole is clean and ready for any further work or installation.
7. Wear protective gear
When drilling into plaster or brick, it’s important to wear appropriate protective gear. This includes safety glasses to protect your eyes from flying debris, as well as a dust mask to prevent inhalation of any dust or particles.

8. Seek professional help if needed
If you are unsure about drilling into plaster or brick, it’s best to seek professional help. They will have the expertise and tools necessary to complete the job safely and efficiently.
By following these expert tips, you can drill into plaster and brick with confidence and precision, achieving the desired results without causing any unnecessary damage.
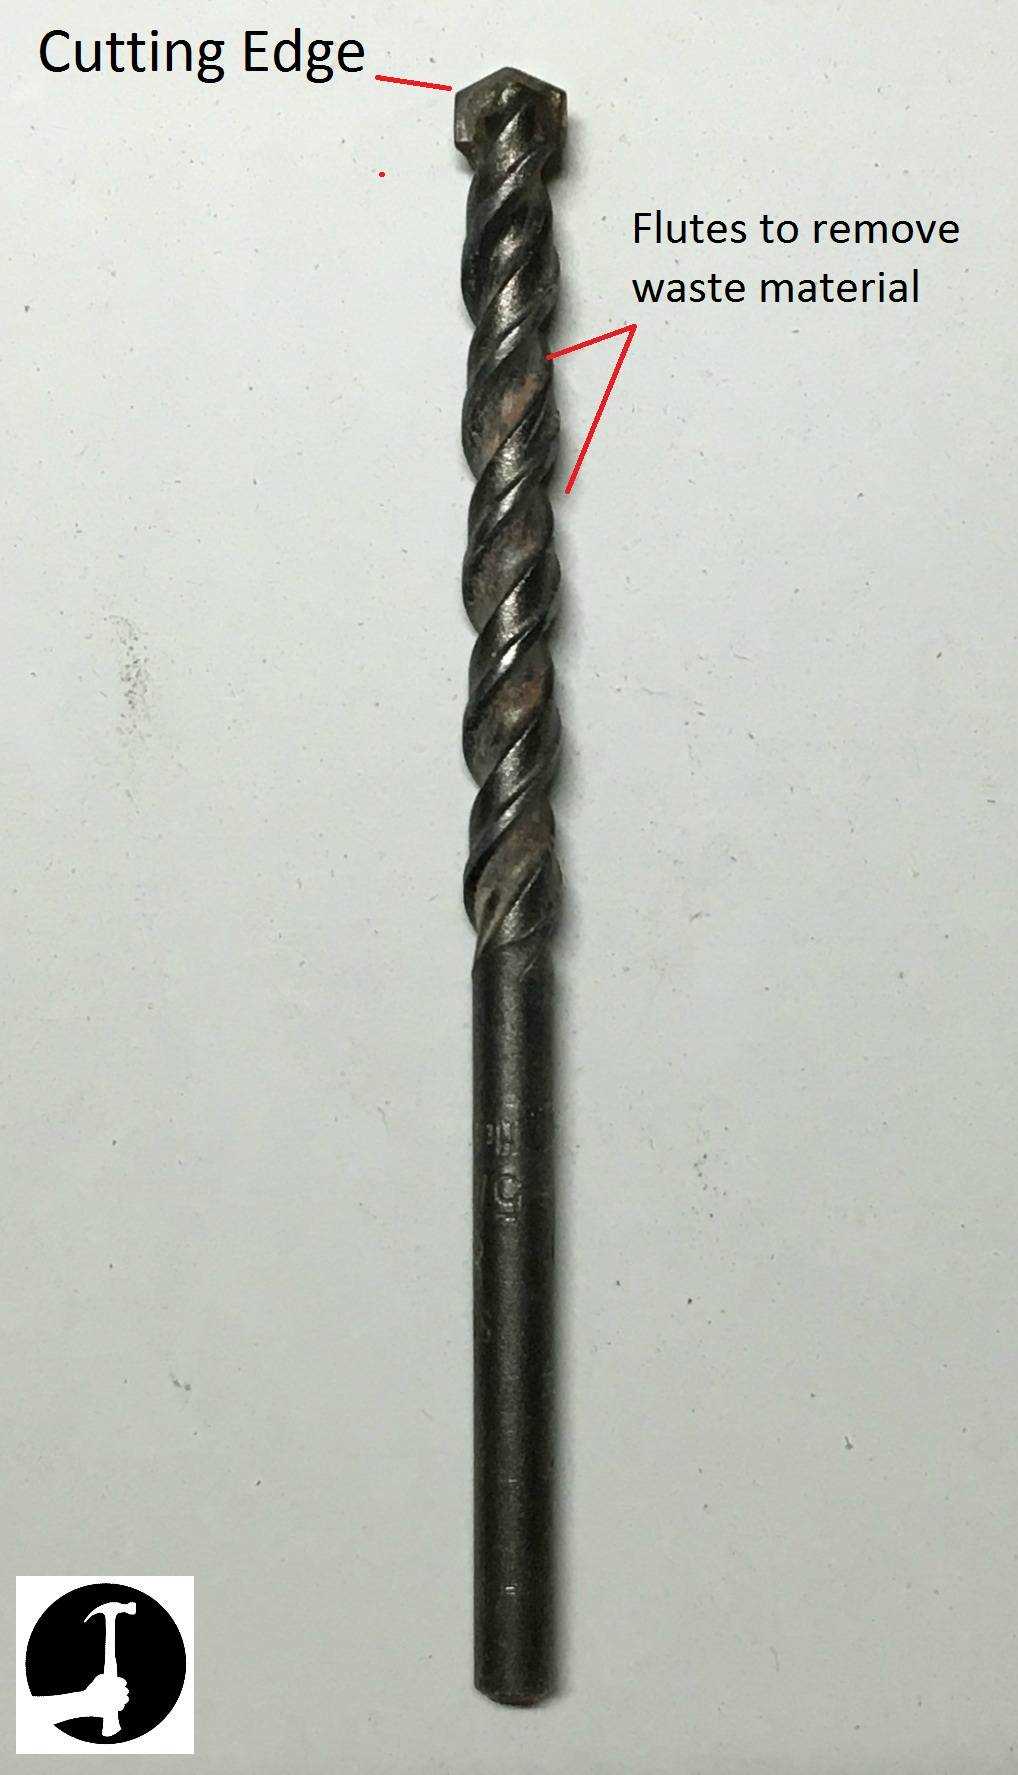
Choosing the Right Drill Bit for the Job
When it comes to drilling into plaster and brick, using the right drill bit is essential. The type of drill bit you choose will depend on the material you are drilling into and the size of the hole you need to make. Here are some expert tips to help you choose the right drill bit for the job:
1. Masonry Drill Bits
- Masonry drill bits are designed for drilling into hard materials like brick and concrete.
- These bits have a carbide tip that helps penetrate the tough surface of the material.
- They are available in various sizes, so choose a bit that matches the diameter of the hole you need.
2. Multi-purpose Drill Bits
- Multi-purpose drill bits can be used on a variety of materials, including plaster and brick.
- These bits are made from high-speed steel and have a pointed tip for easy penetration.
- They are available in different sizes and are suitable for drilling small to medium-sized holes.
3. Diamond Core Bits
- Diamond core bits are specifically designed for drilling large holes into hard materials, such as brick and concrete.
- These bits have a diamond coating that provides exceptional cutting performance.
- They are available in larger sizes and are commonly used for plumbing and electrical installations.
4. Hammer Drill Bits
- If you are using a hammer drill, you will need to use hammer drill bits.
- These bits have a special design that allows them to withstand the hammering action of the drill.
- They are available in various sizes and can be used on a variety of materials, including plaster and brick.
Remember to always wear safety goggles and gloves when drilling. Make sure to choose the right drill bit for the job to ensure clean and accurate holes in plaster and brick.
Preparing the Surface Before drilling
1. Gather the necessary tools and materials
Before you start drilling into plaster and brick, it’s important to gather all the necessary tools and materials. Make sure you have a drill with the appropriate drill bit for the job, as well as safety glasses, a dust mask, a pencil or marker for marking the drilling spots, a level for ensuring accuracy, and a vacuum or dustpan to clean up any dust or debris.
2. Locate any hidden pipes or wires
Before drilling into plaster or brick, it’s crucial to locate any hidden pipes or wires in the wall. Using a stud finder or a wire detector, carefully scan the area where you plan to drill to avoid hitting any electrical wires or plumbing pipes. Mark the location of any hidden pipes or wires so you can avoid drilling into them.
3. Clear the area of furniture and decorations
Clear the area around the drilling spot of any furniture, decorations, or other items that may get in the way. This will give you a clear and safe workspace and allow for easy access to the wall. Move any items that cannot be removed out of the way or cover them with a protective sheet to prevent damage from dust and debris.
4. Protect the surrounding area
Before you start drilling, protect the surrounding area by covering it with a drop cloth or plastic sheet. This will help catch any dust or debris that may be created during the drilling process and make clean-up easier afterwards.
5. Mark the drilling spots
Using a pencil or marker, mark the spots where you plan to drill. Use a level to ensure the marks are straight and level if necessary. Double-check the locations to make sure they are where you want to drill and adjust the marks as needed.
6. Wear safety gear
Before you start drilling, put on safety glasses and a dust mask to protect your eyes and respiratory system from dust and debris. This is especially important when drilling into plaster, as it can create a significant amount of dust.
7. Start drilling
Once you have prepared the surface and taken all necessary safety precautions, it’s time to start drilling. Hold the drill steady and apply firm, but not excessive, pressure. Start the drill at a low speed and gradually increase if necessary. Be careful not to push too hard or drill too quickly, as this can cause the drill bit to overheat or break.
Marking and Measuring the Drilling Location
Before starting the drilling process, it is important to accurately mark and measure the drilling location on the plaster or brick surface. This will ensure that the holes are placed in the correct positions and the final result is aesthetically pleasing.
Follow these steps to mark and measure the drilling location:
- Gather the necessary tools: You will need a tape measure, a level, a pencil or marker, and masking tape.
- Decide on the desired location: Determine where exactly you want to drill the hole. Make sure to consider the purpose of the hole and any surrounding objects or structures.
- Measure and mark the drilling location: Use a tape measure to measure the desired distance from any reference points, such as walls or corners. Mark this point lightly with a pencil or marker.
- Ensure levelness: Use a level to verify that the marked point is perfectly horizontal or vertical, depending on your needs. Adjust the mark if necessary.
- Secure the area with masking tape: To prevent the drill bit from slipping or damaging the surrounding surface, place a piece of masking tape over the marked point.
By following these steps, you will be able to accurately mark and measure the drilling location on plaster or brick surfaces. This will help you achieve professional-looking results and avoid any unnecessary mistakes or damages.
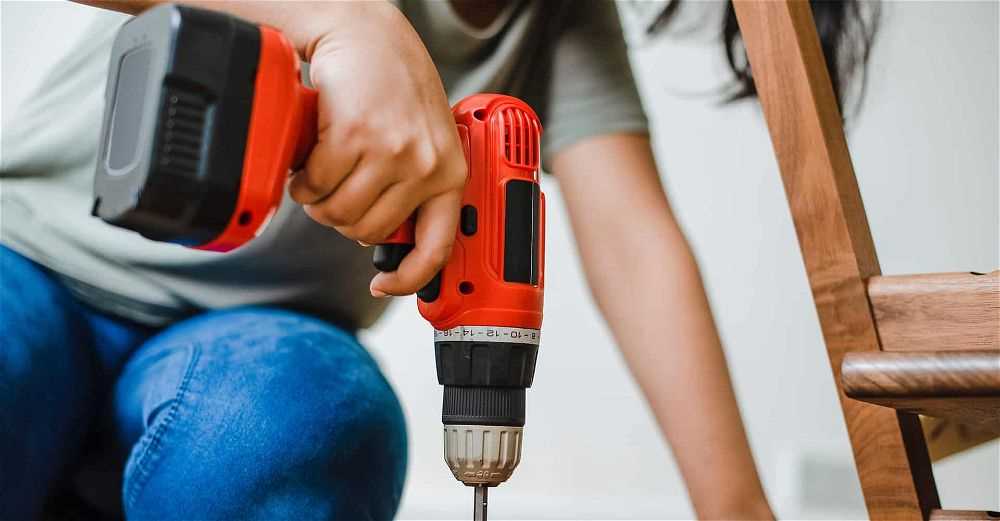
Using Proper Technique and Pressure While Drilling
1. Start with the right tools
Before beginning any drilling project, it’s important to have the right tools. For drilling into plaster and brick, you’ll need a good quality hammer drill and the appropriate drill bits. Make sure the drill bits are designed for drilling into masonry materials.
2. Mark the drilling spot
Use a pencil or marker to mark the spot where you want to drill. This will help ensure that you drill in the correct location and at the proper angle. It’s also a good idea to use a level to ensure that your markings are straight.
3. Use a pilot hole
Drilling a small pilot hole before drilling the full-sized hole can help prevent the plaster or brick from cracking. Start with a smaller drill bit, such as a 1/8-inch bit, and drill a shallow hole at the marked spot. This will serve as a guide for the larger drill bit.
4. Apply steady pressure
When drilling into plaster and brick, it’s important to apply steady pressure. Avoid pushing too hard, as this can cause the drill bit to slip or break. Instead, apply firm and consistent pressure to slowly drill into the material.
5. Watch for signs of progress
As you drill, keep an eye out for signs of progress. You should see fragments of plaster or brick being expelled from the hole. If you’re not seeing any progress or the drill is getting stuck, you may need to adjust the angle or switch to a different drill bit.
6. Take breaks if needed
Drilling into plaster and brick can be a strenuous task, especially if you’re drilling multiple holes or drilling into a tough material. If you feel that your drill or drill bit is getting hot or overheating, stop and let it cool down. You may also need to take breaks to rest your hands and prevent fatigue.
7. Clean up the debris
After you’ve finished drilling, make sure to clean up any debris or dust that may have accumulated. Use a brush or vacuum to remove any loose material, as this can interfere with the proper installation of screws or anchors.
8. Safety precautions
Always wear safety goggles and gloves when drilling into plaster and brick. This will protect your eyes from flying debris and your hands from any potential injuries. It’s also a good idea to work in a well-ventilated area to prevent inhalation of dust.
By following these tips and using proper technique and pressure while drilling, you can successfully drill into plaster and brick without causing damage or frustration.
Dealing with Obstacles and Challenges
Drilling into plaster and brick can present some challenges and obstacles that may require careful consideration and problem-solving. Here are some expert tips on how to deal with common obstacles.
1. Hard materials
Both plaster and brick can be quite hard materials, which can make drilling more difficult. If you encounter resistance while drilling, it may be helpful to use a masonry drill bit designed specifically for the material you are drilling into. These drill bits are often made of carbide or diamond and are capable of cutting through tough materials.
2. Hidden electrical or plumbing lines
Before drilling into any wall, it’s important to be aware of any hidden electrical or plumbing lines behind the surface. To avoid damaging these lines, it’s recommended to use a stud finder or a wire detector to locate any obstructions before drilling. If you’re unsure, it’s best to consult a professional.
3. Uneven surfaces
Plaster walls and brick surfaces can sometimes be uneven, which can affect the stability of your drilling. To ensure a straight and secure hole, it may be helpful to use a level to mark your drilling point and use a smaller drill bit to create a pilot hole. This will help guide the larger drill bit and prevent it from slipping or wandering off course.
4. Dust and debris
Drilling can produce a significant amount of dust and debris. To minimize mess and protect yourself, it’s recommended to wear safety goggles and a dust mask. You can also use a vacuum cleaner or attach a dust extraction attachment to your drill to collect the dust as you drill.
5. Crumbling plaster or brick
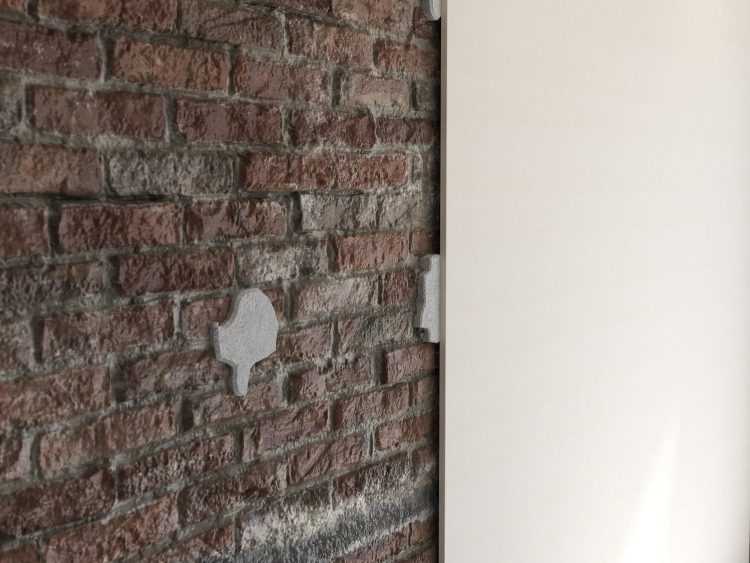
If you find that the plaster or brick is crumbling or deteriorating as you drill, it may be a sign of underlying damage or weakness. It’s important to be cautious and evaluate the condition of the material before proceeding. In some cases, it may be necessary to repair or reinforce the area before drilling.
6. Hollow areas
In some cases, you may encounter hollow areas behind plaster or brick walls. These areas can make drilling difficult and may require special techniques. One approach is to use wall anchors or toggle bolts to provide additional support for your screws or hooks. These can provide a secure anchor point even in hollow areas.
- Always double-check and measure before drilling to ensure accuracy and avoid mistakes.
- Start with a slower speed when drilling into hard materials to prevent overheating and extend the life of your drill bit.
- If you’re drilling into brick, be aware that it can be quite noisy. Consider using ear protection to minimize noise exposure.
Handling Dust and Debris During the Process
1. Prepare the work area
Before you start drilling into plaster and brick, it’s essential to prepare the work area to minimize dust and debris. Remove any furniture, cover nearby objects and surfaces with plastic sheets or drop cloths, and close off adjacent rooms if possible. This will help prevent dust from spreading throughout your home.
2. Use a dust mask and safety goggles
When drilling into plaster and brick, it’s important to protect your respiratory system and eyes from dust and debris. Wear a dust mask to filter out the fine particles and safety goggles to shield your eyes from any flying debris.
3. Consider using a dust control system
If you’re working in a larger area or expect a significant amount of dust and debris, consider using a dust control system. These devices attach to your drill and use suction or containment mechanisms to collect dust as you drill. They help minimize the amount of dust that is released into the air and can make the cleanup process much easier.
4. Work slowly and use a low speed setting
When drilling into plaster and brick, it’s important to work slowly and use a low speed setting on your drill. This reduces the amount of dust and debris that is generated, as high speeds can cause the material to chip and crumble more dramatically. Take your time and use gentle pressure to create clean and precise holes.
5. Keep a vacuum nearby
Having a vacuum cleaner nearby can be incredibly helpful when drilling into plaster and brick. Use the vacuum to immediately suck up any dust and debris that is produced. This will help keep your work area clean and prevent dust from settling on surrounding surfaces.
6. Clean up thoroughly
After you’ve finished drilling, it’s important to clean up thoroughly to remove any dust and debris. Use a damp cloth or sponge to wipe down surfaces and vacuum the area once again to ensure all dust particles are removed. Dispose of the dust and debris properly, following your local guidelines and regulations.
By following these tips and taking the necessary precautions, you can handle dust and debris effectively while drilling into plaster and brick. This will help keep your work area clean and minimize any potential health hazards associated with dust inhalation.
Safety Precautions and Protective Gear
1. Wear Safety Goggles
When drilling into plaster and brick, it is essential to protect your eyes from flying debris and dust. Wear safety goggles that fit snugly and provide adequate coverage.
2. Use a Dust Mask
Drilling can create a significant amount of dust, which can be harmful when inhaled. Wear a dust mask to protect your respiratory system from the fine particles released during the drilling process.
3. Wear Work Gloves
Protect your hands from cuts and abrasions by wearing a pair of work gloves. This will also provide a better grip on the drilling tools, reducing the risk of accidents.
4. Secure Loose Clothing and Long Hair
Before starting any drilling work, make sure to secure loose clothing, tie back long hair, and remove any dangling accessories. Loose clothing or hair can get caught in the drill, causing injury.
5. Turn Off Power Sources
Prior to drilling into plaster or brick walls, ensure that all nearby power sources are turned off. This will help prevent accidental electrocution and minimize the risk of electrical hazards.
6. Use a Stable Ladder or Stepladder
If you need to drill in hard-to-reach areas, make sure you use a stable ladder or stepladder that is in good condition. Avoid standing on a chair or other unstable objects, as this can result in falls and injuries.
7. Mark the Drilling Area
Before drilling, mark the exact spot where you want to drill using a pencil or masking tape. This will help ensure accuracy and prevent unnecessary damage to the surrounding area.
8. Secure the Workpiece
If possible, secure the workpiece using clamps or vices to prevent it from moving or rotating during drilling. This will improve stability and reduce the risk of accidents caused by slipping or shifting materials.
9. Start with a Pilot Hole
When drilling into plaster or brick, it is best to start with a small pilot hole. This will help guide the larger drill bit and reduce the likelihood of the drill bit slipping or getting stuck.
10. Dispose of Waste Properly
After drilling, collect and dispose of any waste materials, such as plaster or brick dust, in a proper manner. Vacuum or sweep the area to remove any remaining debris and maintain a clean and safe work environment.
11. Read and Follow the Manufacturer’s Instructions
Always read and follow the manufacturer’s instructions for the drilling tools and equipment you are using. Pay attention to any safety guidelines and recommended operating procedures to ensure safe and efficient drilling.
By following these safety precautions and wearing appropriate protective gear, you can minimize the risk of accidents and injuries while drilling into plaster and brick.
Proper Maintenance and Care of Tools
Regular cleaning
One of the most important aspects of maintaining tools is to keep them clean. After each use, remove any debris or dirt from the tools. Use a damp cloth or brush to wipe off the surfaces and make sure they are free from any residue. This will not only keep the tools in good condition but also prevent any potential damage during storage.
Note: Avoid using harsh chemical cleaners as they may corrode or damage the tool’s surface or handles.
Lubrication
Proper lubrication is essential for ensuring the longevity and optimal performance of your tools. Regularly apply a light coat of lubricant to any moving parts, such as hinges or screws, to prevent them from rusting or sticking. This will also help reduce friction, making your tools easier to use.
Sharpening
Some tools, such as drill bits or blades, may require periodic sharpening to maintain their effectiveness. Make sure to follow the manufacturer’s instructions on how to sharpen specific tools. Use a sharpening stone or a file to restore the original sharpness of the edges. Always wear protective gloves and goggles when sharpening tools to prevent injuries.
Storage
Proper storage is crucial for prolonging the life of your tools. After cleaning and lubricating them, store them in a dry and well-ventilated area. Avoid exposing them to extreme temperatures or direct sunlight, as this can cause damage to the tool’s surfaces or handles. Consider using toolboxes, drawers, or wall-mounted organizers to keep your tools organized and protected.
Inspection
Regularly inspect your tools for any signs of wear, damage, or malfunction. Check for loose or damaged handles, cracked blades, or any other issues that may affect their performance. Replace any worn-out or damaged parts as soon as possible to prevent further damage or accidents.
Proper use
Using tools in the right manner is essential for maintaining their functionality and preventing accidents. Always follow the manufacturer’s instructions and guidelines for proper usage. Misusing or overloading tools can lead to damage and may also compromise your safety. If you are unsure about how to use a specific tool, consult the manufacturer’s manual or seek advice from a professional.
| Regular cleaning | Keep tools clean and free from debris |
| Lubrication | Apply lubricant to moving parts to prevent rust and reduce friction |
| Sharpening | Periodically sharpen tools to maintain effectiveness |
| Storage | Store tools in a dry and well-ventilated area |
| Inspection | Regularly inspect tools for wear, damage, or malfunction |
| Proper use | Follow manufacturer’s instructions and guidelines for usage |
FAQ:
What kind of drill bit should I use for plaster walls?
When drilling into plaster walls, it is recommended to use a carbide-tipped masonry bit. This type of drill bit is designed specifically for drilling into hard surfaces like plaster and brick.
Do I need to use a special technique when drilling into plaster?
Yes, drilling into plaster requires a gentle touch. It is important to start slow and apply light pressure to avoid cracking or damaging the plaster. You should also make sure to use a drill with a variable speed setting, as this will give you better control over the drilling process.
Are there any precautions I should take when drilling into brick?
When drilling into brick, it is important to wear safety goggles and a dust mask to protect yourself from flying debris. You should also make sure to anchor the drill securely and maintain a firm grip on it to avoid any accidents.
Can I use a regular drill for drilling into plaster and brick?
You can use a regular drill for drilling into plaster, but it is recommended to use a hammer drill for drilling into brick. A hammer drill has a special mechanism that allows it to apply extra force while drilling, making it more effective for drilling into hard surfaces.
What size of drill bit should I use for drilling into plaster?
When drilling into plaster, it is recommended to use a drill bit that is slightly smaller than the size of the anchor or screw you will be using. This will ensure a snug fit and prevent the plaster from cracking or crumbling.
How do I repair a crack in plaster caused by drilling?
If you accidentally crack the plaster while drilling, you can repair it by applying a patching compound. Simply fill the crack with the compound, smooth it out with a putty knife, and let it dry. Once dry, you can sand the area and paint over it to match the surrounding wall.
Video:


Meet Harrison Clayton, a distinguished author and home remodeling enthusiast whose expertise in the realm of renovation is second to none. With a passion for transforming houses into inviting homes, Harrison's writing at https://thehuts-eastbourne.co.uk/ brings a breath of fresh inspiration to the world of home improvement. Whether you're looking to revamp a small corner of your abode or embark on a complete home transformation, Harrison's articles provide the essential expertise and creative flair to turn your visions into reality. So, dive into the captivating world of home remodeling with Harrison Clayton and unlock the full potential of your living space with every word he writes.


