Essential Tips for Using a Tile Drill Bit

When it comes to working with tiles, having the right tools can make all the difference. One such tool that every DIY enthusiast or professional should have in their arsenal is a tile drill bit. Whether you’re looking to install a new tile backslash, hang a mirror or create a hole for a pipe, a drill bit specifically designed for tiles is essential.
Using a tile drill bit may seem intimidating, especially if you’re a beginner. However, with the right technique and some helpful tips, you can easily drill into tiles without damaging them. One tip is to always start by marking the spot where you want to drill with a pencil or a piece of masking tape. This will ensure that your hole is in the right place and prevent any accidental slippage.
It’s also important to choose the right size of drill bit for the job at hand. For smaller holes, a smaller diameter bit will work best, while larger holes will require a larger bit. Additionally, using too much pressure can lead to cracking or chipping of the tile. Instead, apply gentle pressure and let the drill do the work.
Lastly, using water as a lubricant while drilling can help to keep the drill bit cool and prevent it from overheating. This is especially important when drilling into harder types of tiles, such as porcelain or ceramic. Remember to go slow and steady, and always wear safety goggles to protect your eyes from any flying debris.
What is a Tile Drill Bit?
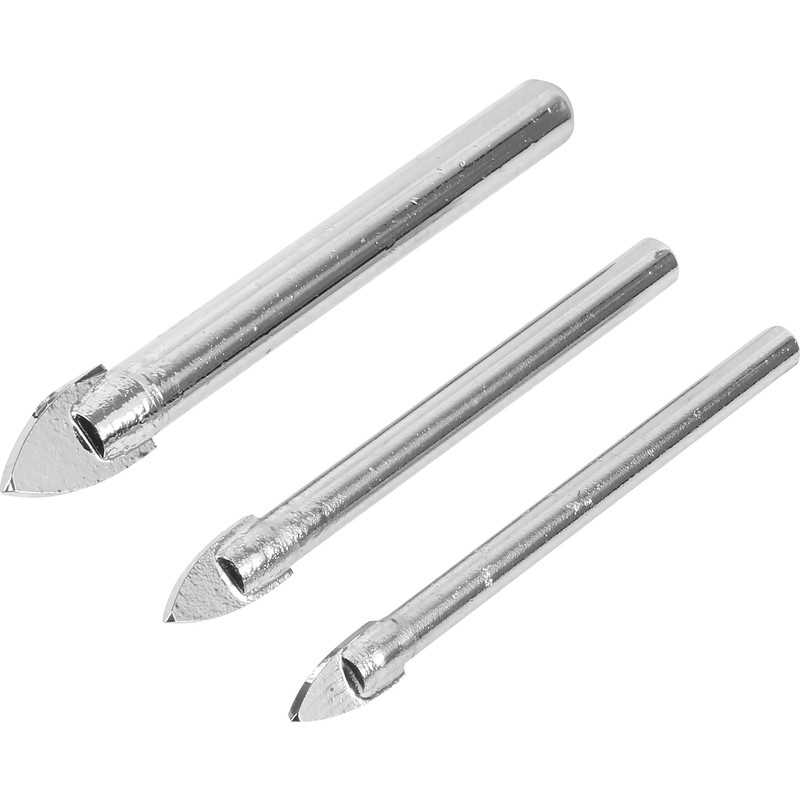
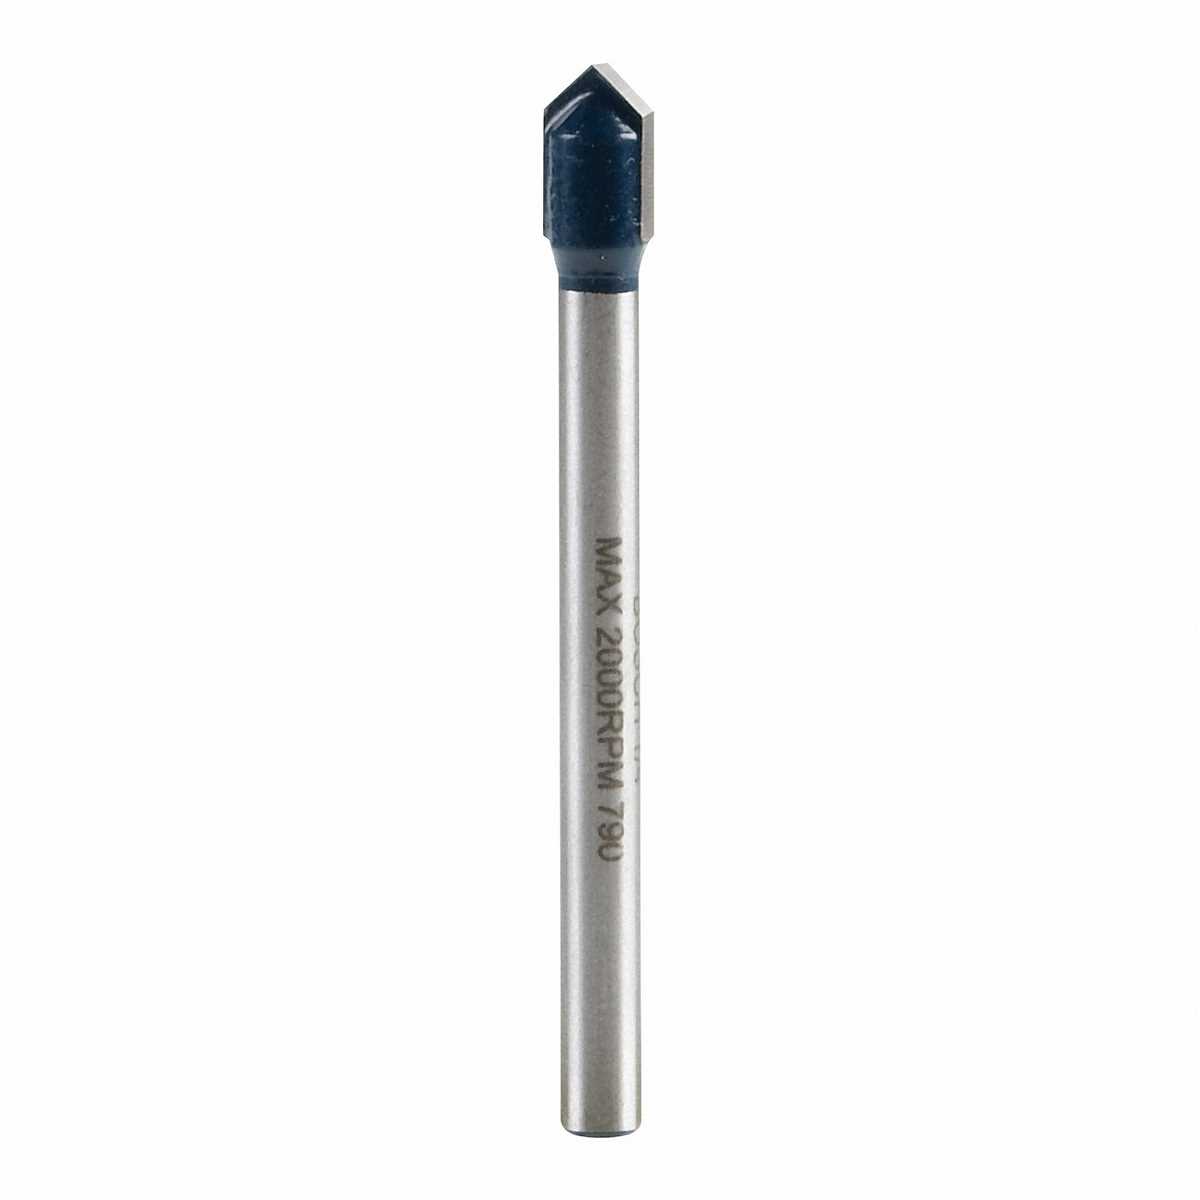
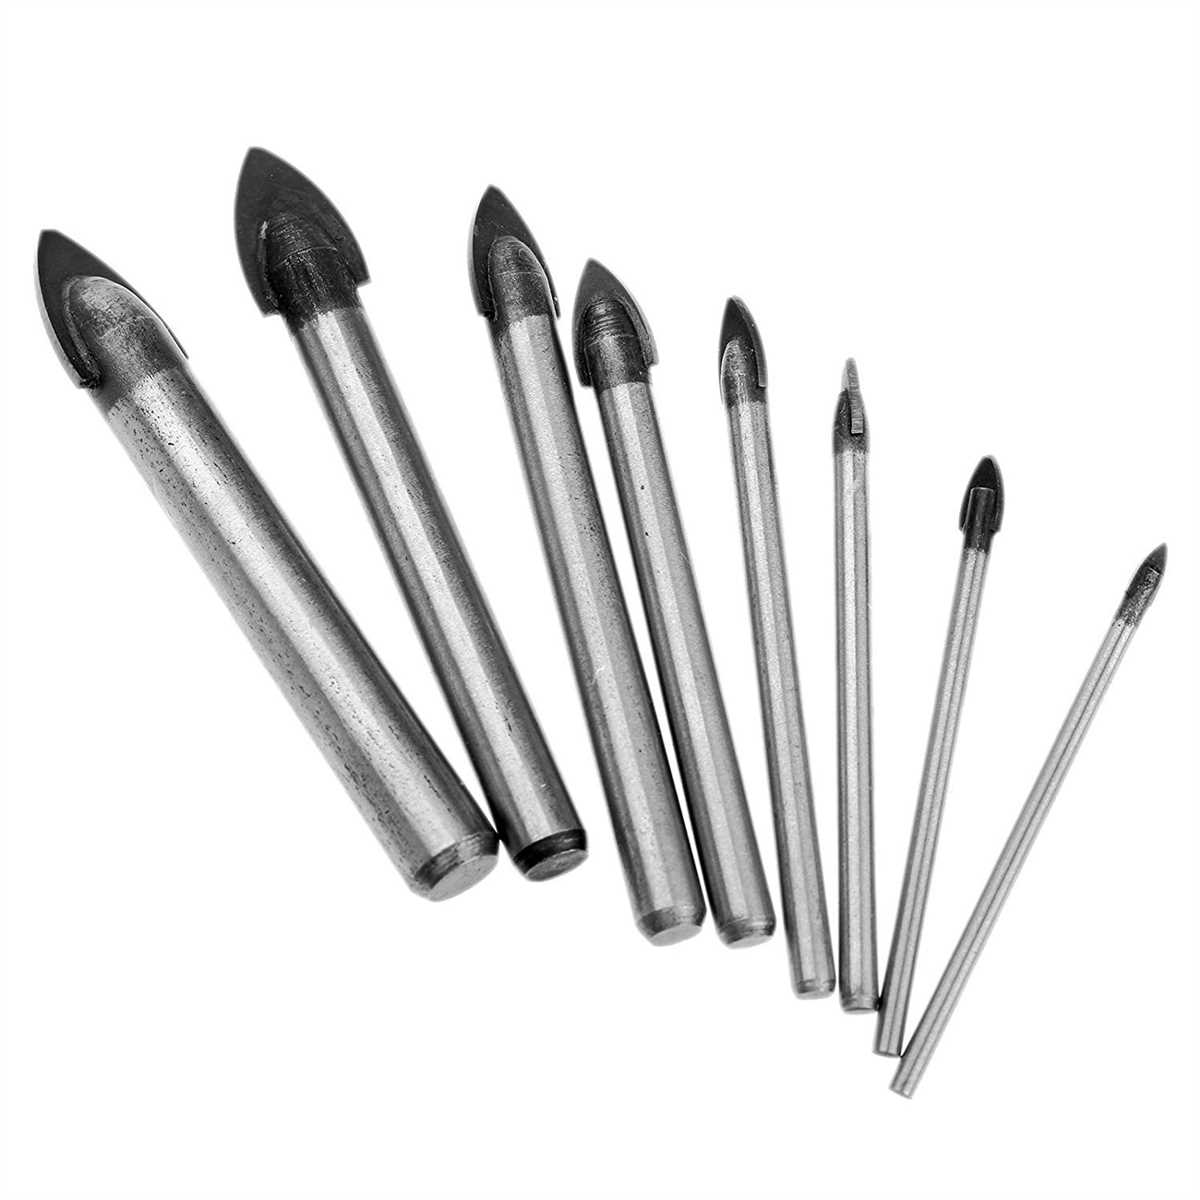
A tile drill bit is a specialized drill bit designed for drilling holes in tiles. It has a unique design that allows it to effectively penetrate through the hard surface of tiles without breaking or cracking them. The tile drill bit is commonly used in bathroom and kitchen projects where tiles are commonly installed.

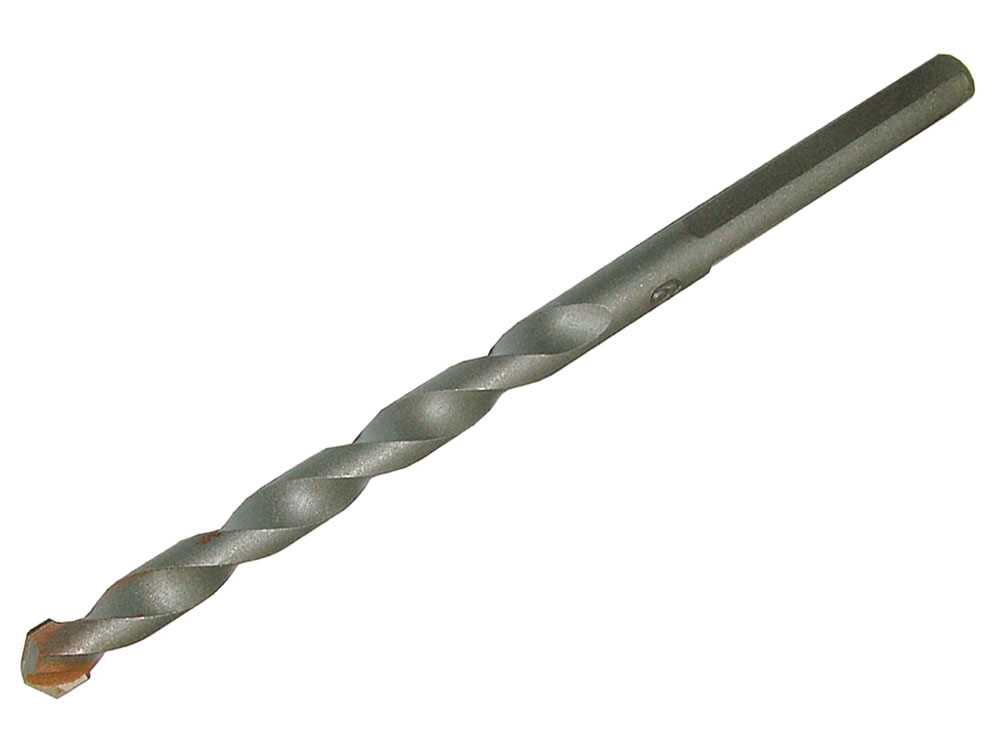
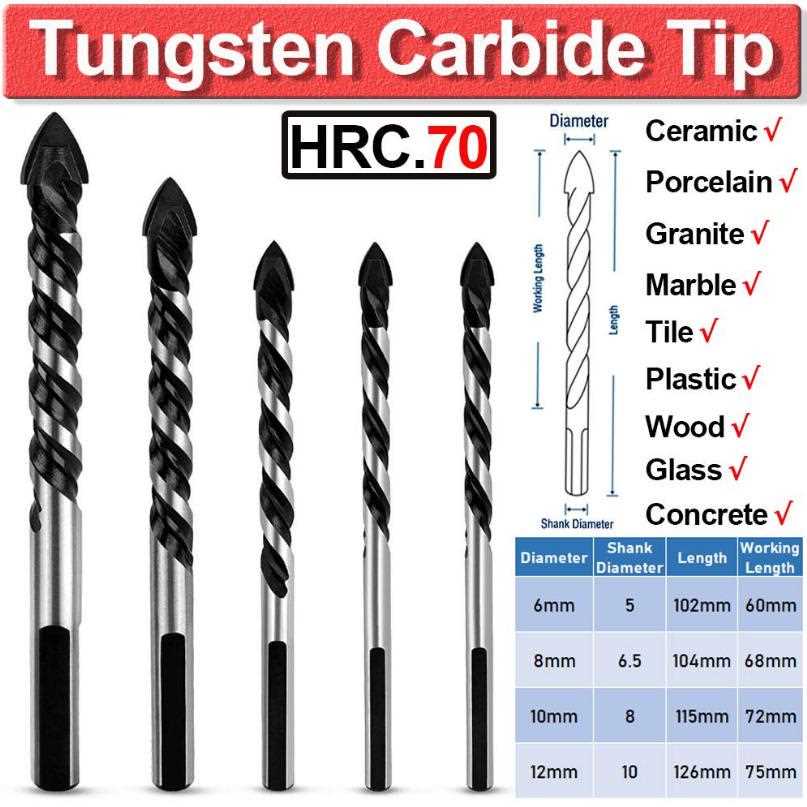
Tile drill bits are typically made from materials such as tungsten carbide or diamond. These materials are extremely hard and can withstand the high heat and pressure generated during the drilling process. The tip of the tile drill bit is specifically designed to be sharp and pointed, allowing it to easily cut through the tile surface.
Using a regular drill bit on tiles can often result in cracked or broken tiles due to the hardness of the material. This is why it is important to use a specialized tile drill bit when working with tiles. The unique design and materials used in tile drill bits ensure clean and precise holes in tiles without any damage.
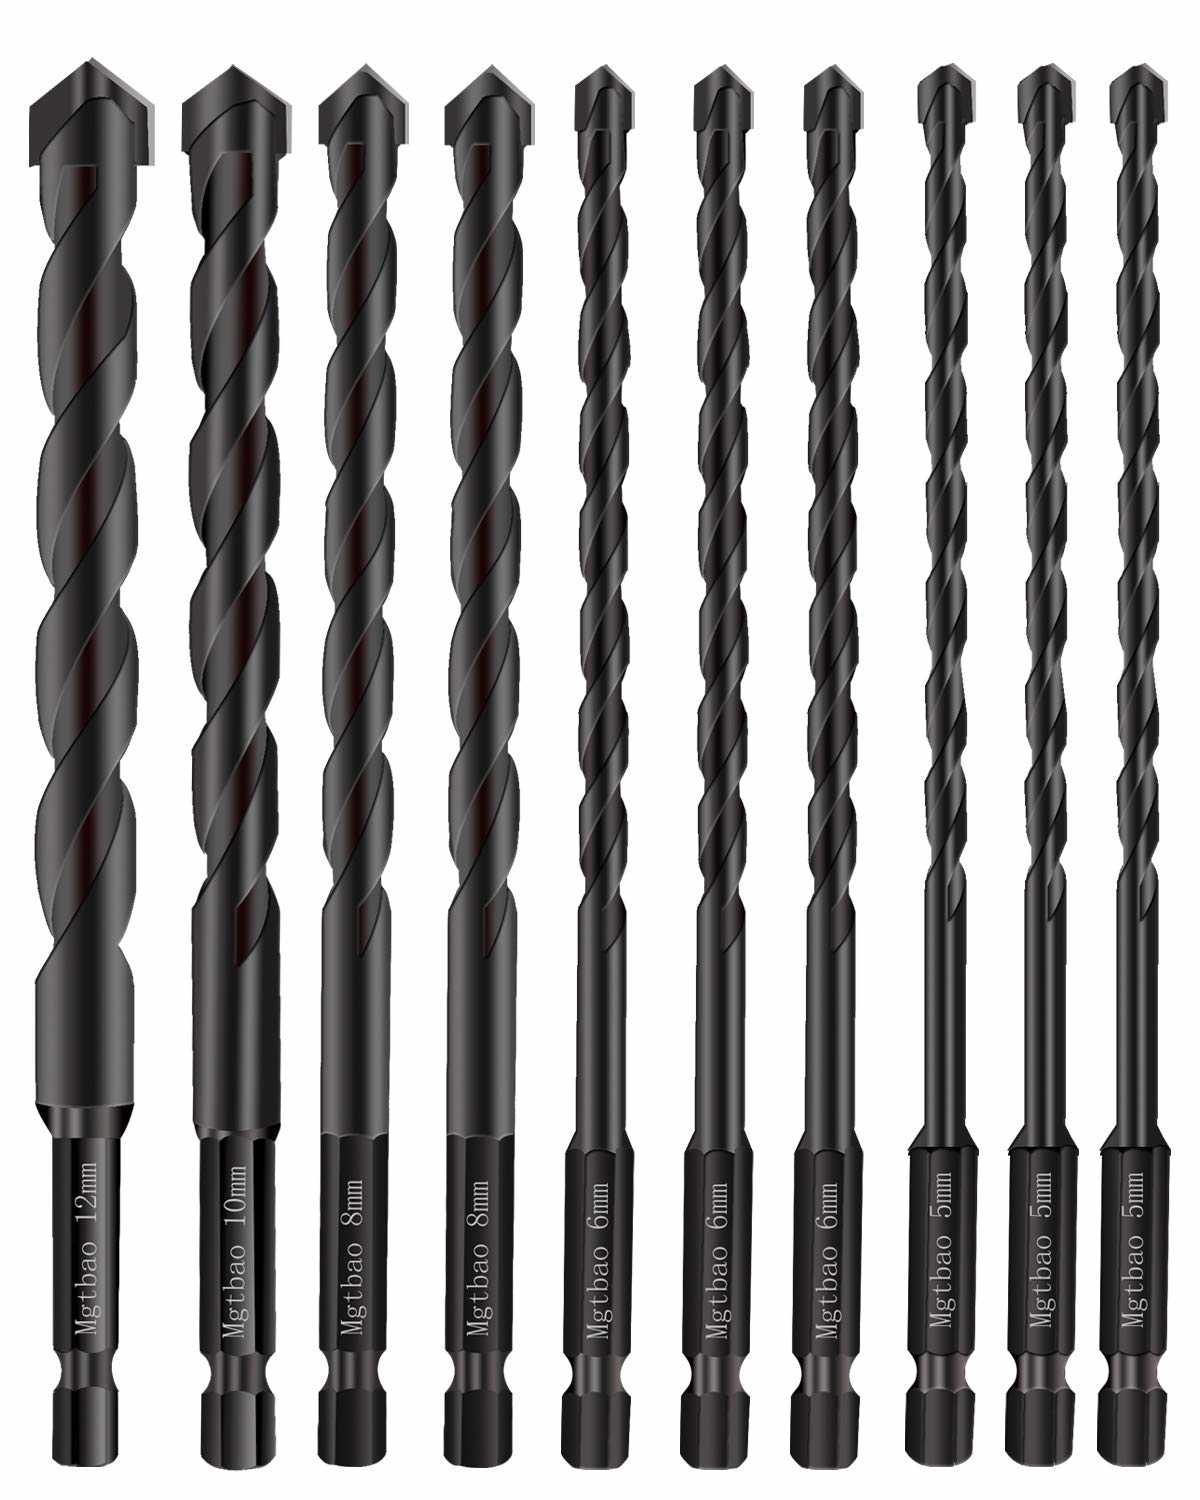
Tile drill bits come in various sizes to accommodate different hole diameters. They can be used on a wide range of tile materials such as ceramic, porcelain, and natural stone. When using a tile drill bit, it is important to use a steady drilling motion and apply consistent pressure to prevent any damage to the tile surface.
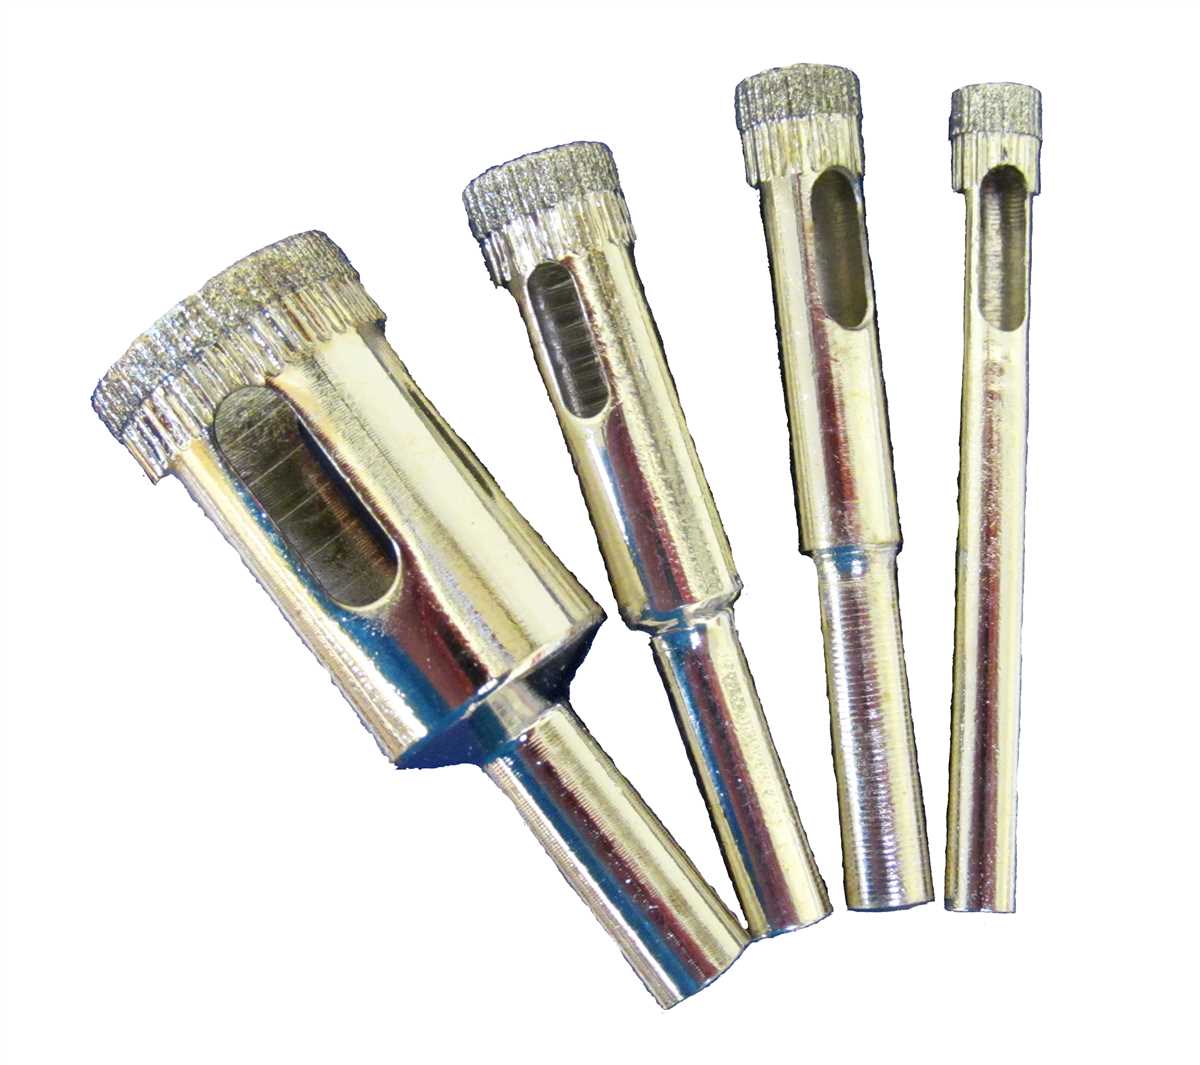
In addition to drilling holes, some tile drill bits also have the capability to create circular cutouts in tiles. This can be useful when installing outlets, pipes, or other fixtures that require a precise hole in a tile. These tile drill bits often have a larger diameter and a pilot bit at the center to guide the cutting process.
Overall, a tile drill bit is an essential tool for any DIY enthusiast or professional who works with tiles. It ensures clean and precise holes in tiles without any damage, making it a valuable tool in tile installation projects.

Choosing the Right Tile Drill Bit
When it comes to drilling into tiles, it is important to choose the right tile drill bit for the job. Using the wrong drill bit can result in damaged tiles or a frustrating drilling experience. Here are some essential tips for choosing the right tile drill bit:
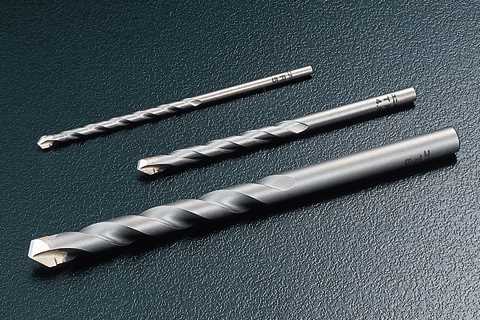
- Consider the type of tile: Different types of tiles require different drill bits. For ceramic and porcelain tiles, a carbide-tipped or diamond-tipped drill bit is recommended. For natural stone tiles, a diamond-tipped drill bit is the best choice.
- Size of the hole: Determine the size of the hole you need to drill. Drill bits come in various sizes, so choose one that is suitable for your project. It is better to choose a bit that is slightly larger than the size you need, as you can always enlarge the hole if needed.
- Quality: Invest in a high-quality drill bit. Cheap drill bits may not be as durable and can wear out quickly, especially when drilling into hard materials like tiles. Look for drill bits made from high-quality materials, such as carbide or diamond, that can withstand the rigors of tile drilling.
- Check the drill: Ensure that your drill is compatible with tile drill bits. Some drills may not have enough power or speed to effectively drill into tiles. If necessary, consider using a hammer drill or a drill specifically designed for tile drilling.
- Consider the depth: Determine the depth of the hole you need to drill. Some drill bits have a limited drilling depth, so choose one that can accommodate the depth of your project. If you need to drill deeper holes, you may need to use an extension bit.
By following these tips, you can choose the right tile drill bit for your project and ensure successful and hassle-free drilling into tiles.
Preparing the Tile for Drilling
Before you start drilling into a tile, it’s important to properly prepare it to prevent any damage or cracks. Here are some essential steps to follow:
- Clean the tile surface: Use a mild detergent and a soft cloth to clean the tile surface. This will remove any dirt, grease, or grime that may hinder the drilling process.
- Mark the drilling spot: Use a pencil or marker to make a small dot on the tile at the desired drilling spot. This will serve as a guide for the drill bit.
- Choose the right drill bit: Select a tile drill bit that is suitable for your tile material. Ceramic and porcelain tiles require a carbide-tipped or diamond-tipped drill bit, while glass tiles require a diamond-tipped bit.
- Secure the tile: Place the tile on a stable surface or use a clamp to hold it securely in place. This will prevent it from moving or slipping during the drilling process.
- Apply masking tape: To further protect the tile surface, apply a piece of masking tape over the drilling spot. This will help reduce the risk of chipping or cracking.
- Set the drill speed: Adjust the drill speed to a low setting. This will minimize the chances of overheating or damaging the tile.
- Start drilling: Hold the drill perpendicular to the tile surface and apply gentle but steady pressure. Let the drill bit do the work and avoid exerting too much force.
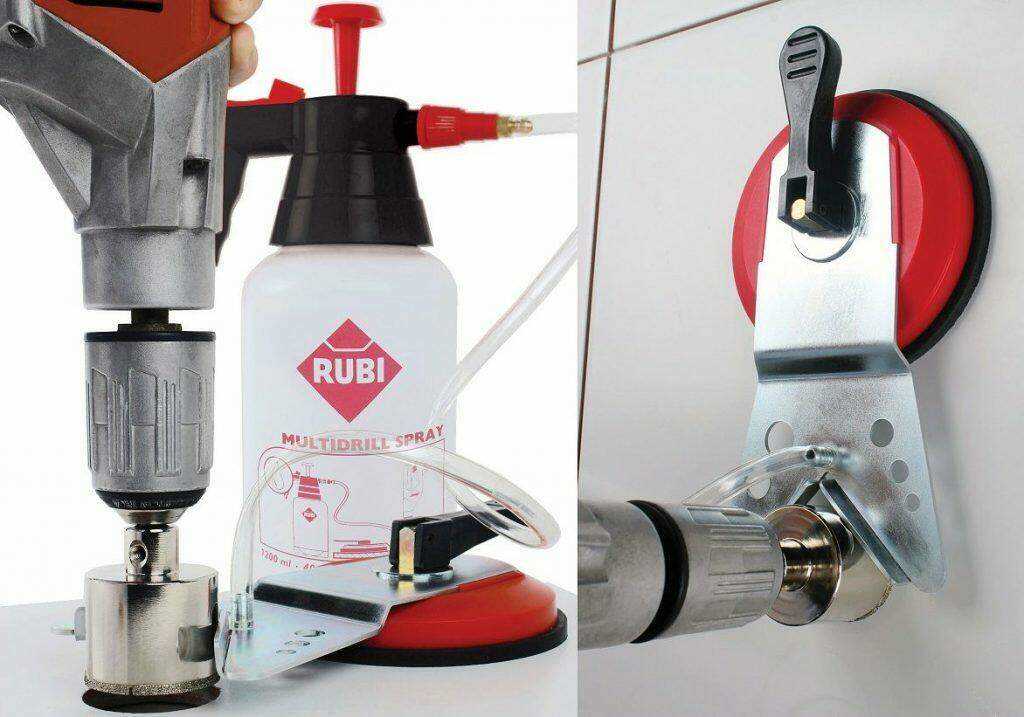
- Use water as a lubricant: For ceramic and porcelain tiles, it’s recommended to use water as a lubricant to keep the drill bit cool and prevent overheating. Simply pour a steady stream of water onto the drilling spot while drilling.
By following these steps, you can ensure that the tile is properly prepared for drilling and minimize the risk of damage. Remember to always wear protective eyewear and gloves when drilling into tiles to protect yourself from any flying debris.
Drilling Techniques for Tiles

- Choose the Right Drill Bit: Select a diamond-tipped drill bit specifically designed for drilling through tiles. These bits are harder than ordinary drill bits and have a special cutting edge that can withstand the hardness of the tiles.
- Mark the Spot: Use a pencil or a marker to mark the spot where you want to drill the hole. This will help guide the drill bit and ensure accuracy.
- Secure the Tile: Place the tile on a stable surface or use a tile clamp to secure it in place. This will prevent the tile from moving or cracking while drilling.
- Start Slowly: Start drilling at a slow speed to create a pilot hole. This will prevent the drill bit from slipping and scratching the tile surface. Apply steady pressure to the drill, but avoid pushing too hard to prevent any unnecessary damage.
- Use Water as Lubricant: To keep the drill bit cool and reduce friction, use water as a lubricant. You can either dip the drill bit into a container of water or use a spray bottle to keep the drill bit and surface wet while drilling.
- Drill at an Angle: For best results, drill the hole at a slight angle instead of drilling straight down. This will help prevent any cracking or chipping of the tile.
- Go Slow and Steady: When drilling through tiles, it’s important to be patient and take your time. Applying too much pressure or drilling at high speeds can cause the tile to crack or chip.
- Clear Debris Frequently: While drilling, periodically remove the accumulated debris from the hole to maintain a clean cutting path. This will ensure efficient drilling and prevent the drill bit from getting clogged.
- Finish with Sandpaper: After drilling, use fine-grit sandpaper to smooth the edges of the hole and remove any sharp edges. This will give the hole a clean and finished look.
- Practice on Spare Tiles: If you’re new to drilling tiles, it’s a good idea to practice on spare tiles first to get a feel for the process. This will help you gain confidence and improve your drilling technique.
Recommended Tools and Accessories
When using a tile drill bit, it is important to have the right tools and accessories on hand to ensure a successful and efficient drilling process. Here are some recommended tools and accessories:
1. Power Drill
A power drill is essential for drilling through tiles. It is important to use a drill with variable speed settings and a high torque to ensure smooth and precise drilling.
2. Tile Drill Bit Guide
A tile drill bit guide helps to keep the drill bit centered and prevents it from slipping on the tile surface. This guide ensures accurate drilling and prevents any damage to the tile.
3. Masonry Bit Set
Having a set of masonry bits is recommended, as different tile materials may require different drill bit sizes. This allows you to choose the appropriate bit size for the type of tile you are drilling.

4. Water Cooling System
When drilling through tiles, it is important to keep the drill bit cool to prevent it from overheating. Using a water cooling system, such as a spray bottle or a drip system, helps to cool the drill bit and increases its lifespan.
5. Safety Gear
Always prioritize safety when drilling through tiles. Wear safety glasses to protect your eyes from any debris or tile fragments. Additionally, wearing gloves and a dust mask is recommended to protect your hands and lungs from dust and tile particles.
6. Cleaning Brush
After drilling through tiles, there may be leftover debris or dust. Having a cleaning brush on hand helps to easily clean the drilled holes and remove any loose particles from the surface.

7. Pencil and Masking Tape
Before drilling, it is important to mark the drilling spots on the tile. Use a pencil to mark the exact location and apply masking tape over the marked spot. This helps to prevent the drill bit from slipping and provides a guide for accurate drilling.
8. Workbench or Clamps
Having a stable workbench or using clamps to secure the tile in place is important for precise and safe drilling. This ensures that the tile does not move or shift during drilling and minimizes the risk of accidents or damage.
9. Tile Spacer or Level
If you need to drill multiple holes in a straight line or at specific intervals, using a tile spacer or level helps to maintain consistency and accuracy throughout the drilling process.
10. Storage Case
To keep your drill bits and accessories organized and easily accessible, it is recommended to have a storage case. This helps to prevent any loss or damage to the tools and ensures they are ready for future use.

Maintaining Your Tile Drill Bit
Clean the Drill Bit After Use
After using your tile drill bit, it is important to clean it thoroughly. Use a clean cloth or brush to remove any debris or dust from the bit. Be sure to pay particular attention to the cutting edges to ensure they are free of any buildup.
Inspect for Damage
Regularly inspect your tile drill bit for any signs of damage. Check for any chips or cracks in the cutting edges. If you notice any damage, replace the bit immediately as it may affect the performance and safety of the drill bit.
Store Properly
When not in use, store your tile drill bit in a dry and secure place. Avoid placing it in a toolbox or drawer where it can be easily damaged or exposed to moisture. Consider using a dedicated drill bit holder or case to keep it organized and protected.

Sharpen as Needed
Over time, the cutting edges of your tile drill bit may become dull. If you notice that the bit is not cutting through the tile as easily as before, it may be time to sharpen it. Use a sharpening stone or a diamond file to restore the sharpness of the cutting edges.
Replace When Worn
Even with proper maintenance, tile drill bits will eventually wear out. Pay attention to the performance of your drill bit and replace it when you notice a significant decrease in cutting efficiency. Continuing to use a worn-out drill bit can lead to poor results and potential damage to your tiles.
Follow Manufacturer’s Instructions

Always refer to the manufacturer’s instructions for specific maintenance and care guidelines for your tile drill bit. Different brands and types of drill bits may have unique requirements, so it is important to follow the instructions provided to ensure the longevity and performance of your drill bit.
Common Mistakes to Avoid
- Using a dull or worn-out tile drill bit: One common mistake is using a tile drill bit that is not sharp enough. This can result in unnecessary pressure and force being applied to the tile, which can cause it to crack or break. Make sure to always use a sharp and well-maintained tile drill bit.
- Not using a guide or template: Another mistake is not using a guide or template when drilling holes in tiles. This can lead to misaligned or uneven holes, affecting the overall appearance and functionality of the tiled surface. To avoid this, always use a guide or template to accurately position the drill bit.
- Not using enough water: When drilling into tiles, it is essential to use water as a lubricant and coolant. This helps to prevent the drill bit from overheating and ensures smoother drilling. Failing to use enough water can result in excessive heat build-up, which can damage the tile or even cause the drill bit to become stuck.
- Applying too much pressure: Applying excessive pressure while drilling into tiles can lead to cracked or shattered tiles. It is important to let the drill bit and the water do the work, applying gentle and steady pressure. Remember, patience is key when drilling into tiles.
- Not cleaning the drill bit: After each use, it is crucial to clean the drill bit thoroughly to remove any debris or residue. Failure to do so can result in reduced performance and can also lead to the accumulation of materials on the drill bit, affecting its functionality.
- Drilling at high speeds: When drilling into tiles, it is best to use a slower speed setting on your drill. Drilling at high speeds can cause the tile to heat up rapidly, increasing the risk of breakage. It is recommended to start at a slow speed and gradually increase it as needed.
- Not wearing protective gear: Always remember to wear protective gear, such as safety goggles and gloves, when drilling into tiles. This will protect you from any potential flying debris or accidents that may occur during the drilling process.
FAQ:
What is a tile drill bit?
A tile drill bit is a specialized drilling tool designed specifically for drilling holes in ceramic, porcelain, and other types of tile. These drill bits often have a carbide or diamond tip for increased durability and efficiency.
What are some essential tips for using a tile drill bit?
There are several essential tips for using a tile drill bit. Firstly, make sure to use a slow speed and steady pressure when drilling in order to prevent the tile from cracking. Additionally, it’s important to start with a small pilot hole before gradually increasing the size to avoid damaging the tile. Finally, using a lubricant, such as water or cutting oil, can help to reduce friction and prolong the life of the drill bit.
Can I use a regular drill bit on tiles?
No, using a regular drill bit on tiles is not recommended. Regular drill bits are not designed to withstand the hard surface of tile and are likely to become dull or break. It’s best to use a specialized tile drill bit that is specifically designed for the task.
How do I choose the right size of tile drill bit?
Choosing the right size of tile drill bit depends on the size of the hole you need to drill. Measure the diameter of the hole you require and select a tile drill bit that is slightly larger than that. It’s better to start with a smaller size and gradually increase if needed, rather than using a drill bit that is too large from the beginning.
Can I use a tile drill bit on other materials?
Yes, tile drill bits can also be used on other materials such as glass, stone, and certain metals. However, it’s important to adjust the drilling speed and pressure accordingly depending on the material. For example, drilling on glass requires a slower speed and light pressure to prevent cracking.
How do I prevent the drill bit from slipping on the tile?
To prevent the drill bit from slipping on the tile, you can start by creating a small indentation or “divot” on the tile surface with a nail or center punch. This will provide a starting point for the drill bit and help it to grip the tile more securely. Additionally, using a clamp to hold the tile in place can also prevent slipping during drilling.
What should I do if the tile cracks while drilling?
If the tile cracks while drilling, it’s best to stop immediately and assess the damage. Depending on the severity of the crack, you may need to replace the tile. If the crack is minor, you can try using a tile repair kit to fix it. It’s important to proceed with caution and take appropriate measures to prevent further damage.
Video:


Meet Harrison Clayton, a distinguished author and home remodeling enthusiast whose expertise in the realm of renovation is second to none. With a passion for transforming houses into inviting homes, Harrison's writing at https://thehuts-eastbourne.co.uk/ brings a breath of fresh inspiration to the world of home improvement. Whether you're looking to revamp a small corner of your abode or embark on a complete home transformation, Harrison's articles provide the essential expertise and creative flair to turn your visions into reality. So, dive into the captivating world of home remodeling with Harrison Clayton and unlock the full potential of your living space with every word he writes.


