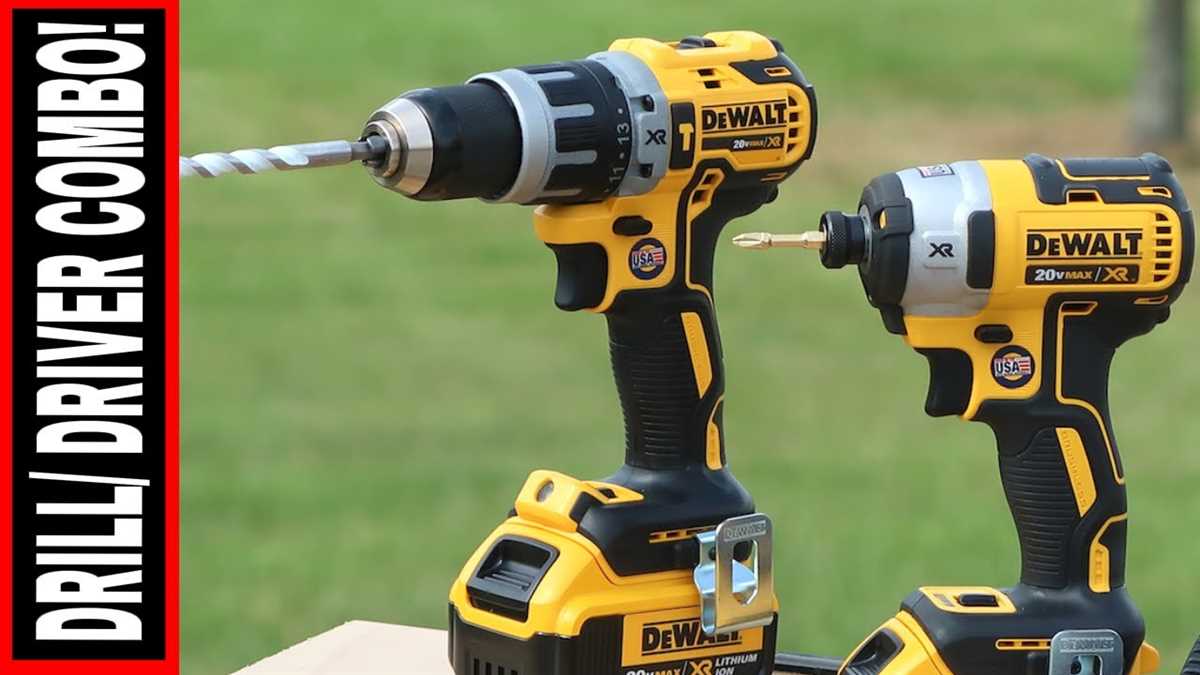
Easy Steps to Remove a Drill Bit from Dewalt Drill

Removing a drill bit from your Dewalt drill may seem like a daunting task, especially if you’re new to using power tools. However, with a few easy steps, you can safely and quickly remove a drill bit from your Dewalt drill without any hassle.
Step 1: First, ensure that your Dewalt drill is turned off and disconnected from any power source. This is crucial to prevent any accidental starts or injuries during the removal process.
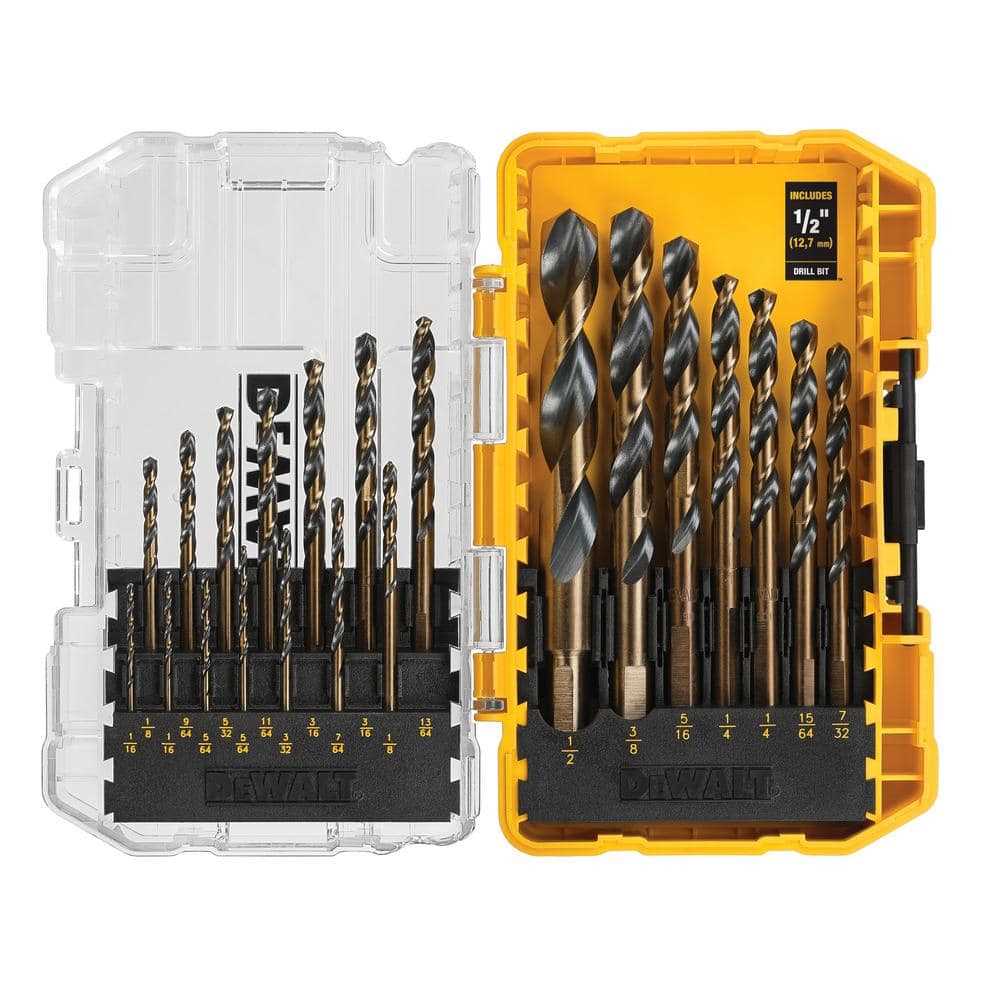
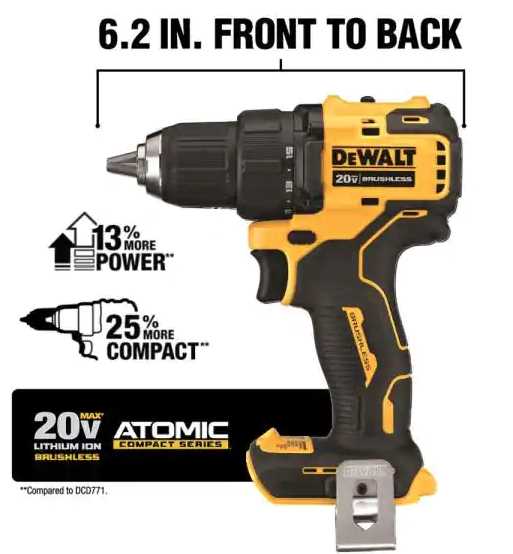
Step 2: Locate the chuck, which is the part of the drill that holds the drill bit. The chuck is usually located at the front of the drill, and it may have three jaws that can be tightened or loosened.
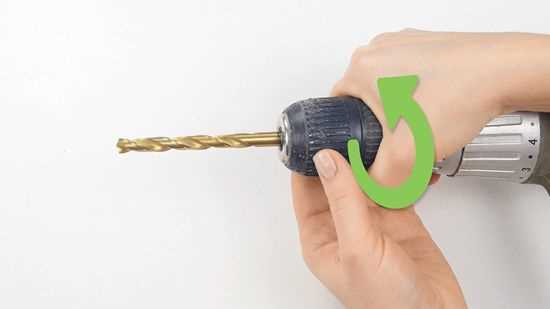
Step 3: With one hand, hold onto the drill chuck firmly to prevent it from rotating. With your other hand, rotate the chuck counterclockwise. This will loosen the jaws of the chuck and allow you to remove the drill bit.
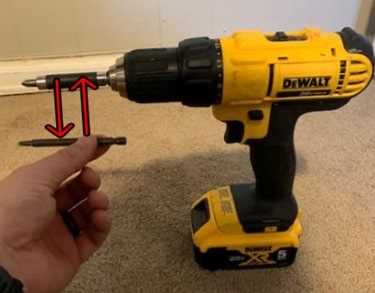
Step 4: Once the chuck is loosened, grab the drill bit with your fingers and gently pull it out of the chuck. If the drill bit is stuck, you can use a pair of pliers to grip it securely and pull it out.

Step 5: After removing the old drill bit, you can now insert a new drill bit into the chuck. Align the flat part of the drill bit shank with the jaws of the chuck, then tighten the chuck by rotating it clockwise.
Remember to always wear protective gloves and eyewear when using power tools. If you encounter any difficulties or have any concerns, consult the instruction manual or contact the manufacturer for further assistance.
By following these easy steps, you can confidently remove a drill bit from your Dewalt drill and continue your projects with ease. Remember to always prioritize safety and take necessary precautions when handling power tools.
Step 1: Locate the Chuck Key
The first step in removing a drill bit from a Dewalt drill is to locate the chuck key. The chuck key is a small, L-shaped tool that is used to tighten and loosen the chuck, which holds the drill bit in place. The chuck key is typically included with the drill and can be found either attached to the power cord or in a designated storage area on the drill itself.
Once you have located the chuck key, make sure it is within easy reach and ready to use. It is important to have the chuck key on hand before attempting to remove the drill bit, as it is necessary to loosen the chuck and release the bit.

If you are unable to locate the chuck key, check the drill’s user manual or contact the manufacturer for instructions on obtaining a replacement chuck key. Using the drill without the proper chuck key can result in damage to the chuck or injury to the user.
Step 2: Insert the Chuck Key
Inserting the chuck key correctly is crucial for safely removing a drill bit from a Dewalt drill. The chuck key is a small tool that is provided with the drill, specifically designed for loosening and tightening the chuck.
To insert the chuck key:
- Locate the chuck key hole on the side of the chuck. This is generally a small, round hole that can be found on the face of the chuck.
- Align the chuck key with the chuck key hole.
- Insert the chuck key into the hole, making sure it fits securely.
It is important to ensure that the chuck key is fully inserted into the chuck key hole to avoid any accidents or mishaps. The key should fit snugly, with none of the teeth of the key sticking out.
Step 3: Rotate the Chuck Key
Once the drill bit is securely in place, you will need to rotate the chuck key to tighten it. The chuck key is a small, L-shaped tool that fits into the chuck of the drill. It is used to turn the chuck and secure the drill bit in place.

- Insert the chuck key into the chuck, making sure it is fully seated.
- Hold the drill with one hand and the chuck key with the other hand.
- Rotate the chuck key clockwise to tighten the chuck and secure the drill bit.
- Continue rotating the chuck key until the drill bit is securely tightened and there is no play or movement.
It is important to make sure the chuck key is inserted correctly and fully seated in the chuck before rotating it. This will ensure that the chuck can be tightened properly and the drill bit will be securely held in place.
Step 4: Loosen the Chuck
Once the drill bit is properly aligned in the chuck, the next step is to loosen the chuck so that the bit can be removed. The chuck is the part of the drill that holds the bit in place. To loosen the chuck:
- Hold the drill securely with one hand, making sure to keep a firm grip on the handle.
- With your free hand, locate the chuck key, which is usually a small metal tool that came with the drill.
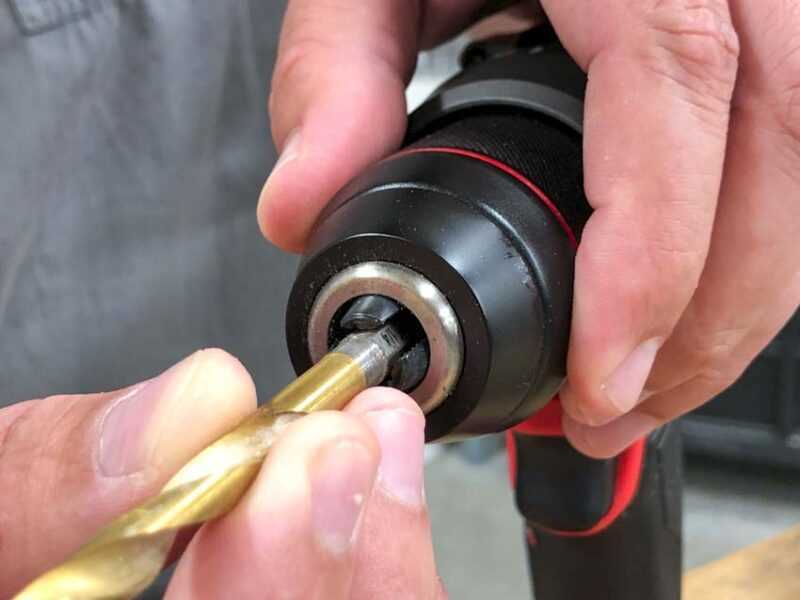
- Insert the chuck key into the small hole on the side of the chuck.
- Rotate the chuck key counterclockwise to loosen the chuck.
- Continue rotating the chuck key until the chuck is loose enough to remove the bit.
- Once the chuck is loose, remove the bit by pulling it straight out of the chuck.
It’s important to note that different drills may have different methods for loosening the chuck. Some drills have a keyless chuck, which can be loosened by hand. If your drill has a keyless chuck, simply grip the chuck firmly and rotate it counterclockwise to loosen.
Step 5: Remove the Drill Bit

Once you have completed your drilling task, it’s time to remove the drill bit from your Dewalt drill. Follow these easy steps to safely remove the drill bit:
- Make sure the drill is turned off and disconnected from any power source. Safety should always be your top priority.
- Locate the chuck on your Dewalt drill. The chuck is the part of the drill that holds the drill bit in place.
- Identify the chuck key that came with your drill. The chuck key is a specialized tool used to loosen and tighten the chuck.
- Insert the chuck key into the chuck. The chuck key will have a unique shape that matches the shape of the chuck.
- Rotate the chuck key counterclockwise to loosen the chuck. Keep turning until the chuck is loose enough to remove the drill bit.
- Once the chuck is loose, you can easily pull out the drill bit from the chuck. Be careful not to touch the hot drill bit if you’ve been drilling for an extended period.
After removing the drill bit, it’s a good idea to inspect it for any damage or excessive wear. If necessary, clean the drill bit before storing it to maintain its longevity.
Remember to always handle drill bits with care to avoid injury. Following these steps will ensure that you can safely and easily remove a drill bit from your Dewalt drill.
Step 6: Secure the Drill Bit
After removing the old drill bit, it is important to secure the new drill bit properly before proceeding with any drilling tasks. This will ensure that the drill bit stays in place during use and prevents accidents or damage.

To secure the drill bit, follow these steps:
- Choose the suitable drill bit for your task.
- Insert the chosen drill bit into the chuck of the Dewalt drill.
- Hold the drill bit firmly with one hand while using the chuck key or the drill’s chuck tightening feature with your other hand.
- Tighten the chuck securely around the drill bit by turning the key or using the chuck tightening feature until it is firmly locked in place.
Make sure the drill bit is centered and aligned properly within the chuck before tightening. This will prevent the drill bit from wobbling or getting dislodged during use.
Once the drill bit is properly secured, it is ready for use.
Step 7: Replace the Chuck Key
Once you have successfully removed the drill bit, it’s time to replace the chuck key. Follow these simple steps:

- Inspect the chuck key to ensure that it is in good condition and free of any damage or wear.
- Align the teeth of the chuck key with the holes in the chuck.
- Insert the chuck key into the holes and make sure it is securely in place.
- Tighten the chuck key by turning it clockwise until it feels snug.
- Double-check to confirm that the chuck key is properly inserted and tightened.
It’s important to replace the chuck key after removing the drill bit to prevent any damage to the chuck or injury to yourself. Always ensure that the chuck key is securely in place before using your Dewalt drill.
Step 8: Test the Drill
Once you have successfully removed the drill bit from your Dewalt drill, it’s important to test the drill to ensure it is working properly. Follow these steps to test the drill:
- Insert a new drill bit into the chuck of the drill. Make sure it is securely tightened.
- Connect the drill to a power source, such as a power outlet or a charged battery.
- Hold the drill firmly with both hands, making sure to keep your fingers away from the rotating chuck.
- Activate the drill by pressing the trigger button. The drill should start rotating smoothly and without any strange noises.
- While the drill is running, check if there is any wobbling, vibration, or other irregularities. These could indicate a problem with the chuck or the motor and may require further inspection or maintenance.
- If the drill is functioning properly, you can proceed with your task or project. If you notice any issues, it is recommended to consult the user manual or contact a professional for assistance.
Remember to always wear appropriate safety gear, such as safety glasses, when using a power drill. It’s also important to read and follow all safety precautions and instructions provided by the manufacturer.
FAQ:
What is the easiest way to remove a drill bit from a Dewalt drill?
The easiest way to remove a drill bit from a Dewalt drill is to first ensure that the drill is turned off and unplugged from the power source. Then, locate the chuck and use the chuck key to loosen the jaws of the chuck. Once the jaws are loosened, simply pull the drill bit out of the chuck.

Is it possible to remove a drill bit from a Dewalt drill without using a chuck key?
Yes, it is possible to remove a drill bit from a Dewalt drill without using a chuck key. Some Dewalt drills come with a keyless chuck, which allows you to tighten or loosen the jaws of the chuck by hand. In this case, you can simply twist the chuck counterclockwise to loosen the jaws and remove the drill bit.
Can I use pliers to remove a stuck drill bit from a Dewalt drill?
Using pliers to remove a stuck drill bit from a Dewalt drill is not recommended as it can damage the chuck. If the drill bit is stuck, you can try tapping the chuck lightly with a rubber mallet to loosen it. If that doesn’t work, you may need to consult the manual or contact Dewalt for further assistance.
What should I do if the drill bit is stuck in the chuck of my Dewalt drill?
If the drill bit is stuck in the chuck of your Dewalt drill, you can try a few different methods to remove it. First, make sure the drill is turned off and unplugged. Then, try tapping the chuck lightly with a rubber mallet to loosen it. If that doesn’t work, you can also try spraying some lubricant onto the chuck to help loosen it. If all else fails, you may need to consult the manual or contact Dewalt for further assistance.
Video:


Meet Harrison Clayton, a distinguished author and home remodeling enthusiast whose expertise in the realm of renovation is second to none. With a passion for transforming houses into inviting homes, Harrison's writing at https://thehuts-eastbourne.co.uk/ brings a breath of fresh inspiration to the world of home improvement. Whether you're looking to revamp a small corner of your abode or embark on a complete home transformation, Harrison's articles provide the essential expertise and creative flair to turn your visions into reality. So, dive into the captivating world of home remodeling with Harrison Clayton and unlock the full potential of your living space with every word he writes.


