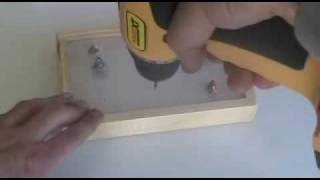
Easy guide to drilling a hole in plexiglass without any cracks

Drilling a hole in plexiglass can be a tricky task, as the material is prone to cracking and shattering if not done properly. However, with the right tools and technique, you can easily drill a clean hole in plexiglass without any cracks.
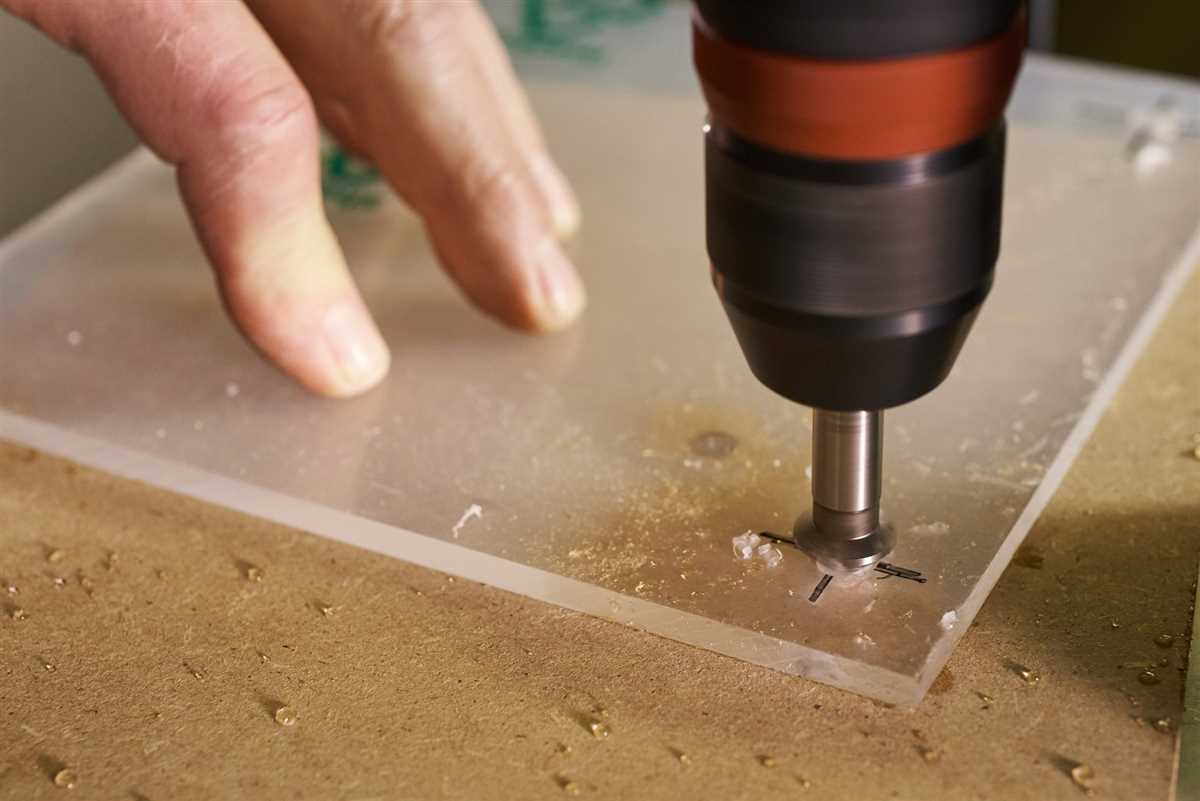
Firstly, it is important to choose the correct drill bit for the job. A regular drill bit may not work well on plexiglass and can cause it to crack. Instead, opt for a drill bit specifically designed for use with plexiglass or acrylic materials. These drill bits have a sharper point and are less likely to cause cracks.
Before you start drilling, it is a good idea to secure the plexiglass in place using clamps or a vise. This will prevent the material from moving or vibrating while you drill, which can also lead to cracking. Make sure the area you want to drill is easily accessible and clear of any obstructions.
When you’re ready to start drilling, apply a small amount of lubricant or a soap and water mixture to the drill bit. This will help reduce friction and heat buildup while drilling. Begin drilling at a low speed to avoid putting too much pressure on the plexiglass. Slowly increase the speed as you continue drilling, but always stay mindful of the pressure you are applying.
As you drill, it is important to keep the area cool to prevent cracking. You can do this by intermittently spraying the plexiglass with water or using a cold air blower. This will help dissipate heat and reduce the risk of cracks.

Once you have drilled the hole, remove the drill bit and clean away any debris. If there are any rough edges around the hole, you can use sandpaper or a deburring tool to smooth them out. Take care not to apply too much pressure, as this can also cause cracking.
By following these tips and using the right tools, you can drill a clean hole in plexiglass without any cracks. Remember to take your time, use steady pressure, and keep the area cool throughout the drilling process. With practice, you’ll be able to master this skill and create professional-looking holes in plexiglass for your next project.
A step-by-step guide to drilling a hole in plexiglass without any cracks
Materials needed:
- Plexiglass sheet
- Masking tape
- Drill
- Drill bit suitable for plexiglass
- Clamps
- Safety goggles
Step 1: Prepare the plexiglass
Clean the plexiglass sheet to remove any dirt or debris that may interfere with the drilling process. Use a mild detergent and a soft cloth to gently wipe the surface clean. Allow the plexiglass to dry completely before proceeding to the next step.
Step 2: Mark the drilling spot

Decide where you want to drill the hole in the plexiglass. Use a pencil or a marker to mark the exact spot. Make sure to measure and align the mark accurately.

Step 3: Apply masking tape
Take a strip of masking tape and place it over the marked spot on the plexiglass. The tape will help prevent cracks and chipping during the drilling process.
Step 4: Secure the plexiglass
Secure the plexiglass sheet to a stable surface using clamps. This will prevent the sheet from moving or vibrating while drilling.
Step 5: Put on safety goggles

Before starting the drilling process, protect your eyes by wearing safety goggles. This will prevent any flying debris from causing injury.
Step 6: Start drilling
- Insert the drill bit suitable for plexiglass into the drill.
- Position the drill bit at a 90-degree angle over the marked spot on the plexiglass.
- Apply light pressure and start the drill at a low speed.
- Slowly increase the drilling speed while maintaining a steady hand.
- Continue drilling until the drill bit goes all the way through the plexiglass.
Step 7: Remove the masking tape
Gently peel off the masking tape from the plexiglass. This will help reveal a clean and crack-free hole.
Step 8: Smooth the edges
Use sandpaper or a deburring tool to smooth the edges of the drilled hole. This will remove any rough or sharp edges, making the hole safe to handle.

Now you have successfully drilled a hole in plexiglass without any cracks! Remember to always take proper safety precautions and work slowly to achieve the best results.
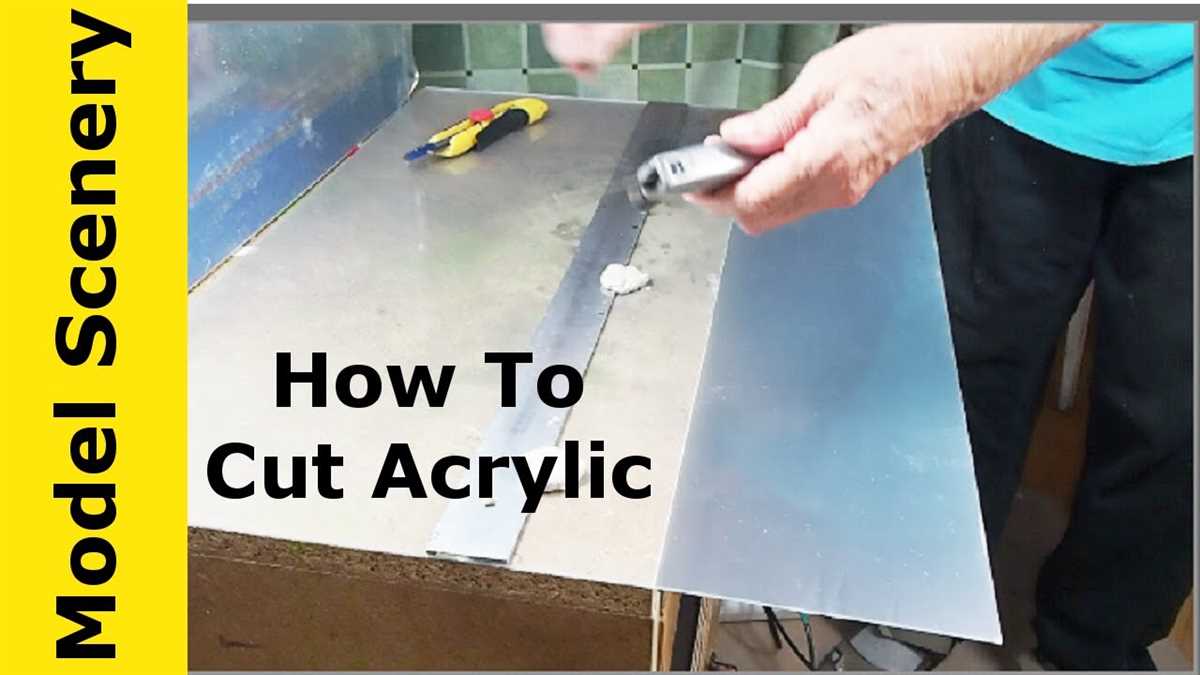
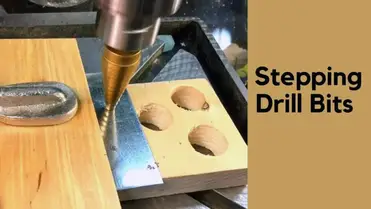
Choose the right drill bit
When drilling a hole in plexiglass, it is important to choose the right drill bit to avoid cracks and damage to the material. A regular drill bit may cause the plexiglass to crack, so it is recommended to use a drill bit specifically designed for drilling plexiglass or other plastics.
There are two types of drill bits that work well for drilling plexiglass:
- Brad point drill bit: This type of drill bit features a pointed tip and is designed to create clean and precise holes in wood, plastic, and other materials. The center tip helps to guide the drill bit, reducing the chance of it slipping and causing cracks in the plexiglass.
- Step drill bit: This type of drill bit has a cone-shaped design with multiple stepped diameters. It is ideal for drilling holes of different sizes in plexiglass without causing cracks. The gradual increase in diameter allows for smooth and controlled drilling.
It is important to note that when using a drill bit for plexiglass, you should avoid using excessive pressure or high speed. Plexiglass is a relatively soft material, and applying too much force or using high speeds can cause it to crack.
Before drilling into the plexiglass, it is also recommended to practice on a scrap piece of plexiglass or a small inconspicuous area to test the drill bit and drilling technique.

Mark the drilling spot
The first step in drilling a hole in plexiglass is to mark the drilling spot. This is an important step as it will ensure that the hole is drilled in the right place and will prevent any cracks or damage to the plexiglass.
To mark the drilling spot, follow these steps:
- Place the plexiglass on a flat surface.
- Measure and mark the exact spot where you want to drill the hole. It is recommended to use a pencil or a marker to make the mark visible.
- If you are drilling multiple holes, make sure to mark each spot individually.
It is important to be precise while marking the drilling spot, as any inaccuracies can lead to cracks or damage to the plexiglass. Take your time to ensure that the marks are correctly placed before proceeding to the next step.
Secure the plexiglass

Before you begin drilling the hole in the plexiglass, it’s important to secure it properly to avoid any cracks or damage. Here are a few steps to follow:
- Clean the surface: Wipe the plexiglass with a clean, lint-free cloth to remove any dirt or dust particles that may interfere with the drilling process.
- Mark the drilling spot: Use a marker or a piece of masking tape to indicate the exact spot where you want to drill the hole. This will help you stay focused and avoid any mistakes.
- Prepare the work area: Place the plexiglass on a stable and secure surface, such as a workbench. Ensure that there is enough space for the drill to move freely without hitting any obstacles.
- Use clamps: If possible, use clamps to hold the plexiglass in place. This will provide additional stability and prevent it from sliding or moving during the drilling process.
- Create a support: If clamps are not available, you can create a support using scrap wood or other materials. Position the support underneath the plexiglass, near the drilling spot, to prevent any flexing or bending while drilling.
By following these steps, you can ensure that the plexiglass is securely positioned and ready for drilling. Remember to always work with caution and take necessary safety precautions to avoid any accidents or damage to the material.
Apply masking tape
Before drilling a hole in plexiglass, it is important to apply masking tape to the area where the hole will be drilled. This helps to prevent the plexiglass from cracking or chipping during the drilling process.
Start by measuring and marking the spot where you want to drill the hole on the plexiglass. Then, cut a piece of masking tape slightly larger than the area you marked. Carefully place the masking tape over the marked area, ensuring that it is centered and covers the entire spot where the hole will be drilled.

The masking tape acts as a protective barrier, absorbing some of the pressure from the drill and reducing the likelihood of the plexiglass cracking or splintering. It also helps to stabilize the plexiglass during the drilling process.
Make sure that the masking tape is smooth and tightly adhered to the plexiglass. Any air bubbles or wrinkles in the tape could affect the drilling process and increase the risk of cracking.
Once the masking tape is applied, you can proceed with drilling the hole in the plexiglass following the appropriate techniques and precautions.
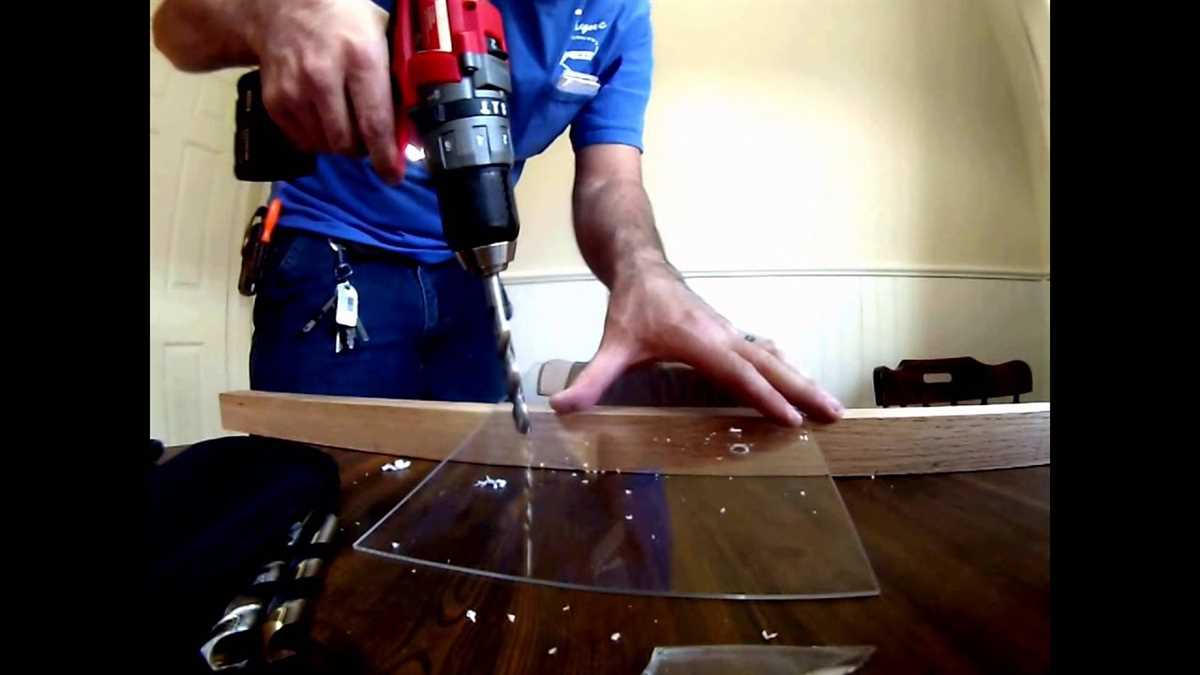
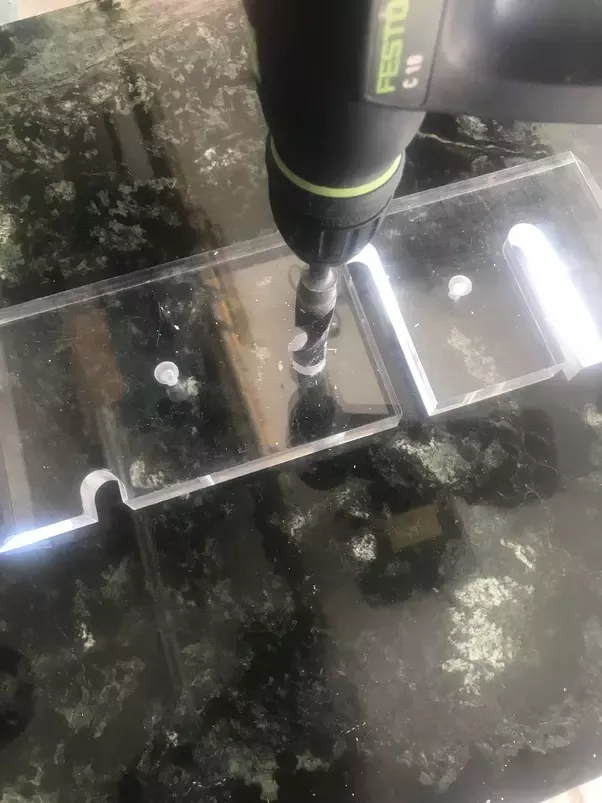
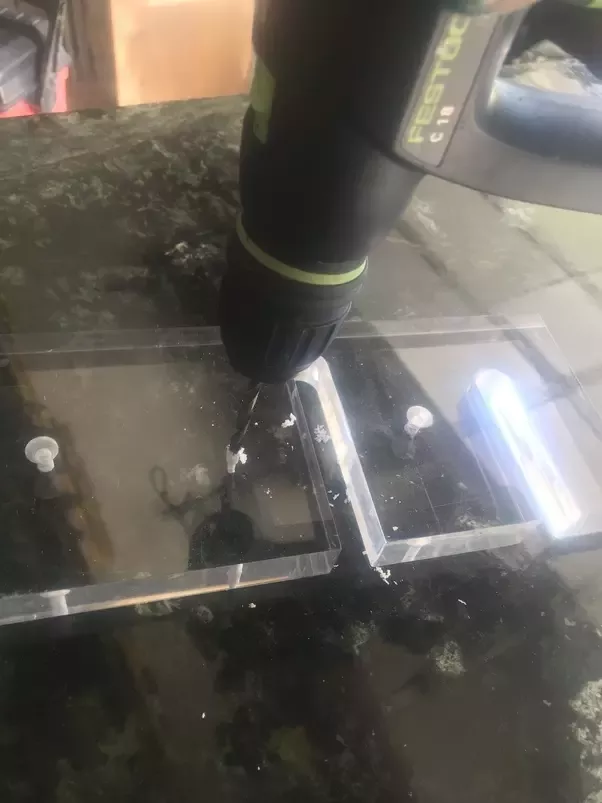
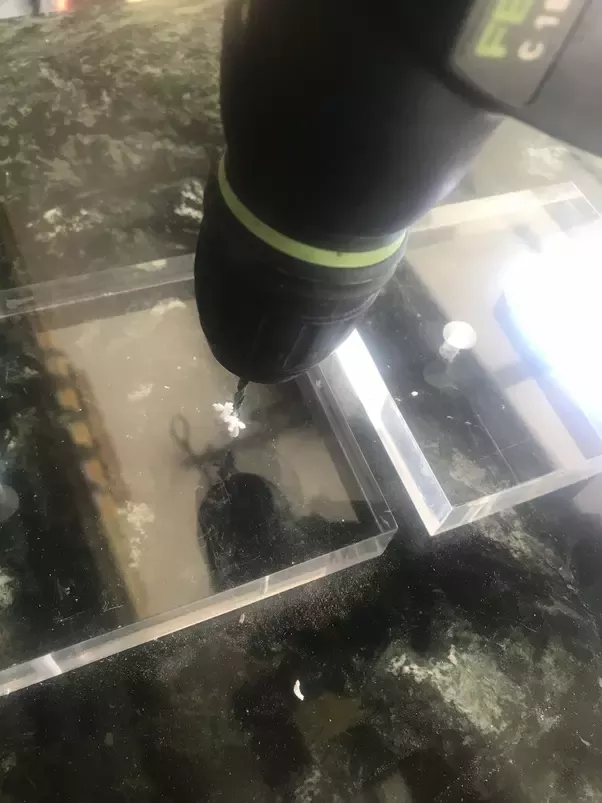
Start drilling slowly
Once you have marked the spot where you want to drill the hole in the plexiglass, it’s time to start drilling. However, it’s important to start drilling slowly to minimize the risk of cracking the plexiglass.
Step 1: Attach a drill bit specifically designed for drilling plexiglass to your drill. These drill bits typically have a pointed tip and a low cutting angle, which helps to prevent the plexiglass from cracking.
Step 2: Place the tip of the drill bit on the marked spot and apply light pressure. It’s important not to apply too much pressure at this stage, as it can cause the plexiglass to crack. Start the drill at a slow speed and gradually increase the speed as you continue drilling.
Step 3: Keep the drill bit perpendicular to the surface of the plexiglass. Tilting the drill bit can increase the risk of cracking the plexiglass. Make sure to maintain a steady grip on the drill and apply consistent pressure as you drill through the material.
Step 4: As you continue drilling, periodically withdraw the drill bit to clear away any debris and cool down the bit. This will help to prevent overheating, which can also cause the plexiglass to crack. Use a cloth or compressed air to clean away any debris from the hole.
Step 5: Once the hole is complete, carefully remove the drill bit from the plexiglass. Inspect the hole to ensure that it is clean and free of any cracks or damage. If any cracks or damage are present, it’s important to stop drilling and reassess your technique or tools.
Remember, drilling plexiglass requires patience and precision. By starting slowly and following these steps, you can minimize the risk of cracking the plexiglass and achieve a clean and precise hole.
Use a lubricant
Using a lubricant when drilling a hole in plexiglass can help prevent cracks from forming. The lubricant acts as a buffer between the drill bit and the plexiglass, reducing friction and heat buildup.
There are several types of lubricants that can be used for drilling plexiglass. One option is to use a wax or grease-based lubricant. These lubricants are easy to apply and provide a smooth surface for the drill bit to slide against. It is important to apply the lubricant directly to the area where the hole will be drilled.
Another option is to use a water-based lubricant. This type of lubricant is ideal for drilling plexiglass as it helps to cool down the drill bit and the plexiglass, reducing the chances of cracks. Water-based lubricants are usually available in spray form, making them easy to apply.
Before drilling, it is important to ensure that the plexiglass is clean and free from any dust or debris. This will help to prevent any additional friction that could lead to cracks. After applying the lubricant, start drilling at a slow speed to allow the lubricant to work its way into the plexiglass.
Using a lubricant when drilling a hole in plexiglass is a simple and effective way to prevent cracks. It is always recommended to test the lubricant on a scrap piece of plexiglass before drilling the actual hole to ensure compatibility and desired results.
Clean the hole
After drilling the hole in the plexiglass, it’s important to clean it properly. This step will ensure that the hole is free from any debris or leftover material, resulting in a clean and smooth finish.
Here are some steps to follow for cleaning the hole:
- Use a soft brush or cloth to remove any loose particles from the hole. Gently brush or wipe the surface to get rid of any dust or shavings.
- If there are any stubborn residues or debris stuck in the hole, you can use a vacuum cleaner with a brush attachment to suction them out. Make sure to be gentle to avoid scratching the plexiglass.
- For a more thorough cleaning, you can dampen a cloth or cotton swab with isopropyl alcohol and carefully clean the edges of the hole. This will remove any remaining dirt or oils that may affect the clarity of the plexiglass.
- Inspect the hole to ensure that it is completely clean and free from any debris. If needed, repeat the cleaning process until the hole is spotless.
By properly cleaning the hole, you can ensure that the plexiglass remains transparent and free from any cracks or damage. This will also help in achieving a professional-looking result for your project.
Remove the masking tape
Once you have successfully drilled the hole in the plexiglass, it is time to remove the masking tape. This tape was used to prevent cracking and scratches during the drilling process.
To remove the masking tape, gently peel it off the surface of the plexiglass. Start at one end of the tape and slowly pull it away from the drilled hole. Be careful not to apply too much force, as this can cause damage to the plexiglass.
If there is any residue left behind from the masking tape, you can use a mild solvent or rubbing alcohol to remove it. Apply the solvent or rubbing alcohol to a clean cloth and gently rub the residue until it comes off.
Make sure to thoroughly clean the surface of the plexiglass after removing the masking tape. This will ensure that the plexiglass is free from any debris or residue that could affect its appearance or functionality.
Now that the masking tape has been removed and the plexiglass is clean, you can admire your work and enjoy the newly drilled hole in the plexiglass!
FAQ:
What is plexiglass and why is it important to drill it without any cracks?
Plexiglass is a transparent plastic material that is often used as a shatter-resistant alternative to glass. It is important to drill plexiglass without any cracks because cracks can compromise its structural integrity and reduce its aesthetic appeal.
What tools are needed to drill a hole in plexiglass?
To drill a hole in plexiglass, you will need a drill, a drill bit suitable for plastic, masking tape, a marker or pencil, and a clamp.
Can any drill bit be used to drill plexiglass?
No, it is important to use a drill bit specifically designed for drilling plastic. These bits have a sharper point and a higher rake angle to prevent cracking and provide a cleaner cut.
What precautions should be taken when drilling plexiglass?
When drilling plexiglass, it is important to use low speed and gentle pressure to avoid heat buildup and cracking. Additionally, using a clamp to secure the plexiglass and applying masking tape over the drilling area can help prevent cracking.
Are there any alternatives to drilling a hole in plexiglass?
Yes, if you do not want to drill a hole in plexiglass, you can use adhesive hooks or suction cups to attach objects to the surface. These options do not require drilling and will not cause any cracks in the plexiglass.
Video:


Meet Harrison Clayton, a distinguished author and home remodeling enthusiast whose expertise in the realm of renovation is second to none. With a passion for transforming houses into inviting homes, Harrison's writing at https://thehuts-eastbourne.co.uk/ brings a breath of fresh inspiration to the world of home improvement. Whether you're looking to revamp a small corner of your abode or embark on a complete home transformation, Harrison's articles provide the essential expertise and creative flair to turn your visions into reality. So, dive into the captivating world of home remodeling with Harrison Clayton and unlock the full potential of your living space with every word he writes.


