Drilling Through Porcelain Tile: A Step-by-Step Guide to Success

Porcelain tiles are a popular choice for floors, walls, and other surfaces due to their durability, water resistance, and aesthetic appeal. However, drilling through porcelain tile can be a challenging task, as it is one of the hardest materials to drill into. To ensure success and prevent damage to the tile, it is essential to follow the proper drilling techniques. This step-by-step guide will provide you with the knowledge and instructions you need to drill through porcelain tile like a pro.
Step 1: Gather the necessary tools and materials.
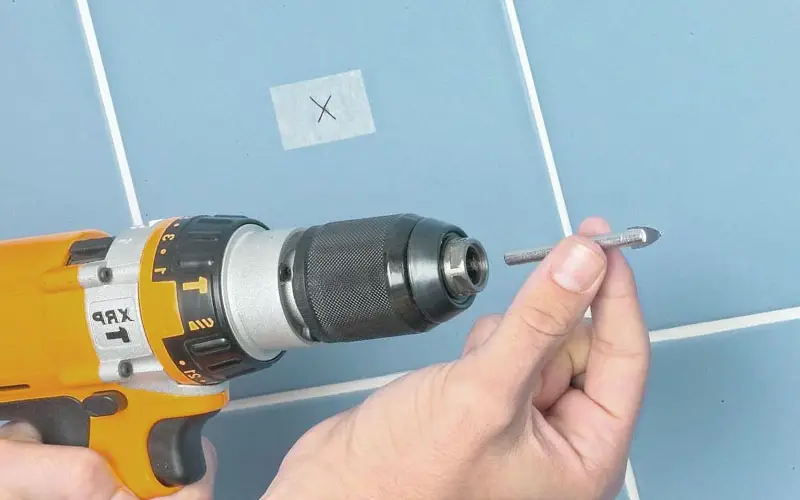
Before starting the drilling process, it is important to collect all the required tools and materials. You will need a power drill with variable speed settings, a diamond drill bit specifically designed for drilling through porcelain, masking tape, a marker, a spray bottle filled with water, and safety equipment such as safety goggles and gloves. Having everything ready before you begin will make the process smoother and more efficient.
Step 2: Mark the drilling point.
Once you have gathered your tools, it’s time to mark the drilling point on the porcelain tile. Use a marker to clearly indicate where you want to drill. If you are drilling multiple holes, make sure to space them evenly and appropriately for your project. This step is crucial as it helps prevent the drill bit from slipping and ensures accurate positioning.

Step 3: Apply masking tape.
To further prevent the drill bit from slipping and protect the tile surface, apply masking tape over the marked drilling point. The tape creates a barrier that helps to stabilize the drill bit and reduce the risk of chipping or cracking the tile during the drilling process. Make sure the tape is securely applied and covers the entire drilling area.
Step 4: Start drilling.
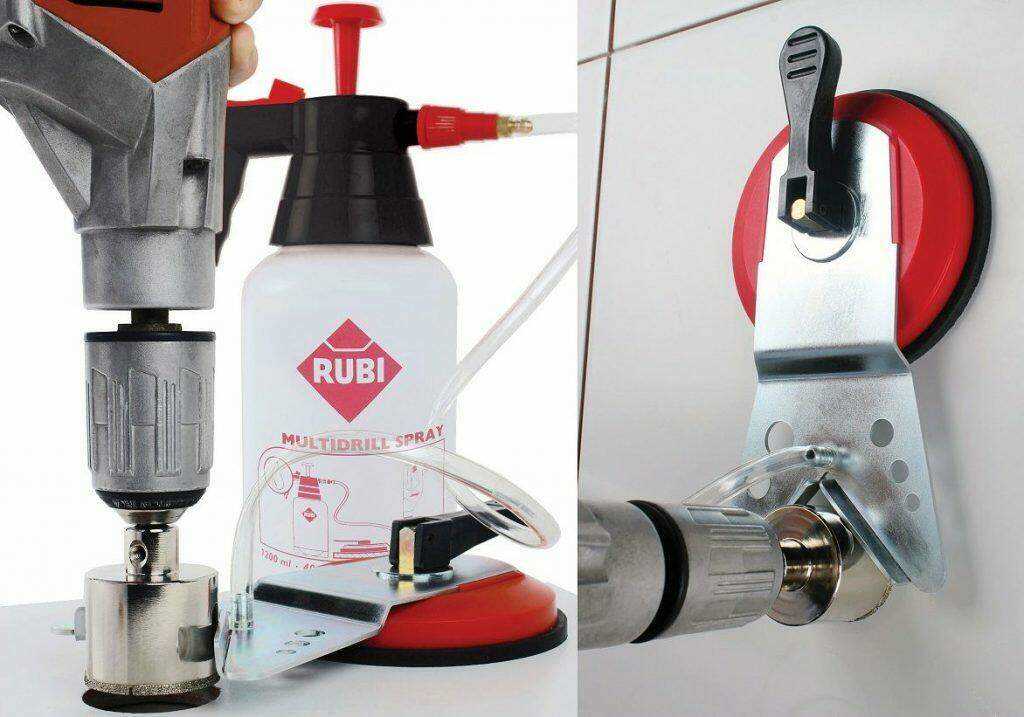
Before you begin drilling, it is important to set your drill to a slow speed and use a light, steady pressure. Start drilling at a slow pace, gradually increasing the speed as you progress. Remember to keep the drill perpendicular to the tile surface to ensure a straight hole. As you drill, apply a constant stream of water to the drilling area using the spray bottle. This helps to keep the drill bit cool, lubricated, and prevents the tile from overheating or cracking due to friction.
Step 5: Clean and finish.

Once you have successfully drilled through the porcelain tile, carefully remove the masking tape and wipe away any debris or water from the surface. Inspect the hole to ensure it meets your desired specifications. If necessary, use a file or sandpaper to smooth any rough edges. Congratulations, you have now mastered the art of drilling through porcelain tile!
Disclaimer: Always follow safety guidelines and consult professionals if you are unsure or inexperienced in drilling through porcelain tile. This guide is for informational purposes only and should be used at your own risk.
Choosing the Right Drill Bit
When it comes to drilling through porcelain tile, one of the most important factors to consider is choosing the right drill bit. Using the wrong drill bit can result in cracking or chipping the tile, making it important to select a bit that is specifically designed for drilling through tile.
1. Diamond Drill Bits
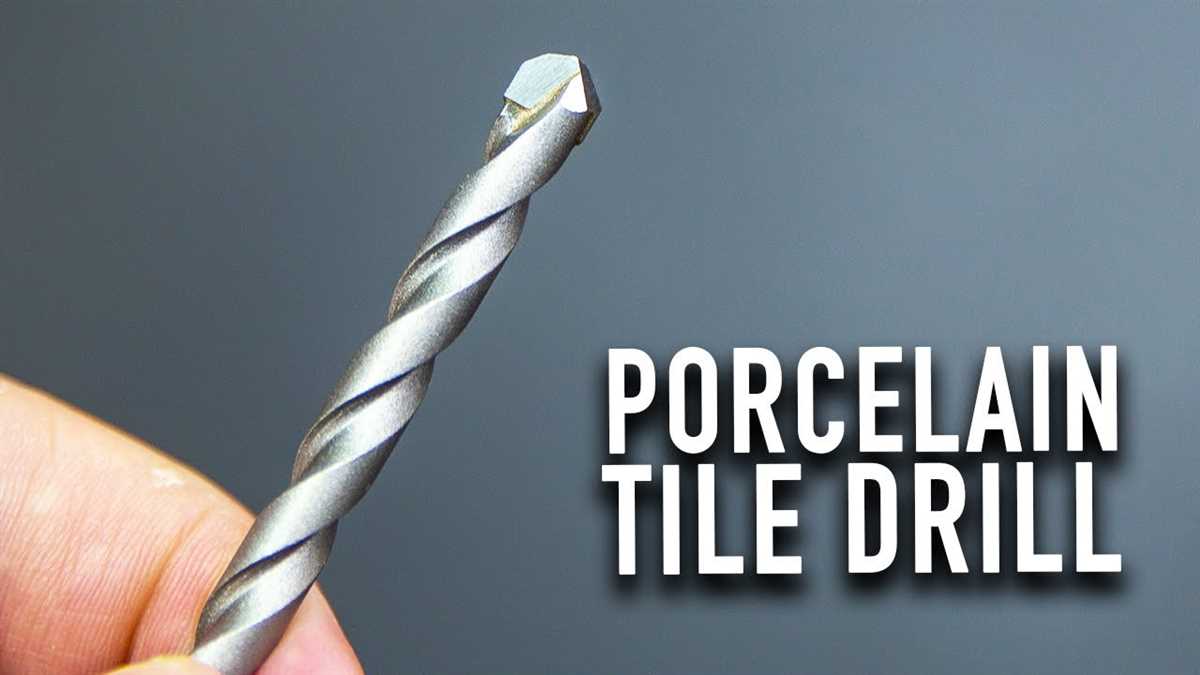
Diamond drill bits are the most common drill bits used for drilling through porcelain tile. They are specifically designed to handle the hardness of porcelain and other ceramic materials. Diamond drill bits have small, sharp diamonds embedded in the tip, which allows them to easily cut through the tile without causing damage. These drill bits are available in various sizes and can be used with both corded and cordless drills.
2. Carbide-tipped Drill Bits
Carbide-tipped drill bits are another option for drilling through porcelain tile. These drill bits are made from a combination of carbide and steel, which gives them the strength and durability required for drilling through hard tile materials. While they may not be as effective as diamond drill bits, carbide-tipped bits can still provide satisfactory results for most porcelain tile drilling tasks.

3. Glass and Tile Drill Bits

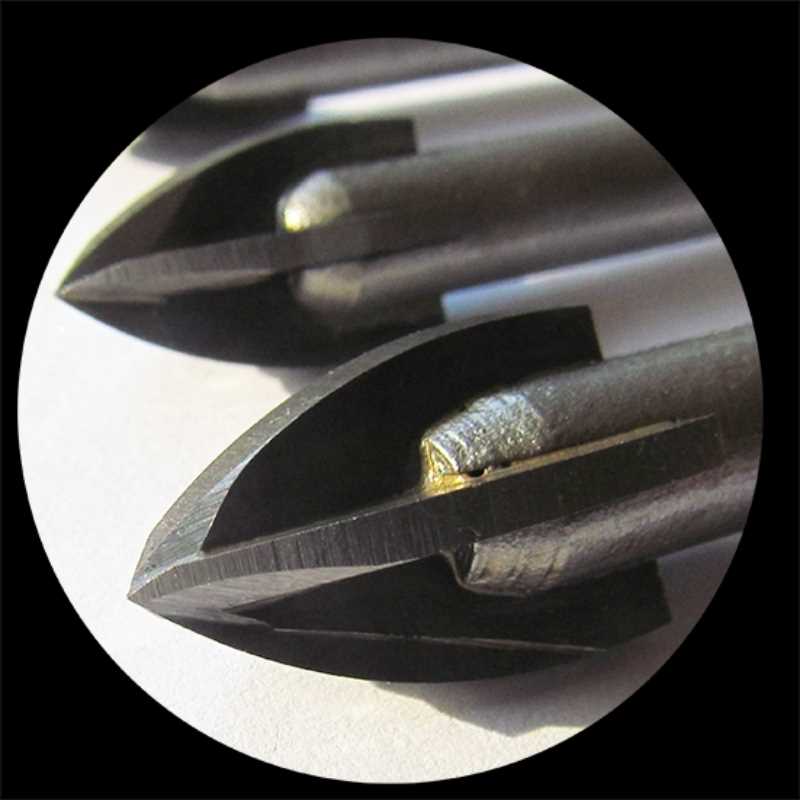
Glass and tile drill bits are specifically designed for drilling through glass and ceramic materials. They have a spear-shaped or spade-shaped tip with carbide or diamond-coated edges. These drill bits are not as effective as diamond or carbide-tipped bits for drilling through porcelain tile, but they can still be used if other options are not available.
4. Tungsten Carbide Drill Bits
Tungsten carbide drill bits are known for their strength and durability. They can be used for drilling through various materials, including porcelain tile. While not specifically designed for tile drilling, tungsten carbide bits can provide satisfactory results if used with care and patience. It’s important to use a slow drilling speed and apply steady pressure to avoid causing damage to the tile.
5. Other Considerations
When choosing a drill bit for porcelain tile, it’s important to consider factors like the size of the hole you need to drill, the type of drill you have, and the depth of the tile. Some drill bits may be more suitable for small holes, while others are better for larger holes. It’s also important to consider the compatibility of the drill bit with your drill’s chuck size. Finally, if you need to drill through thick porcelain tile, make sure to choose a drill bit that is long enough to reach through the entire thickness of the tile.

Conclusion
Choosing the right drill bit is crucial for successfully drilling through porcelain tile. Diamond drill bits are the most common and effective option, but carbide-tipped, glass and tile, and tungsten carbide drill bits can also be used with satisfactory results. Consider the factors mentioned above and choose a drill bit that suits your specific drilling needs.
Preparing the Porcelain Tile
Clean the Surface
Before you start drilling through porcelain tile, it’s essential to ensure that the surface is clean and free of any dirt or debris. This will prevent any damage to the tile and make it easier to mark and drill the holes.
Measure and Mark
Next, measure and mark the exact spots where you want to drill the holes. Use a measuring tape or ruler to measure the distance between the holes accurately. Use a pencil or marker to make the marks on the tile’s surface.
Select the Right Drill Bit
Choosing the right drill bit is crucial when drilling through porcelain tile. It’s recommended to use a diamond-tipped drill bit specifically designed for drilling through hard materials like porcelain. These drill bits are durable and have a higher chance of success without damaging the tile’s surface.

Secure the Tile
Porcelain tile is fragile and can crack easily if not properly supported. To prevent this, secure the tile firmly in place before drilling. You can use a clamp or a piece of plywood underneath the tile to provide stability and prevent any movement during the drilling process.
Wear Protective Gear
Safety should always be a priority when drilling through porcelain tile. Make sure to wear safety glasses to protect your eyes from any flying debris. Additionally, it’s a good idea to wear a dust mask to avoid inhaling any dust particles that may be produced while drilling.
Apply Lubrication
Applying lubrication to the tile’s surface can help reduce friction and heat while drilling, preventing any potential damage to the tile. You can use water or a specialized lubricant designed for drilling through porcelain.

Start Slowly
When you’re ready to start drilling, it’s important to begin slowly and gently apply pressure. Avoid using excessive force, as this can cause the drill bit to slip or crack the tile. Slow and steady pressure will help you maintain control and reduce the risk of damage.
Clean the Surface Again
Once you have finished drilling through the porcelain tile, clean the surface once again to remove any dust or debris. This will ensure that the drilled holes are clean and ready for further installation or finishing.
Marking the Spot
Before you begin drilling, it’s important to mark the spot where you will be drilling. This will help ensure that you drill in the right place and avoid damaging the surrounding tiles.
Here’s how to mark the spot:
- First, decide where you want to drill your hole. Use a tape measure or ruler to accurately measure and mark the exact spot on the tile.
- Next, use a pencil or marker to make a small dot at the center of the spot you just marked. This will be your drilling point.
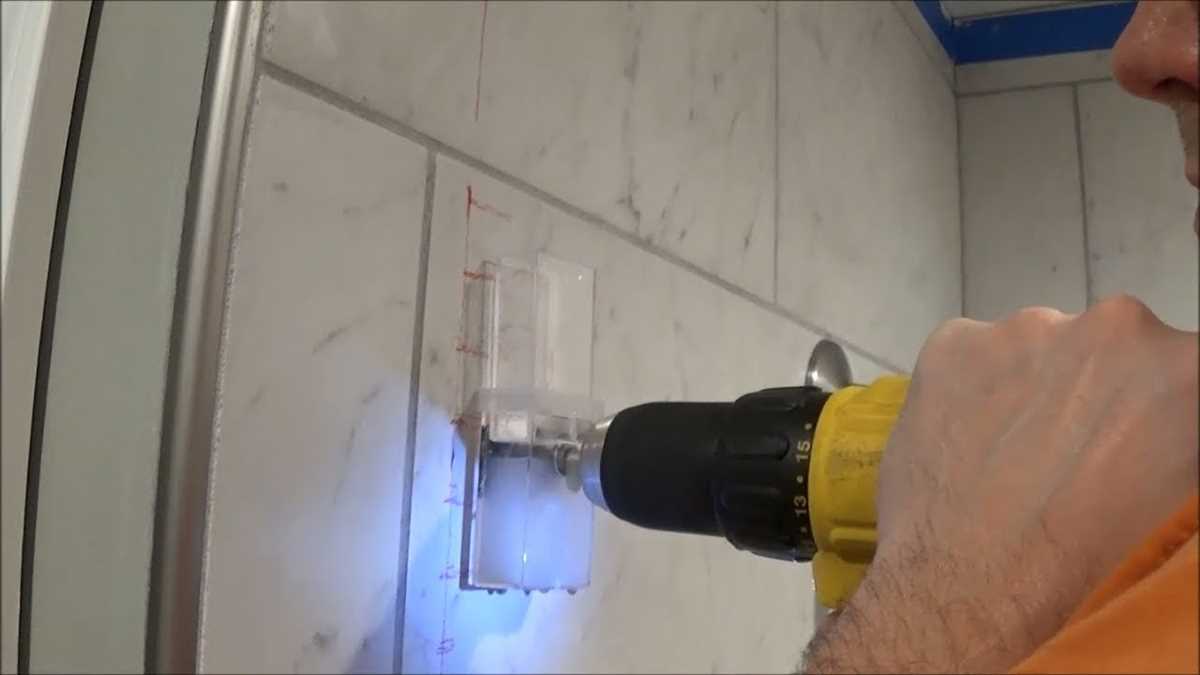
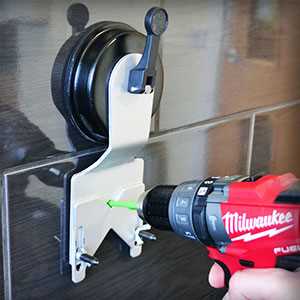
- Consider using a template or a tile hole saw guide to help you mark the spot more accurately. These tools can be placed on the tile and provide a guide for drilling.
Once you have marked the spot, double-check to make sure it is in the right place. Take a moment to inspect the surrounding area to ensure that drilling at that spot won’t cause any damage to nearby tiles or fixtures.

Note: It’s a good idea to wear safety goggles and work gloves when marking the spot and drilling through porcelain tile to protect your eyes and hands from any flying debris or sharp edges.
By taking the time to accurately mark the spot before drilling, you can increase your chances of a successful drilling process and avoid any unnecessary damage to your tiles.
Securing the Tile
Once you have successfully drilled your holes in the porcelain tile, it is important to secure the tile properly to ensure it stays in place. Here are some steps to follow:
- Clean the tile: Before securing the tile, make sure to clean it thoroughly. Use a damp cloth to remove any dust or debris from the drilling process.
- Choose the appropriate adhesive: Select a high-quality adhesive that is specifically designed for porcelain tile. Read the manufacturer’s instructions to ensure proper application.
- Apply the adhesive: Apply a small amount of adhesive to the back of the tile using a trowel or putty knife. Spread the adhesive evenly, ensuring full coverage.
- Position the tile: Carefully position the tile over the drilled holes, aligning them with the anchor points or brackets that will support the tile.
- Press the tile: Press the tile firmly but gently onto the surface, making sure it is flush with the surrounding tiles and the adhesive adheres properly.
- Remove excess adhesive: Use a damp cloth or sponge to remove any excess adhesive that may have squeezed out from under the tile during installation.
- Allow time for drying: Follow the adhesive manufacturer’s instructions for drying time. Avoid placing any objects or applying pressure on the tile until the adhesive has fully cured.
Securing the tile properly is essential to ensure it stays in place and maintains its integrity. By following these steps, you can ensure a successful installation of your porcelain tile.
Drilling Techniques
When it comes to drilling through porcelain tile, it’s important to use the right techniques to ensure success. Here are some important drilling techniques to keep in mind:
1. Marking the Tile
Before you start drilling, it’s crucial to mark the spot on the tile where you want the hole to be. You can use a pencil or marker to make a small dot on the tile’s surface.
2. Start with a Pilot Hole
To prevent the drill bit from slipping, it’s recommended to start with a small pilot hole. Use a sharp drill bit that’s suitable for drilling through tile and apply light pressure as you start drilling.
3. Use Water as Lubrication
When drilling through porcelain tile, it’s beneficial to use water as a lubricant. This helps to keep the drill bit cool and prevents it from getting damaged. You can use a spray bottle to apply water on the drilling spot while drilling.
4. Slow and Steady
Drilling through porcelain tile requires patience. It’s important to apply a moderate amount of pressure and drill at a slow speed. This prevents the tile from cracking or shattering due to excessive force.
5. Use a Masonry Bit
When drilling through porcelain tile, it’s recommended to use a masonry bit specifically designed for this task. These bits have a special design that helps to reduce the chances of the tile cracking or breaking while drilling.
6. Secure the Tile
To prevent the tile from moving or sliding while drilling, it’s advisable to secure it in place. You can use clamps or a sturdy surface to hold the tile steady and ensure accurate drilling.
7. Take Breaks
Drilling through porcelain tile can be time-consuming and tiring. It’s important to take breaks periodically to prevent overheating of the drill bit. This helps to ensure the longevity of the bit and prevents damage to the tile.
8. Clean the Hole
Once you’ve drilled through the tile, it’s essential to clean the hole and remove any debris or dust. This ensures a smooth and secure fit for anchors, screws, or other accessories that you plan to install in the hole.
Remember, drilling through porcelain tile requires precision and patience. By following these drilling techniques, you can achieve success and avoid any damage to the tile.
Using a Pilot Hole
One of the most important steps when drilling through porcelain tile is to create a pilot hole. A pilot hole is a small guide hole that is drilled into the tile before drilling the actual hole.
Creating a pilot hole serves several purposes. Firstly, it helps to prevent the tile from cracking or chipping when drilling the larger hole. By starting with a small hole, the pressure is distributed evenly, reducing the risk of damage to the tile surface.
Secondly, a pilot hole helps to guide the drill bit and keeps it in place. Porcelain tile is a hard material, and without a pilot hole, the drill bit may slip or wander on the tile surface, causing an inaccurate hole or even injury.
To create a pilot hole, follow these steps:
- Choose a drill bit that is suitable for drilling through porcelain tile. A diamond-tipped or carbide bit is recommended for this task.
- Place a piece of masking tape on the spot where you want to drill the hole. This will help prevent the drill bit from slipping and provide additional protection to the tile surface.
- Position the drill bit at a 90-degree angle to the tile surface and apply gentle pressure.
- Start drilling at a slow speed, allowing the pilot hole to form. Keep the drill bit steady and avoid applying excessive force.
- Once the pilot hole is created, you can remove the masking tape and proceed to drill the larger hole using the same technique.
Remember to wear safety goggles and gloves when drilling through porcelain tile. The process may create dust and sharp edges, so take necessary precautions to protect yourself.
Using a pilot hole is an essential step in successfully drilling through porcelain tile. By taking the time to create a pilot hole, you can ensure accurate and safe drilling without damaging the tile surface.
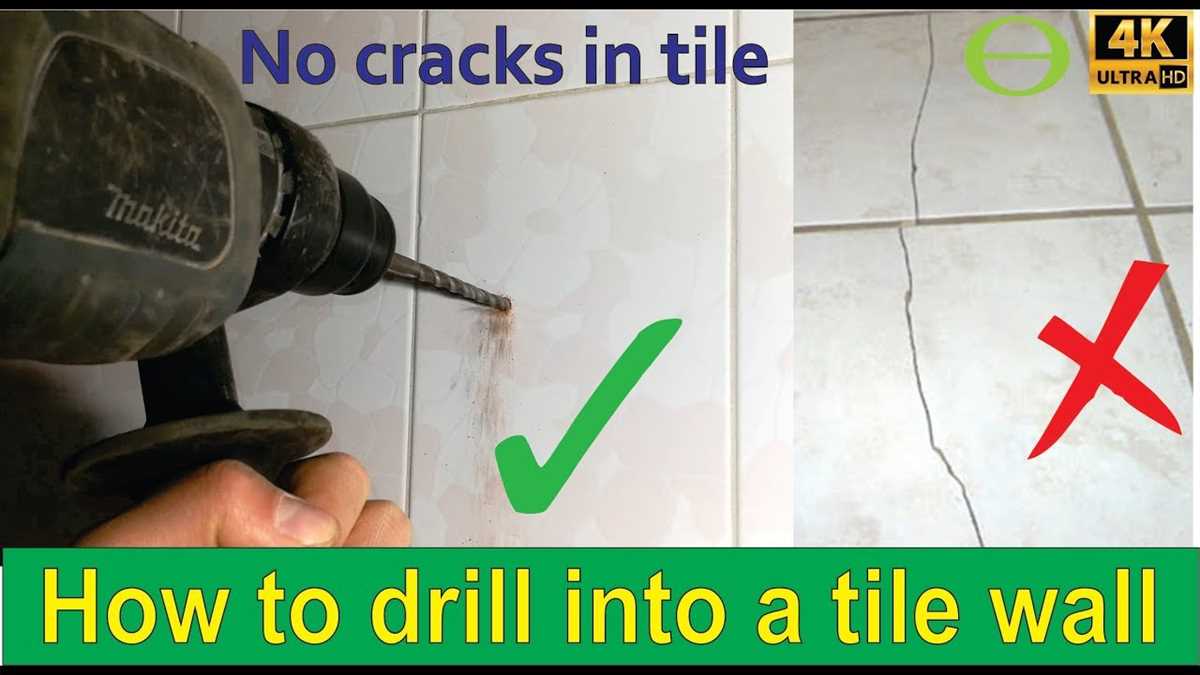
Preventing Cracks and Chipping
Drilling through porcelain tile requires careful attention to prevent cracks and chipping. Follow these steps to ensure a successful drilling process:
1. Mark your drilling spot
Before drilling, accurately mark the spot where you want to make the hole. Use a pencil or a marker to create a visible guide on the tile surface.
2. Use a small drill bit for starter holes
For larger holes, it is recommended to start with a small drill bit to create a starter hole. This will prevent the larger drill bit from slipping and causing cracks or chipping.
3. Apply masking tape
To protect the tile surface from cracks and chipping, apply masking tape over the marked spot. This will help to absorb some of the pressure during drilling and prevent the tile from breaking.
4. Use a diamond-tipped drill bit
When drilling through porcelain tile, it is crucial to use a diamond-tipped drill bit. Diamond drill bits are specifically designed for drilling through hard materials like porcelain and will minimize the risk of cracking or chipping.
5. Use a slow and steady drilling speed
When drilling, use a slow speed to reduce the risk of cracking. Apply gentle pressure and let the drill do the work. Avoid putting too much pressure on the tile, as this may cause it to crack or chip.
6. Keep the drill bit cool
Drilling through porcelain tile generates heat, which can increase the risk of cracks and chipping. To prevent overheating, keep the drill bit cool by dipping it in water periodically during the drilling process.
7. Clean the hole regularly
As you drill, small pieces of porcelain may accumulate in the hole, causing the drill bit to bind and potentially crack the tile. Clean the hole regularly with a brush or compressed air to prevent any obstructions.
8. Use light pressure when nearing the end
When you’re close to breaking through the tile, reduce the pressure on the drill bit. This will help prevent any sudden movements that could cause the tile to crack or chip.
9. Remove masking tape and clean the tile
Once you have completed the drilling process, carefully remove the masking tape from the tile. Clean the tile surface to remove any debris or dust that may accumulate during drilling.
By following these steps, you can significantly reduce the risk of cracks and chipping when drilling through porcelain tile. Remember to always wear safety goggles and work in a well-ventilated area. Take your time and exercise caution to achieve the best results.
Cleaning and Finishing
Once you have successfully drilled through your porcelain tile, it is important to clean up any debris and finish the hole properly. Follow these steps for a clean and professional finish:
1. Remove any debris
- Use a soft brush or vacuum cleaner to remove any dust or debris from the hole.
- Make sure to remove any loose tiles or fragments that may have been created during the drilling process.
2. Smooth the edges
- Use a diamond file or sandpaper to smooth the edges of the hole.
- This will ensure a clean and finished look, and prevent any potential injuries from sharp edges.
3. Apply a sealer (optional)
- If you want to prevent water or moisture from seeping into the hole, you can apply a tile sealer.
- Follow the manufacturer’s instructions to apply the sealer evenly around the edges of the hole.
4. Check for any cracks or damage
- Inspect the tile and the surrounding area for any cracks or damage that may have occurred during the drilling process.
- If you notice any issues, it is best to replace the tile or address the damage before proceeding.
5. Clean the tile surface
- Use a damp cloth or sponge to clean the surface of the tile and remove any residue or fingerprints.
- Make sure the tile is completely dry before continuing with any further installations or applications.
By following these steps, you can ensure a clean and professional finish when drilling through porcelain tile. Remember to always take proper safety precautions and use the appropriate tools for the job.
FAQ:
What tools do I need to drill through porcelain tile?
To drill through porcelain tile, you will need a carbide-tipped masonry drill bit, a variable speed drill, masking tape, a marker, a hammer, a small piece of wood, and a spray bottle filled with water.
Can I use a regular drill bit to drill through porcelain tile?
No, you should not use a regular drill bit to drill through porcelain tile. Porcelain tile is very hard and brittle, so you need a special carbide-tipped masonry drill bit that is designed to handle the hardness of the tile.
How do I prevent the drill bit from slipping on the porcelain tile?
To prevent the drill bit from slipping, you can place a small piece of masking tape on the tile and mark the spot where you want to drill. This will provide some traction and help the drill bit stay in place.
Should I use water while drilling through porcelain tile?
Yes, it is recommended to use water while drilling through porcelain tile. This helps to cool down the drill bit and the tile, reducing the risk of overheating and cracking the tile.
What is the correct drilling technique for porcelain tile?
The correct drilling technique for porcelain tile is to start at a slow speed and gradually increase the speed as you penetrate the tile. Apply light pressure and let the drill bit do the work. It is also important to keep the drill bit and the tile wet with water to prevent overheating.
Video:

Meet Harrison Clayton, a distinguished author and home remodeling enthusiast whose expertise in the realm of renovation is second to none. With a passion for transforming houses into inviting homes, Harrison's writing at https://thehuts-eastbourne.co.uk/ brings a breath of fresh inspiration to the world of home improvement. Whether you're looking to revamp a small corner of your abode or embark on a complete home transformation, Harrison's articles provide the essential expertise and creative flair to turn your visions into reality. So, dive into the captivating world of home remodeling with Harrison Clayton and unlock the full potential of your living space with every word he writes.


