Drilling Holes in Shells: Creative Methods that Don’t Require a Drill

Shells are prized for their beauty and are often used in various crafts and decorations. One common technique is to drill holes in shells to create jewelry, wind chimes, or simply to string them together for decorative purposes. However, not everyone has access to a drill or feels comfortable using one. Luckily, there are several creative methods that don’t require a drill but still allow you to achieve the desired results.
If you don’t have a drill, one method you can try is using a small needle or pin. Gently press the needle or pin against the shell and rotate it in a circular motion. Apply steady pressure, and eventually, the needle will create a small hole in the shell. This method requires patience and precision, as you’ll need to be careful not to crack or break the shell.
Another method you can use is a hot needle. Heat the tip of a needle or pin over a flame until it becomes red hot. Then, carefully press the hot needle against the shell and rotate it in a circular motion. The heat will soften the shell, allowing the needle to penetrate it. Again, it’s crucial to exercise caution and avoid applying too much pressure to prevent the shell from cracking.
If you prefer a less manual approach, you can also use an adhesive to attach jewelry findings or other decorative elements to the shell. Choose a strong adhesive that is suitable for the materials you’re working with, such as epoxy or super glue. Apply a small amount of adhesive to the area where you want to attach the finding, and then press it firmly onto the shell. Allow the adhesive to dry completely before handling the decorated shell.
Why drill holes in shells?
Drilling holes in shells is a popular technique used in various creative projects. Whether you are making jewelry, home decor items, or simply collecting and displaying shells, drilling holes can serve multiple purposes. Here are a few reasons why people choose to drill holes in shells:
- Stringing and threading: One of the most common uses of drilled shells is for stringing and threading. By drilling holes in shells, you can easily attach them to necklaces, bracelets, or other jewelry pieces. This allows you to create unique and personalized accessories that showcase the natural beauty of shells.
- Decoration and embellishment: Drilled shells can also be used as decorative elements. Whether you want to create a seashell wind chime, a mobile, or add a touch of seaside charm to a picture frame or mirror, drilling holes in shells allows you to easily incorporate them into your creative projects.
- Aeration for display: If you are collecting shells and displaying them in a glass jar or vase, drilling small holes in them can help with aeration. This is especially important if you are displaying living organisms such as hermit crabs or other marine life in the shells.
- Crafting and educational activities: Drilling holes in shells can also be a fun and educational activity for children and adults alike. It allows you to explore the physical properties of shells, experiment with different drilling techniques, and create unique crafts.
When drilling holes in shells, it is important to use the proper tools and techniques to avoid damaging the shells. It is recommended to use a small handheld drill with a diamond-tipped bit specifically designed for drilling shells. Always wear protective goggles and work in a well-ventilated area.
Alternative methods
If you don’t have access to a drill, there are several alternative methods you can use to create holes in shells. These methods are creative and can provide unique and interesting designs.
1. Hammer and Nail
One simple alternative method is to use a hammer and a nail. Place the nail on the desired spot on the shell and gently tap it with the hammer. Repeat this process until the nail has created a hole. This method requires patience and precision to avoid cracking the shell.
2. Hot Needle
An alternative method is to use a hot needle or pin to create a hole in the shell. Heat the needle or pin over a flame until it becomes red-hot. Carefully press the hot needle or pin onto the shell in the desired location, applying gentle pressure until it pierces through. This method is best suited for thin-shelled shells and requires caution to avoid burning yourself.
3. Water Jet
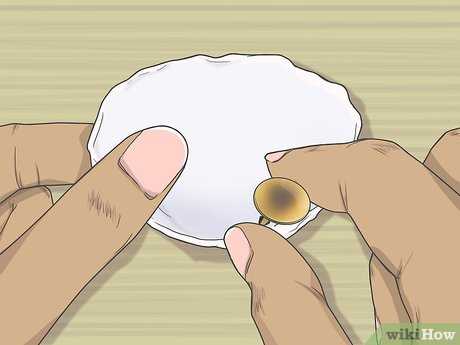
If you have access to a high-pressure water jet, you can use it to create holes in shells. Aim the jet at the desired spot on the shell and gradually increase the pressure until it creates a hole. This method allows for precision and control, but may not be accessible to everyone.
4. Dremel Tool
If you have a Dremel tool or a similar rotary tool, you can use it to create holes in shells. Attach a small drill bit to the tool and gently press it onto the shell in the desired location. Turn on the tool and apply slight pressure to drill the hole. This method allows for precise and controlled drilling, but it does require the tool itself.
5. Handheld Rotary Tool
If you don’t have a Dremel tool, a handheld rotary tool can also be used to drill holes in shells. Attach a small drill bit to the tool and hold it firmly against the shell. Slowly rotate the tool while applying gentle pressure to drill the hole. This method requires steady hands and patience.
Remember to take caution while using these alternative methods to avoid injury and damage to the shells. Choose the method that works best for you and experiment with different techniques to create unique and beautiful designs.
Using household items
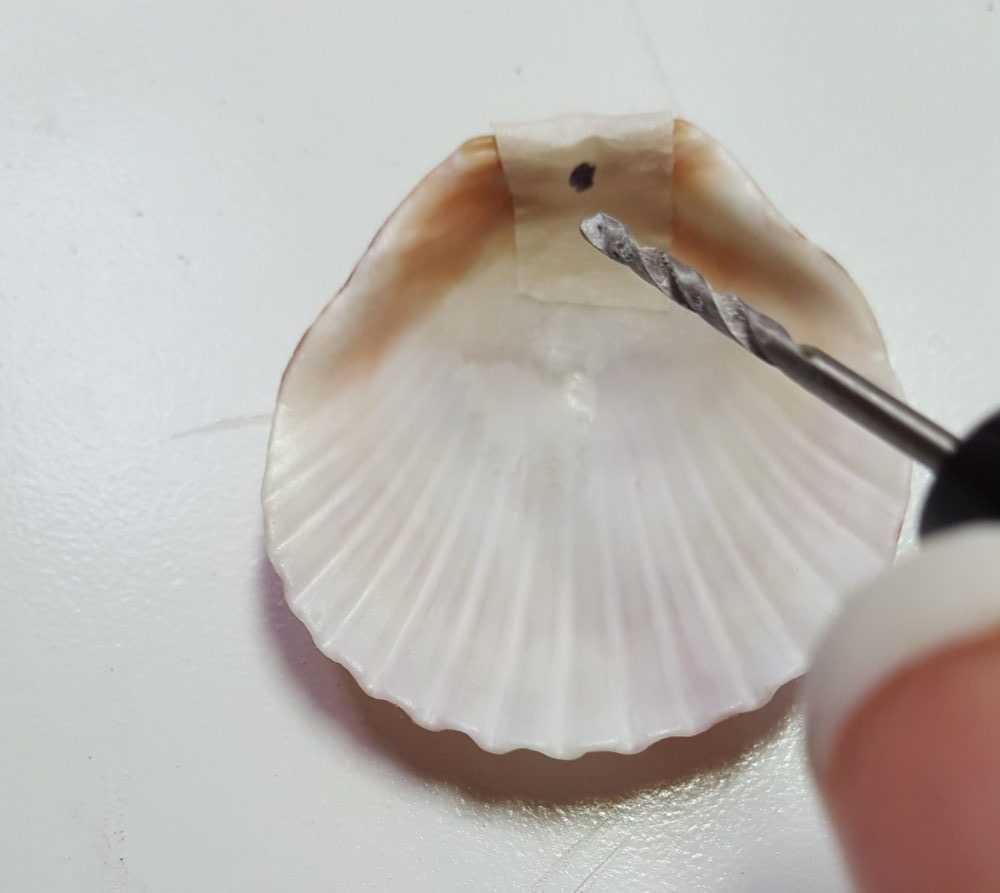
1. Hammer and nail
If you don’t have a drill on hand, a simple household item you can use to create holes in shells is a hammer and nail. This method works best for smaller shells with softer surfaces.
To use this method, place the shell on a hard surface, such as a concrete patio or wooden board. Hold the nail in the desired spot on the shell and gently tap it with the hammer. Continue tapping until the nail has pierced through the shell, creating a hole.
2. Screwdriver
Another household item that can be used to drill holes in shells is a screwdriver. This method works best for larger shells with thicker surfaces.
To use this method, place the shell on a hard surface and position the screwdriver in the desired spot on the shell. Apply pressure and twist the screwdriver until it pierces through the shell, creating a hole. You may need to apply additional force depending on the hardness of the shell.
3. Hot needle or awl
If you have a needle or awl and a source of heat, such as a stove or candle, you can use this method to create holes in shells. This method works best for smaller shells and requires caution to avoid burns.
To use this method, heat the needle or awl using the heat source until it becomes red hot. Hold the shell with a pair of pliers or tongs to protect your fingers, and carefully press the hot needle or awl into the shell. Apply gentle pressure and twist the needle or awl to create a hole. Take care to avoid contact with the heated portion of the needle or awl to prevent burns.
4. Bottle cap and hammer
If you have a bottle cap and a hammer, you can use them to create holes in shells. This method works best for smaller shells with softer surfaces.
To use this method, place the shell on a hard surface and position the bottle cap in the desired spot on the shell. Using the hammer, tap the bottle cap until it pierces through the shell, creating a hole. This method may require multiple taps depending on the hardness of the shell.
5. Metal file or sandpaper
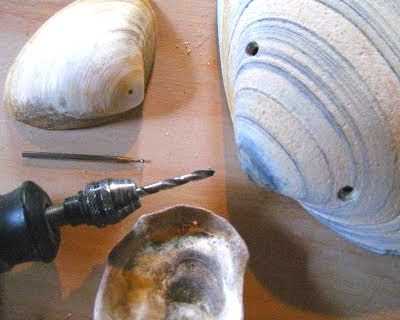
If you don’t want to use force to create holes in shells, you can use a metal file or sandpaper to gradually wear away the shell and create a hole. This method works best for shells with softer surfaces.
To use this method, hold the shell in one hand and the metal file or sandpaper in the other hand. Start by gently rubbing the file or sandpaper against the desired spot on the shell. Continue rubbing in a circular motion, applying light pressure, until the file or sandpaper has worn away enough of the shell to create a hole. This method requires patience and may take longer than other methods.
Hammer and nail method
Another creative and effective method for drilling holes in shells without a drill is the hammer and nail method. This technique utilizes basic tools that are readily available in most households.
To use the hammer and nail method, you will need the following items:
- Shells
- Hammer
- Nail
- Protective gloves
Here’s how you can use this method:
- Put on your protective gloves to ensure your safety.
- Choose a flat and stable surface to work on.
- Hold the shell firmly with your non-dominant hand.
- Position the nail on the spot where you want to create the hole.
- Gently tap the nail into the shell using the hammer. Be careful not to apply too much force to avoid breaking the shell.
- Continue tapping the nail until it penetrates through the shell and creates a hole.
- Remove the nail from the shell.
- Inspect the hole to ensure it is of the desired size.
- Repeat the process for any additional holes you want to create.
It’s important to note that this method may be more suitable for thicker shells as thinner and more delicate shells can be easily cracked or damaged with the force of the hammer. Additionally, it is always a good idea to practice caution and wear protective equipment to prevent any injuries.
By using the hammer and nail method, you can achieve precise and clean holes in your shells without the need for a drill or specialized equipment.
Sewing needle method
The sewing needle method is a simple and effective way to drill holes in shells using basic household items. Here’s how to do it:
- Materials needed:
- A large needle or darning needle with a sharp point
- A towel or cloth
- A hammer or mallet
- Protective eyewear
- Gloves (optional)
- Prepare your work space by placing a towel or cloth on a sturdy surface. This will protect your shell and prevent it from cracking.
- Put on protective eyewear to shield your eyes from any flying shell fragments.
- Hold the shell firmly with your non-dominant hand, making sure it is positioned securely on the towel.
- Using your dominant hand, position the needle at the desired spot where you want to drill the hole. Make sure to choose a spot that is not too close to the edge of the shell to avoid cracking.
- Gently tap the top of the needle with a hammer or mallet to create a small indentation in the shell. This will help guide the needle as you begin drilling.
- Once the indentation is made, hold the needle at a slight angle and start rotating it slowly in a circular motion. Apply gentle and consistent pressure as you drill.
- Continue drilling until you have reached the desired depth. Be patient and take breaks if necessary to avoid overheating the needle or damaging the shell.
- Once the hole is drilled, remove the needle and inspect the shell to ensure the hole is clean and smooth.
Using tools
Using tools is another creative method for drilling holes in shells without a drill. There are various tools that can be used to achieve this, such as:
1. Awl
An awl is a pointed tool that can be used to create holes in shells. It can be pushed through the shell to create a small hole. However, caution should be exercised when using an awl as it requires some force and can be sharp.
2. Needle
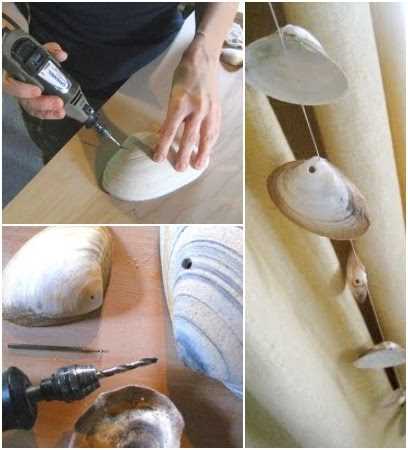
A needle can also be used to drill holes in shells. It is a convenient tool as it is small and easy to handle. By applying gentle pressure and twisting the needle, a hole can be created in the shell.
3. Dremel tool
A Dremel tool is a versatile power tool that can be used to drill holes in shells. It has various attachments and accessories that can be used for different types of shells. The speed and precision of a Dremel tool make it a popular choice among crafters for drilling holes in shells.
4. Handheld rotary tool
A handheld rotary tool can also be used to drill holes in shells. It operates similarly to a Dremel tool but is smaller and more lightweight. It is a handy tool for creating holes in shells of various sizes.
When using any of these tools to drill holes in shells, it is important to wear protective eyewear and gloves to prevent any injury. External force should be applied gradually and carefully to prevent the shell from cracking or breaking.
Electric engraver method
The electric engraver method is another effective way to create holes in shells without using a traditional drill. Electric engravers are handheld tools that use a small rotating bit to etch or engrave designs onto various surfaces, including shells.
When using an electric engraver to make holes in shells, follow these steps:
- Clean the shell: Before starting, make sure the shell is clean and free from any debris or dirt. You can use a mild detergent and water solution to gently clean the surface.
- Mark the hole: Use a pencil or marker to mark the spot where you want to create a hole on the shell. This will help guide the engraver and ensure accuracy.
- Secure the shell: Place the shell on a sturdy surface to prevent it from moving or rolling while you work. You can use a small towel, rubber mat, or even a thick layer of clay as a base to hold the shell in place.
- Start engraving: Hold the electric engraver like a pen and gently press the rotating bit against the marked spot on the shell. Slowly move the engraver in a circular motion, applying consistent pressure. Gradually increase the depth of the engraving until a hole is created.
- Finishing touches: Once the hole is made, you can use sandpaper or a file to smooth out any rough edges or clean up the surface around the hole.
It’s important to note that the electric engraver method may take more time and effort compared to using a traditional drill. However, it offers greater precision and control, making it a great option for creating smaller or more intricate holes in shells.
Remember to wear safety goggles and work in a well-ventilated area when using an electric engraver. Take breaks when needed to prevent overheating of the tool and to rest your hand.
Dremel method
The Dremel method is a popular choice for drilling holes in shells as it allows for precise control and easy maneuverability. It involves using a Dremel tool with a drill bit attachment to create holes in shells.
Materials needed:
- Dremel tool
- Drill bit attachment
- Shells
- Protective eyewear
- Clamp or vise
Steps:
- Start by securing the shell in a clamp or vise to keep it steady during the drilling process.
- Put on your protective eyewear to ensure safety.
- Attach the drill bit to your Dremel tool.
- Set the Dremel tool to a medium speed, ensuring it is not too slow or too fast.
- Begin drilling slowly and gently into the shell, applying light pressure.
- Continue drilling until you have reached the desired size and depth for the hole.
- Remove the shell from the clamp or vise and carefully clean away any shell debris.
It’s important to note that shells can be delicate, so it’s crucial to be cautious when drilling. Apply light and steady pressure to avoid cracking or damaging the shell. Additionally, always wear protective eyewear to protect your eyes from any flying debris.
The Dremel method allows for precise control and can be used to create holes of various sizes in shells. Whether you’re creating jewelry, decorating crafts, or simply experimenting with shell art, the Dremel method offers a versatile drilling solution.
Using chemicals
Another method for drilling holes in shells involves using certain chemicals that can dissolve shells or make them more brittle. This method should be used with caution, as it can be potentially hazardous and should be done in a well-ventilated area.
Materials needed:
- Shells
- Chemicals (such as muriatic acid or vinegar)
- Protective gloves
- Protective eyewear
Instructions:
- Choose a well-ventilated area and put on your protective gloves and eyewear.
- Place your shells in a container that can withstand the corrosive nature of the chemicals you will be using.
- Fill the container with enough of the selected chemical to cover the shells completely.
- Let the shells soak in the chemical solution for a designated amount of time, following the instructions provided with the chemical or conducting research on the specific chemical you are using.
- Check the shells periodically to see if they have started to soften or dissolve.
- Once the shells have reached the desired level of softness, carefully remove them from the container using non-corrosive tools such as tongs or gloves.
- Rinse the shells thoroughly with water to remove any residue from the chemical solution.
Note: When using chemicals to drill holes in shells, it is essential to follow all safety precautions and guidelines provided with the selected chemicals. Always handle the chemicals with care and dispose of them properly.
Vinegar method
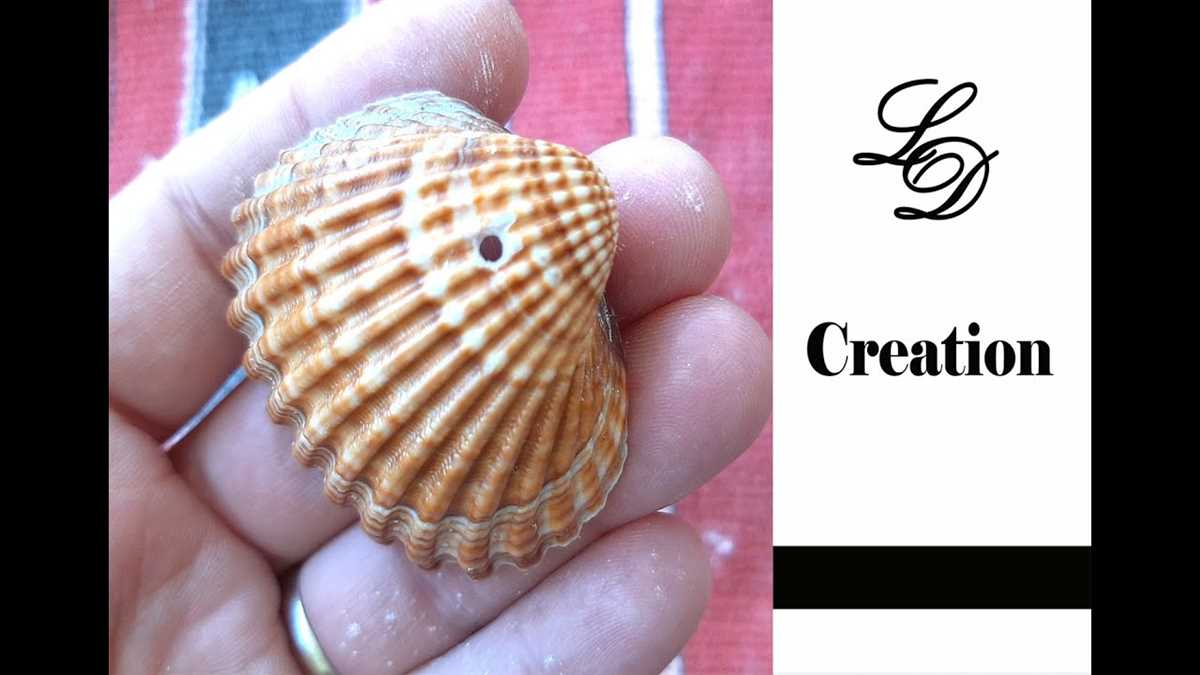
The vinegar method is a simple and effective way to create holes in shells without using a drill. It involves soaking the shells in vinegar, which gradually dissolves the calcium carbonate that makes up the shell structure, allowing for easy hole drilling.
Materials needed:
- Shells
- White vinegar
- Container
- Water
- Brush or toothbrush
Procedure:
- Start by gathering the shells you want to drill holes in. Ensure that they are clean and free from any sand or debris.
- Fill a container with enough white vinegar to fully submerge the shells.
- Place the shells in the container, ensuring they are completely covered by the vinegar. If needed, use a weight to keep them submerged.
- Let the shells soak in the vinegar for at least 2-3 days or until the desired level of shell softening is achieved. The vinegar will gradually dissolve the calcium carbonate, making it easier to drill.
- After the soaking period, remove the shells from the vinegar and rinse them under running water to remove any remaining vinegar.
- Use a brush or toothbrush to gently scrub the shells and remove any remaining debris.
- Dry the shells completely before drilling the holes. You can either air-dry them or use a towel to speed up the drying process.
- Once the shells are dry, you can proceed to drill the holes using a drill or any other desired method.
Note: It’s important to handle vinegar with care as it is an acid. Make sure to work in a well-ventilated area and avoid contact with the skin or eyes. Use protective gloves and goggles if necessary.
Advantages:
- The vinegar method is a cost-effective and accessible option for drilling holes in shells.
- It does not require specialized tools or equipment.
- The gradual dissolution of the shell structure allows for precise control over the hole size and shape.
Disadvantages:
- The process of soaking the shells in vinegar can take several days, which may require patience and planning.
- Some shells may require longer soaking periods to achieve the desired level of softening.
- The vinegar method may not be suitable for all types of shells, as some shells have a higher calcium carbonate content, making them more resistant to dissolution.
The vinegar method offers a creative alternative for drilling holes in shells without using a drill. It is a simple and accessible technique that can be used for various craft projects and decorative purposes.
FAQ:
What are some creative methods for drilling holes in shells?
Some creative methods for drilling holes in shells include using a dremel tool, a hand drill, a rotary tool, a nail and a hammer, a small drill bit and a pair of pliers, or even a heated metal skewer.
Are there any alternative methods to using a drill to create holes in shells?
Yes, there are several alternative methods to using a drill. Some people use a hot needle or heated metal skewer to melt or burn a hole through the shell. Others use a nail and a hammer to create a hole by gently tapping the nail into the shell.
Is it possible to drill holes in shells without using any tools?
While it is difficult to drill holes in shells without any tools, there are some methods that require minimal tools. For example, you can use a small drill bit and a pair of pliers to manually rotate the drill bit and create a hole. Another method is to use a nail and a hammer to tap a hole into the shell.
Can shells be damaged when drilling holes into them?
Yes, shells can be damaged when drilling holes into them, especially if excessive force is applied or if the wrong type of drill bit is used. It is important to use caution and go slowly when drilling holes in shells to avoid cracking or chipping the shell.
What types of shells can be drilled?
Most types of shells can be drilled, including seashells, abalone shells, and even turtle shells. However, it is important to note that the thickness and hardness of the shell will determine the difficulty of drilling and the type of tools required.
Do I need any special equipment to drill holes in shells?
No, you do not necessarily need any special equipment to drill holes in shells. Many of the methods mentioned can be done with tools that are commonly found in most households, such as a dremel tool, hand drill, or nail and hammer. However, using specific tools designed for drilling shells, such as a rotary tool, can make the process easier and more efficient.
Video:


