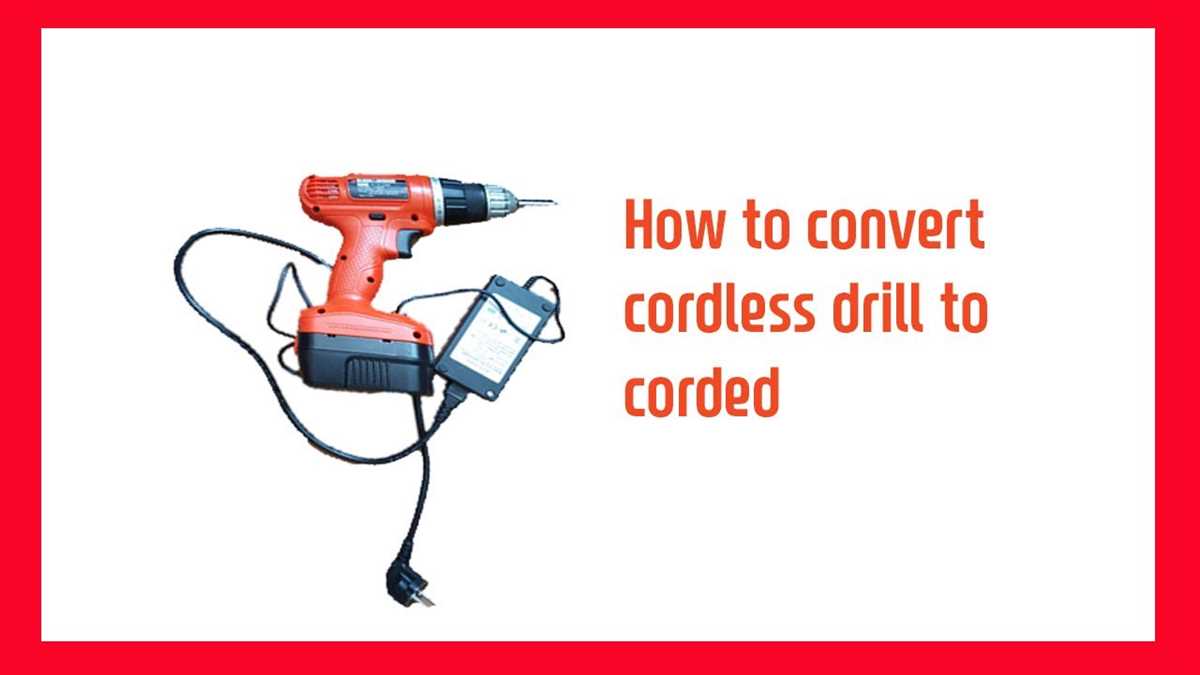
Converting a Cordless Drill into a Corded Drill: A step-by-step guide

Have you ever found yourself in the middle of a project, only to have your cordless drill lose power halfway through? It can be frustrating and put a major delay on your progress. But fear not, there is a solution – converting your cordless drill into a corded drill.
The process of converting a cordless drill into a corded one is relatively simple and can save you from those unexpected power interruptions. In this step-by-step guide, we will walk you through the process, giving you the knowledge and confidence to convert your drill in no time.
Before we begin, it’s important to note that converting a cordless drill into a corded one will require some basic electrical knowledge and skills. If you are uncomfortable with working with electrical components or are unsure of your abilities, it is recommended to seek assistance from a professional.
With that said, let’s dive into the steps involved in converting your cordless drill into a corded drill and ensure that you never run out of power again.
Why convert a cordless drill into a corded drill?

Converting a cordless drill into a corded drill can offer several advantages. While cordless drills are convenient for their portability, they often have limited battery life, forcing users to wait for them to recharge or carry multiple batteries. By converting a cordless drill into a corded drill, you can eliminate the need for batteries altogether and enjoy uninterrupted power for extended periods of time.
Here are a few reasons why you might consider converting your cordless drill into a corded drill:
- Increased usability: With a corded drill, you can work on projects for as long as you need without worrying about battery life. This is particularly beneficial for larger or more time-consuming tasks.
- Cost savings: Instead of purchasing multiple batteries or investing in high-capacity batteries, converting your cordless drill into a corded drill allows you to save money in the long run.
- Powerful performance: Corded drills generally offer more power than their cordless counterparts, making them better suited for heavy-duty drilling or driving tasks.
- Consistent power output: Unlike cordless drills that may experience a drop in power as the battery drains, corded drills provide a consistent power output throughout your work.
- Elimination of battery-related limitations: By converting to a corded drill, you can avoid common frustrations associated with battery-operated tools, such as limited battery life, batteries dying at inconvenient times, or the need to constantly recharge batteries.
Overall, converting a cordless drill into a corded drill can offer increased convenience, cost savings, and improved performance for various drilling and driving tasks. Whether you have a specific project in mind or simply want to enhance the functionality of your drill, this conversion can be a beneficial modification to consider.
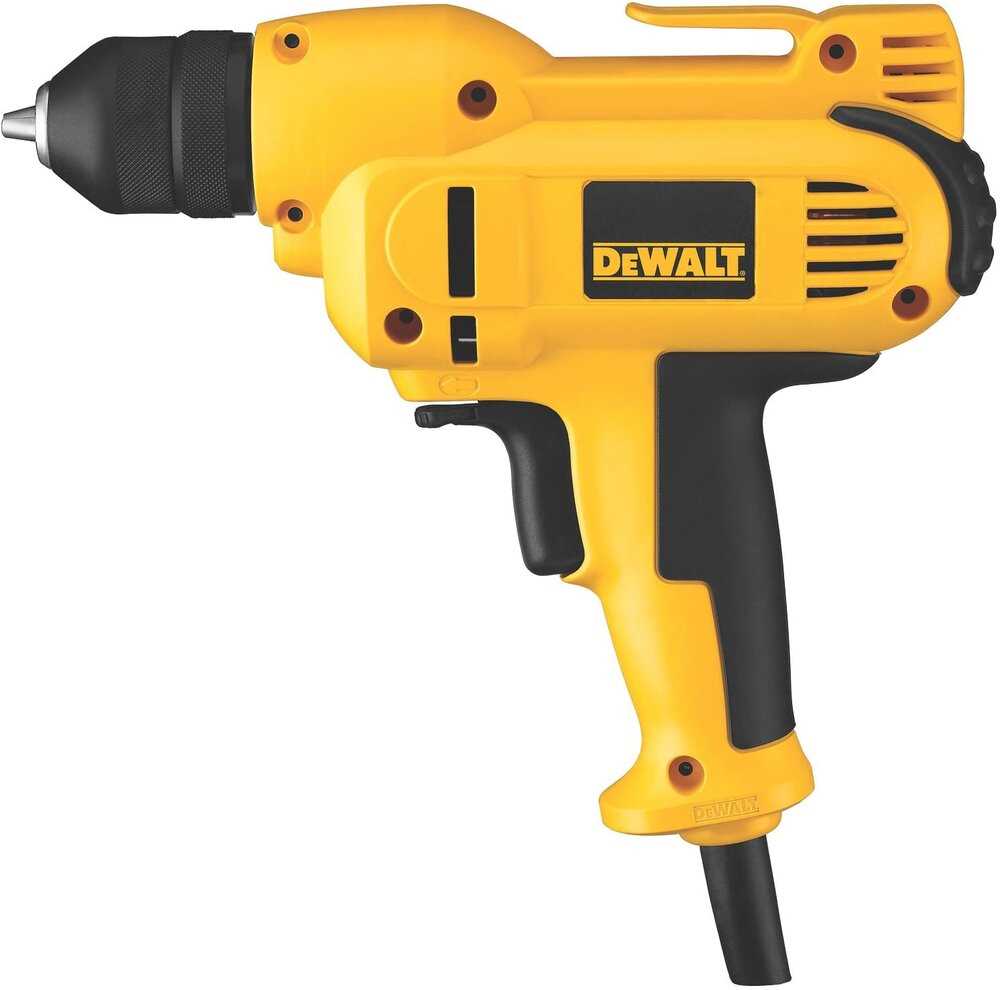
The benefits of a corded drill
1. Constant Power Supply
One of the main advantages of a corded drill is its ability to provide a constant power supply. Unlike cordless drills that rely on batteries, a corded drill can be plugged into a power source, ensuring uninterrupted power throughout the drilling process. This is especially beneficial for projects that require long drilling sessions.
2. Increased Power and Torque
Corded drills typically offer more power and torque compared to cordless drills. The direct power supply allows for higher voltage and faster rotation speeds, making corded drills more effective in drilling through tough materials such as metal or concrete. They can handle heavy-duty tasks more efficiently, making them an ideal choice for professionals and those working on demanding projects.
3. Unlimited Runtime
Since corded drills do not rely on batteries, they offer unlimited runtime. This means that you can work for as long as you need to without worrying about the battery running out. This makes corded drills particularly useful for jobs that require continuous drilling or for situations where a constant power supply is crucial, such as on construction sites or during emergencies.
4. Lightweight and Portable
Corded drills tend to be lighter and more portable than cordless drills. Without the need to carry heavy batteries, corded drills are easier to handle and maneuver, reducing fatigue and strain on the user. Additionally, since they only require a power outlet, they can be used in various locations without the need to worry about recharging or replacing batteries.
5. Cost-effective
Compared to cordless drills, corded drills are generally more affordable. Since they do not include expensive battery packs and chargers, corded drills often come at a lower price point. This makes them a great option for those on a budget or for occasional users who do not require the portability offered by cordless models.
In conclusion, a corded drill offers several benefits, including a constant power supply, increased power and torque, unlimited runtime, lightweight and portable design, and cost-effectiveness. These advantages make corded drills a reliable choice for a wide range of drilling tasks, making them a valuable tool for both professionals and DIY enthusiasts.
Step 1: Gather the necessary tools
In order to convert your cordless drill into a corded drill, you’ll need to gather a few essential tools. Here is a list of items you’ll need:
- A corded power supply
- A power drill with a battery
- A screwdriver set
- A wire stripper
- Soldering iron
- Soldering wire
- Electrical tape
- Heat shrink tubing
- A multimeter
- Basic electrical safety equipment (gloves, goggles, etc.)
Make sure you have all these tools before moving on to the next step.
List of tools needed for the conversion
- Corded power drill
- Cordless drill
- Power cord
- Wire cutters
- Wire strippers
- Electrical tape
- Screwdriver (Phillips head)
- Drill bits
- Socket set
- Electrical connectors
- Heat shrink tubing
- Heat gun or lighter
Where to find these tools
- Hardware stores: The most common place to find the tools needed for converting a cordless drill into a corded drill is at your local hardware store. They typically have a wide variety of tools, including power tools and hand tools.
- Online retailers: Many online retailers, such as Amazon, eBay, and Home Depot, offer a wide selection of tools. You can search for specific tools or browse through their categories to find what you need. Online shopping offers the convenience of being able to compare prices and read reviews before making a purchase.
- Specialty tool stores: Some cities have specialty tool stores that cater specifically to professionals who work with power tools. These stores may have a wider selection of tools and accessories compared to general hardware stores.
- Second-hand stores: You may be able to find the tools you need at second-hand stores, such as thrift shops, pawn shops, or yard sales. While the selection may be more limited and the tools may be used, these options can often offer more affordable prices.
- Tool rental shops: If you are not interested in purchasing the tools outright or only need them for a short period of time, you can consider renting them from a tool rental shop. This can be a cost-effective option, especially if you do not plan on using the tools frequently.
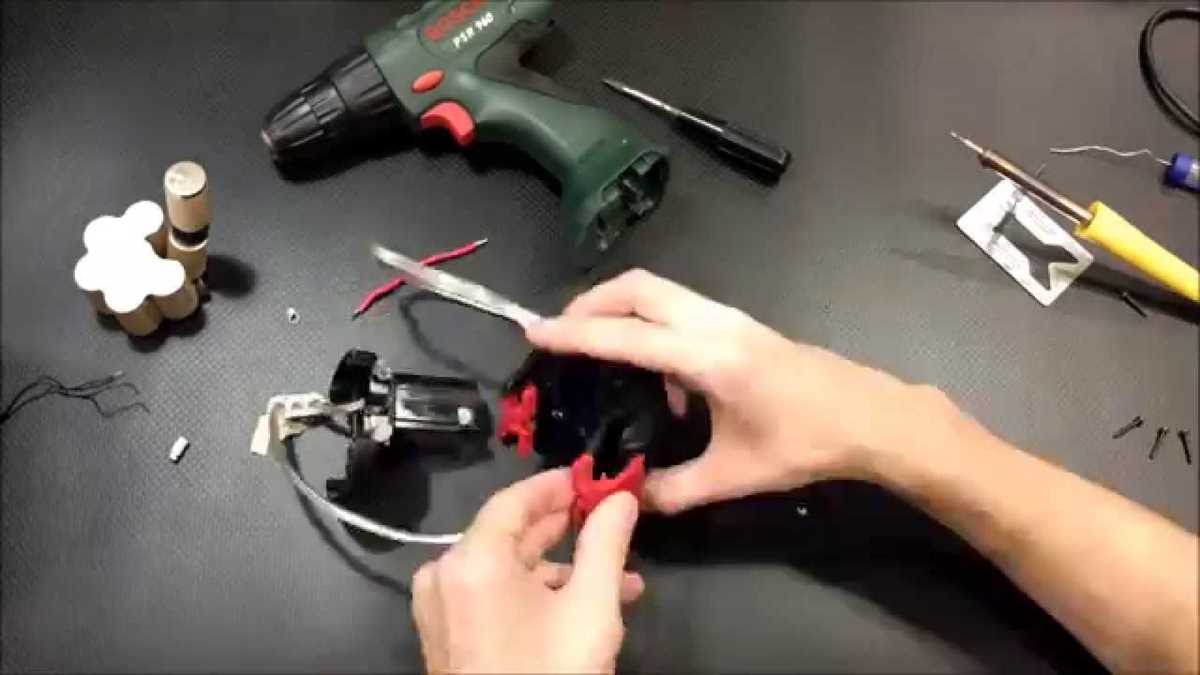
Step 2: Disassemble the cordless drill
Before you can convert your cordless drill into a corded drill, you will need to disassemble it. Follow these steps to safely take apart your drill:
- Preparation: Make sure the drill is turned off and disconnected from any power source. Wear protective gloves and eyewear to avoid injuries.
- Remove the battery: Locate the battery compartment on your drill and slide the battery out. Keep the battery aside for future use, or dispose of it properly based on local regulations.
- Remove the chuck: The chuck is the part of the drill that holds the drill bit in place. To remove it, locate the chuck release button or collar near the base of the chuck and press or twist it counterclockwise. This will loosen the chuck, allowing you to remove it from the drill.
- Remove the screws: Look for any screws on the drill’s casing and use the appropriate screwdriver to remove them. Keep the screws in a safe place for reassembly.
- Separate the drill housing: Gently pry apart the two halves of the drill housing. Be careful not to damage any internal components.
- Disconnect wires: Inside the drill, you will find wires connecting various components. Use a pair of wire cutters or a soldering iron to disconnect these wires. Take note of their positions and connections for later reassembly.
Once you have disassembled the cordless drill, you are ready to proceed to the next step: converting it into a corded drill.
Remove the battery and other components
Before converting your cordless drill into a corded drill, the first step is to remove all the battery and other components from the drill. This is necessary to ensure the drill is completely powered off and to make space for the corded conversion.
Here are the steps to remove the battery and other components:
- Locate the battery release button on your cordless drill.
- Press and hold the battery release button to release the battery from the drill.
- Slide the battery out of its compartment and set it aside.
- Next, locate any other components that may be attached to the drill, such as the charger or any additional handles or attachments.
- Remove these components by unscrewing or gently pulling them off, depending on their design.
- Set aside any components that you plan to reuse or keep for future use.
By removing the battery and other components, you are preparing your cordless drill for the conversion process. This step ensures the drill is safe to work with and allows you to make the necessary modifications to convert it into a corded drill.
Identify the internal wiring and connections
To convert a cordless drill into a corded drill, you will need to identify the internal wiring and connections of the drill. This involves opening up the drill casing and understanding the different components inside.
Here are the steps to identify the internal wiring and connections:
- Unplug the drill: Before starting any work, make sure the drill is unplugged from any power sources to avoid any electrical accidents.
- Remove the casing: Remove any screws or fasteners that are holding the casing together. Carefully pry open the casing to reveal the internal components.
- Identify the motor: Locate the motor inside the drill. The motor is usually a cylindrical component with wires attached to it. It is the main power source of the drill.
- Locate the battery connections: Look for the battery connections inside the drill. These connections are where the battery is connected to the circuit. They are usually wired to a circuit board or directly to the motor.
- Trace the wires: Trace the wires from the battery connections to the circuit board or motor. This will help you understand how the power flows through the drill.
- Identify the power input: Look for any wires or connections that bring power into the drill. This will usually be the charging port or the connection point for the cord in a corded drill.
- Understand the circuit board: If your drill has a circuit board, take note of its location and any connections it has to the motor or other components. Understanding the circuit board will help in the conversion process.
- Take pictures or make diagrams: To help you remember the wiring and connections, take pictures or make diagrams of the internal components. This will be useful when you are reassembling the drill.
By identifying the internal wiring and connections of the drill, you will have a better understanding of how to convert it into a corded drill. This knowledge will allow you to make the necessary modifications to the drill’s electrical system.
Step 3: Choose the power source
When converting a cordless drill into a corded drill, one of the most important steps is choosing the right power source. The power source will determine how the drill operates and the level of power it can provide.
There are several options to consider when selecting a power source for your converted cordless drill:
- Direct power supply: This option involves connecting your drill to a power outlet using a cord. It provides a constant source of power and eliminates the need for recharging batteries.
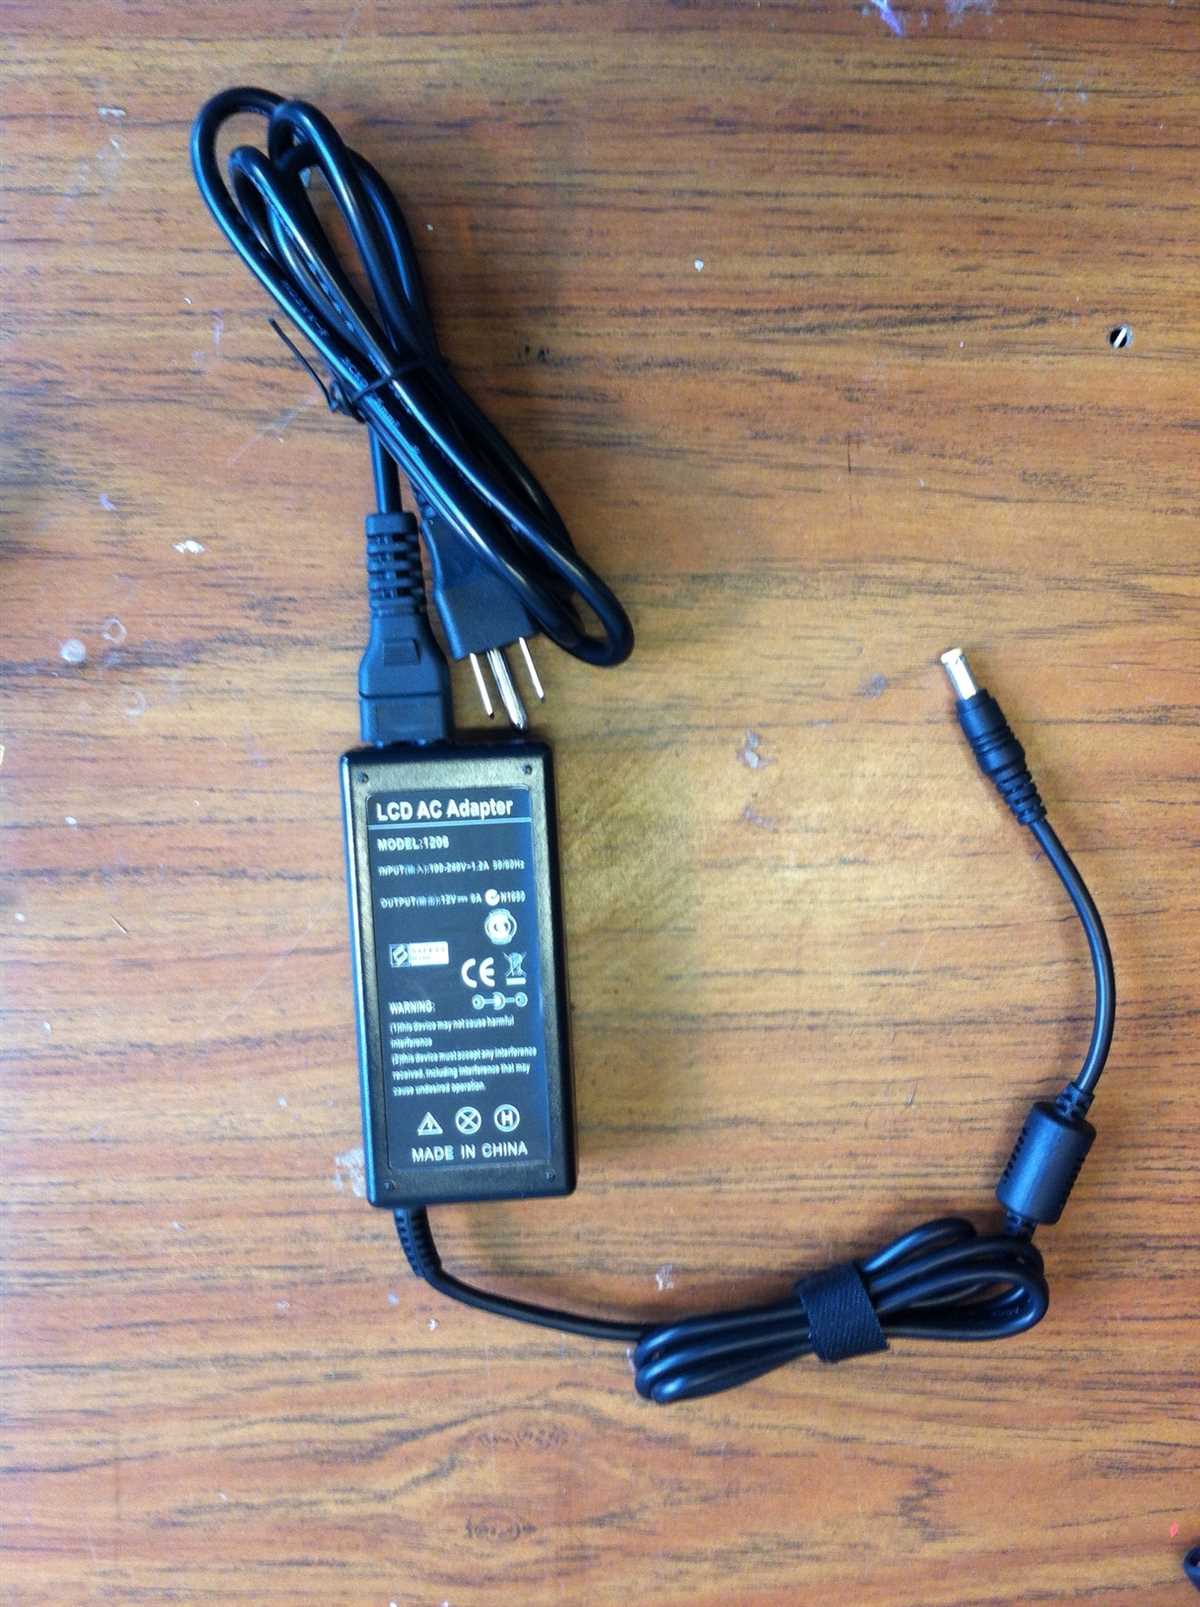
- AC adapter: An AC adapter can be used to power your converted cordless drill. This option is convenient as it allows you to plug your drill into a power outlet, eliminating the need for batteries.
- Power inverter: If you prefer to use your converted cordless drill in remote locations or places without power outlets, a power inverter may be the best choice. It converts DC power from a car’s battery into AC power, allowing you to use your drill without access to electricity.
It’s important to consider your specific needs and preferences when choosing a power source for your converted corded drill. Consider factors such as the portability of your drill, the availability of power outlets, and the level of power you require for your projects.
Once you have chosen a power source, you can proceed to the next step in the conversion process.
Options for powering the corded drill
When converting a cordless drill into a corded drill, there are several options for powering the tool. Here are some popular methods:
Using a power supply adapter
One option is to use a power supply adapter that converts AC power to the DC power required by the drill. This adapter can connect to a standard electrical outlet and provide a steady power source for the drill. It is important to ensure that the adapter’s output voltage and current are compatible with the drill’s requirements.
Building a custom power supply
Another option is to build a custom power supply that meets the specific requirements of the drill. This involves selecting the appropriate power source, such as a transformer or a battery, and designing the circuitry to convert the power to the necessary voltage and current. Building a custom power supply requires some electrical knowledge and skills.
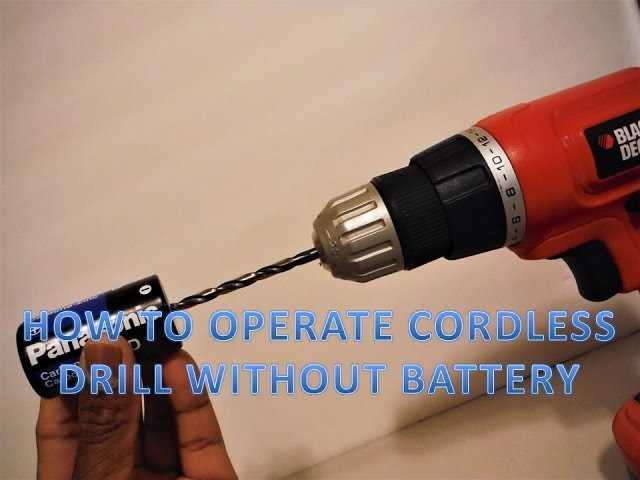
Using a power tool battery adapter
If you have other power tools that use the same type of battery as your cordless drill, you may be able to use a power tool battery adapter. This adapter allows you to connect the drill directly to the battery, providing a convenient and portable power source. However, keep in mind that the battery may not last as long as it would when powering a cordless drill.
Connecting to a power generator
If you need a more portable and independent power source, you can connect your corded drill to a power generator. This is especially useful for outdoor projects or sites without access to electrical outlets. However, generators can be expensive and require maintenance and fuel.
It is important to make sure that the power source you choose is compatible with the voltage and current requirements of your corded drill. Using an incompatible power source can damage the drill or pose a safety hazard. Always consult the manufacturer’s guidelines and instructions when making any modifications to power tools.
FAQ:
Why would I want to convert a cordless drill into a corded drill?
Converting a cordless drill into a corded drill can be beneficial for several reasons. One reason is that corded drills generally provide more consistent power and performance compared to cordless drills. Additionally, if you frequently use your drill for long periods of time or for heavy-duty tasks, a corded drill can provide a continuous power supply without having to worry about battery life. Converting a cordless drill into a corded drill can also be a cost-effective solution if you already have a cordless drill and don’t want to invest in a separate corded drill.
Is it difficult to convert a cordless drill into a corded drill?
The difficulty of converting a cordless drill into a corded drill can vary depending on your level of experience with electrical work. If you have experience with soldering and working with electrical components, it should be a relatively straightforward process. However, if you are not familiar with electrical work, it is recommended to seek assistance from someone who is knowledgeable in this area or consult a professional. Safety precautions should always be taken when working with electrical components.
Can I still use my cordless drill as a cordless drill after converting it into a corded drill?
Yes, you can still use your cordless drill as a cordless drill even after converting it into a corded drill. The process of converting a cordless drill into a corded drill usually involves adding a power supply that can be plugged into an electrical outlet. This means that you will have the option to use either the corded power supply or the cordless battery for powering the drill, depending on your needs and preferences.
Will converting my cordless drill into a corded drill void the warranty?
Converting your cordless drill into a corded drill may void the warranty, as it involves making modifications to the original product. It is important to check the warranty terms and conditions provided by the manufacturer before attempting any modifications. If the warranty is still valid, it is recommended to contact the manufacturer or authorized service center for guidance on whether the conversion process will void the warranty or not.
Video:


Meet Harrison Clayton, a distinguished author and home remodeling enthusiast whose expertise in the realm of renovation is second to none. With a passion for transforming houses into inviting homes, Harrison's writing at https://thehuts-eastbourne.co.uk/ brings a breath of fresh inspiration to the world of home improvement. Whether you're looking to revamp a small corner of your abode or embark on a complete home transformation, Harrison's articles provide the essential expertise and creative flair to turn your visions into reality. So, dive into the captivating world of home remodeling with Harrison Clayton and unlock the full potential of your living space with every word he writes.


