Choosing the Right Drill Bit Size for Cabinet Handles

When it comes to installing cabinet handles, choosing the right drill bit size is crucial. The size of the hole you drill will determine how snugly the handle fits, and a poor fit can affect both the appearance and functionality of your cabinets. In this article, we will explore the factors to consider when selecting the appropriate drill bit size for cabinet handles.
Measuring the Handle Diameter:
Before you can choose the drill bit size, you need to measure the diameter of the cabinet handle. Use a ruler or caliper to get an accurate measurement. Most handles have a standard diameter of either 3 inches or 4 inches, but it’s important to measure each handle individually as some may deviate slightly from these common sizes.
Pro Tip: If you’re installing handles with different diameters, it’s best to use multiple drill bits rather than trying to find a one-size-fits-all solution.
Matching the Drill Bit Size:
Once you have the handle diameter, you can choose the corresponding drill bit size. For handles with a 3-inch diameter, a 3/16-inch drill bit is typically recommended. For handles with a 4-inch diameter, a ¼-inch drill bit is commonly used. However, these are just general guidelines, and it’s always a good idea to refer to the manufacturer’s instructions if available.
Test Fitting:

Before drilling any holes in your cabinets, it’s essential to test fit the handle to ensure it aligns properly. Place the handle on the desired location and check if it lines up with any pre-existing holes or marks. If not, use a pencil or marker to mark the exact spot where the hole needs to be drilled. Double-check the placement by holding the handle next to the mark to ensure it’s straight.
Drilling new holes for cabinet handles requires precision and attention to detail. By correctly measuring the handle diameter and selecting the appropriate drill bit size, you can ensure a professional-looking installation that enhances the overall aesthetic of your cabinets.
Understanding Cabinet Handles
When it comes to choosing the right drill bit size for cabinet handles, it is important to have a good understanding of cabinet handles themselves. Cabinet handles are an essential component of any cabinet, serving both functional and aesthetic purposes.
Functionality:
Cabinet handles are designed to make it easy to open and close cabinets. They provide a convenient grip for your fingers, allowing you to effortlessly access the contents of your cabinets. Cabinet handles also help to reduce wear and tear on cabinet doors by providing a designated area to pull and push.

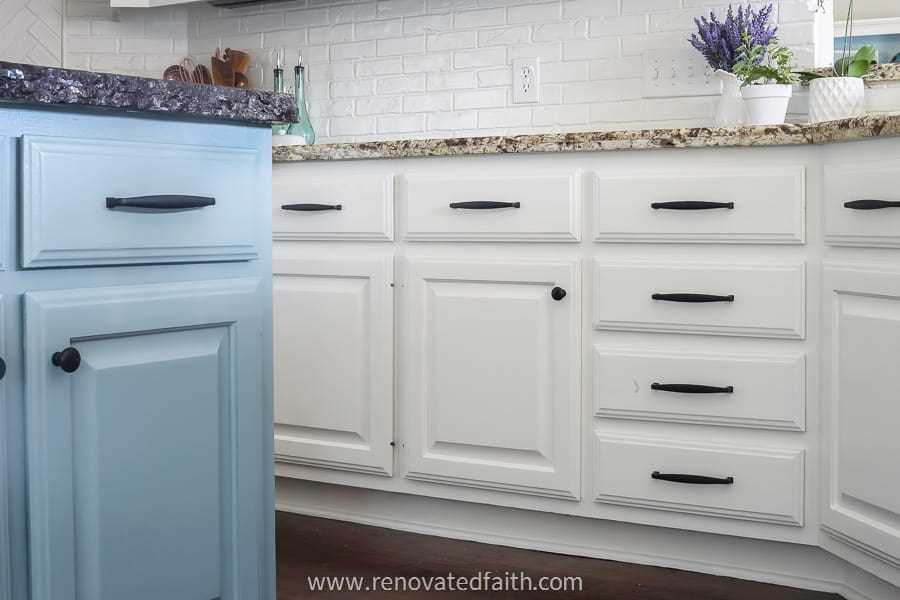
Aesthetics:
In addition to their functional role, cabinet handles also contribute to the overall aesthetics of your cabinets. They come in a variety of designs, finishes, and materials, allowing you to choose a style that complements your cabinet and enhances the overall look of your space.
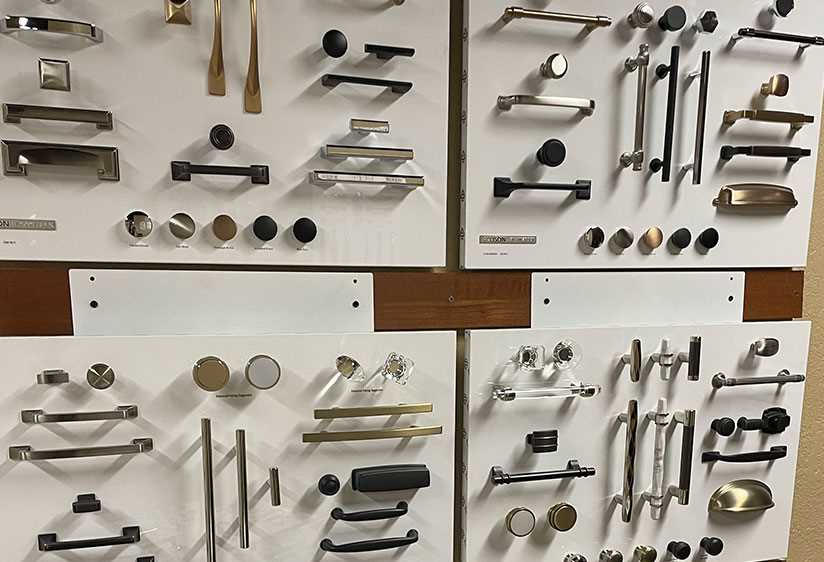
Types of Cabinet Handles:
There are several types of cabinet handles to choose from, including:
- Pull handles: These handles extend horizontally and are commonly used on drawers or larger cabinet doors.
- Knob handles: These handles have a round shape and are commonly used on smaller cabinet doors or drawers.
- Bar handles: These handles have a sleek, straight design and are often found on modern cabinets.
- Inset handles: These handles are recessed into the cabinet door, providing a clean and minimalistic look.
Choosing the Right Drill Bit Size:

Once you have determined the type of cabinet handle you want, it is important to choose the right drill bit size for installation. The drill bit size should match the diameter of the screws provided with the cabinet handle.
Using a drill bit that is too large can result in a loose fit, while using a drill bit that is too small may cause the screw to strip or break. It is always a good idea to test the drill bit size on a scrap piece of wood to ensure a proper fit before drilling into your cabinet doors.
By understanding the different types of cabinet handles and choosing the right drill bit size for installation, you can ensure that your cabinet handles not only look great but also function properly for years to come.
Importance of the Right Drill Bit Size
When it comes to drilling holes for cabinet handles, using the right drill bit size is essential. The size of the drill bit determines the diameter of the hole, and this can have a significant impact on the overall appearance and functionality of the cabinet handle.
Accuracy: Using the right drill bit size ensures accuracy in creating the hole for the cabinet handle. If the hole is too small, the handle may not fit properly, making it difficult to install or remove. On the other hand, if the hole is too big, the handle may wobble or feel loose, compromising its durability and stability.

Aesthetics: The drill bit size also affects the aesthetics of the cabinet handle installation. When the hole is the correct size, the handle will sit flush with the cabinet surface, creating a professional and polished look. A mismatched or poorly sized hole can make the handle appear uneven or awkwardly positioned, detracting from the overall appeal of the cabinet.
Strength: Additionally, using the right drill bit size helps maintain the structural integrity of the cabinet. If the hole is too large, the wood around it may weaken, making the handle less secure and increasing the risk of damage or breakage. Conversely, a properly sized hole allows the handle to be securely fastened, ensuring maximum strength and longevity.
Efficiency: Finally, using the correct drill bit size improves efficiency during the installation process. When the hole is the right size, the handle can be easily inserted and secured, saving time and effort. This is especially important when multiple handles need to be installed, as using the wrong drill bit size can lead to delays and frustration.
In conclusion, choosing the right drill bit size for cabinet handles is crucial. It ensures accuracy, enhances aesthetics, maintains strength, and improves efficiency. Investing in a proper set of drill bits and taking the time to select the appropriate size for each handle will greatly enhance the overall quality and appearance of your cabinets.
Types of Cabinet Handle Materials
When choosing cabinet handles, it’s important to consider not only the design and style, but also the material they are made of. The material of the handles can greatly impact their durability, appearance, and overall quality. Here are some common types of materials used for cabinet handles:

- 1. Stainless Steel: Stainless steel handles are popular due to their sleek and modern appearance. They are highly durable, resistant to corrosion, and easy to clean. Additionally, stainless steel handles can complement a variety of cabinet styles.
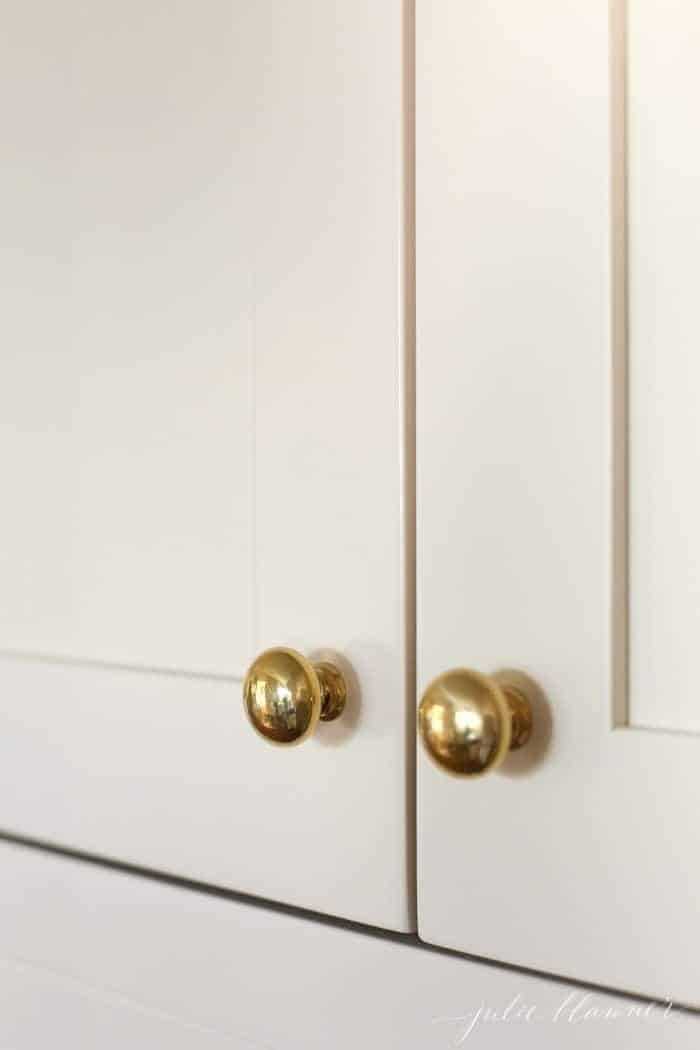
- 2. Brass: Brass handles are known for their timeless beauty and elegance. They come in various finishes such as polished brass, antique brass, and satin brass. Brass handles can add a touch of warmth and sophistication to any cabinet.
- 3. Zinc Alloy: Zinc alloy handles are a cost-effective alternative to brass handles. They can be finished to resemble different materials such as brushed nickel or antique bronze. Zinc alloy handles are lightweight and easy to install.
- 4. Wood: Wood handles can provide a natural and rustic touch to cabinets. They are available in different types of wood, such as oak, maple, and cherry. Wood handles can be stained or painted to match the cabinet color.
- 5. Acrylic: Acrylic handles are a modern and stylish choice. They come in various colors and shapes, allowing for creative and unique designs. Acrylic handles can add a pop of color and personality to cabinets.
It’s important to consider the overall style and theme of your kitchen or bathroom when choosing cabinet handle materials. Mixing and matching different materials can also create an interesting and eclectic look. Whichever material you choose, make sure it is durable and complements the overall aesthetic of your cabinets.
Common Cabinet Handle Sizes
When choosing the right drill bit size for cabinet handles, it’s essential to consider the size and style of the handle you are using. Here are some common cabinet handle sizes and their corresponding drill bit sizes:
| Cabinet Handle Size (Inches) | Drill Bit Size (Inches) |
|---|---|
| 3 | 9/64 |
| 3.5 | 11/64 |
| 4 | 11/64 |
| 5 | 5/32 |
| 6 | 13/64 |
| 7 | 7/32 |
| 8 | 1/4 |
Note: These drill bit sizes are suggestions and may vary depending on the handle manufacturer or personal preference. It’s always a good idea to double-check the manufacturer’s recommendations before drilling any holes.
Choosing the Right Drill Bit Size for Wood Handles
When it comes to installing wood handles, one of the most important steps is choosing the right drill bit size. The drill bit size will determine the size of the hole you need to drill in the wood to accommodate the handle.
Here are some factors to consider when choosing the right drill bit size for wood handles:
Type of Wood
The type of wood you are working with will affect the drill bit size you need. Hardwoods like oak or maple will require a larger drill bit size compared to softwoods like pine or cedar.
Handle Diameter
The diameter of the handle will also play a role in determining the drill bit size. Measure the diameter of the handle and choose a drill bit size that is slightly larger to allow for a snug fit.
Screw Size
Consider the size of the screws that will be used to secure the handle to the wood. The drill bit size should be slightly smaller than the screw size to ensure a tight and secure fit.
Test Hole
Before drilling the actual hole, it’s always a good idea to do a test hole on a scrap piece of wood. This will help you determine if the drill bit size is correct and if any adjustments need to be made.
Common Drill Bit Sizes for Wood Handles
Here are some common drill bit sizes that are often used for wood handles:
- 1/4 inch
- 5/16 inch
- 3/8 inch
- 1/2 inch
Keep in mind that these sizes may vary depending on the specific handle and wood being used. It’s always a good idea to consult the manufacturer’s instructions or seek advice from a professional if you are unsure about the appropriate drill bit size.
By considering the type of wood, handle diameter, screw size, and doing a test hole, you can ensure that you choose the right drill bit size for your wood handles. This will result in a secure and professional-looking installation.
Choosing the Right Drill Bit Size for Metal Handles
When it comes to installing metal handles on cabinets or drawers, choosing the right drill bit size is crucial. The size of the hole you drill should match the size of the screws that come with the handles. Here are some tips to help you choose the correct drill bit size for metal handles:
1. Check the size of the screws
Before you begin drilling, examine the screws that come with your metal handles. Take note of their diameter as well as the length. You will need a drill bit that matches the diameter of the screws.
2. Measure the diameter of the handle’s hole
Some metal handles might require pre-drilled holes to attach them to the cabinets or drawers. Use a caliper or a tape measure to determine the diameter of the handle’s hole. This will give you an idea of the drill bit size you should use.
3. Choose a slightly smaller drill bit size
It’s best to choose a drill bit size that is slightly smaller than the diameter of the screw or the hole. This will ensure a tight fit and prevent the handle from being loose. For example, if the screw diameter is 4mm, choose a 3.5mm drill bit.
4. Use a pilot hole for tougher metal
If you are installing handles on tougher metal surfaces, such as stainless steel, it’s advisable to use a smaller drill bit to create a pilot hole first. This will make it easier to drill the final hole and prevent the drill bit from slipping.
5. Test the fit before drilling all the holes
Before drilling all the holes for your metal handles, it’s a good idea to test the fit on one handle first. This will give you a chance to adjust the drill bit size if needed.
By following these guidelines, you can ensure that your metal handles are securely installed and provide a stylish and functional addition to your cabinets or drawers.
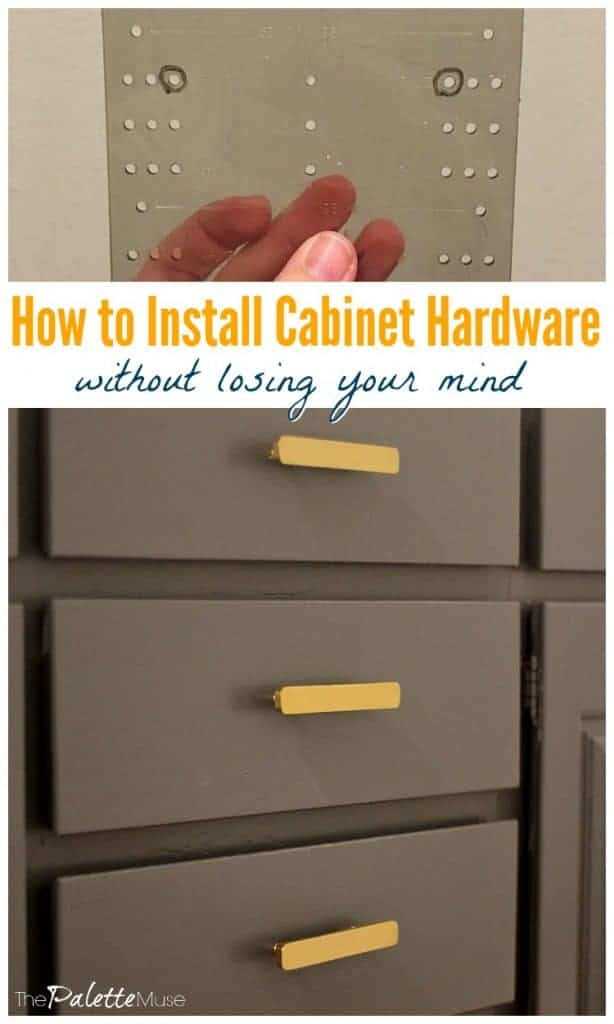
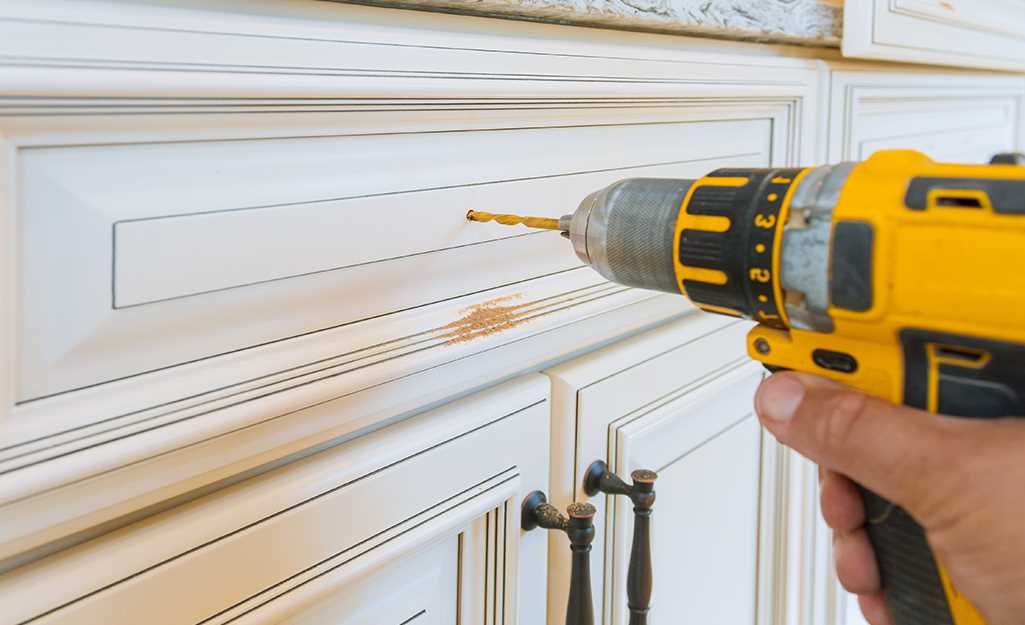
Step-by-Step Guide: Drilling Holes for Cabinet Handles
Step 1: Measure and Mark
Start by measuring the distance between the centers of the two holes on the cabinet handle. Use a tape measure or ruler to ensure accurate measurements. Once you have the measurement, mark the centers of the holes on the surface where the handle will be installed using a pencil or marker.
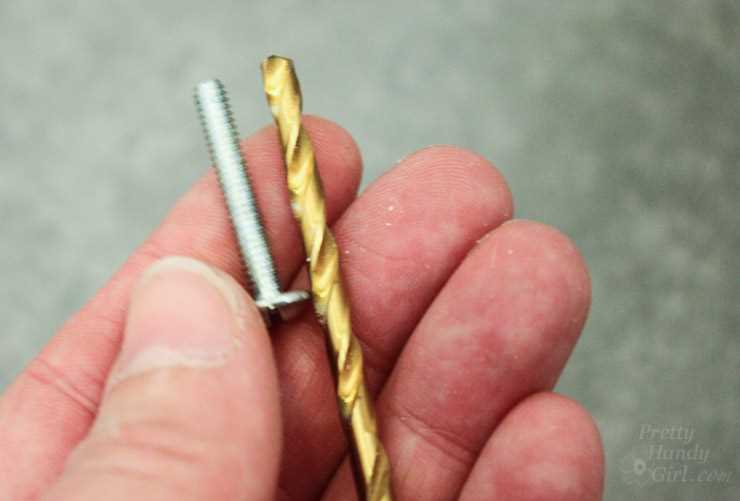
Step 2: Choose the Right Drill Bit

Select a drill bit that matches the size of the holes on the cabinet handles. It’s important to choose the correct size to ensure a snug fit. Drill bits are typically labeled with their size, so refer to the markings on the bit or use a drill bit sizing guide to determine the appropriate size.
Step 3: Secure the Cabinet
If the cabinet is not already secured in place, use clamps or have someone hold it steady while you drill. This will prevent any movement or damage while drilling the holes.
Step 4: Attach the Drill Bit
Insert the appropriate drill bit into your drill. Secure it tightly to ensure it doesn’t come loose while drilling.
Step 5: Begin Drilling
Position the drill bit on one of the marked centers and apply gentle pressure. Start drilling at a slow speed to create a small pilot hole. This will help guide the drill bit and prevent it from slipping. Once the pilot hole is complete, you can increase the speed and continue drilling through the material until the hole is the desired depth.
Step 6: Repeat for the Second Hole
Repeat the drilling process for the second marked center. Ensure that the drill bit is aligned with the mark and drill through the material with the same technique used for the first hole.
Step 7: Clean the Holes
After drilling both holes, use a clean cloth or brush to remove any wood or debris from the holes. This will ensure a clean finish and help the handles fit properly.
Step 8: Install the Cabinet Handles
Finally, attach the cabinet handles by aligning the holes on the handle with the drilled holes on the cabinet. Insert the screws provided with the handles through the holes and tighten them securely using a screwdriver or drill.
Congratulations! You have successfully drilled holes for cabinet handles!
Tips for Properly Installing Cabinet Handles
Installing cabinet handles is a simple way to update the look of your cabinets and give them a fresh, modern feel. Here are some tips to help you properly install cabinet handles:
1. Measure carefully
Before drilling any holes, measure the distance between the holes in your cabinet handles. Use a tape measure or ruler to ensure accuracy. Mark the exact spots where you will drill the holes on your cabinet doors or drawers.
2. Choose the right drill bit
Use a drill bit that matches the size of your cabinet handles’ screws. This will ensure a proper fit and prevent any damage to the handle or cabinet. If you’re unsure, it’s always better to choose a slightly smaller bit and widen the hole if needed.
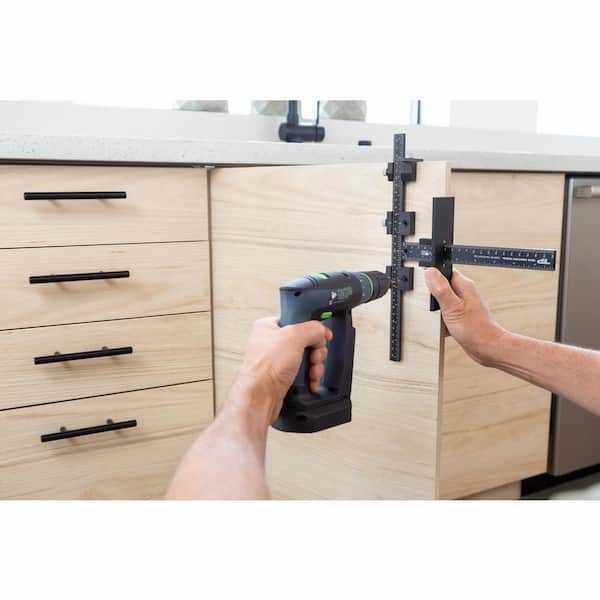
3. Drill straight and steady
When drilling the holes, make sure to keep the drill bit straight and steady. Use a drilling guide if necessary to help you maintain the right angle. Apply moderate pressure while drilling to avoid splintering or cracking the cabinet surface.
4. Test fit before attaching
Before attaching the handles, test fit them in the drilled holes to ensure they align properly and sit flush against the cabinet surface. Make any adjustments if necessary before proceeding to the final installation.
5. Use a screwdriver or drill driver
Once you’re satisfied with the position of the handles, use a screwdriver or drill driver to attach them firmly to the cabinet. Make sure to tighten the screws securely, but avoid over-tightening, as it can strip the screws or damage the handle or cabinet.
6. Double-check alignment
After attaching all the handles, double-check their alignment and make any necessary adjustments. The handles should be evenly spaced and level with each other. Use a level to ensure proper alignment, especially if you’re installing multiple handles.
7. Clean and inspect
Once all the handles are installed, clean the cabinet surfaces and inspect them for any scratches, dents, or damage. Make any touch-ups or repairs as needed to ensure a polished final look.
Following these tips will help you properly install cabinet handles and achieve a professional finish. Remember to take your time and be careful throughout the process to avoid any mistakes or mishaps. Good luck!
FAQ:
What drill bit size should I use for cabinet handles?
The recommended drill bit size for cabinet handles is typically 3/16 inch, which is suitable for most standard handles.
Can I use a different drill bit size for cabinet handles?
While the recommended drill bit size for cabinet handles is 3/16 inch, you can use a slightly larger or smaller size depending on the specific handle and your preference. Just ensure that the size is compatible with the screws provided with the handles.
What happens if I use the wrong drill bit size for cabinet handles?
If you use a drill bit size that is too small, you may have difficulty fitting the screws into the holes. On the other hand, if you use a drill bit size that is too large, the screws may not securely hold the handles in place. It is best to choose the right drill bit size to ensure proper installation and stability.
How can I determine the appropriate drill bit size for my cabinet handles?
To determine the appropriate drill bit size for your cabinet handles, you can measure the diameter of the screw that comes with the handle. Use a drill bit slightly smaller than the diameter of the screw to create a pilot hole. This will allow the screw to grip the wood without splitting it.
Video:


Meet Harrison Clayton, a distinguished author and home remodeling enthusiast whose expertise in the realm of renovation is second to none. With a passion for transforming houses into inviting homes, Harrison's writing at https://thehuts-eastbourne.co.uk/ brings a breath of fresh inspiration to the world of home improvement. Whether you're looking to revamp a small corner of your abode or embark on a complete home transformation, Harrison's articles provide the essential expertise and creative flair to turn your visions into reality. So, dive into the captivating world of home remodeling with Harrison Clayton and unlock the full potential of your living space with every word he writes.


