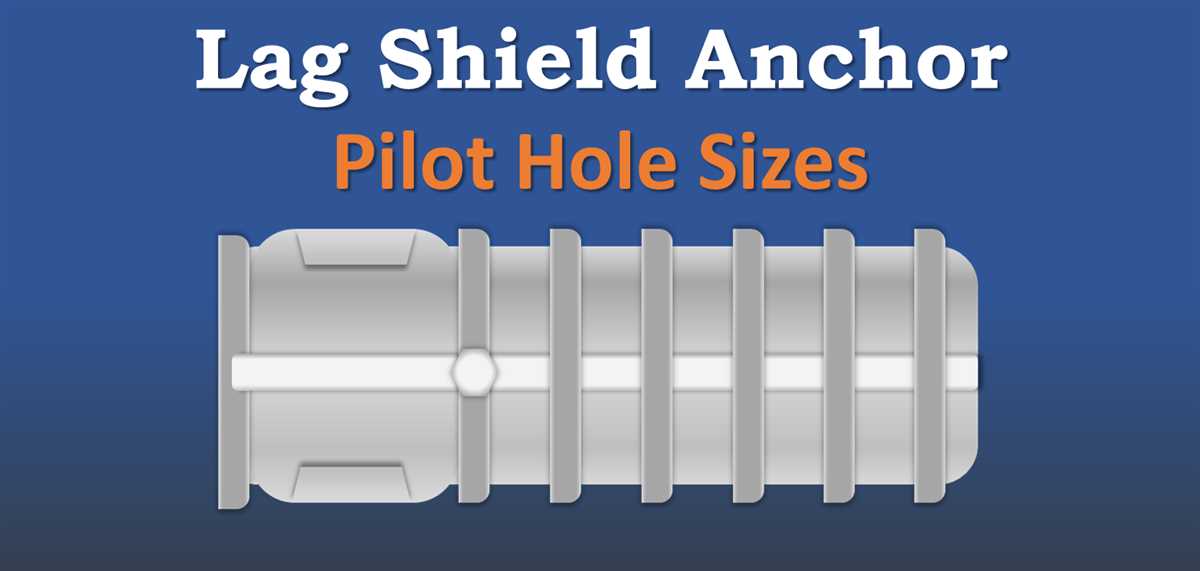
Choosing the Right Drill Bit Size for 1/4 Lag Shields

When it comes to installing 1/4 lag shields, choosing the right drill bit size is crucial. Lag shields are commonly used in construction and woodworking projects to provide a secure anchor point for screws and bolts. However, if the drill bit size is too small, the lag shield may not fit properly and compromise the strength and stability of the anchor. On the other hand, if the drill bit size is too large, the lag shield may not grip the surrounding material effectively, leading to a weak anchor that is prone to failure.
To determine the right drill bit size for 1/4 lag shields, it is important to consider the size and type of material you are working with. For softer materials, such as wood or drywall, a slightly smaller drill bit size may be sufficient. However, for harder materials like concrete or masonry, a larger drill bit size may be necessary to ensure a secure anchor.
It is also worth noting that the thickness of the material should be taken into account when selecting the drill bit size. If the material is particularly thin, you may need to choose a smaller drill bit size to prevent the lag shield from protruding on the opposite side. Conversely, if the material is thick, a larger drill bit size may be needed to accommodate the depth of the lag shield.
In general, it is recommended to consult the manufacturer’s guidelines or consult with a professional if you are unsure about the appropriate drill bit size for 1/4 lag shields. They will be able to provide you with specific recommendations based on the specific application and materials you are working with. Taking the time to select the right drill bit size will ensure a secure and reliable anchor for your project.
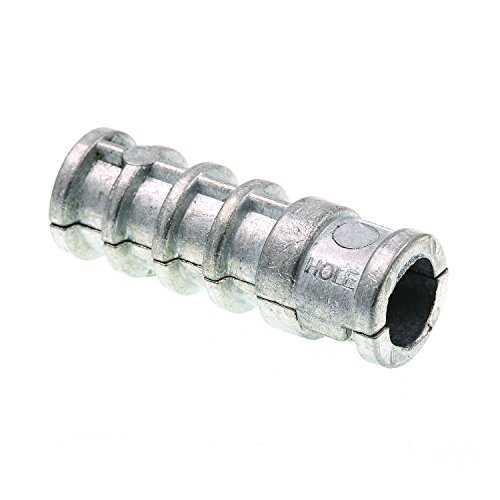
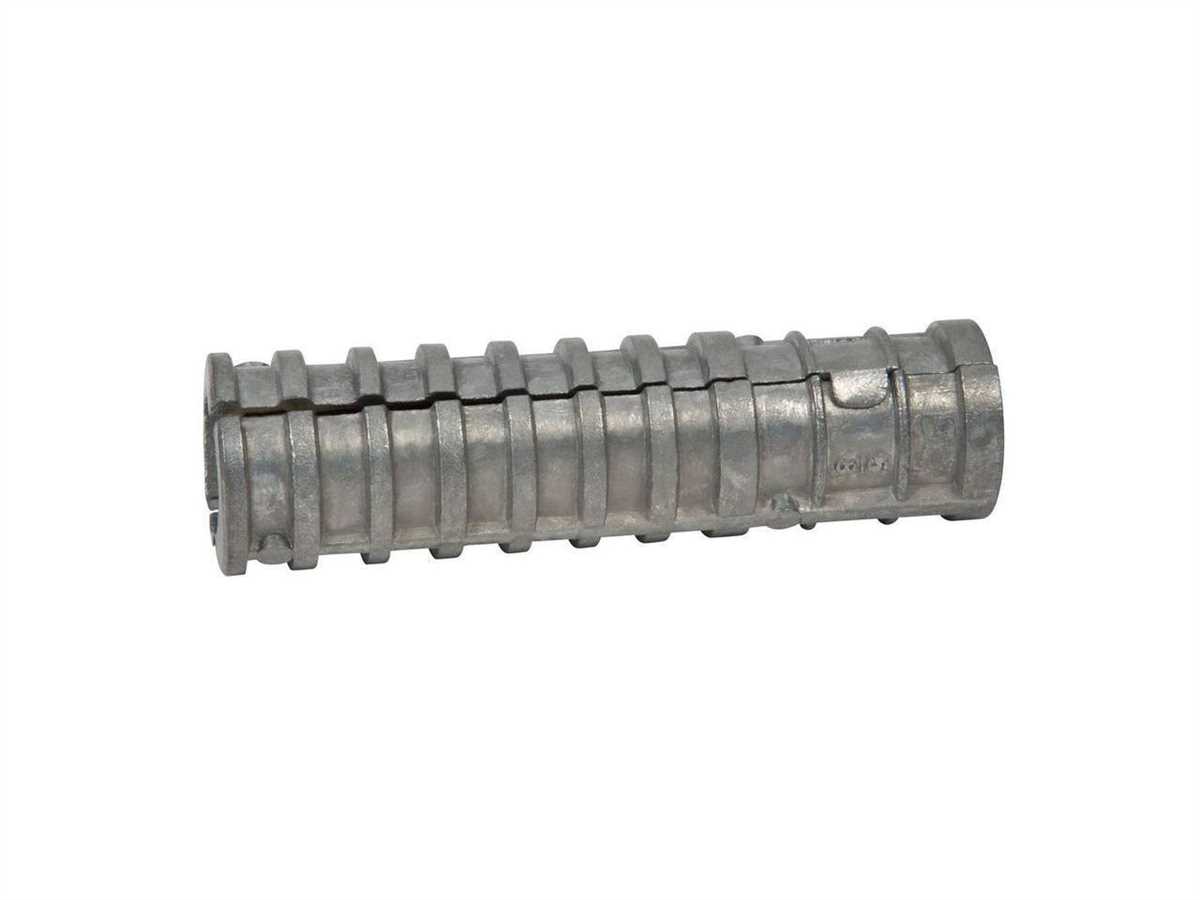
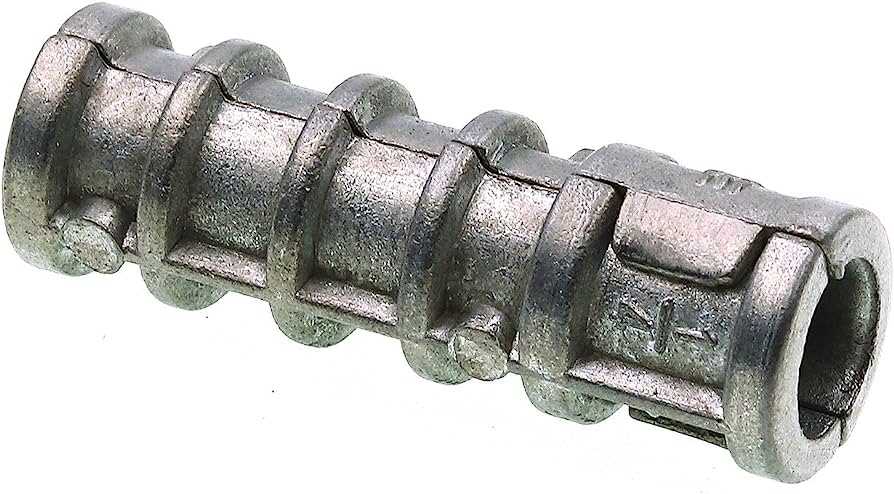
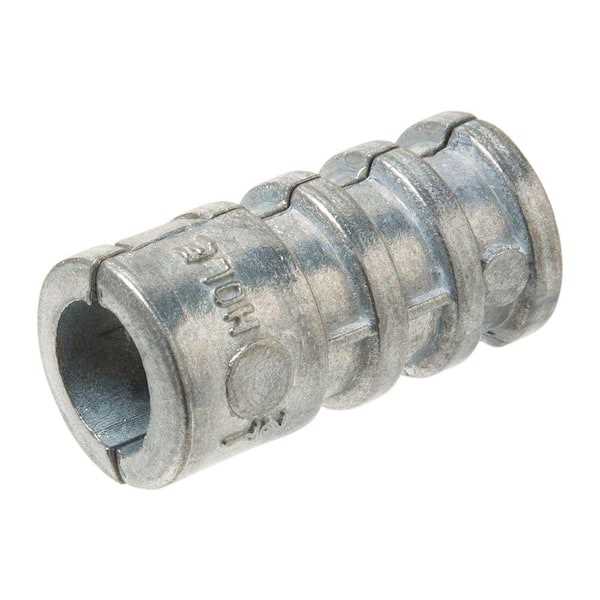
What Are Lag Shields?
When it comes to securing heavy objects into concrete or masonry, lag shields are a popular choice. Lag shields, also known as expansion anchors or concrete anchors, are cylindrical sleeves that are inserted into a drilled hole. They are designed to provide additional support and stability by expanding when a screw or lag bolt is inserted.

Lag shields are typically made of durable materials such as steel or stainless steel, making them suitable for both indoor and outdoor applications. They come in various sizes and designs to accommodate different load requirements.
These anchors can be used in a wide range of applications, including securing lumber, steel beams, shelving units, and other heavy objects to concrete walls or floors. They are commonly used in construction, carpentry, and DIY projects.
Choosing the right drill bit size for lag shields is crucial for ensuring a secure and stable installation. Using the correct size will prevent the anchor from slipping or failing under load. It is recommended to consult the manufacturer’s instructions or a professional for guidance on the appropriate drill bit size for a specific lag shield.
Importance of Drill Bit Size
Choosing the correct drill bit size is crucial when using 1/4 lag shields. The size of the drill bit will determine how well the lag shield will fit in the hole and how securely it will hold in place.
Proper Hole Size
Using the right drill bit size ensures that the hole drilled in the material is the correct size for the lag shield. If the drill bit is too small, it will be difficult to insert the lag shield, and it may not fit properly, leading to a weaker anchor. On the other hand, if the drill bit is too large, the lag shield will not have enough grip, and it may easily loosen or fail altogether.

Maximum Holding Power
The drill bit size also affects the holding power of the lag shield. A properly sized hole will result in maximum interaction between the lag shield and the material, allowing for optimal load-bearing capacity. If the hole is too small, the lag shield may not be able to fully expand, reducing its holding power. Conversely, if the hole is too large, the lag shield may not expand enough to provide a secure grip, again compromising its holding power.
Compatibility with Lag Screws
In addition to fitting properly with the lag shield, the drill bit size should also be compatible with the lag screws being used. The drill bit should be slightly smaller than the lag screw size, allowing for a snug fit. This ensures that the lag screw can grip the threads of the lag shield securely, providing a dependable connection.
It is important to consult the manufacturer’s guidelines or product specifications for the recommended drill bit size when using 1/4 lag shields. This will ensure that the correct hole size and drill bit are used, resulting in a strong and secure anchor for your application.
Factors to Consider
When choosing the right drill bit size for 1/4 lag shields, there are several factors that you should take into consideration. These factors include:

- Diameter of the Lag Shield: The first thing you need to consider is the diameter of the lag shield that you are using. Different lag shields have different diameters, so you will need to choose a drill bit size that matches the diameter of your lag shield.
- Material of the Lag Shield: The material of the lag shield is also an important consideration. Lag shields are typically made from materials such as zinc-plated steel or stainless steel. Different materials require different drill bit sizes, so make sure to choose a drill bit that is suitable for the material of your lag shield.
- Type of Material Being Drilled: The type of material that you are drilling into is another important factor to consider. Different materials have different hardness levels, which can affect the drill bit size that you should use. Harder materials may require larger drill bit sizes to create the necessary hole for the lag shield.
- Length of the Lag Shield: The length of the lag shield is also a factor to consider. Longer lag shields may require larger drill bit sizes to accommodate their length. It is important to choose a drill bit size that will create a hole deep enough to fully insert the lag shield.
By considering these factors, you can ensure that you choose the right drill bit size for your 1/4 lag shields. It is always recommended to consult the manufacturer’s instructions or guidelines for specific drill bit size recommendations based on the lag shield you are using.
Type of Material
When choosing the right drill bit size for 1/4 lag shields, it is important to consider the type of material you will be drilling into. Different materials require different drill bit sizes in order to ensure proper installation and maximum holding capacity.
Wood: When drilling into wood, it is recommended to use a standard drill bit size. A 1/4 inch drill bit is typically suitable for most wood types, providing a secure anchor for lag shields.
Metal: When drilling into metal, a different approach is necessary. Metal requires a smaller drill bit size compared to wood. A 3/16 inch drill bit is commonly used for lag shields in metal applications.
Concrete: Concrete is a much harder material, requiring a larger drill bit size. For lag shields in concrete, a 5/16 inch drill bit is typically recommended. This larger size allows for a more secure anchor and better stability.

Masonry: Similar to concrete, masonry also requires a larger drill bit size. A 5/16 inch drill bit is commonly used for lag shields in masonry applications, providing adequate support and stability.
When drilling into any material, it is important to use the correct drill bit size to ensure proper installation and maximum holding capacity. Using the wrong size can result in a loose anchor or damaged material, which can compromise the overall strength and stability of your project.
Length of Lag Screw
When choosing the right drill bit size for 1/4 lag shields, it is important to consider the length of the lag screw that will be used. The length of the lag screw refers to the portion of the screw that will be embedded into the material being drilled into.
The length of the lag screw will depend on several factors, including the thickness of the material being drilled into and the depth of the hole that you want to create. It is crucial to choose a lag screw that is long enough to provide sufficient anchoring strength, but not so long that it protrudes from the opposite side of the material.
Here are some general guidelines for selecting the appropriate length of lag screw:

- Material Thickness: The length of the lag screw should be at least three times the thickness of the material being drilled into. This ensures that the screw provides enough gripping power and prevents it from pulling out under load.
- Hole Depth: The length of the lag screw should also take into account the depth of the hole that you want to create. The screw should be long enough to fully penetrate the material and provide a secure anchor.
- Minimum Embedment: It is important to ensure that the lag screw is embedded into the material by at least one inch. This provides sufficient stability and prevents the screw from pulling out.
It is recommended to consult the manufacturer’s guidelines or seek professional advice when determining the appropriate length of lag screw for your specific application. They can provide you with the most accurate information based on the type of material, load requirements, and other important factors.
Remember, selecting the right length of lag screw is crucial for ensuring a secure and reliable anchoring solution for your project.
Drill Bit Type
Choosing the right drill bit type is crucial when drilling holes for 1/4 lag shields. The type of drill bit you select will ultimately determine the success of your project. Here are some common drill bit types that are suitable for drilling holes for 1/4 lag shields:
1. Masonry Drill Bit
A masonry drill bit is specifically designed for drilling into materials such as concrete, brick, and stone. These drill bits have a hardened carbide tip that allows for precise drilling in tough materials. When using a masonry drill bit, it is important to use a hammer drill for added power and efficiency.
2. Carbide-Tipped Drill Bit
Carbide-tipped drill bits are capable of drilling through various materials, including masonry, wood, and metal. These drill bits are equipped with a sharp carbide tip that ensures durability and longevity. Carbide-tipped drill bits are a versatile option for drilling holes for 1/4 lag shields.
3. High-Speed Steel Drill Bit
High-speed steel (HSS) drill bits are designed for drilling through wood, plastic, and metal. These drill bits are known for their strength and ability to withstand high heat without losing their cutting edge. While HSS drill bits may not be the best option for drilling into masonry, they are suitable for softer materials.
4. Auger Drill Bit
An auger drill bit is primarily used for drilling holes in wood. These drill bits have a spiral-shaped design that efficiently removes wood chips during drilling. Auger drill bits are available in various sizes, making them suitable for drilling holes for 1/4 lag shields in different wood thicknesses.
5. Forstner Drill Bit
A Forstner drill bit is commonly used for drilling flat-bottomed holes with clean, precise edges. These drill bits are ideal for drilling holes in wood where aesthetics is a priority. Forstner drill bits create a clean entry hole, making them a good option for drilling holes for 1/4 lag shields in visible areas.
It is important to note that the recommended drill bit type may vary depending on the specific material you are drilling into. Always refer to the manufacturer’s guidelines and recommendations for the best results.
Choosing the Right Drill Bit Size
Introduction
When using 1/4 lag shields, it is important to choose the right drill bit size to ensure proper installation and maximum holding power. The drill bit size will depend on the diameter of the lag shield and the material you are drilling into. This guide will help you determine the correct drill bit size to use for 1/4 lag shields.
Factors to Consider
There are several factors to consider when choosing the right drill bit size for 1/4 lag shields:
- The diameter of the lag shield
- The material you are drilling into
- The type of lag screw you will be using
Drill Bit Size Chart
Refer to the following chart to determine the correct drill bit size for 1/4 lag shields:
| Lag Shield Diameter (inches) | Drill Bit Size (inches) |
|---|---|
| 1/4 | 3/16 |
| 5/16 | 1/4 |
| 3/8 | 5/16 |
| 1/2 | 3/8 |
Additional Tips
Here are some additional tips to keep in mind when choosing the right drill bit size for 1/4 lag shields:
- Always start with a smaller drill bit size and gradually increase if necessary.
- Choose a drill bit made for the type of material you are drilling into (e.g., wood, concrete, metal).
- Follow the manufacturer’s guidelines for the specific lag shields and lag screws you are using.
- Use a drill with sufficient power and torque to handle the drilling process.
- Take precautions to protect yourself and your surroundings when drilling.
By considering these factors and following the recommended drill bit sizes, you can ensure successful installations of 1/4 lag shields and achieve maximum holding power for your projects.
Matching the Lag Shield Size
When choosing the right drill bit size for 1/4 lag shields, it is important to match the size of the lag shield to the size of the hole that needs to be drilled. Lag shields are available in various sizes, including 1/4 inch, 5/16 inch, 3/8 inch, and 1/2 inch.
To find the right lag shield size, you need to consider the size of the lag bolt or screw that will be used with the shield. The lag shield should be slightly larger than the diameter of the lag bolt or screw to ensure a secure fit.
For example, if you are using a 1/4 inch lag bolt, you would need to use a 1/4 inch lag shield. Similarly, a 5/16 inch lag bolt would require a 5/16 inch lag shield, and so on.
It is important to note that lag shields are typically sized based on the diameter of the hole they are inserted into, not the diameter of the lag bolt or screw. This means that the actual size of the lag shield will be larger than the stated size to allow for a proper fit.
When drilling the hole for the lag shield, it is recommended to use a carbide-tipped masonry drill bit. These drill bits are specifically designed for drilling into concrete, brick, or other masonry materials.
Before drilling the hole, it is important to measure the length of the lag bolt or screw that will be used. This will help determine the depth of the hole that needs to be drilled. The lag shield should be inserted into the hole with at least 1/2 inch of space between the bottom of the shield and the bottom of the hole to ensure proper expansion when the lag bolt is tightened.
Here is a table that provides a general guideline for matching the lag shield size to the lag bolt or screw size:
| Lag Bolt Size (inch) | Lag Shield Size (inch) |
|---|---|
| 1/4 | 1/4 |
| 5/16 | 5/16 |
| 3/8 | 3/8 |
| 1/2 | 1/2 |
It is important to keep in mind that these sizes are guidelines and may vary depending on the specific application and the manufacturer of the lag shields. Always refer to the manufacturer’s instructions for the recommended drill bit size and installation guidelines.
Using a Size Guide
When choosing the right drill bit size for 1/4 lag shields, it is important to use a size guide. A size guide will help you determine the correct diameter of the hole to drill for the lag shield.
Step 1: Consult the manufacturer’s instructions or the packaging of the lag shields to find the recommended drill bit size. The manufacturer will provide a drill bit size that is appropriate for the particular lag shield being used.
Step 2: If the manufacturer’s instructions are not available, you can refer to a size guide. A size guide is a chart that lists the recommended drill bit size for different lag shield sizes. The lag shield sizes are usually indicated by the diameter of the lag screw that will be used.
Step 3: Use the size guide to find the recommended drill bit size that corresponds to the diameter of the lag screw. For example, if you are using a 1/4 lag screw, the size guide might recommend using a 3/16 inch drill bit.
Step 4: Once you have determined the recommended drill bit size, select a drill bit that matches the size. It is important to use the correct size drill bit to ensure a proper fit and secure installation of the lag shield.
Step 5: Before drilling, make sure to mark the drilling depth on the drill bit to ensure that the hole is drilled to the correct depth. This can be done by wrapping a piece of tape around the drill bit at the desired depth.
Step 6: When drilling, apply steady pressure and keep the drill bit perpendicular to the surface being drilled. This will help ensure a clean and accurate hole.
Step 7: Once the hole is drilled, insert the lag shield and tap it lightly with a hammer until it is flush with the surface. This will provide a solid anchor point for the lag screw.
Step 8: Finally, screw the lag screw into the lag shield using a wrench or socket set. Make sure to tighten the screw firmly, but avoid over-tightening as this can damage the lag shield.
By using a size guide, you can ensure that you are using the correct drill bit size for 1/4 lag shields. This will help ensure a secure and reliable installation.
FAQ:
What is a 1/4 lag shield?
A 1/4 lag shield is a type of anchor that is used to secure heavy objects to concrete or masonry surfaces. It is called a 1/4 lag shield because it is designed to fit a 1/4-inch diameter lag screw.
What are the different drill bit sizes available for 1/4 lag shield?
There are several drill bit sizes that can be used with 1/4 lag shields, including 5/32 inch, 3/16 inch, and 1/4 inch. The appropriate drill bit size will depend on the specific size of the lag shield being used.
How do I choose the right drill bit size for 1/4 lag shields?
When choosing the right drill bit size for 1/4 lag shields, you need to consider the diameter of the lag shield itself. The drill bit size should be slightly smaller than the diameter of the lag shield to ensure a snug fit. For example, if you are using a 1/4-inch lag shield, you would typically use a 3/16-inch drill bit.
What happens if I use a drill bit that is too large for 1/4 lag shields?
If you use a drill bit that is too large for 1/4 lag shields, the lag shield may not fit securely in the hole. This can result in a weak or unstable anchor point, and the object being secured may not be properly supported. It is important to choose the correct drill bit size to ensure a strong and secure installation.
Can I use a smaller drill bit size for 1/4 lag shields?
While it is possible to use a smaller drill bit size for 1/4 lag shields, it is generally not recommended. Using a smaller drill bit can make it difficult to insert the lag shield into the hole, and it may not provide enough room for the lag screw to be properly secured. It is best to use the recommended drill bit size for optimal results.
Video:


Meet Harrison Clayton, a distinguished author and home remodeling enthusiast whose expertise in the realm of renovation is second to none. With a passion for transforming houses into inviting homes, Harrison's writing at https://thehuts-eastbourne.co.uk/ brings a breath of fresh inspiration to the world of home improvement. Whether you're looking to revamp a small corner of your abode or embark on a complete home transformation, Harrison's articles provide the essential expertise and creative flair to turn your visions into reality. So, dive into the captivating world of home remodeling with Harrison Clayton and unlock the full potential of your living space with every word he writes.


