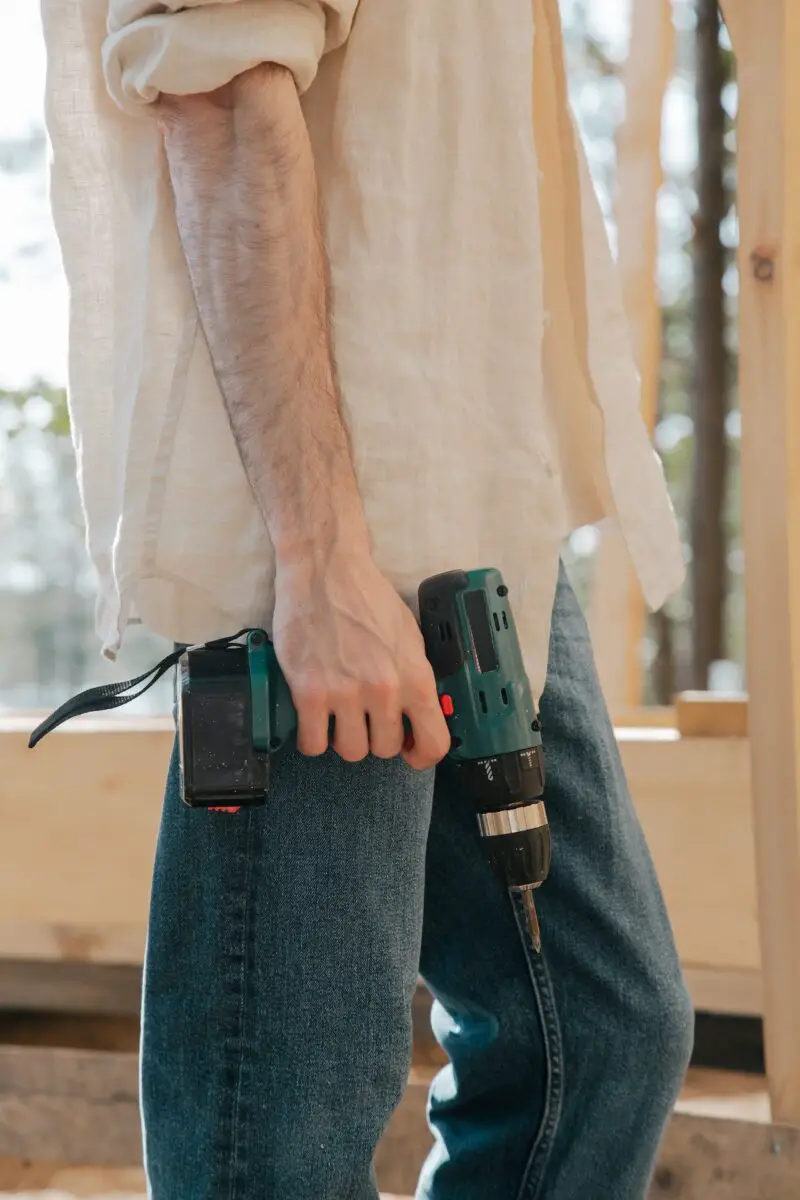
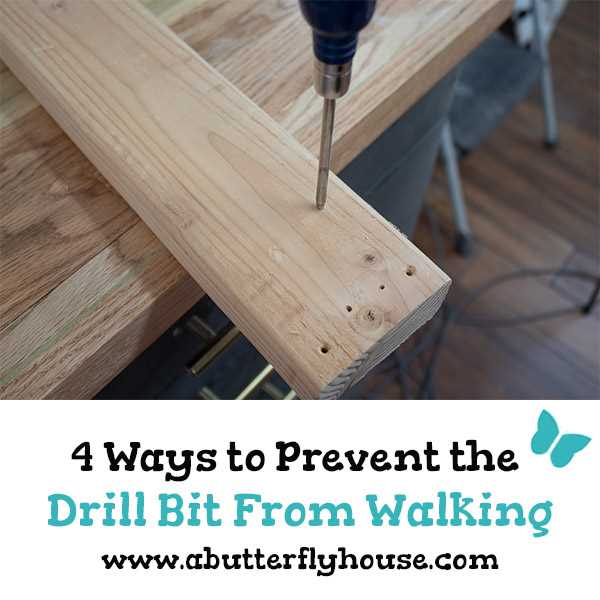
5 Tips for Preventing Drill Bits from Slipping

When it comes to DIY projects or professional construction work, a slipping drill bit can not only be frustrating, but it can also lead to accidents and injuries. Whether you’re drilling into wood, metal, or concrete, it’s important to ensure that your drill bits stay in place for precise and efficient drilling. Here are five tips to prevent your drill bits from slipping.
1. Use a Center Punch: Before you start drilling, make a small indentation on the surface with a center punch. This will provide a starting point for your drill bit and help prevent it from slipping.
2. Apply a Firm Pressure: When drilling, it’s crucial to apply a firm and steady pressure on the drill. This will help maintain the grip between the drill bit and the surface, reducing the chances of slipping. However, be careful not to put too much pressure as it may damage the bit or the material you’re drilling into.
3. Use the Right Drill Bit: Different materials require different types of drill bits. Using the wrong type may result in slipping and inefficient drilling. Make sure to use the appropriate drill bit for the material you’re working with to ensure stability and accuracy.
4. Mark the Drill Points: Before drilling, take the time to mark the points where you want to drill. This will help you drill precisely and reduce the chances of the drill bit slipping. You can use a pencil or a marker to mark the spots.
5. Use Clamps or Holders: For extra stability, consider using clamps or holders to secure the material you’re drilling into. This will prevent it from moving or slipping, allowing you to drill with more control and accuracy. If clamps or holders are not available, ask someone to hold the material for you.
By following these five tips, you can prevent your drill bits from slipping and ensure safe and efficient drilling in your projects. Remember to always wear appropriate safety gear and take necessary precautions when operating power tools.
Proper Workspace Setup

Having a properly set up workspace is crucial for preventing drill bits from slipping. Here are some tips to create the ideal environment for your drilling activities:
Clean and Organized Area
Start by ensuring that your workspace is clean and free from clutter. Remove any unnecessary items that may get in your way or cause accidents. Keeping a tidy area will help you focus on the task at hand and prevent any mishaps.
Stable and Level Surface
Always work on a stable and level surface to prevent any accidental slips or vibrations that could affect your drilling. Uneven surfaces can cause the drill bit to catch and lead to slipping or breaking.
Secure Workpiece
Before drilling, make sure that your workpiece is properly secured. You can use clamps or other fixtures to firmly hold the material in place. This will prevent it from moving or spinning while you are drilling, reducing the risk of slipping.
Position the Drill Correctly
When using a handheld drill, make sure to hold it with both hands and maintain a firm grip. Position yourself in a comfortable stance, with your feet shoulder-width apart for stability. Keep your body aligned with the drilling direction to prevent any unintentional movements that could cause the drill bit to slip.

Use Proper Lighting
Adequate lighting is essential to clearly see the drilling area and any potential hazards. Make sure you have good lighting in your workspace, especially if you are working on intricate or detailed drilling tasks. This will help you maintain better control and precision, reducing the chances of slippage.
By implementing these workspace setup tips, you can create a safer and more efficient environment for drilling. Remember to always prioritize safety and take necessary precautions to prevent drill bit slipping and other accidents.
Choosing the Right Drill Bit
When it comes to using a drill, selecting the right drill bit for the job is crucial for achieving the desired results. Using the wrong drill bit can not only lead to ineffective drilling but can also cause accidents, damage to the material, and even injuries. Here are some tips to help you choose the right drill bit:
1. Consider the Material
The first thing you need to consider when choosing a drill bit is the material you will be drilling into. Different materials require different types of drill bits. For example, a masonry drill bit is ideal for drilling into bricks or concrete, while a wood drill bit is better suited for drilling into wood. Make sure to match the drill bit with the material to ensure a clean and efficient drilling process.
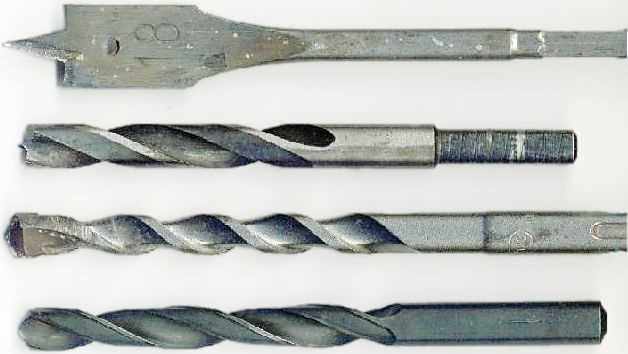
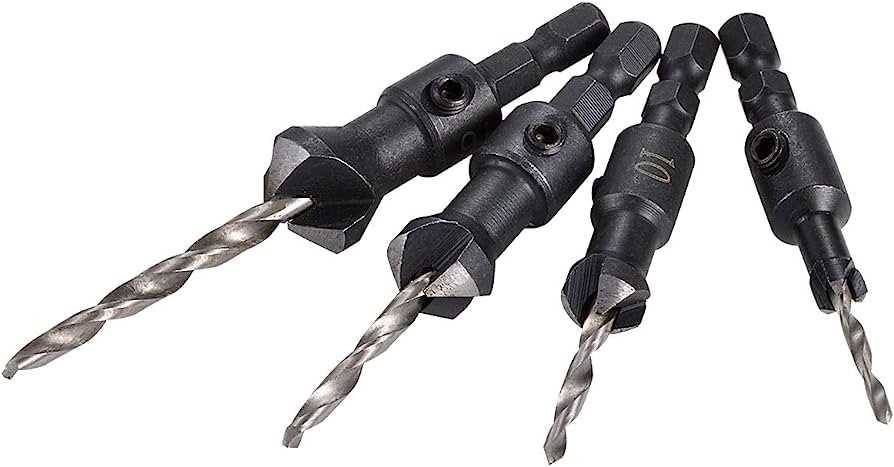
2. Know the Drill Bit Types
Drill bits come in various types, each designed to handle specific drilling tasks. Some common drill bit types include:

- Twist Drill Bits: These are the most common and versatile drill bits, suitable for drilling into various materials, including metal, wood, and plastic.
- Masonry Drill Bits: Designed specifically for drilling into materials like concrete, brick, stone, or tile.
- Spade Bits: These flat, paddle-shaped bits are used primarily for drilling large holes in wood.
- Forstner Bits: Ideal for drilling large, flat-bottomed holes in wood without splintering.
- Hole saw Bits: Used for cutting large holes in materials like wood, plastic, or thin metal.
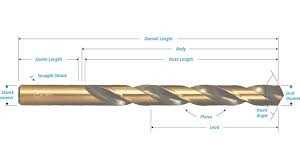
3. Pay Attention to the Shank Size
The shank size of the drill bit is also important to consider. The shank is the part of the drill bit that fits into the drill’s chuck. It needs to match the chuck size to ensure a secure fit. Most drills have a 3/8-inch or 1/2-inch chuck, so choose drill bits with corresponding shank sizes.
4. Check the Drill Bit Coating
Some drill bits come with coatings that provide extra durability, reduce friction, and prolong the lifespan of the bit. Common drill bit coatings include black oxide, titanium nitride, and cobalt. Consider the type of coating based on the material you will be drilling into and the frequency of use to ensure better performance and longevity.
5. Consult the Drill Bit Size Chart
Finally, consult a drill bit size chart to determine the appropriate drill bit size based on the hole diameter you need to achieve. Using the wrong size drill bit can result in imprecise holes or damage to the material.

By following these tips and selecting the right drill bit for the job, you can improve drilling accuracy, efficiency, and safety.
Securing the Material
One of the main reasons drill bits can slip is because the material being drilled is not properly secured. Here are some tips for securing the material to prevent slippage:
- Clamp the material: Use clamps or a vise to hold the material firmly in place. This will ensure that it doesn’t move or shift while drilling, reducing the chances of the drill bit slipping.
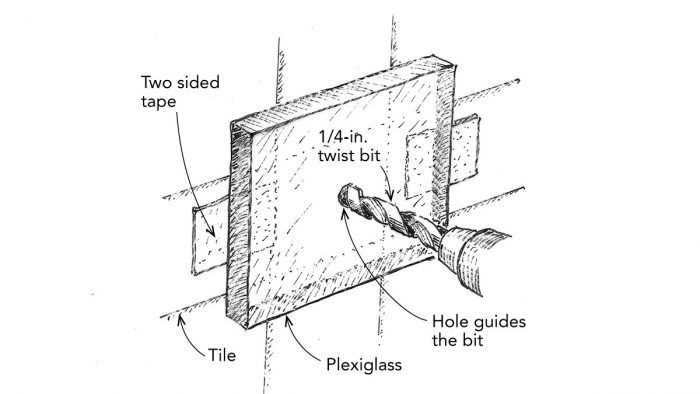
- Use a center punch: Before drilling, use a center punch to create a small indentation or guide hole in the material. This will help the drill bit stay centered and prevent it from wandering or slipping off course.
- Mark the drilling location: Use a pencil or marker to clearly mark the exact spot where you want to drill. This will provide a visual reference and help you align the drill bit properly, reducing the risk of slippage.
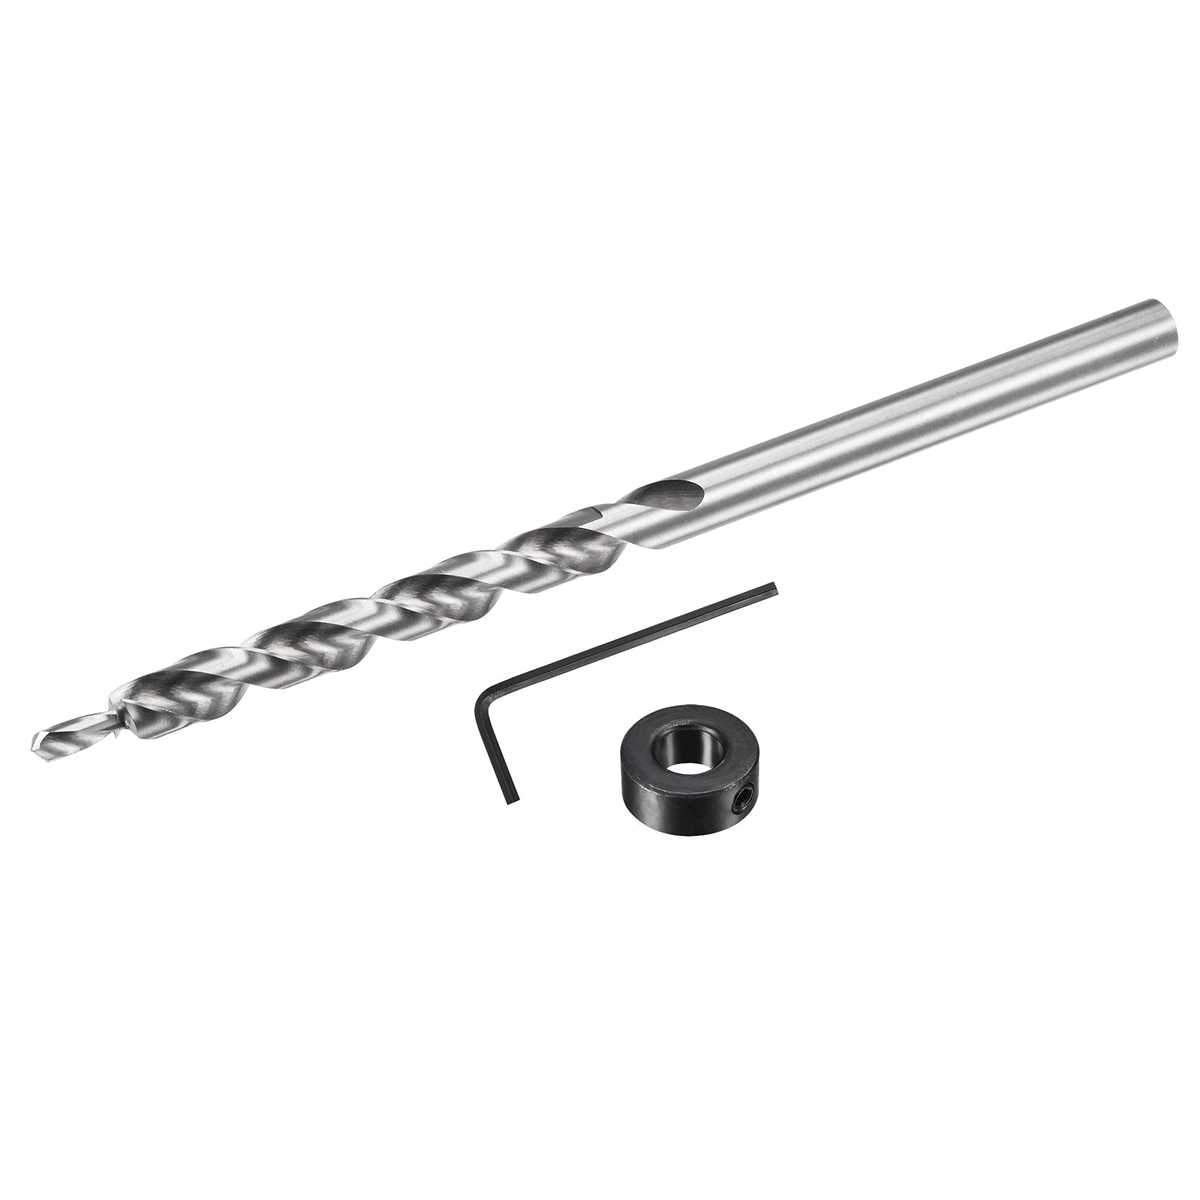
- Use a starter hole: For harder materials or larger drill bits, it can be helpful to create a small starter hole before drilling the full-sized hole. This will provide a guide for the drill bit and make it less likely to slip or wander.
- Support the material: If possible, support the material from the backside to prevent it from vibrating or flexing while drilling. This will help maintain stability and reduce the chances of the drill bit slipping.
Using the Correct Drilling Technique
Using the correct drilling technique is essential for preventing drill bits from slipping. By following these tips, you can improve your drilling accuracy and reduce the risk of accidents.
1. Secure the workpiece
Before starting to drill, it is crucial to secure the workpiece properly. This can be done by using clamps or a vice to hold it firmly in place. This will prevent the workpiece from moving or twisting during drilling, reducing the chances of the drill bit slipping.

2. Start with a pilot hole
For larger holes, it is advisable to start with a pilot hole. A pilot hole is a smaller hole drilled into the workpiece before drilling the final hole. It helps to guide the drill bit accurately and creates a channel for the larger bit to follow. This technique reduces the risk of the drill bit slipping and provides better control during drilling.
3. Use the right speed and pressure
The speed and pressure applied during drilling also play a crucial role in preventing drill bits from slipping. Using excessive speed can cause the bit to heat up and lose its grip, leading to slipping. Similarly, applying too much pressure can also result in the bit losing its grip and slipping. It is important to use the correct speed and pressure recommended for the specific material being drilled to avoid slipping.
4. Keep the drill perpendicular to the workpiece
Maintaining a perpendicular angle while drilling helps to improve accuracy and reduce the chances of the bit slipping. Tilting the drill can cause the bit to wander off course and increase the likelihood of slipping. It is important to hold the drill steady and ensure it is perpendicular to the workpiece throughout the drilling process.
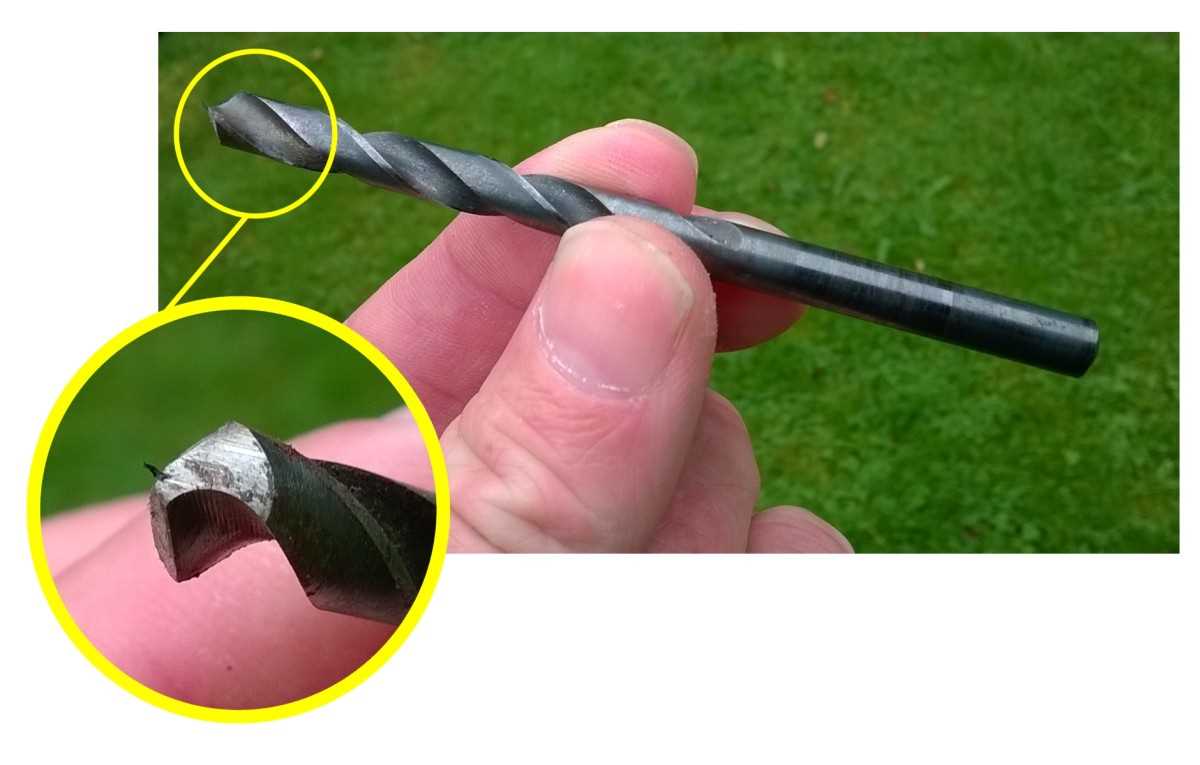
5. Use a sharp drill bit
A dull or worn-out drill bit is more likely to slip during drilling. It is important to use a sharp and properly maintained drill bit to ensure better grip and control. Regularly inspect the drill bit and replace it if it shows signs of wear or damage.
Following these tips and practicing the correct drilling technique will help prevent drill bits from slipping and improve the overall drilling experience.
Regular Bit Maintenance
Regular maintenance of your drill bits is essential for their proper functioning and longevity. By following these tips, you can ensure that your drill bits remain sharp and secure:
1. Clean Your Bits After Each Use
After each use, make it a habit to clean your drill bits thoroughly. Use a brush or a soft cloth to remove any debris, dirt, or dust that may have accumulated. This will prevent the build-up of residue, which can affect the performance of the drill bits.
2. Inspect for Damage
Regularly inspect your drill bits for any signs of damage. Look for bent or chipped edges, as these can cause the bits to slip while in use. If you notice any damage, replace the affected bit with a new one to ensure safe and effective drilling.
3. Sharpen Your Bits
To maintain their sharpness, it is important to sharpen your drill bits regularly. Various sharpening tools are available on the market, such as bench grinders or sharpening stones. Follow the manufacturer’s instructions and take care not to overheat the bits during the sharpening process.
4. Store Bits Properly
Proper storage is crucial for preventing drill bits from slipping and getting damaged. Keep your bits in a designated container or organizer that provides individual slots for each size and type of bit. This will not only protect the edges from dulling but also make it easier to locate the specific bit you need.
5. Use Cutting Lubricant
When drilling through certain materials, such as metal or wood, it can be beneficial to use cutting lubricant. This will reduce friction and heat, preventing the bits from slipping and prolonging their lifespan. Apply the lubricant according to the manufacturer’s recommendations.
By incorporating regular maintenance into your drilling routine, you can extend the life of your drill bits and improve their overall performance. Remember to clean, inspect, sharpen, store, and use lubricant for the best results.
Wearing Appropriate Safety Gear
When operating power tools, it is important to wear the appropriate safety gear to protect yourself from potential hazards. The following are some essential safety gear items to consider:
- Safety Glasses: Always wear safety glasses to protect your eyes from flying debris and dust.
- Ear Protection: When using power tools that produce loud noise, such as drills, wearing earplugs or earmuffs can help prevent hearing damage.
- Dust Mask: If you are working with materials that produce dust or particles, wearing a dust mask can help you avoid breathing in harmful substances.
- Gloves: Wear gloves to protect your hands from cuts, abrasions, and potential injuries.
- Protective Clothing: It is advisable to wear long pants, a long-sleeved shirt, and closed-toe shoes to prevent any accidental injuries.
In addition to wearing safety gear, it is crucial to familiarize yourself with the operating instructions and safety precautions provided by the tool manufacturer. They will often include specific recommendations for gear based on the tool being used.
Avoiding Excessive Force
One common mistake that people make when using drill bits is applying excessive force. This can happen when you’re in a hurry or trying to get through a particularly tough material. However, using too much force can cause the drill bit to slip, which can not only damage the tool but also lead to accidents and injuries.
Here are some tips to help you avoid using excessive force:
- Select the right drill bit for the job: Using the right drill bit for the material you’re working on can make a big difference. Different drill bits are designed for different purposes, so make sure you choose one that is suitable for the job at hand. Using the wrong drill bit can result in the need for excessive force to get the job done.
- Use a sharp drill bit: A dull drill bit can make it difficult to drill through materials, which can lead to the temptation of applying excessive force. Make sure to regularly check and replace your drill bits when needed to maintain their sharpness. A sharp drill bit will cut through the material more easily, reducing the need for excessive force.
- Apply steady pressure: Instead of pushing down hard on the drill, apply a steady and controlled pressure. Let the drill do the work by allowing the rotational speed and downward pressure to create the necessary force. This will help avoid the need for adding excessive force.
- Take breaks: If you’re drilling for an extended period, remember to take breaks to prevent fatigue. Fatigue can lead to a loss of control, resulting in the application of excessive force. Take regular breaks to rest and regain your focus, ensuring that you maintain a steady and controlled drilling motion.
- Secure the workpiece: Make sure the workpiece is properly secured before drilling. If the material moves or shifts while drilling, you may be tempted to apply more force to compensate. Use clamps or other appropriate securing methods to prevent the workpiece from moving and reduce the likelihood of needing excessive force.
By following these tips, you can prevent the drill bit from slipping due to excessive force. Remember to always prioritize safety and take your time when using power tools to avoid accidents and injuries.
Storing Drill Bits Properly
Cleanliness is Key
One of the most important aspects of storing drill bits properly is keeping them clean. After each use, it’s essential to remove any debris or residue from the bits. This can be done by using compressed air or a cleaning brush to remove any dust or shavings. Cleaning the bits not only helps to prevent them from slipping, but it also prolongs their lifespan.
Organize and Label
To ensure that your drill bits are easy to find and access when you need them, it’s important to keep them organized and labeled. Consider using a designated storage case or box to keep your bits in one place. Additionally, it can be helpful to label each bit with its size or purpose to make it easier to identify them quickly.
Protective Cases or Sleeves
When storing drill bits, it’s crucial to protect them from damage or corrosion. Consider using protective cases or sleeves to keep the bits safe and prevent them from coming into contact with other tools or surfaces that could cause harm. These cases or sleeves can help maintain the sharpness and effectiveness of the drill bits over time.
Avoid Moisture and Temperature Extremes
Moisture and extreme temperatures can be detrimental to the quality of drill bits. Store your bits in a dry location, away from areas that are prone to humidity or condensation. Additionally, try to avoid storing them in places that experience significant temperature changes, as this can cause the bits to expand or contract and affect their performance.
Regular Maintenance
To keep your drill bits in top condition, it’s essential to perform regular maintenance. This can include sharpening the bits when they become dull or worn and inspecting them for any signs of damage. By servicing your drill bits regularly, you can not only prevent them from slipping but also ensure that they perform optimally in all your drilling tasks.
FAQ:
What causes drill bits to slip?
There are several factors that can cause drill bits to slip, including dull or worn-out bits, improper drilling technique, incorrect drill bit size for the material, and lack of adequate pressure while drilling.
What are the dangers of drill bit slipping?
Drill bit slipping can be dangerous and lead to several issues, including injury to the user, damage to the material being drilled, and a less precise and clean hole. It can also result in the drill bit getting stuck or breaking, causing further complications.
Are there any special techniques for preventing drill bits from slipping on metal surfaces?
When drilling on metal surfaces, it’s important to take some additional precautions to prevent drill bit slipping. You can ensure a better grip by using a center punch to make a small indentation in the metal before drilling. You can also use cutting fluid or lubricant to reduce friction and overheating. Additionally, using a slower drill speed and applying steady pressure can help prevent slippage on metal.
Video:


Meet Harrison Clayton, a distinguished author and home remodeling enthusiast whose expertise in the realm of renovation is second to none. With a passion for transforming houses into inviting homes, Harrison's writing at https://thehuts-eastbourne.co.uk/ brings a breath of fresh inspiration to the world of home improvement. Whether you're looking to revamp a small corner of your abode or embark on a complete home transformation, Harrison's articles provide the essential expertise and creative flair to turn your visions into reality. So, dive into the captivating world of home remodeling with Harrison Clayton and unlock the full potential of your living space with every word he writes.


