5 Steps to Drill a Perfect Hole for a Cabinet Hinge

Installing cabinet hinges can be a tricky task, but with the right tools and techniques, you can drill a perfect hole every time. Whether you’re a beginner or a seasoned DIYer, follow these five steps to ensure that your cabinet hinges are properly aligned and securely attached.
Step 1: Measure and mark
Before you start drilling, measure and mark the location for your hinge. Use a tape measure to determine the distance from the edge of the cabinet door to the desired position of the hinge. Mark this spot with a pencil or a small piece of masking tape.
Step 2: Use a center punch
To prevent your drill bit from slipping, use a center punch to create a small indent at the marked spot. This will act as a guide for your drill bit and help ensure that your hole is drilled in the right place. Place the punch at the center of the mark and gently tap it with a hammer.

Step 3: Choose the right drill bit
Select a drill bit that matches the size of your hinge screws. It’s important to use the correct size to ensure a secure fit. If you’re unsure, refer to the manufacturer’s instructions or consult a professional.
Step 4: Drill the hole
Secure your cabinet door and carefully align the drill bit with the center punch mark. Start drilling at a slow speed and apply gentle pressure. Make sure to keep the drill bit perpendicular to the surface and stop drilling once you’ve reached the desired depth.
Step 5: Test the fit

After drilling the hole, test the fit of the hinge by inserting the screw and tightening it. The hinge should sit flush against the cabinet door without any wobbling or gaps. If the fit is not perfect, you may need to adjust the position of the hole or try a different size drill bit.
By following these five steps, you can ensure that your cabinet hinges are properly aligned and securely attached. Remember to measure and mark, use a center punch, choose the right drill bit, drill the hole carefully, and test the fit before finalizing the installation. With a little patience and precision, you’ll be able to achieve a professional-looking result.
Mark the Hole Placement
Before you can start drilling the holes for your cabinet hinge, it is important to mark the exact placement for each hole. This will ensure that your hinge is properly aligned and the cabinet door will open and close smoothly.
Here are the steps to mark the hole placement:
- Measure and mark the center line: First, measure the height of your cabinet door and divide it in half to find the center. Mark this point with a pencil.
- Measure and mark the hinge length: Next, measure the length of your hinge and mark the top and bottom points on the center line. Make sure to leave enough space between the top and bottom points for the hinge to fit properly.
- Transfer the hinge placement: Place the hinge against the door and align it with the marked points. Use a pencil to mark the screw hole locations on the door. Repeat this step for all the hinges.
- Mark the hinge setback: Determine the setback distance for your hinge by checking the manufacturer’s instructions. This is the distance from the edge of the door to the screw holes. Use a ruler or measuring tape to mark this distance on the door at each screw hole location.
- Double-check the markings: Once you have marked the hole placement for all the hinges, double-check your measurements and markings to ensure accuracy. Make any adjustments if necessary.
By following these steps, you will be able to properly mark the hole placement for your cabinet hinges and ensure that your doors function properly.

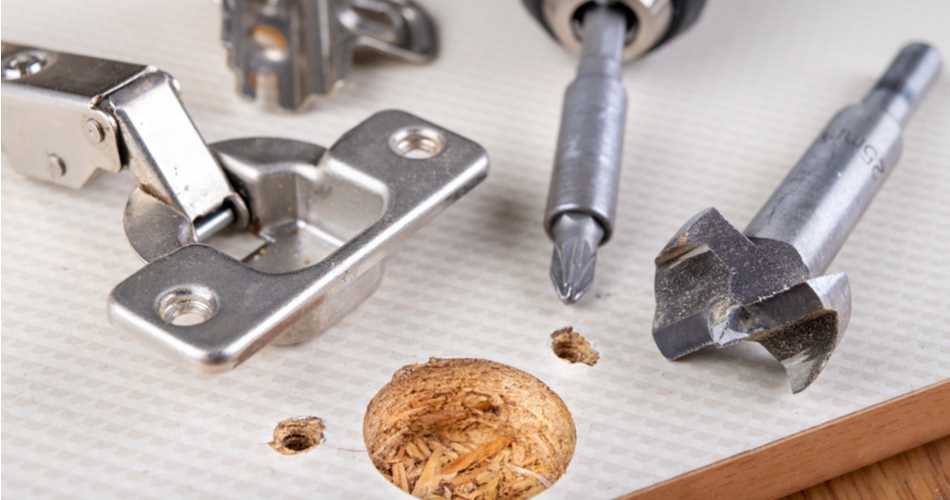
Choose the Right Drill Bit
Choosing the right drill bit is crucial to drilling a perfect hole for a cabinet hinge. The wrong drill bit can result in a hole that is too large or too small, making it difficult to properly install the hinge.
When it comes to cabinet hinges, the most common drill bit to use is a Forstner bit. Forstner bits are designed specifically for drilling flat-bottomed holes, which is ideal for cabinet hinges that require a flush fit.
When selecting a Forstner bit, be sure to choose one that is the same size as your hinge cup. Most cabinet hinges have a standard cup size of 35mm, so a 35mm Forstner bit would be the appropriate choice.
If you are unsure of the size of your hinge cup, you can measure it using a caliper or ruler. It’s important to have the correct size bit to ensure that the hinge fits securely in the drilled hole.
It’s also worth noting that Forstner bits are available in various materials, such as high-speed steel or carbide-tipped. High-speed steel bits are more affordable and suitable for occasional use, while carbide-tipped bits are more durable and suitable for frequent use or harder materials.

In addition to Forstner bits, other types of drill bits that can be used for cabinet hinge installation include brad point bits and spade bits. Brad point bits are another good option for drilling precise holes, while spade bits are more commonly used for rougher drilling tasks.
Before drilling, always double-check that you have selected the correct drill bit for your cabinet hinge and make sure the bit is tightly secured in the drill chuck to prevent any wobbling or slipping during the drilling process.
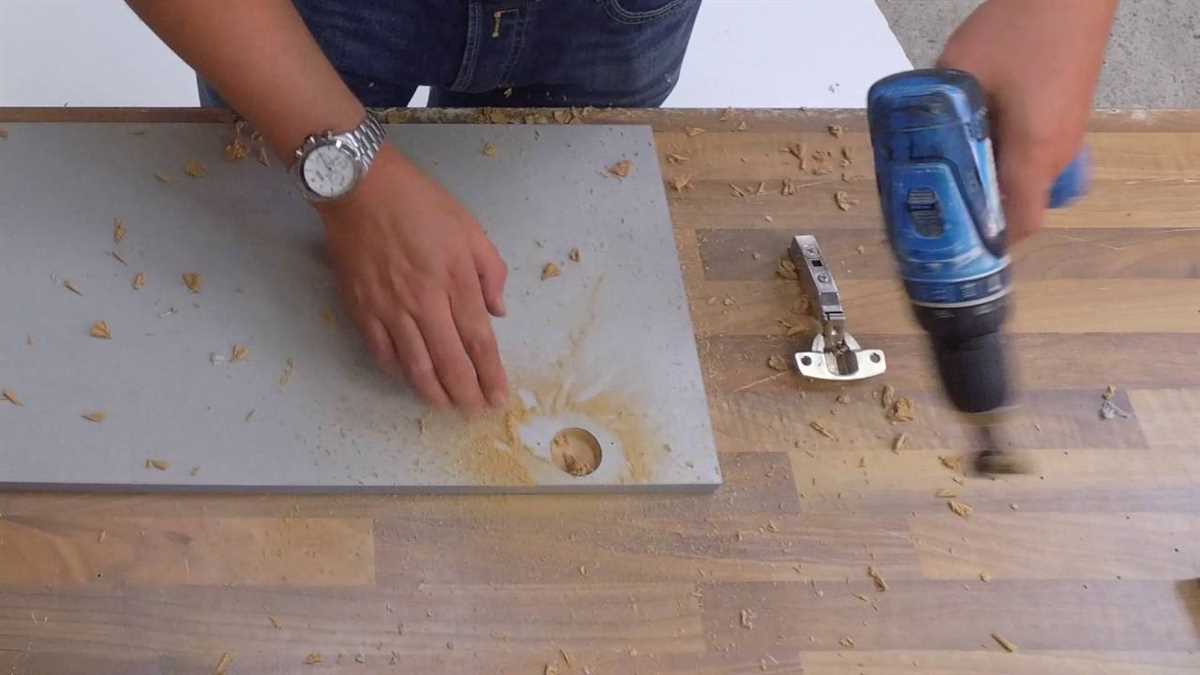
Secure the Workpiece
In order to drill a perfect hole for a cabinet hinge, it is important to secure the workpiece properly. This will ensure that the workpiece does not move or shift during the drilling process, resulting in accurate and precise holes.
Here are some steps to securely hold the workpiece in place:
- Use clamps: Attach clamps to the workbench or any stable surface to hold the workpiece securely. Make sure the clamps are tightened properly to prevent any movement.
- Create a jig: If you are drilling multiple holes, it may be helpful to create a jig. A jig is a template that guides your drilling and ensures consistent hole placement. Secure the jig firmly to the workpiece using clamps or screws.
- Magnetize the work area: If you are working with metal materials, consider using a magnet to hold the workpiece in place. This can provide a strong and stable hold, preventing any movement during drilling.
- Use double-sided tape: If clamps or a jig are not suitable for your workpiece, you can use double-sided tape to secure it to a stable surface. This temporary adhesion will prevent the workpiece from shifting while you drill.
- Consider using a vise: If you have access to a vise, it can be a great tool for securely holding the workpiece. Simply tighten the vise jaws around the workpiece, ensuring it is stable and immobile.
By following these steps and securing the workpiece properly, you can ensure that your holes for cabinet hinges are drilled accurately and precisely. This will result in a professional and seamless installation of your cabinet doors.

Set the Drill Depth
Before you start drilling your holes, it’s important to make sure that the depth of your drill bit is set correctly. The depth of the hole will determine how far the hinge will be recessed into the cabinet door, so it’s crucial to get it right.
Follow these steps to set the drill depth:
- Refer to the manufacturer’s instructions for the hinge to determine the recommended drill depth. This information is typically provided on the packaging or in the accompanying documentation.
- Attach a depth stop collar to your drill bit. The depth stop collar will help you drill the hole to the correct depth by limiting the movement of the drill bit.
- Slide the depth stop collar onto the drill bit and tighten it using the included wrench or a screwdriver. Make sure it is secured tightly to prevent it from moving during drilling.
- Measure the recommended drill depth from the tip of the drill bit to the depth stop collar. Use a ruler or tape measure to accurately measure this distance.
- Adjust the depth stop collar until the desired drill depth is achieved. Tighten it securely once again to ensure it stays in place.
A properly set drill depth will ensure that your cabinet hinges are installed at the correct depth, resulting in a professional and seamless finish. Take the time to accurately set the drill depth before you begin drilling your holes for optimal results.
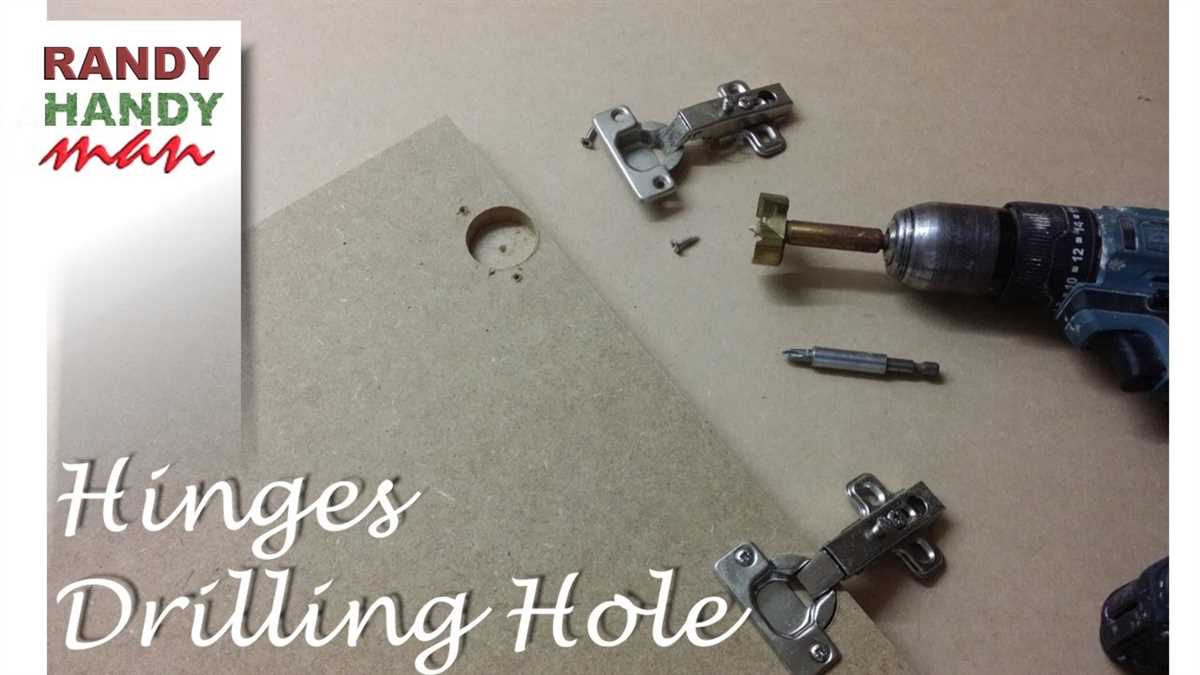
Drill the Hole
Once you have marked the location for the hinge on your cabinet door, it’s time to drill the hole. Follow these steps to drill a perfect hole for your cabinet hinge:

- Choose the right drill bit: Select a drill bit that matches the size of the screws that came with your hinge. The drill bit should be slightly smaller than the diameter of the screw to ensure a secure fit.
- Secure the door: Place the cabinet door on a stable surface and use clamps or a vice to secure it in place. This will prevent it from moving while you drill.
- Mark the drilling point: Use a pencil or a marker to mark the center point of the hinge on the edge of the cabinet door. This will serve as a guide for drilling.
- Drill the hole: Position the drill bit at the marked point and apply firm, even pressure to start drilling. Keep the drill perpendicular to the surface of the door and drill through the entire thickness of the door.
- Clean up the hole: After drilling, use a chisel or a sharp utility knife to clean up any rough edges around the hole. This will ensure a smooth and clean fit for the hinge.
Once you have drilled the hole for the hinge, you can proceed to install the hinge and attach it to the cabinet door. Repeat the same process for the other hinges on the door.
Final Thoughts
Drilling a perfect hole for a cabinet hinge can make a big difference in the overall look and functionality of your cabinets. By following these 5 steps and using the right tools, you can ensure that your hinges are properly aligned and securely attached.
Remember to measure, mark, and double-check your measurements before drilling. Take your time and be patient, as rushing through the process can lead to mistakes that are difficult to fix.
Using a drill press or a drill guide can help you achieve more accurate and consistent results. These tools can also help prevent the drill bit from wandering or slipping, which can result in an uneven hole.
Once you have drilled the holes, make sure to clean up any wood shavings or debris. This will ensure a clean and professional-looking installation.

Lastly, always test the fit of the hinge before attaching it permanently. This will give you an opportunity to make any necessary adjustments before committing to the final installation.
Drilling a perfect hole for a cabinet hinge may seem like a small detail, but it can have a big impact on the overall appearance and functionality of your cabinets. By following these steps and paying attention to the details, you can ensure a professional-looking result that will stand the test of time.
References
-
WoodWorkers Guild of America:
How to Drill Perfectly Vertical Bench Dog Holes in Your Workbench.
Available at:
https://www.wwgoa.com/article/how-to-drill-perfectly-vertical-bench-dog-holes-in-your-workbench/.
-
Wood Magazine:
Drill Better, Cleaner Pocket Holes.
Available at:
-
Home Depot:
How to Drill A Cabinet Handle.
Available at:
https://www.homedepot.com/c/ah/how-to-drill-a-cabinet-handle/9ba683603be9fa5395fab90b9eb4d351.
-
The Spruce:
How to Install Cabinet Hardware.
Available at:
-
Bob Vila:
How to Install Cabinet Hardware.
Available at:
https://www.bobvila.com/articles/how-to-install-cabinet-hardware/.
FAQ:
What tools do I need to drill a perfect hole for a cabinet hinge?
To drill a perfect hole for a cabinet hinge, you will need a power drill, a drill bit designed for the size of your hinge, a pencil or marker, a tape measure or ruler, and a set square or a level.
What is the importance of measuring and marking before drilling the hole?
Measuring and marking before drilling the hole is important to ensure that the hinge is correctly aligned and positioned. This ensures that the door will open and close properly and that the hinge is securely attached.
Can I use any drill bit to drill the hole for a cabinet hinge?
No, it is important to use a drill bit specifically designed for the size of your hinge. Using the wrong size drill bit can result in an improperly fitting hinge or damage to the cabinet or door.
What are some tips for drilling a hole for a cabinet hinge?
Some tips for drilling a hole for a cabinet hinge include using a center punch to create a small indentation for the drill bit to start, drilling slowly and steadily to avoid splintering the wood, and using a depth stop on your drill to ensure that the hole is the correct depth.
Is it possible to repair a mistake if I drill the hole in the wrong place?
If you drill the hole in the wrong place, it can be difficult to repair. You may need to fill the hole and start over, or use a larger hinge or trim piece to cover the mistake. It is always best to measure and double-check your markings before drilling.
How can I ensure that the hinge is aligned properly?
To ensure that the hinge is aligned properly, you can use a set square or a level to check that the hinge is straight and at the correct angle. It is also important to measure and mark the hinge position accurately before drilling.
Video:


Meet Harrison Clayton, a distinguished author and home remodeling enthusiast whose expertise in the realm of renovation is second to none. With a passion for transforming houses into inviting homes, Harrison's writing at https://thehuts-eastbourne.co.uk/ brings a breath of fresh inspiration to the world of home improvement. Whether you're looking to revamp a small corner of your abode or embark on a complete home transformation, Harrison's articles provide the essential expertise and creative flair to turn your visions into reality. So, dive into the captivating world of home remodeling with Harrison Clayton and unlock the full potential of your living space with every word he writes.


