3 Easy Ways to Put Holes in Plastic Pots Without a Drill

Plastic pots are a popular choice for indoor and outdoor gardening due to their versatility and affordability. However, one common issue with plastic pots is the lack of drainage holes, which can lead to overwatering and root rot. While a drill is typically used to create these holes, not everyone has access to this tool. Fortunately, there are alternative methods to put holes in plastic pots without a drill.
1. Hot Nail Method
The hot nail method is a simple and effective way to create holes in plastic pots without a drill. To use this method, heat a nail over a flame or with a lighter until it becomes red hot. Then, carefully press the hot nail into the bottom of the plastic pot, applying steady pressure. Allow the nail to cool before removing it. Repeat this process to create multiple drainage holes as needed.
2. Hammer and Nail Method
If you have a hammer and nails, this method is a great option for putting holes in plastic pots without a drill. Start by placing a nail at the desired location on the bottom of the pot. Using the hammer, gently tap the nail until it pierces through the plastic. Move the nail to different spots to create additional holes. Be sure to clean up any plastic residue left behind.

3. Screwdriver Method
The screwdriver method is another easy way to create drainage holes in plastic pots. Simply choose a screwdriver with a pointed tip. Position the screwdriver at the desired location on the bottom of the pot and apply firm pressure while twisting and turning the screwdriver. Continue this motion until the screwdriver pierces through the plastic. Repeat the process to create more holes if needed.
In conclusion, while a drill is the go-to tool for putting holes in plastic pots, there are alternative methods that can be used. The hot nail method, hammer and nail method, and screwdriver method are all effective ways to create drainage holes in plastic pots without the need for a drill. By using these simple techniques, you can ensure proper drainage for your plants and prevent issues like overwatering and root rot.
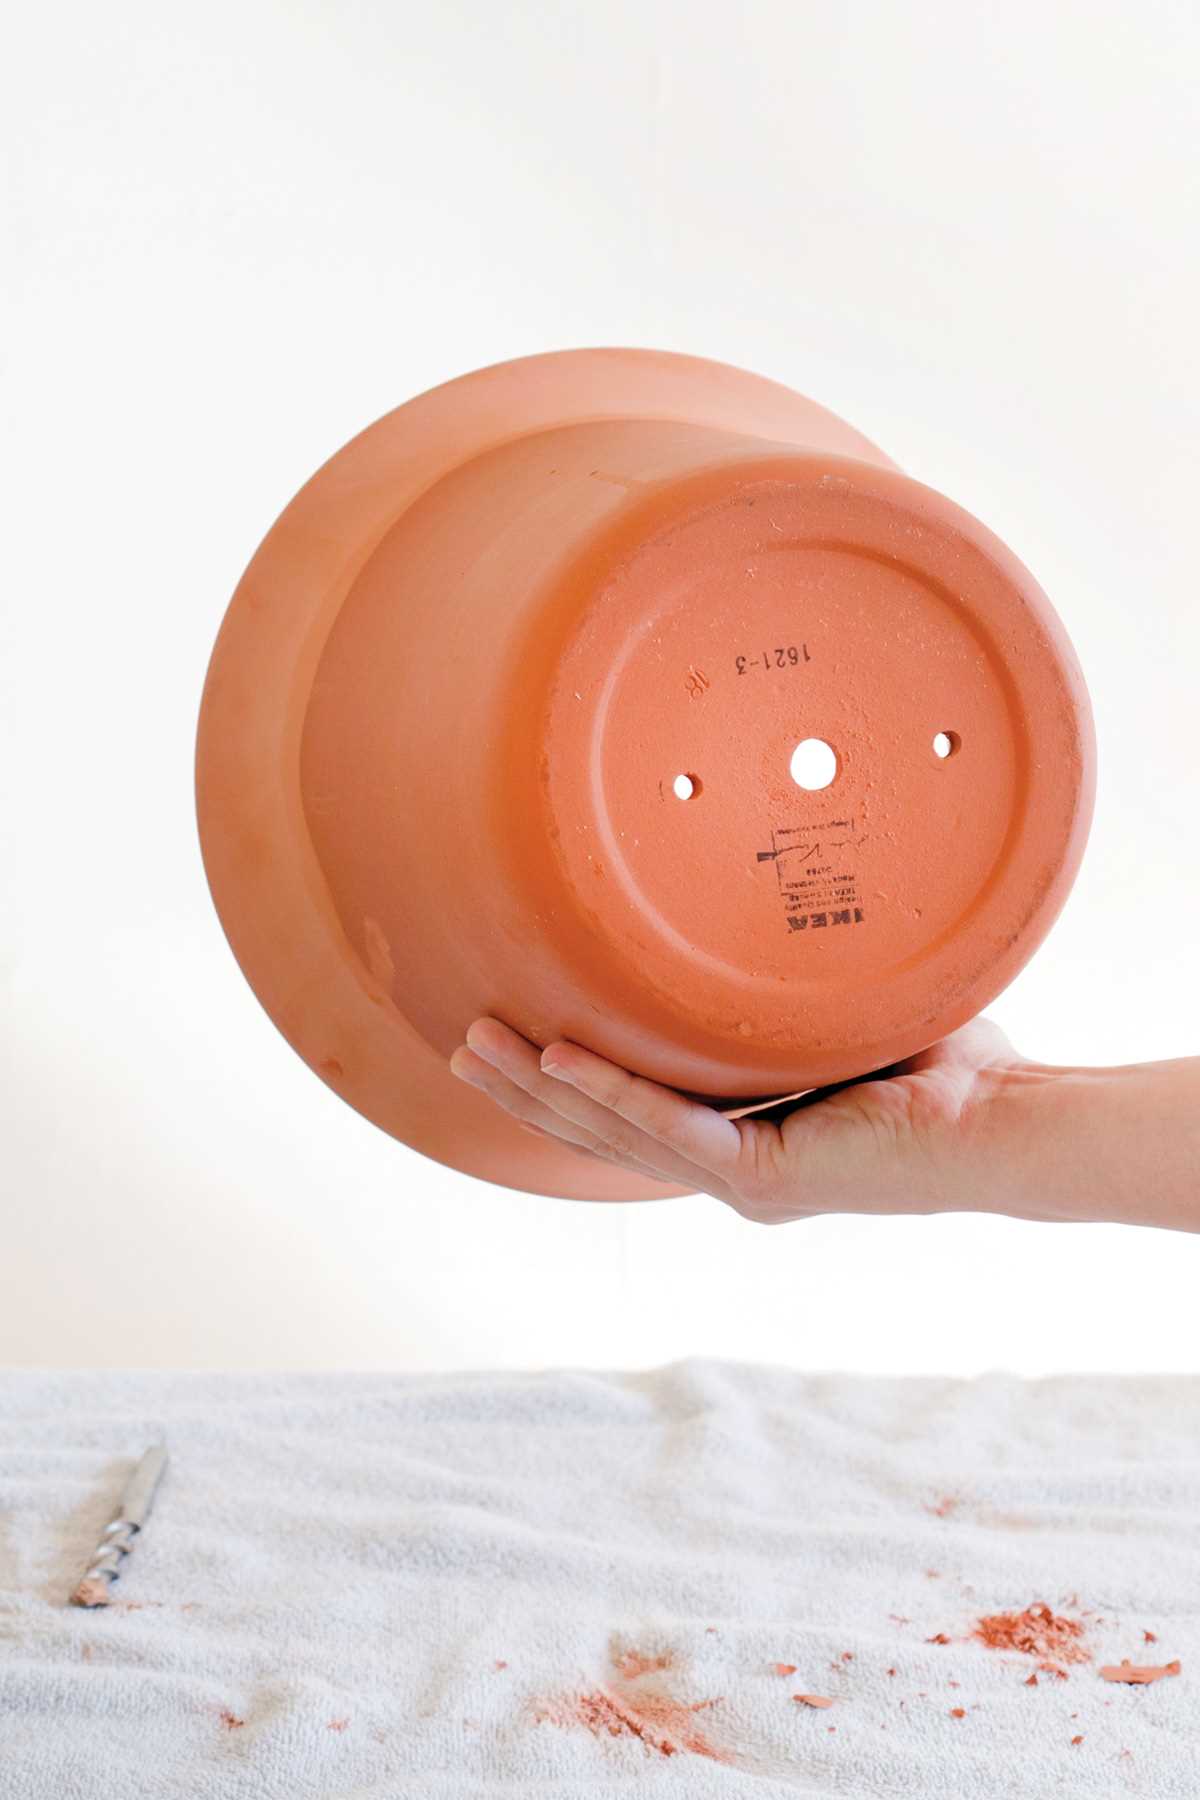
The Importance of Drainage Holes in Plastic Pots
When it comes to planting in plastic pots, having proper drainage is essential for the health and success of your plants. Drainage holes allow excess water to escape from the pot, preventing the soil from becoming waterlogged and causing root rot. Without proper drainage, your plants may suffer from a lack of oxygen, leading to wilting, yellowing leaves, and stunted growth.
Here are a few reasons why drainage holes are important:

1. Prevents Waterlogging
Plants need both water and oxygen to survive. When there are no drainage holes in a plastic pot, excess water can accumulate at the bottom, creating a stagnant environment. The roots of your plants can suffocate and rot in this waterlogged condition, leading to the death of your plants.
2. Controls Moisture Levels
Drainage holes help regulate moisture levels in the soil by allowing excess water to drain out. This prevents overwatering, which can lead to root rot and fungal diseases. Proper moisture levels are crucial for the overall health and growth of your plants.
3. Prevents Nutrient Imbalances
Excess water in the absence of drainage holes can cause nutrients in the soil to leach out. When water is unable to escape, the soil becomes saturated and unable to hold onto essential nutrients for the plants. This can lead to nutrient imbalances, affecting the overall health and vitality of your plants.

It is important to note that not all plastic pots come with pre-drilled drainage holes. If you find yourself with a pot without drainage holes, there are alternative methods to create them, such as using a heated nail or a hot skewer to melt holes in the plastic.
Conclusion
Proper drainage is vital for the health and success of your plants in plastic pots. It helps prevent waterlogging, controls moisture levels, and prevents nutrient imbalances. By ensuring your plastic pots have drainage holes, you create an optimal growing environment for your plants, promoting healthy root development and overall plant growth.
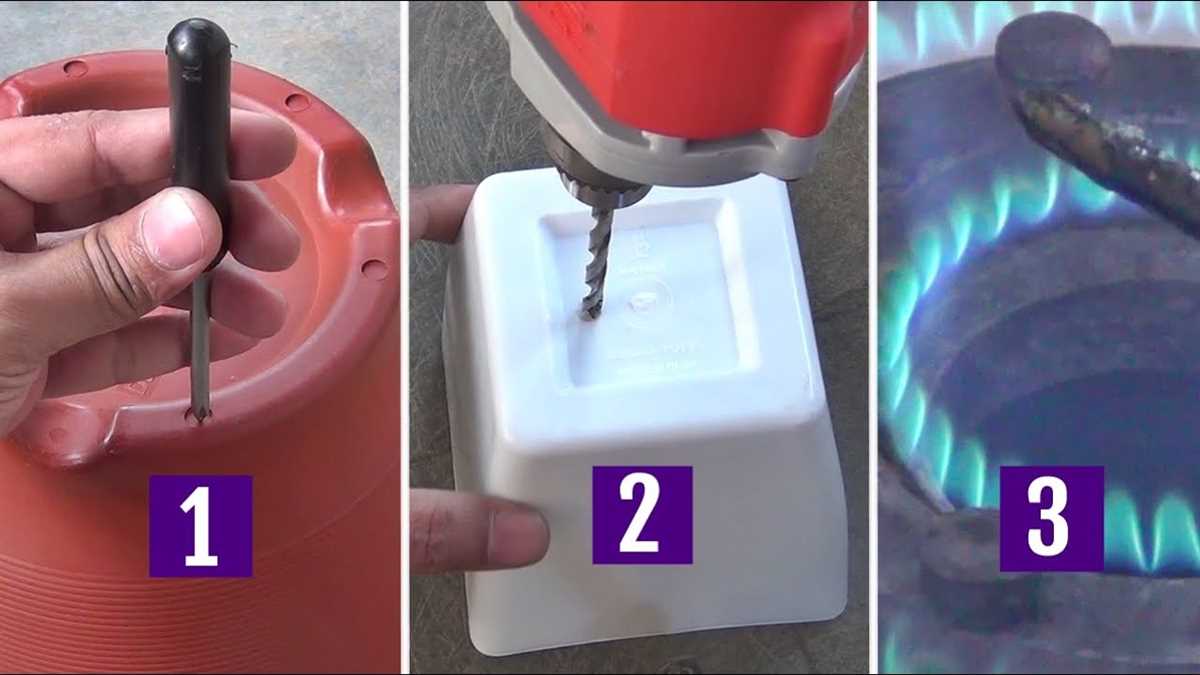
Method 1: Using a Hot Poker
If you don’t have a drill or any other tools available, you can use a hot poker to put holes in your plastic pots. This method is quick and easy, but it requires caution and careful handling to avoid any accidents.
Materials you’ll need:
- Plastic pot
- Hot poker (metal rod, skewer, or any other heat-resistant object)
- Heat source (stove, campfire, or candle)
- Protective gloves or pliers
Steps to follow:
- Choose a suitable heat-resistant object that can be heated to a high temperature without breaking or melting. A metal rod or skewer works well.
- Heat the object using a stove, campfire, or candle. Make sure to heat it evenly until it becomes red hot.
- Wear protective gloves or use pliers to hold the hot object. Be careful not to touch the hot part directly as it can cause burns.
- Place the red-hot object on the plastic pot where you want to make the hole.
- Apply pressure and twist the hot object gently to create a hole in the plastic pot. The hot object will melt through the plastic, creating a clean hole.
- Repeat the process for additional holes if needed.
- Allow the plastic pot to cool down before handling it or planting anything in it.
Note: This method may produce fumes or smoke from the melting plastic, so it’s important to perform it in a well-ventilated area or outdoors to avoid inhaling any potentially harmful substances.
Method 2: Using a Nail and Hammer
Materials Needed:
- Nail
- Hammer
- Plastic pot
Step-by-Step Instructions:
- Choose the spot where you want to put a hole in the plastic pot.
- Hold the nail firmly with one hand and position the tip of the nail on the chosen spot.
- Using the hammer, tap the nail gently and slowly at first to create a small indentation on the plastic surface.
- Once the indentation is made, continue tapping the nail with slightly more force to pierce through the plastic pot.
- Make sure to hold the nail and pot steady to prevent any accidents or injuries.
- Repeat the process if you need multiple holes in the plastic pot.
- Once all the desired holes are made, gently remove the nail from the pot.
Precautions:
- Be careful while using the hammer and nail to avoid causing any damage to yourself or the surroundings.
- Wear protective eyewear to prevent any debris from getting into your eyes.
- Use caution when handling the nail to avoid accidentally poking yourself.
- Make sure to secure the pot properly to avoid it from moving or slipping while making the holes.
This method is a simple and effective way to put holes in plastic pots without the need for a drill. It allows for precise control over the size and location of the holes, making it suitable for various gardening requirements.
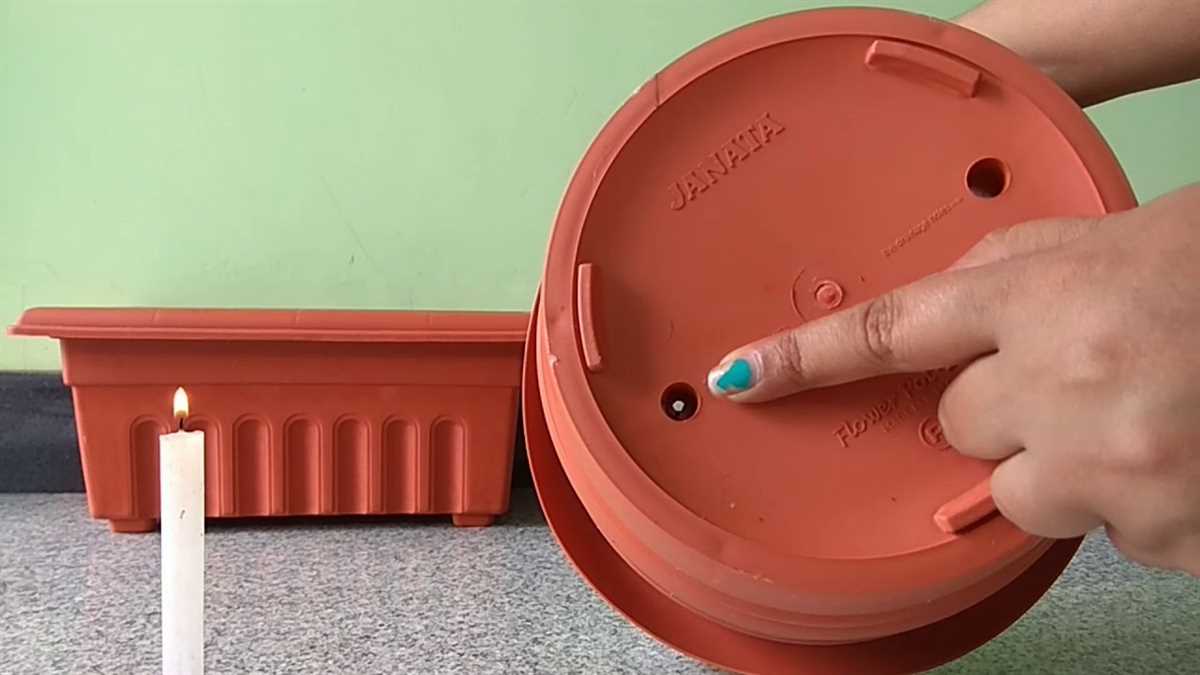
Method 3: Using a Screwdriver and Candle Flame
If you don’t have a drill or a heated nail, you can still make drainage holes in your plastic pots using a screwdriver and a candle flame. Follow these simple steps:
- Choose a screwdriver with a sharp tip that is wider than the drainage hole you want to create.
- Light a candle and let the flame burn steadily.
- Hold the tip of the screwdriver over the flame until it gets hot. Be careful not to touch the hot tip with your fingers.
- Once the screwdriver is hot enough, position it on the area of the plastic pot where you want to create a drainage hole.
- Apply downward pressure on the screwdriver and twist it slowly to create the hole. The heat from the screwdriver will melt through the plastic, making it easier to create the hole.
- Repeat the process for any additional drainage holes you want to make.
Using a screwdriver and a candle flame may take a bit more time and effort compared to using a drill or a heated nail, but it can still be an effective way to create drainage holes in your plastic pots.
Important note: Always exercise caution when using an open flame. Make sure to work in a well-ventilated area and keep flammable materials away from the candle flame.
Precautions to Take While Making Holes in Plastic Pots
1. Safety first
When working with any tools, it is important to prioritize safety. Ensure that you have the necessary protective gear, such as safety goggles and gloves, to prevent any accidents or injuries.
2. Choose the right tools
Make sure to select the appropriate tools for making holes in plastic pots. While a drill is the most common tool used for this purpose, there are alternative methods that do not require a drill. These include heated objects and sharp objects, such as heated skewers or hot nails and ice picks.
3. Select the right location
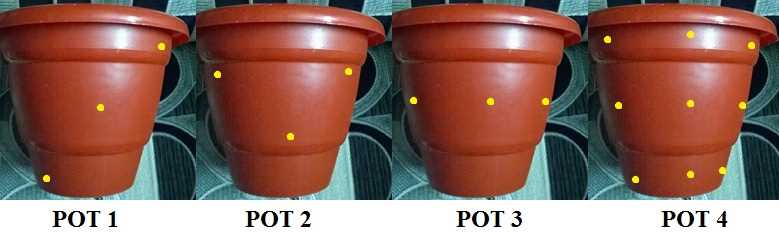
Choose a suitable location to make the holes in your plastic pots. It is important to have a stable work surface that allows for easy maneuvering of the tools. Avoid surfaces that may be easily damaged, such as wooden tables or countertops. Additionally, consider the surroundings and ensure there is enough space to work comfortably.
4. Work in a well-ventilated area
Working with heated objects or tools can release fumes or smoke, especially when working with plastic. Therefore, it is important to work in a well-ventilated area to prevent inhalation of harmful fumes. Open windows or doors to allow fresh air to circulate.
5. Take your time
When making holes in plastic pots, it is important to take your time and work patiently. Rushing the process can lead to accidents or mistakes. Apply consistent pressure when using the tools and avoid excessive force. Remember, it is better to take your time and do the job properly than to rush and damage the pot.
6. Clean up properly
After making the holes in your plastic pots, be sure to clean up any debris or excess plastic. This will help to keep your workspace tidy and prevent any potential hazards. Dispose of any plastic waste responsibly, following proper recycling guidelines if applicable.
By following these precautions, you can safely and effectively make holes in plastic pots without a drill. Ensure that you are fully prepared and take the necessary steps to protect yourself and your surroundings.
Benefits of Creating Drainage Holes in Plastic Pots
Having proper drainage in your plastic pots is essential for the health and well-being of your plants. Here are some benefits of creating drainage holes in your plastic pots:
1. Prevents Waterlogged Soil
By creating drainage holes in your plastic pots, you prevent water from accumulating at the bottom and saturating the soil. Waterlogged soil can lead to root rot and other diseases, causing your plants to wilt and die. Proper drainage allows excess water to escape, ensuring that the soil stays well-drained and oxygenated.
2. Promotes Healthy Root Growth
When water is unable to drain out of the pot, it can lead to the accumulation of salts and minerals in the soil. These minerals can build up over time and become toxic to your plants, hindering their root growth. By providing drainage holes, you allow the excess water and minerals to escape, creating a healthier environment for root development.
3. Prevents Fungal and Bacterial Diseases
Excess moisture in the soil can create a favorable environment for fungal and bacterial growth. Without proper drainage, the excess water becomes stagnant, promoting the growth of harmful microorganisms that can attack your plants. Drainage holes prevent the accumulation of moisture, reducing the risk of fungal and bacterial diseases.
4. Regulates Soil Moisture
Drainage holes in plastic pots help to regulate the moisture content in the soil. They allow excess water to drain out, preventing overwatering and waterlogging. At the same time, they prevent the soil from drying out too quickly by allowing any excess moisture to escape. This balance in soil moisture is crucial for the overall health and vitality of your plants.
5. Improves Oxygen Levels
Proper drainage ensures that there is sufficient oxygen available to the roots of your plants. When water accumulates in the pot, it displaces the oxygen, leading to suffocation of the roots. By creating drainage holes, you allow the water to drain out, allowing fresh oxygen to reach the roots and promoting healthy growth.
In conclusion, creating drainage holes in plastic pots is essential for the overall health and well-being of your plants. It helps prevent waterlogged soil, promotes healthy root growth, prevents fungal and bacterial diseases, regulates soil moisture, and improves oxygen levels. So, make sure to add drainage holes to your plastic pots before planting to ensure the optimal growing conditions for your plants.
Alternative Options for Drainage in Plastic Pots
While drilling holes in plastic pots may be the most common method for providing drainage, there are alternative options available. These alternatives can be particularly helpful if you don’t have access to a drill or if you want to avoid damaging the plastic pot.
1. Adding a Layer of Rocks or Gravel
One option for improving drainage in plastic pots is to add a layer of rocks or gravel at the bottom before filling it with soil. This layer creates space for excess water to collect, preventing it from saturating the roots of the plant. However, it’s important to note that this method is not as effective as drilled drainage holes, as the water may still accumulate if the plastic pot does not have sufficient drainage elsewhere.
2. Using a Double Pot Method
Another alternative is to use a double pot method. In this method, you place the plastic pot containing the plant inside a slightly larger and more decorative ceramic or terracotta pot. The outer pot provides a protective layer and catches any excess water that drains from the inner plastic pot. While this method doesn’t directly address drainage, it helps prevent the plastic pot from sitting in stagnant water, which can lead to root rot.
3. Employing a Self-Watering System
A self-watering system is another option worth considering for plastic pots. These systems utilize a reservoir of water at the base of the pot, which is gradually absorbed by the plant roots. This method ensures that the roots receive adequate water without the risk of overwatering. Self-watering systems can be purchased commercially or made at home using materials like cotton cords or wicks that draw water from a separate container.
While these alternative options can help improve drainage in plastic pots, it’s important to consider the specific needs of your plants and the pot itself. Some plants may have higher moisture requirements and may not thrive in a plastic pot without adequate drainage. Additionally, always monitor the moisture levels of the soil and adjust the watering accordingly to prevent waterlogged roots or drought stress.
FAQ:
What are some alternative ways to put holes in plastic pots without a drill?
There are three easy alternative ways to put holes in plastic pots without a drill. The first method is using a hot nail or screwdriver to melt a hole into the plastic. The second method is using a heated metal skewer or coat hanger to burn a hole in the plastic. The third method is using a hammer and a nail to manually puncture a hole.
Can I use a hot nail to create holes in plastic pots?
Yes, using a hot nail is one of the easiest ways to create holes in plastic pots without a drill. Heat the nail with a lighter or a candle until it glows red. Then, simply press the hot nail into the plastic pot, twisting it to create a hole. Make sure to work in a well-ventilated area and be cautious of the hot nail.
Can I use a heated metal skewer to put holes in plastic pots?
Absolutely! Using a heated metal skewer is another simple method to put holes in plastic pots without a drill. Heat the metal skewer over a flame until it becomes hot. Then, carefully press the heated skewer into the plastic pot, twisting it to create a hole. Be cautious of the hot skewer and work in a well-ventilated area.
Is it possible to manually puncture a hole in plastic pots?
Yes, you can manually puncture a hole in plastic pots using a hammer and a nail. Place the plastic pot on a solid surface, such as a wooden block or concrete, to prevent it from cracking. Then, position the nail where you want the hole to be and gently tap it with the hammer until it punctures through the plastic. Be careful not to apply too much force to avoid damaging the pot.
What precautions should I take when using alternative methods to put holes in plastic pots?
When using alternative methods to put holes in plastic pots, it is important to take certain precautions. Work in a well-ventilated area to avoid inhaling fumes or smoke from the heated objects. Use protective gloves to protect your hands from burns or injuries. Additionally, be mindful of the heat and take breaks if necessary to prevent overheating the objects being used. Always exercise caution and prioritize your safety.
Video:

How to clean office chair

Harrison Clayton
Meet Harrison Clayton, a distinguished author and home remodeling enthusiast whose expertise in the realm of renovation is second to none. With a passion for transforming houses into inviting homes, Harrison's writing at https://thehuts-eastbourne.co.uk/ brings a breath of fresh inspiration to the world of home improvement. Whether you're looking to revamp a small corner of your abode or embark on a complete home transformation, Harrison's articles provide the essential expertise and creative flair to turn your visions into reality. So, dive into the captivating world of home remodeling with Harrison Clayton and unlock the full potential of your living space with every word he writes.