Step-by-Step Guide: Installing a Wire Wheel on an Angle Grinder

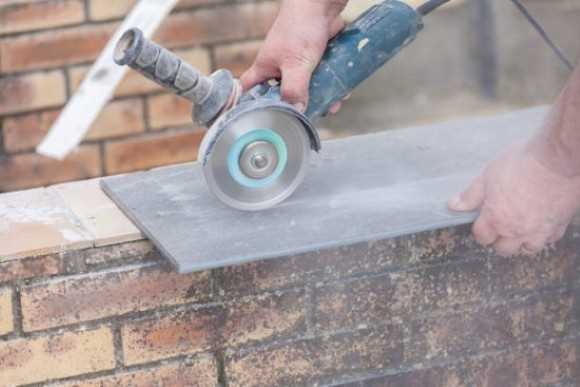
Angle grinders are versatile power tools that can be used for a variety of tasks, from cutting and grinding to polishing and sanding. Installing a wire wheel on an angle grinder allows you to easily remove paint, rust, and other surface imperfections from metal, making it an essential tool for any DIY enthusiast or professional.
Before you begin, it’s important to ensure that you have the correct wire wheel for the task at hand. Wire wheels come in different sizes and wire thicknesses, so you’ll need to choose one that is suitable for the material you’ll be working on. Make sure to read the manufacturer’s instructions and safety guidelines before proceeding.
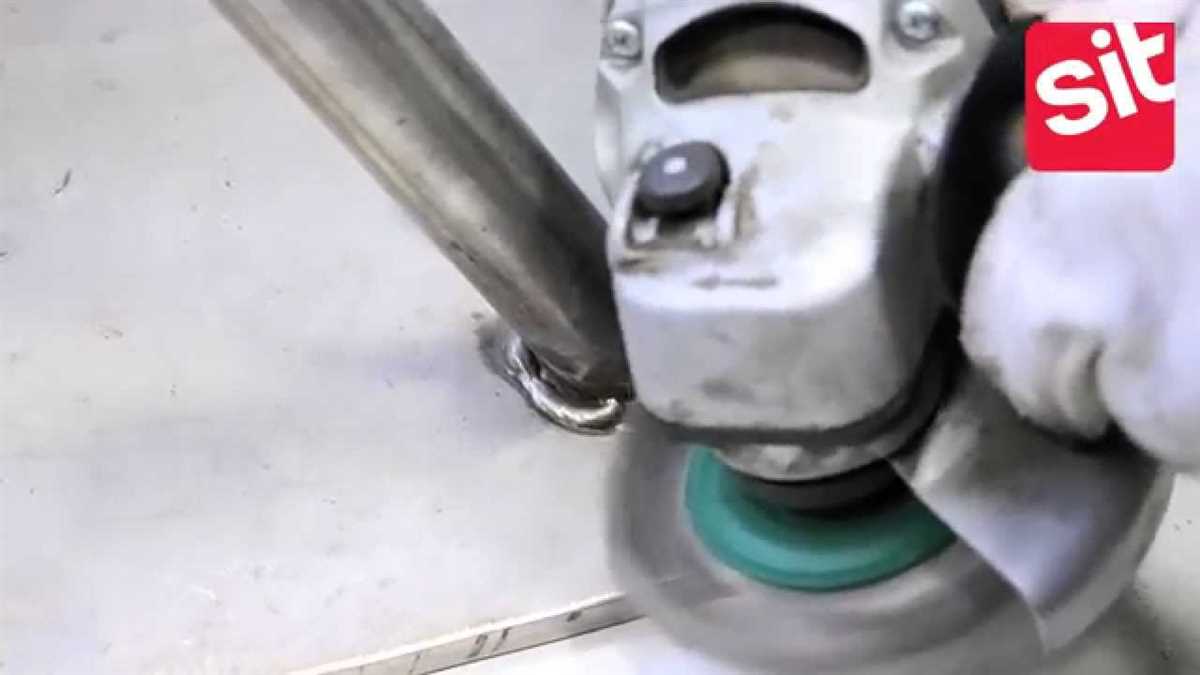
Once you have the appropriate wire wheel, the first step is to disconnect the angle grinder from the power source. This is an important safety precaution that should never be overlooked. Next, remove any existing accessory or wheel from the grinder by loosening the locking nut. This can usually be done by using a combination wrench or the wrench that came with the grinder.
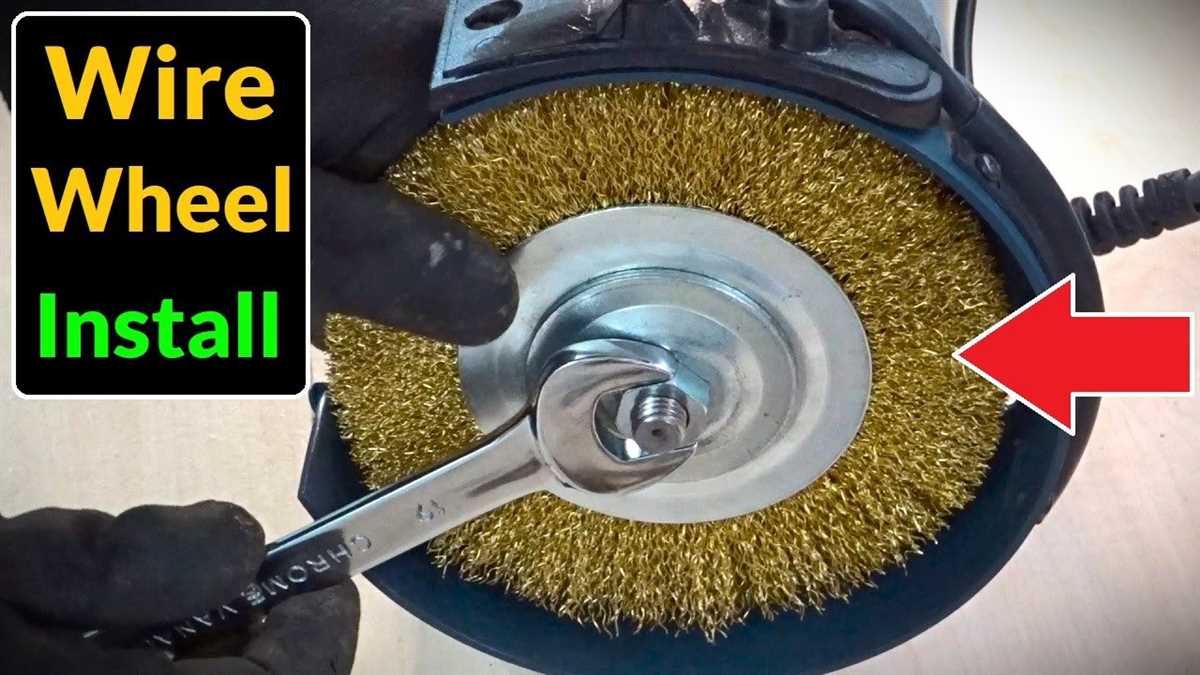
Position the wire wheel on the spindle of the angle grinder, making sure that it fits securely and is aligned correctly. Then, tighten the locking nut by turning it clockwise with the wrench. It’s important to ensure that the locking nut is tightened securely to prevent the wire wheel from coming loose during operation.
Once the wire wheel is securely attached, you can re-connect the angle grinder to the power source and test it to ensure everything is working correctly. Start the grinder and allow it to reach its maximum speed before applying any pressure to the wheel. Always wear appropriate safety gear, such as safety goggles and gloves, when using an angle grinder to protect yourself from flying debris.

Remember to keep the wire wheel moving constantly while in use, as this will help to prevent excessive heat buildup and ensure a more even finish. If you notice any signs of wear or damage to the wire wheel, such as broken wires or fraying, replace it immediately to prevent accidents or injuries.
Following these step-by-step instructions will ensure that you can safely and effectively install a wire wheel on an angle grinder, making it a valuable tool in your arsenal for metal preparation and restoration projects.
Tools and Materials Needed
To install a wire wheel on an angle grinder, you will need the following tools and materials:
- Safety goggles: It’s important to protect your eyes from flying debris, so make sure you have a pair of safety goggles.
- Gloves: To protect your hands from the abrasive wire, wear a pair of heavy-duty gloves.
- Angle grinder: You will need an angle grinder to attach the wire wheel. Make sure you have a compatible grinder with a spindle that can hold the wire wheel securely.
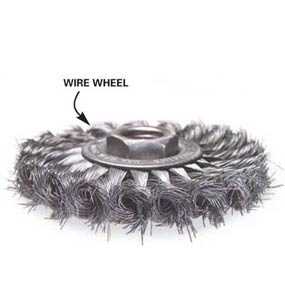
- Wire wheel: Purchase a wire wheel that is suitable for your angle grinder. The size and arbor hole diameter of the wheel should match your grinder’s specifications.
- Wrench: Most angle grinders require a wrench to loosen and tighten the spindle nut. Make sure you have the correct size wrench for your grinder.
- Protective cover: Some wire wheels come with a protective cover that fits over the wheel to prevent accidental contact with the wire while in use. If your wire wheel doesn’t include one, consider purchasing a separate cover for added safety.
- Locking pliers: These can be useful for holding the spindle in place while you tighten the spindle nut.
- Surface preparation materials: Depending on your project, you may also need materials such as sandpaper, a wire brush, or a degreaser to prepare the surface before using the wire wheel.
Step 1: Preparing the Angle Grinder
Before you begin installing a wire wheel on your angle grinder, you need to properly prepare the tool to ensure a safe and effective operation. Follow these steps to prepare your angle grinder:
- Inspect the angle grinder: Check the angle grinder for any signs of damage, such as cracks or loose parts. If you notice any issues, do not proceed with the installation and instead, repair or replace the grinder.
- Disconnect the power source: Prior to any work, always disconnect the angle grinder from the power source to avoid accidental starting.
- Remove any attachments: If your angle grinder has any existing attachments or accessories, such as grinding discs or cutting wheels, remove them to make way for the wire wheel.
- Secure the grinder: Place the angle grinder in a stable and secure position, such as on a workbench or vice. This will prevent it from moving or falling during the installation process.
By following these steps, you will ensure that your angle grinder is in good condition and properly set up for the installation of the wire wheel. Taking the time to prepare the tool will help you work safely and efficiently.

Step 2: Choosing the Right Wire Wheel
When it comes to wire wheels, there are a few factors to consider in order to choose the right one for your project. Here are some important considerations:
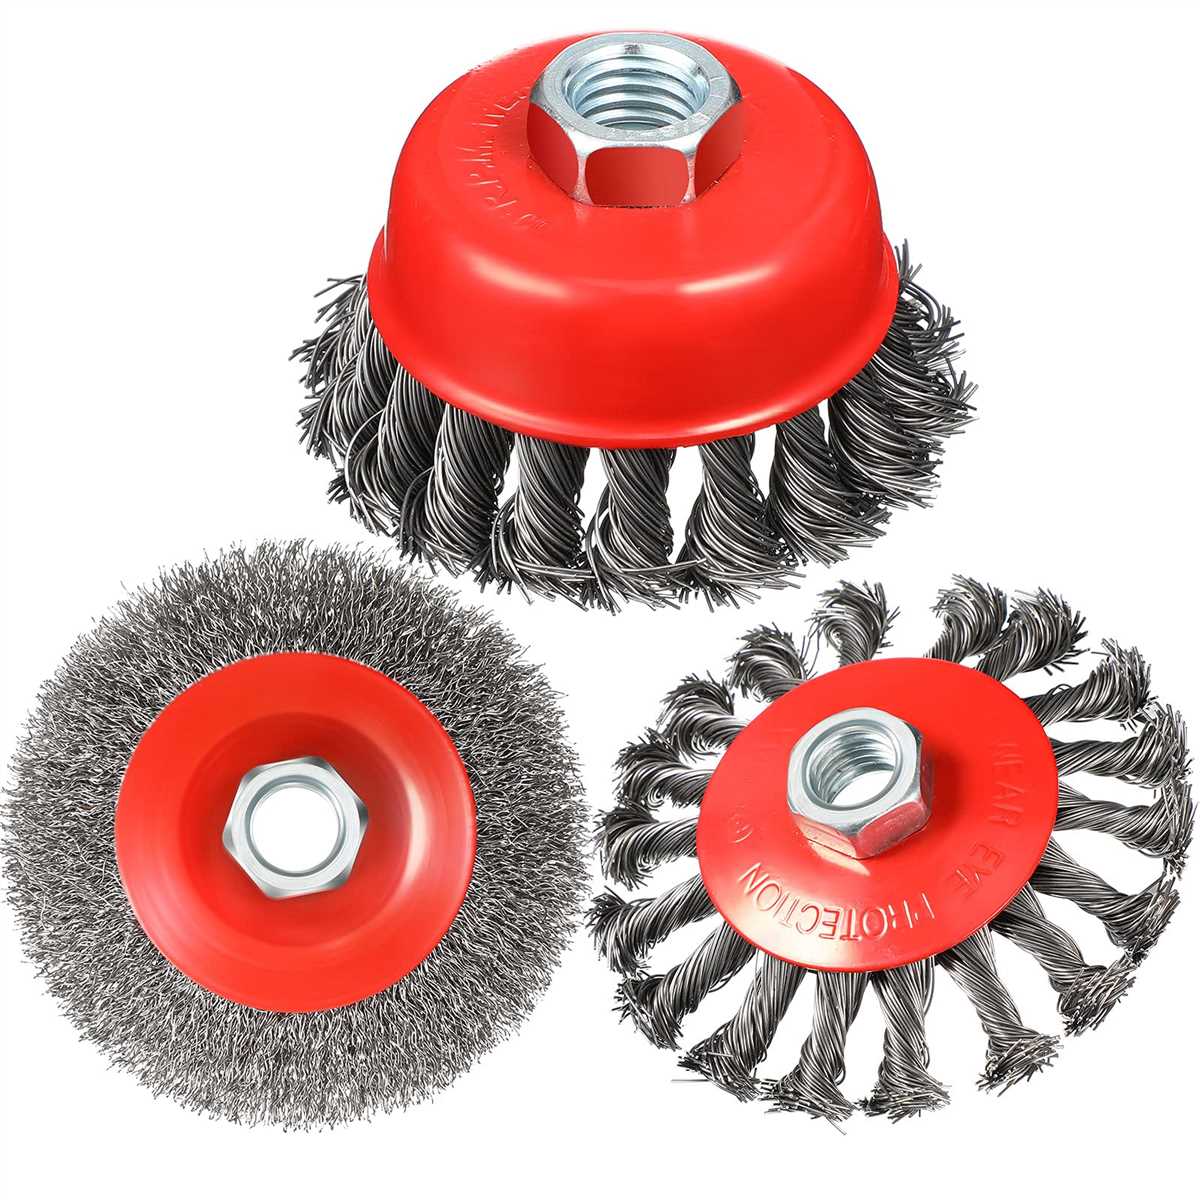
- Wire Type: Different wire wheels are made with various types of wire, such as steel, brass, or stainless steel. The type of wire you choose will depend on the material you’ll be working on and the level of aggressiveness you require.
- Wire Thickness: Wire wheels come in different thicknesses, ranging from thin to thick. Thinner wires are generally more flexible and provide a softer cleaning or polishing action, while thicker wires offer greater durability and a more aggressive cutting action.
- Wheel Diameter: Consider the size of the surface you’ll be working on. Smaller diameter wheels are suitable for intricate or hard-to-reach areas, while larger diameter wheels cover more surface area and can be more efficient for larger projects.
- Arbor Size: Make sure the wire wheel you choose has an arbor hole that matches the size of your angle grinder’s spindle. Most angle grinders have either a 5/8-inch or 7/8-inch arbor size.
- RPM Rating: Check the recommended RPM rating of the wire wheel. It’s important to use a wheel that is compatible with your angle grinder’s maximum RPM to ensure safe and effective operation.
By considering these factors, you’ll be able to select the right wire wheel that suits your project’s requirements and helps you achieve the desired results.
Step 3: Installing the Wire Wheel
1. Gather the necessary tools and materials
Before you begin installing the wire wheel on your angle grinder, make sure you have all the necessary tools and materials. You will need:
- An angle grinder with a compatible spindle size for the wire wheel
- A wire wheel designed for use with an angle grinder
- A wrench or adjustable spanner to tighten the wire wheel
2. Safety precautions

Prior to installing the wire wheel, it is important to take some safety precautions:
- Wear personal protective equipment, such as safety glasses and gloves, to protect yourself from any flying debris.
- Make sure the angle grinder is turned off and unplugged before you start the installation process.
3. Remove the existing disc or wheel
If there is a disc or wheel already installed on your angle grinder, you will need to remove it before installing the wire wheel. Use a wrench or adjustable spanner to loosen the nut holding the disc or wheel in place. Once the nut is loose, carefully remove the disc or wheel and set it aside.
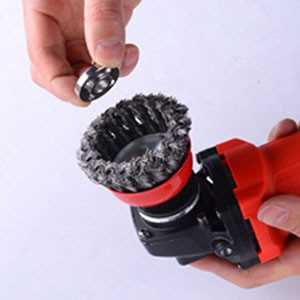
4. Attach the wire wheel
Take the wire wheel and align the center hole with the spindle on the angle grinder. Slide the wire wheel onto the spindle, making sure it is centered and fully seated. Next, use the wrench or adjustable spanner to tighten the nut on the spindle, securing the wire wheel in place. Make sure the nut is tightened securely to prevent any wobbling or movement of the wire wheel during use.
5. Test the installation
Before using the angle grinder with the newly installed wire wheel, it is important to test the installation. Turn on the angle grinder and listen for any unusual noises or vibrations. If everything sounds and feels normal, you can proceed to use the wire wheel for your intended application. If there are any issues or concerns, double-check the installation to ensure the wire wheel is properly secured.
By following these steps, you should be able to successfully install a wire wheel on your angle grinder. Remember to always prioritize safety and take precautions to protect yourself and others during the installation and use of power tools.

Step 4: Adjusting the Angle Grinder Settings
To ensure the Wire Wheel is properly installed and will function correctly, it is important to adjust the settings on your angle grinder. Here are the steps to follow:
Step 1: Turn off and unplug the angle grinder
Before making any adjustments, always ensure that the angle grinder is turned off and unplugged to avoid any accidents.
Step 2: Secure the wheel guard
Check that the wheel guard is securely in place and properly aligned to provide maximum protection during operation. This will help prevent any flying debris or sparks from causing damage or injury.

Step 3: Adjust the speed settings
Depending on the type of wire wheel being used and the material being worked on, the speed of the angle grinder may need to be adjusted. Consult the manufacturer’s instructions to find the appropriate speed setting for your specific application.
Step 4: Check the arbor size
Ensure that the wire wheel you are using is compatible with the arbor size of your angle grinder. This will ensure a secure fit and prevent the wheel from flying off during operation. Consult the manufacturer’s instructions or the wire wheel packaging for the appropriate arbor size.
Step 5: Install the wire wheel
Refer to Step 3 for detailed instructions on how to properly install the wire wheel onto the angle grinder.
By following these steps and adjusting the angle grinder settings accordingly, you can ensure that the wire wheel is installed correctly and ready to be used for your specific application. Remember to always wear appropriate safety gear and follow all safety precautions when working with power tools.
Step 5: Testing the Wire Wheel
Once you have securely installed the wire wheel on your angle grinder, it’s important to test it before using it on any project. Testing the wire wheel will ensure that it is functioning properly and that it is safe to use.
1. Safety Check
Before testing the wire wheel, make sure you are following all safety precautions. Wear appropriate safety gear, such as safety glasses and gloves, to protect yourself from any potential hazards. Also, ensure that the area where you will be testing the wire wheel is clear of any debris or obstructions.
2. Power Up
Turn on your angle grinder and let it reach its full speed. This will ensure that the wire wheel is spinning at the correct RPM for optimal performance.
3. Test Surface
Select a suitable test surface, such as a piece of scrap metal or wood, and gently touch the wire wheel to the surface. Apply light pressure and observe how the wire wheel interacts with the material.
4. Evaluate Performance
Pay attention to how the wire wheel is removing any debris or rust from the test surface. It should effectively clean the surface without causing any damage or excessive vibrations. If the wire wheel is not performing as expected, check to ensure it is properly installed and securely tightened.
5. Make Adjustments
If necessary, make any adjustments to the wire wheel’s positioning or tension. This will ensure that it is properly aligned and making proper contact with the test surface. Also, consider adjusting the angle at which you are holding the angle grinder to achieve the desired results.
6. Repeat as Needed
If the wire wheel is performing well during the test, you can proceed to use it on your intended project. However, if you are not satisfied with the results, repeat the testing process and make any necessary changes until you are confident in its performance.
By properly testing the wire wheel before use, you can ensure that it will work effectively and safely for your project. This step will help prevent any potential accidents or damage and ensure that your angle grinder is operating at its best.
Safety Precautions
1. Wear Protective Gear
Before starting any work with an angle grinder and wire wheel, it is essential to wear the proper protective gear.
Make sure to wear safety goggles or a face shield to protect your eyes from flying debris. Additionally, wear hearing protection to prevent damage to your ears from the noise of the grinder.
Wearing work gloves is also recommended to protect your hands from cuts or abrasions.
2. Secure the Workpiece
Ensure that the workpiece you are working on is securely fixed or clamped in place. This will prevent it from moving or shifting during operation, reducing the risk of accidents or injury.
Make sure that the workpiece is stable and will not tip over or fall when pressure is applied with the wire wheel.
3. Check the Grinder and Wire Wheel
Before using the angle grinder with the wire wheel, inspect the tool and the wire wheel to ensure they are in good condition.
Check for any damages such as cracks or wobbling on the grinder, and replace it if necessary. Similarly, inspect the wire wheel for any signs of wear or damage, and replace it if needed.
Ensure that the wire wheel is securely attached to the grinder, using the appropriate method specified by the manufacturer.
4. Practice Safe Handling
When operating the angle grinder, always maintain a firm grip on the tool with both hands.
Keep a safe distance from other people, and do not allow anyone to stand in the direct line of the wire wheel.
Never force the wire wheel into the workpiece. Let the tool do the work at its own pace, applying light and consistent pressure.
5. Be Mindful of Sparks and Debris
The wire wheel can generate sparks and throw off debris while in operation. Always work in a well-ventilated area, away from flammable materials.
Consider using a protective shield or screen to block any sparks or debris from flying towards you or other people nearby.
Regularly clean the work area to remove any accumulated debris, and dispose of it properly.
6. Disconnect Power
Before making any adjustments or changing the wire wheel, make sure to disconnect the power source to the angle grinder. This will prevent accidental starting and reduce the risk of electric shock.
Only reconnect the power after you have finished making the necessary adjustments or changes, and when you are ready to resume work.
By following these safety precautions, you can minimize the risk of accidents and injuries when installing a wire wheel on an angle grinder.
FAQ:
What tools do I need to install a wire wheel on an angle grinder?
To install a wire wheel on an angle grinder, you will need an angle grinder, a wire wheel brush, a wrench, and safety equipment like gloves and goggles.
How do I remove the existing disc from my angle grinder?
To remove the existing disc from your angle grinder, first, unplug the grinder from the power source. Then, use a wrench to loosen the nut that holds the disc in place. Once the nut is loose, you can simply remove the disc by pulling it off the spindle.
Can I use any size wire wheel on my angle grinder?
No, you cannot use any size wire wheel on your angle grinder. The size of the wire wheel you can use will depend on the size of your angle grinder. Make sure to check the user manual or specifications of your angle grinder to determine the appropriate size of the wire wheel.
What safety precautions should I take when installing a wire wheel on an angle grinder?
When installing a wire wheel on an angle grinder, it is important to take several safety precautions. First, make sure to wear safety goggles to protect your eyes from flying debris. Additionally, wear gloves to protect your hands from the wire bristles. Finally, make sure to unplug the grinder from the power source before installing or removing any attachments.
Video:


Harrison Clayton
Meet Harrison Clayton, a distinguished author and home remodeling enthusiast whose expertise in the realm of renovation is second to none. With a passion for transforming houses into inviting homes, Harrison's writing at https://thehuts-eastbourne.co.uk/ brings a breath of fresh inspiration to the world of home improvement. Whether you're looking to revamp a small corner of your abode or embark on a complete home transformation, Harrison's articles provide the essential expertise and creative flair to turn your visions into reality. So, dive into the captivating world of home remodeling with Harrison Clayton and unlock the full potential of your living space with every word he writes.


