Step-by-Step Guide: Using an Air Compressor for Bike Tires

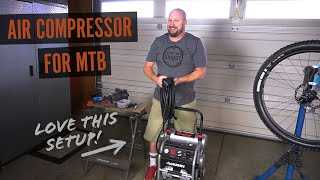
Riding a bike is not only a great way to stay fit, but it’s also an eco-friendly mode of transportation. However, like any other vehicle, bicycles require regular maintenance to ensure optimal performance. One crucial aspect of bike maintenance is keeping the tires properly inflated. While traditional hand pumps can get the job done, using an air compressor can make the process quicker and more efficient.
Using an air compressor for bike tires may seem daunting at first, but with the right tools and step-by-step instructions, it can be a straightforward process. Having the correct tire pressure is essential for a comfortable ride and better traction on different surfaces. In this guide, we will walk you through the steps of using an air compressor to inflate your bike tires, so you can enjoy a smooth and safe ride every time.
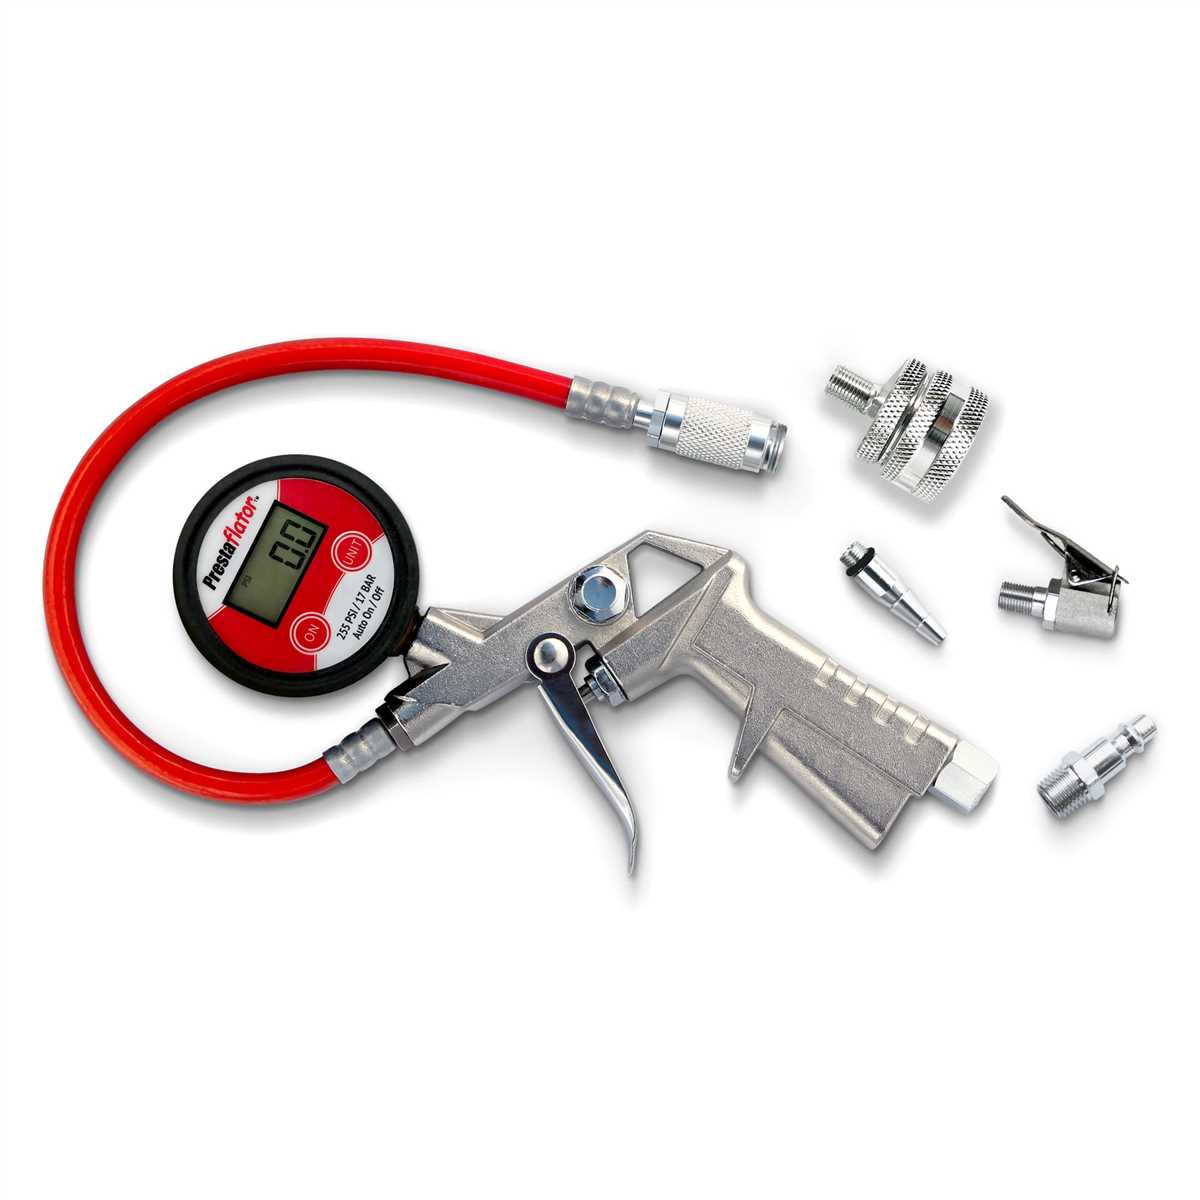
Before you start using an air compressor to inflate your bike tires, there are a few things you should consider. First and foremost, you’ll need an air compressor with a pressure gauge and a nozzle specifically designed for bike tires. It’s essential to choose an air compressor with a pressure gauge that displays both PSI (pounds per square inch) and BAR (unit of pressure). This will help you accurately inflate your tires to the recommended pressure levels specified by the manufacturer.
Additionally, you may want to invest in a tire pressure gauge to double-check the accuracy of the pressure gauge on the air compressor. This will give you added peace of mind that your tires are properly inflated. Once you have gathered all the necessary tools, it’s time to follow these step-by-step instructions to use an air compressor for your bike tires.
Gather Your Equipment
1. Air Compressor
First and foremost, you will need an air compressor to inflate your bike tires. Make sure to choose a compressor with a pressure gauge that displays both PSI (pounds per square inch) and bar readings.

2. Air Hose
An air hose is also essential for connecting the air compressor to your bike tires. Look for a hose that is long enough to reach your tires comfortably and has a threaded fitting that can securely attach to the valve stem.
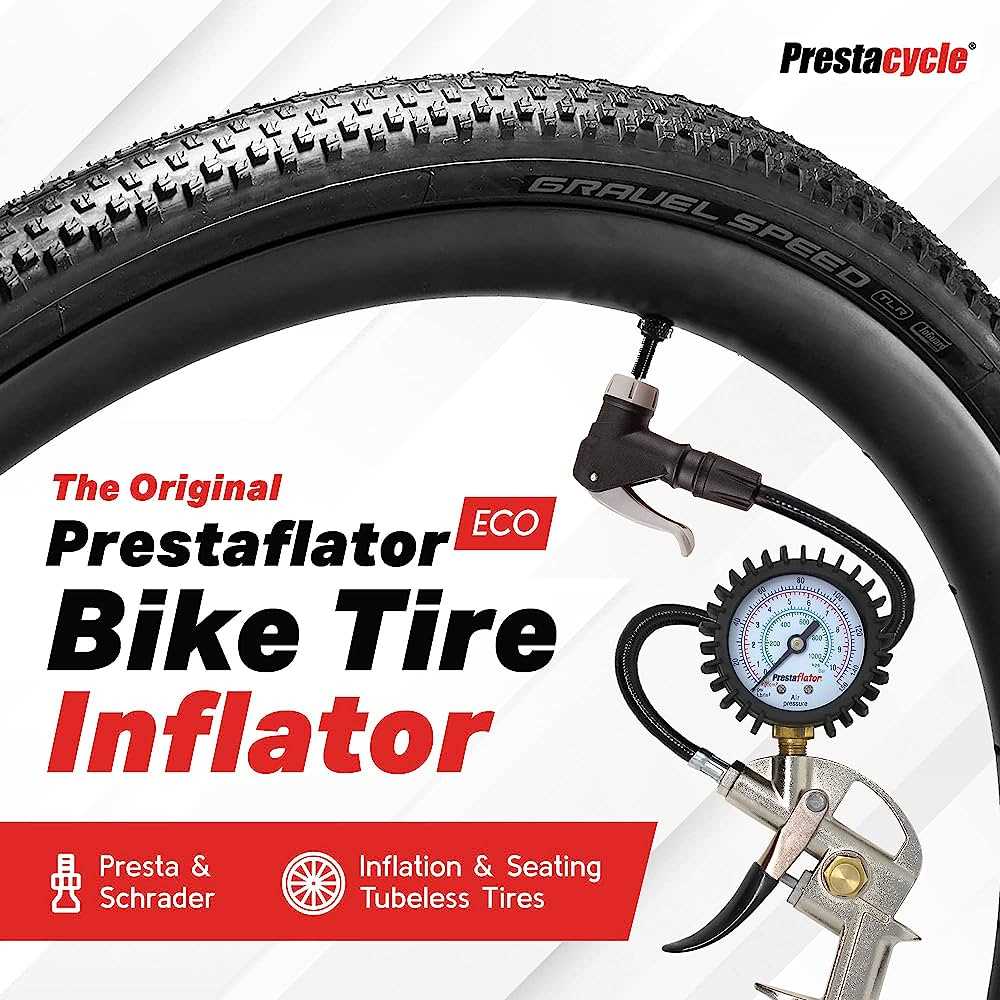
3. Valve Adapter
Depending on the type of valve on your bike tires, you may need a valve adapter to ensure a proper connection with the air hose. There are different types of valve adapters available, such as Presta and Schrader adapters, so make sure to choose the one that matches your tire valve.
4. Tire Pressure Gauge
A tire pressure gauge is a crucial tool for ensuring that you inflate your bike tires to the correct pressure. Look for a gauge that is compatible with the PSI and bar readings of your air compressor.
5. Safety Glasses

While not directly related to using an air compressor for bike tires, safety glasses are highly recommended to protect your eyes from any possible debris or dust that may be blown around during the inflation process.

6. Optional: Lubricant
If your bike tires are difficult to inflate, you may consider using a lubricant to make the task easier. A silicone-based lubricant is commonly recommended for this purpose.
By gathering these essential equipment, you will be prepared to use an air compressor for inflating your bike tires safely and effectively.
Check Tire Pressure
Before using an air compressor to inflate your bike tires, it’s important to check the tire pressure. This step is crucial for ensuring optimal performance and safety during your ride. To check the tire pressure, you will need a tire pressure gauge. Here’s how you can do it:

- Select the right tire pressure: Check the recommended tire pressure for your specific bike model. The recommended tire pressure is usually stamped on the sidewall of the tire or can be found in the owner’s manual.
- Remove the valve cap: Unscrew the valve cap from the tire valve stem. This will allow you to connect the tire pressure gauge to the valve.
- Connect the tire pressure gauge: Press the tire pressure gauge onto the valve stem firmly to get an accurate reading. Make sure the connection is secure to prevent any air leakage.
- Read the pressure: Look at the gauge to see the tire pressure reading. If the reading is lower than the recommended pressure, the tire needs to be inflated. If the reading is higher, you may need to release some air from the tire.
- Repeat for each tire: Perform this process for each tire on your bike. Front and rear tires may have different recommended pressure levels, so make sure to check both.
By checking the tire pressure before using an air compressor, you can ensure that your bike tires are properly inflated and ready for a smooth and safe ride.
Prepare the Air Compressor
Before using an air compressor to inflate your bike tires, there are a few steps you need to take to ensure that it is ready for use:
- Check the compressor’s pressure: Before connecting it to your bike tires, make sure that the air compressor has enough pressure. Consult the user manual or the manufacturer’s instructions to determine the recommended pressure range for the compressor.
- Inspect the air hose: Check the air hose for any signs of damage, such as cracks or leaks. If you notice any issues, it’s important to replace the hose to prevent any potential accidents or damage to your bike tires.
- Attach the appropriate nozzle: Depending on the type of valve on your bike tires, you may need to attach a specific nozzle to the air compressor. Common types include Presta and Schrader valves. Consult your bike’s manual or a reputable source to determine the appropriate nozzle for your specific valve type.
- Connect the air hose to the compressor: Once you have confirmed the appropriate nozzle, connect it securely to the air hose. Make sure the connection is tight to avoid any air leaks during the inflation process.
- Ensure proper grounding: Air compressors often generate static electricity, which can be dangerous. Make sure the compressor is properly grounded by connecting it to a grounded electrical outlet or a ground rod, according to the manufacturer’s instructions.
By following these steps, you can ensure that your air compressor is prepared and ready to use for inflating your bike tires, providing you with a safe and efficient inflation process.
Connect the Air Compressor to the Valve
Once you have prepared your air compressor and bike tire valve, it’s time to connect them together. This step-by-step guide will help you properly connect the air compressor to the valve to ensure a secure and efficient inflation process.

Step 1: Identify the valve type
Before connecting the air compressor, you need to identify the type of valve on your bike tire. The most common valve types are Schrader and Presta. Schrader valves are wider and have a central pin that you press down to let air in or out. Presta valves are narrower and have a valve stem that you unscrew to access the valve.
Step 2: Prepare the air compressor nozzle
If your air compressor comes with different nozzles, choose the one that fits the valve type of your bike tire. Remove any protective caps or covers from the nozzle and make sure it is clean and free from debris. This will ensure a proper seal with the valve and prevent any air leaks during inflation.
Step 3: Attach the nozzle to the valve
Gently place the nozzle of the air compressor onto the valve of the bike tire. For Schrader valves, press the nozzle firmly onto the valve until you hear a clicking sound indicating a secure connection. For Presta valves, unscrew the valve stem and place the nozzle on the valve. Then, tighten the valve stem to secure the connection.
Step 4: Start the air compressor
Before starting the air compressor, ensure that the pressure is set to an appropriate level for your bike tire. Refer to the manufacturer’s guidelines or the recommended tire pressure printed on the side of your bike tire. Once the pressure is set, turn on the air compressor and allow it to build pressure.
Step 5: Inflate the bike tire
With the air compressor running, slowly and steadily fill the bike tire with air. Keep an eye on the tire pressure gauge to ensure that you don’t exceed the recommended pressure. Inflate the tire until it reaches the desired pressure, and then turn off the air compressor.
By following these steps, you can easily connect the air compressor to the valve of your bike tire and inflate it efficiently. Remember to always check the tire pressure before every ride and make adjustments as needed.
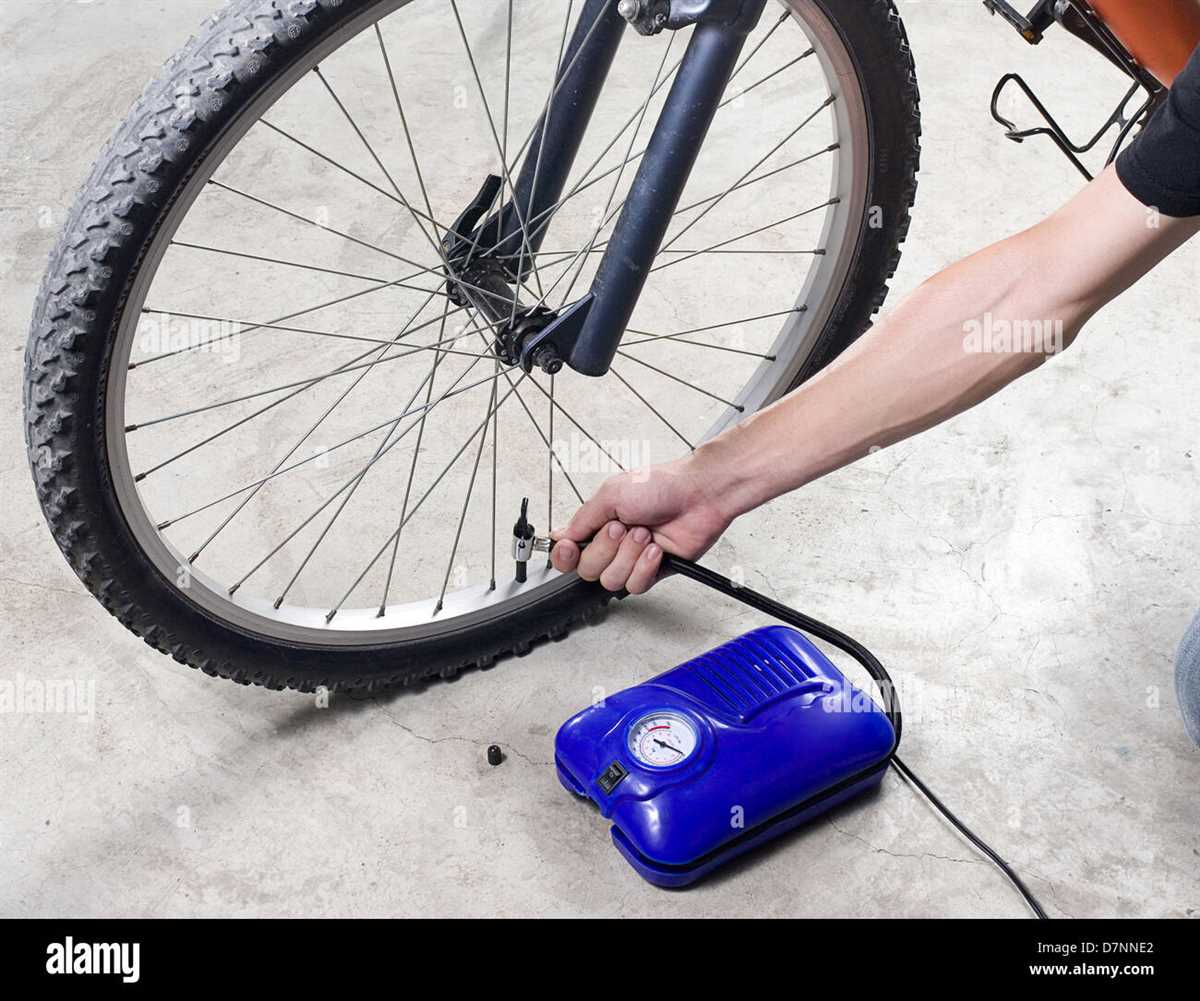
Inflate the Tire
Once you have connected the air hose to the valve on your bike tire, it’s time to start inflating it. Before you begin, make sure the air compressor is turned on and set to the desired pressure level. Refer to the manufacturer’s instructions or the recommended PSI for your specific type of bike tire.

1. Start Slowly: Gently squeeze the trigger on the air hose to release a small burst of air into the tire. This helps to ensure that the hose is securely attached to the valve and prevents any air leakage.
2. Monitor the Pressure: While inflating the tire, keep a close eye on the pressure gauge on the air compressor. Aim to reach the recommended PSI for your bike tire. If you’re uncertain about the correct pressure, consult the manufacturer’s guidelines or ask a professional at a bike shop for assistance.
3. Inflate in Short Bursts: Rather than holding down the trigger continuously, it’s best to inflate the tire in short bursts. This allows the air to distribute evenly and prevents over-inflating the tire.
4. Check Progress: In between each burst of air, pause and check the tire’s pressure using a pressure gauge. This helps to ensure that you don’t over-inflate the tire and can make any necessary adjustments if needed.
5. Repeat if Necessary: If the tire is not fully inflated after the initial round of short bursts, repeat the process until the desired pressure is reached. Be patient and take your time to avoid over-inflating the tire.

Once the tire is fully inflated, disconnect the air hose from the valve and replace the valve cap securely. Give the tire a gentle squeeze to ensure it feels firm and has the appropriate amount of air. Your bike tire is now ready for your next ride!
Monitor the Pressure
Once you have connected the air compressor to your bike tire, it is important to monitor the pressure as you inflate it. This will ensure that you do not over-inflate or under-inflate the tire, both of which can negatively affect the performance and safety of your bike.
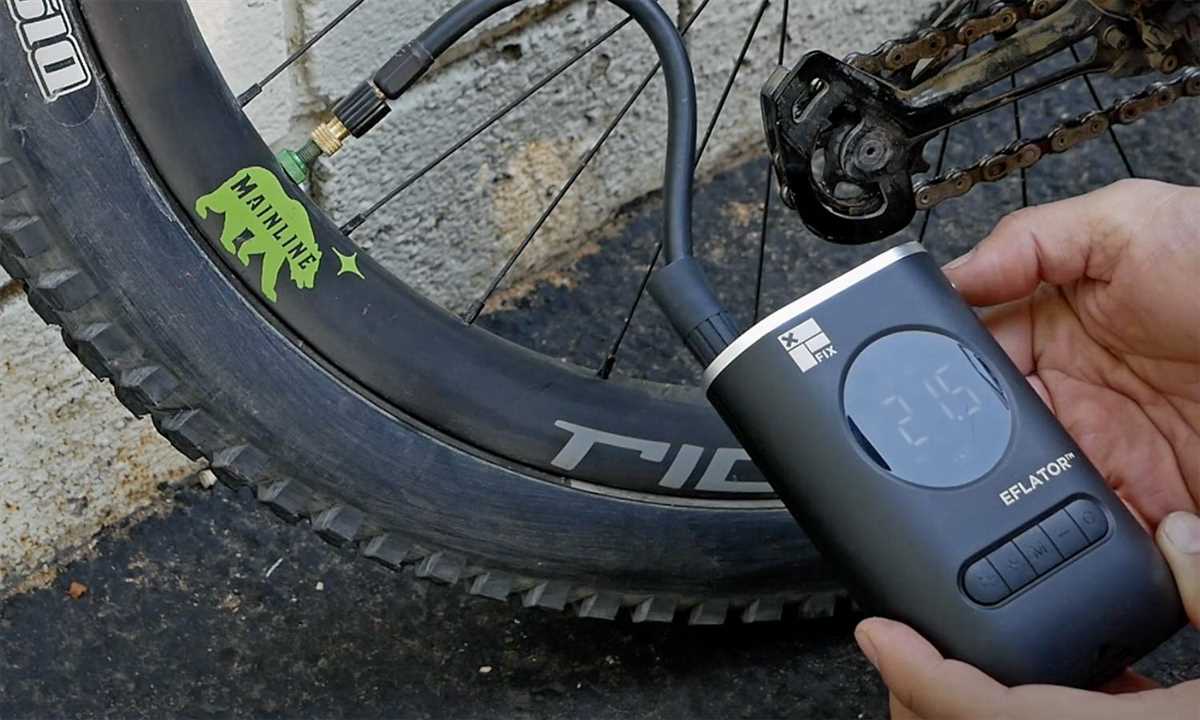
One way to monitor the pressure is to use a digital pressure gauge. This small device can be attached to the valve of the tire and will display the current pressure. You can easily find a digital pressure gauge at a bike shop or online.
When using the air compressor, start by inflating the tire with small bursts of air. After each burst, check the pressure on the gauge to see how much it has increased. This will help you gauge the amount of air needed to reach the desired pressure.
It is important to note that different bike tires have different recommended pressures. Road bike tires typically require a higher pressure than mountain bike tires. Make sure to check the recommended pressure for your specific tires before inflating them.
Remember to inflate the tire slowly and in short bursts to avoid over-inflating it. Over-inflation can cause the tire to burst or blow out, which can be dangerous while riding. It’s always better to slightly under-inflate the tire and then add more air if necessary.
Once you have reached the desired pressure, disconnect the air compressor and immediately replace the valve cap on the tire. This will help prevent any air from escaping and keep the tire at the desired pressure for a longer period of time.
Disconnect the Air Compressor
Once you have finished inflating your bike tires, it is important to properly disconnect the air compressor to ensure safety and prevent any damage. Follow these steps to disconnect the air compressor:
- Turn off the air compressor: First, locate the power switch or button on the air compressor and make sure it is turned off. This will prevent any accidental release of air while disconnecting.
- Relieve the pressure: Before disconnecting the air compressor, it is crucial to relieve the pressure in the hose. This can be done by turning the pressure release valve clockwise to release any remaining air.
- Disconnect the hose: Once the pressure has been relieved, it is safe to disconnect the hose from the bike tire valve. Twist the coupler counterclockwise to loosen it and gently pull the hose away from the valve.
- Store the hose: After the hose has been disconnected, it is a good practice to properly store it. You can either hang it on a hook or wrap it around the air compressor for neat and organized storage.
- Secure the air compressor: Lastly, make sure the air compressor is securely closed and stored in a safe location. This will prevent any damage or potential hazards.
By following these steps, you can safely and effectively disconnect the air compressor after inflating your bike tires. Remember to always prioritize safety and proper storage to prolong the lifespan of your equipment.
Check the Tire Pressure Again
Once you have used the air compressor to inflate your bike tires, it is important to check the tire pressure again to ensure they are at the optimal level. This step is crucial as overinflated or underinflated tires can affect your bike’s performance and safety.
To check the tire pressure, you will need a tire pressure gauge. Attach the gauge to the valve stem and press down firmly to get an accurate reading. Make sure the valve stem is not leaking any air while you are checking the pressure. If it is, you may need to tighten the valve core or replace it.
Refer to the recommended tire pressure for your specific bike model. This information can usually be found on the tire sidewall or in the owner’s manual. Compare the reading on the pressure gauge to the recommended pressure. If the tire pressure is too low, you will need to add more air using the air compressor. If it is too high, you can release some air by pressing the valve core with a small tool or your fingernail.
It is important to note that tire pressure can fluctuate with temperature changes. Therefore, it is a good idea to check your tire pressure regularly, especially before long rides or when the weather conditions change significantly.
Remember, maintaining the proper tire pressure is essential for a smooth and safe bike ride. By regularly checking and adjusting the tire pressure using an air compressor, you can ensure optimal performance and extend the lifespan of your bike tires.
FAQ:
Why should I use an air compressor for my bike tires?
Using an air compressor is a quick and efficient way to inflate your bike tires. It allows you to fill the tires with the correct amount of air pressure, which is important for optimal performance and safety.
Can I use any air compressor to inflate my bike tires?
No, you need to make sure that the air compressor you are using has a pressure regulator and a nozzle that fits the valve on your bike tires. This will allow you to control the flow of air and ensure a proper inflation.
What is the correct pressure for bike tires?
The correct pressure for bike tires can vary depending on the type of bike and the weight of the rider. It is usually marked on the side of the tire and is measured in psi (pounds per square inch). It’s important to check the manufacturer’s recommendations for your specific bike to determine the correct pressure.
Are there any safety precautions I should take when using an air compressor for my bike tires?
Yes, there are a few safety precautions you should follow. First, make sure to wear safety glasses to protect your eyes from any debris that may be released when inflating the tires. Additionally, always stand to the side of the valve when inflating the tires to avoid any potential injury if the valve fails or the tire explodes.
How do I know when my bike tires are properly inflated?
You can use a tire pressure gauge to check the pressure of your bike tires. The gauge should match the recommended pressure listed on the side of the tire. Additionally, you can also visually inspect the tires to ensure they are not too flat or overinflated. Properly inflated tires will provide a smooth and comfortable ride.
Video:


Harrison Clayton
Meet Harrison Clayton, a distinguished author and home remodeling enthusiast whose expertise in the realm of renovation is second to none. With a passion for transforming houses into inviting homes, Harrison's writing at https://thehuts-eastbourne.co.uk/ brings a breath of fresh inspiration to the world of home improvement. Whether you're looking to revamp a small corner of your abode or embark on a complete home transformation, Harrison's articles provide the essential expertise and creative flair to turn your visions into reality. So, dive into the captivating world of home remodeling with Harrison Clayton and unlock the full potential of your living space with every word he writes.


