Step-by-Step Guide: How to Use an Air Compressor for Bike Tire Inflation

Keeping your bike tires properly inflated is crucial for optimal performance and safety. Many cyclists rely on air compressors to quickly and effectively inflate their bike tires. If you’re new to using an air compressor for bike tire inflation, this step-by-step guide will walk you through the process.
Step 1: Prepare your equipment
Before you begin, you’ll need to gather the necessary equipment. This includes an air compressor with a pressure gauge, a suitable valve adapter for your bike tires, and a secure place to set up your equipment.
Step 2: Check the recommended tire pressure
It’s important to know the recommended tire pressure for your specific bike tires. This information can usually be found on the sidewall of the tire or in the manufacturer’s instructions. Make sure to match the pressure on the air compressor gauge to the recommended pressure for your tires.

Step 3: Attach the valve adapter
Next, attach the suitable valve adapter to the air hose of the compressor. The valve adapter should securely fit onto the valve of your bike tire.
Step 4: Begin inflation
Once the valve adapter is attached, turn on the air compressor. Slowly and steadily, begin inflating the tire. Keep a close eye on the pressure gauge to ensure that you’re reaching the desired pressure.
Step 5: Monitor the progress

While inflating, periodically stop and check the pressure in the tire. This will help you avoid overinflation, which can lead to blowouts, and underinflation, which can affect your bike’s performance. Adjust the pressure as necessary.
Step 6: Remove the valve adapter
Once you’ve reached the recommended pressure, turn off the air compressor and carefully remove the valve adapter from the tire valve. Be sure to secure the valve cap back onto the valve to prevent any air leakage.
Step 7: Check for leaks
After inflating the tire, check for any signs of air leakage around the valve. If you notice a leak, tighten the valve adapter or replace it if necessary.

Step 8: Repeat for other tires
If you have multiple bike tires that require inflation, repeat the process for each tire.
Remember, proper tire inflation is essential for a smooth and safe ride. By following this step-by-step guide, you’ll be able to effectively use an air compressor to inflate your bike tires and maintain their optimal performance.
Gather the necessary equipment
In order to use an air compressor for bike tire inflation, you will need to gather a few essential pieces of equipment. Here is a step-by-step guide on what you’ll need:
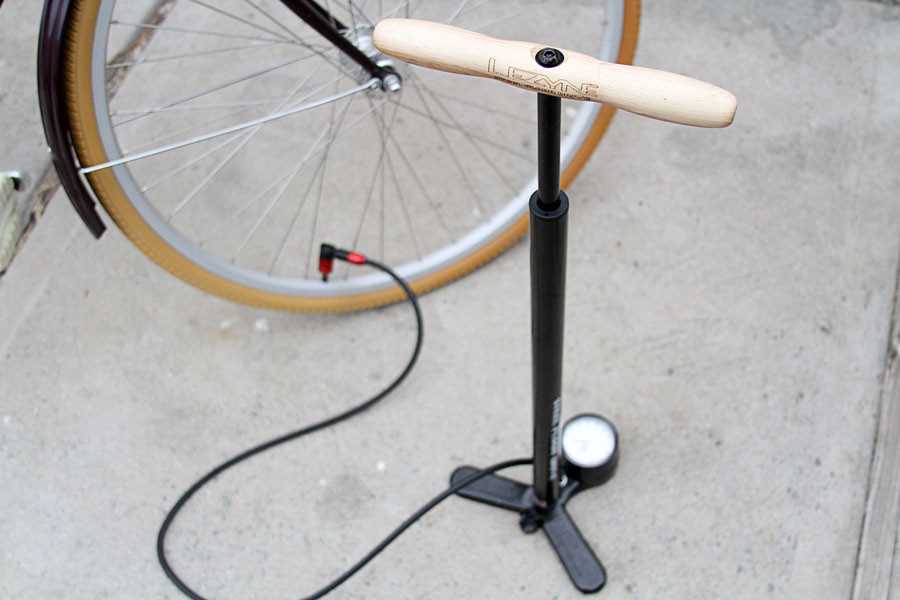
Air Compressor:


First and foremost, you’ll need an air compressor. Make sure to choose a compressor that is suitable for inflating bike tires. Look for one with a small tank size and a maximum pressure output of around 100 PSI. This will ensure that you can safely and effectively inflate your bike tires without overinflating them.
Compressor Hose:
Next, you’ll need a compressor hose. This is the tube that connects the air compressor to the tire valve. Look for a hose that is long enough to reach your bike tires comfortably. Additionally, make sure the hose is compatible with the air compressor you are using.
Tire Chuck:
A tire chuck is the attachment that connects the compressor hose to the tire valve. It is important to choose a tire chuck that is compatible with your bike’s valve type. There are different types of tire chucks available, including ones for Schrader valves and Presta valves. Make sure you choose the correct one for your bike.

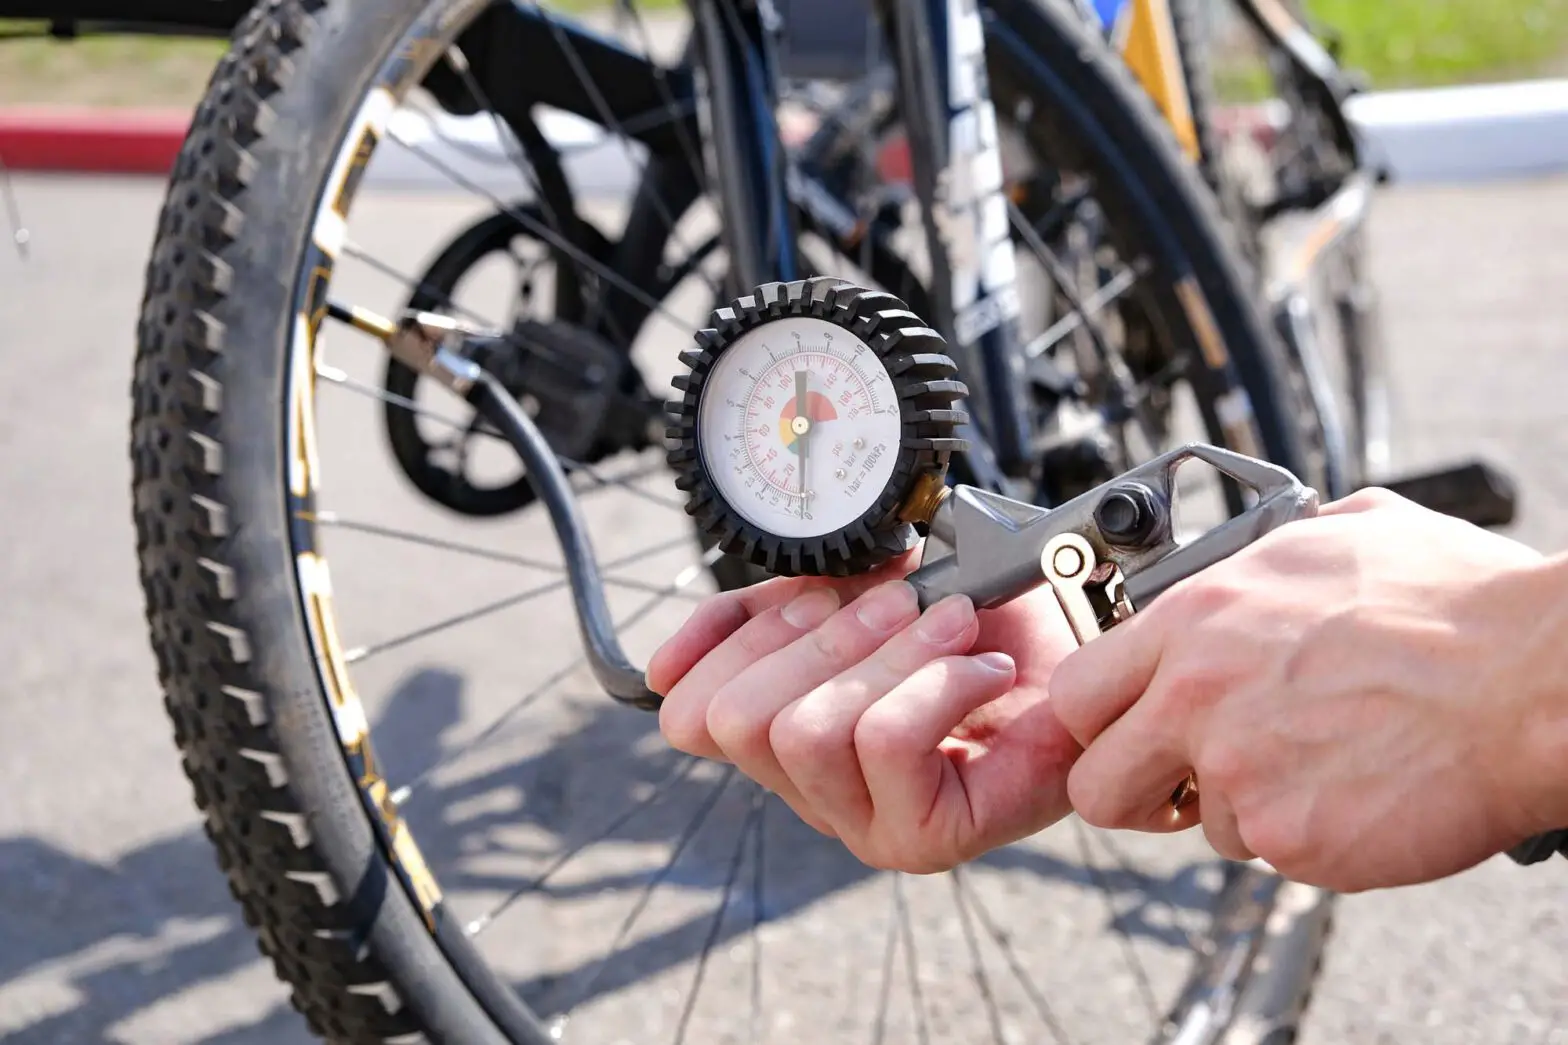
Tire Pressure Gauge:
Lastly, you’ll need a tire pressure gauge. This is essential for accurately measuring the pressure in your bike tires. Look for a gauge that is easy to read and provides accurate measurements. Some gauges even have a built-in feature that allows you to release air if you accidentally overinflate the tire.
Once you have gathered all of the necessary equipment, you will be ready to start using the air compressor for bike tire inflation. Remember to always follow the manufacturer’s instructions for your specific air compressor and take proper safety precautions while inflating your bike tires.
Check the PSI requirement
Before using an air compressor to inflate your bike tire, it is important to check the PSI requirement for your specific tire. PSI stands for pounds per square inch, and it represents the amount of air pressure your tire can handle. The PSI requirement can usually be found on the side of your tire or in the user manual of your bike.

Here are the steps to check the PSI requirement:
- Inspect your tire: Look for the PSI rating imprinted on the side of the tire. It is usually followed by the word “PSI” or a similar indicator.
- Refer to the user manual: If you can’t find the PSI rating on the tire, check the user manual of your bike. The manual should provide you with the recommended PSI range for best performance.
- Consider your riding style: Depending on your riding style, you may want to adjust the PSI within the recommended range. For instance, if you are a mountain biker, you might want to run a lower PSI for better traction and shock absorption.
- Take note of front and rear differences: Some bikes have different PSI requirements for the front and rear tires. Pay attention to any variations and adjust accordingly.
By checking the PSI requirement, you ensure that you are inflating your bike tire to the correct pressure, which is essential for your safety and the performance of your bike.
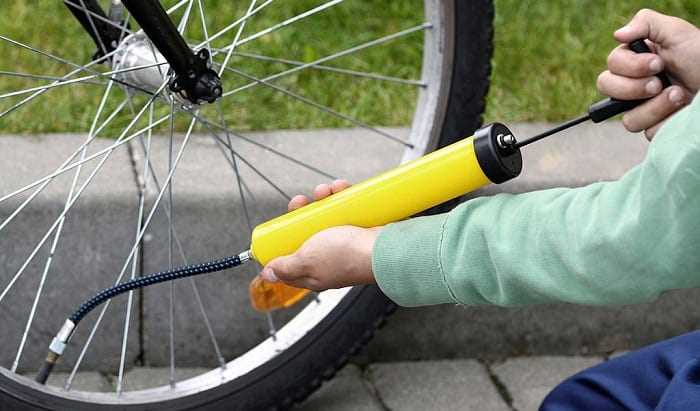
Connect the air compressor to the bike tire valve
To begin inflating your bike tire using an air compressor, you need to connect the compressor to the bike tire valve. Follow these steps:
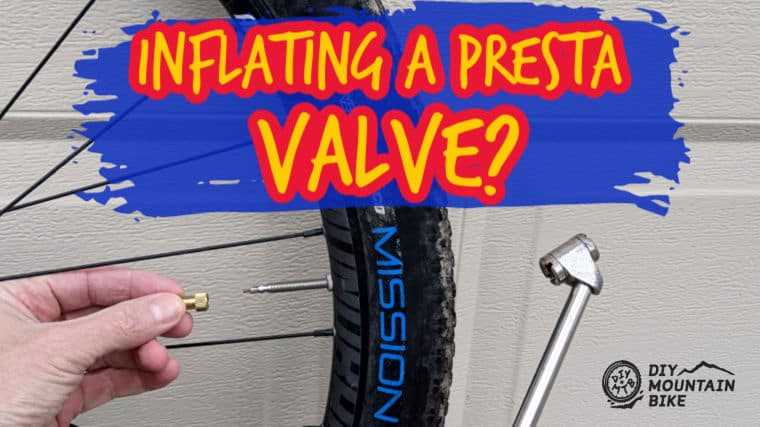
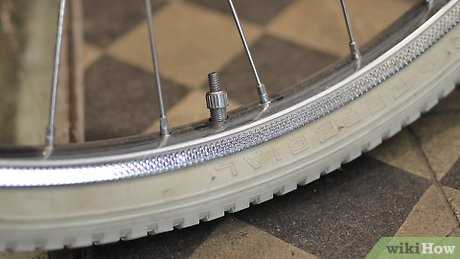
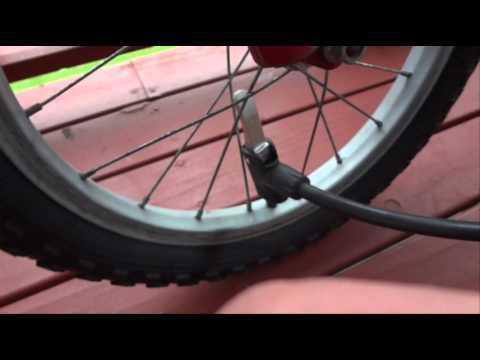
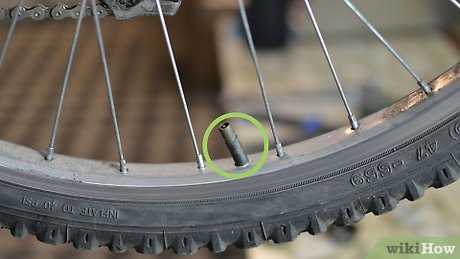
Step 1: Locate the valve on your bike tire
Look for a small, cylindrical tube sticking out of the tire. This is the valve that you will connect the air compressor to. The valve may have a cap on it, which you will need to remove before proceeding.

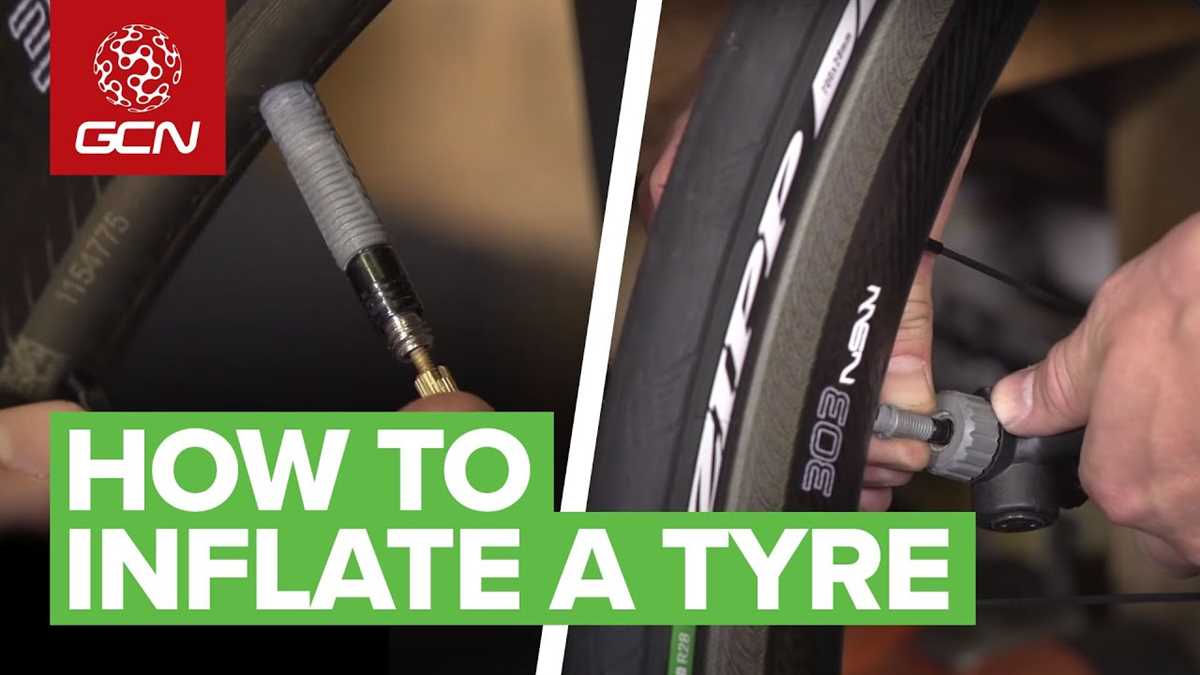
Step 2: Attach the air compressor nozzle to the valve
Take the nozzle of the air compressor and match it to the valve on your bike tire. The nozzle should fit securely onto the valve, creating an airtight seal. Push the nozzle onto the valve until you hear a click or feel it lock in place.
Step 3: Secure the nozzle onto the valve
Once the nozzle is attached to the valve, you may need to secure it in place to ensure it doesn’t come loose while inflating. Depending on the type of air compressor you have, there may be a lever or locking mechanism that you can engage to keep the nozzle securely connected to the valve.
Step 4: Start the air compressor
With the nozzle securely connected to the valve, you can now turn on the air compressor. Follow the instructions provided with your specific compressor to power it on. Once it is running, you will see the pressure gauge on the compressor increase as air is pumped into the bike tire.
Step 5: Monitor the tire pressure
As the air compressor inflates the bike tire, keep an eye on the pressure gauge to ensure that you do not overinflate the tire. Most bike tires have a recommended PSI (pounds per square inch) range, which you can find printed on the sidewall of the tire or in the bike’s manual. Stop inflating the tire once it reaches the desired pressure.
By following these steps, you can effectively connect the air compressor to the bike tire valve and begin inflating your bike tire with ease.
Set the PSI on the air compressor
Before inflating your bike tires with an air compressor, it’s important to set the PSI (pounds per square inch) appropriately. Every bike tire has a recommended PSI range printed on its sidewall, and it’s crucial to inflate your tires within this range for optimal performance and safety.
First, locate the pressure regulator on your air compressor. This is usually a dial or knob that controls the pressure output. Turn off the air compressor before making any adjustments.
Next, refer to your bike tire’s sidewall for the recommended PSI range. It will be listed as a minimum and maximum value, such as “Min 30 PSI – Max 50 PSI.” Take note of these values.
Now, turn on the air compressor and attach the inflation nozzle or chuck to the valve stem of your bike tire. Ensure a secure connection before proceeding.
Turn the pressure regulator on the air compressor in a clockwise direction to increase the pressure output. Gradually increase the pressure until it reaches the desired PSI for your specific bike tire, as indicated by the recommended PSI range. Pay attention to the pressure gauge on the air compressor to monitor the progress.
Once the desired PSI is reached, turn off the air compressor, disconnect the inflation nozzle or chuck from the valve stem, and check the tire pressure with a separate tire pressure gauge to confirm accuracy. Adjust if needed.
Remember to always check your tire pressure before each ride and adjust as necessary to maintain optimal performance and safety for your bike.
Turn on the air compressor
Once you have properly connected the air compressor to your bike tire, it’s time to turn it on. Locate the power switch or button on the air compressor and flip it to the “on” position. Make sure the air compressor is plugged into a power source before turning it on.
After turning on the air compressor, you may hear a brief noise as the motor starts up. This is normal and indicates that the compressor is ready to generate air pressure.
It is important to note that different air compressors may have different controls and features. Some models may have adjustable pressure settings, while others may have built-in safety features such as an auto-shutoff function. Familiarize yourself with the controls and features of your specific air compressor before using it for bike tire inflation.
Once the air compressor is turned on, you are ready to start inflating your bike tire. Take a moment to double-check the connection between the air hose and the tire valve to ensure it is secure.
Keep in mind that it’s always a good idea to start with lower air pressure and gradually increase it as needed. This will help prevent over-inflation and potential damage to your bike tire. Use the pressure gauge on the air compressor to monitor the air pressure and stop inflating once it reaches the desired level.
Inflate the bike tire

Once you have connected the air compressor to the valve stem of the bike tire, it’s time to start inflating. Before you begin, make sure the valve stem is tightly secured to prevent any air leaks.
1. Set the desired pressure: Consult the recommended pressure for your bike tire, which is usually marked on the sidewall. Adjust the pressure on the air compressor accordingly to match the recommended PSI (pounds per square inch).
2. Turn on the air compressor: Switch on the air compressor and allow it to build up pressure. You will hear the compressor running and see the pressure gauge increasing.
3. Inflate the tire: Position the air chuck securely over the valve stem and press it down firmly to create an airtight seal. Slowly squeeze the lever on the air chuck to release the pressurized air into the tire. Monitor the pressure gauge to ensure you are inflating to the desired PSI.
4. Check the pressure: After a few seconds, release the lever on the air chuck and remove it from the valve stem. Use a pressure gauge to check the tire pressure. If it is not at the desired level, repeat the inflation process until the correct pressure is achieved.
5. Repeat for other tires: If you have multiple bike tires that need to be inflated, repeat the same process for each one individually. Make sure to adjust the pressure on the air compressor accordingly for each tire.
6. Disconnect the air compressor: Once all the tires are properly inflated, turn off the air compressor and disconnect it from the valve stems. Store the air compressor in a safe place.
7. Test the tire: Finally, give the bike tire a gentle squeeze to ensure it feels firm and properly inflated. If it doesn’t feel right, you may need to repeat the inflation process or check for any leaks in the valve stem or tire.
Note: Always follow the manufacturer’s instructions and safety guidelines when using an air compressor. Overinflating the tire can be dangerous and may cause a blowout, while underinflating can lead to poor performance and increased risk of punctures.
Monitor the pressure
Once you have connected the air compressor to your bike tire, it’s important to monitor the pressure to ensure proper inflation. Most modern air compressors come with a built-in pressure gauge, but if yours doesn’t, you can use an external pressure gauge.
Step 1: Turn on the air compressor and let it build up pressure. You can check the pressure gauge on the air compressor to see when it reaches your desired level.
Step 2: Once the air compressor has reached the desired pressure, you can start inflating your bike tire. Keep an eye on the pressure gauge to make sure it doesn’t exceed the recommended pressure for your bike tire.
Step 3: As you inflate the tire, periodically check the pressure gauge to see if you need to add more air or if you need to stop inflating. It’s important to follow the recommended pressure range for your bike tire to prevent overinflation or underinflation.
Step 4: If you notice that the pressure is dropping quickly after inflating the tire, it may indicate a leak or a problem with the valve. In this case, you should stop inflating and inspect the tire for any issues before continuing.
Step 5: Once you have reached the desired pressure and checked for any leaks or issues, you can disconnect the air compressor and securely tighten the valve cap on your bike tire.
Following these steps will ensure that you are properly monitoring the pressure while using an air compressor to inflate your bike tire. It’s important to be vigilant and cautious to prevent any damage to your bike tire or equipment.
Disconnect the air compressor
Once you have inflated your bike tire to the desired pressure, it’s important to disconnect the air compressor properly to ensure safe operation and prevent any damage to the equipment. Follow these steps to safely disconnect the air compressor:
- Turn off the air compressor: Before disconnecting the air compressor, make sure to turn it off to prevent any accidental release of air or pressure.
- Release the pressure: Use the pressure release valve or regulator knob on the air compressor to release any remaining pressure in the hose or tank. This step is crucial for safe disconnection.
- Detach the air hose: Carefully detach the air hose from the bike tire valve by unscrewing it in a counterclockwise direction. Be gentle to avoid any damage to the valve.
- Store the air hose: After disconnecting, it’s a good practice to store the air hose properly to prevent tangling or damage. You can coil it neatly and secure it with a rubber band or store it in a designated container.
- Properly store the air compressor: Finally, make sure to store the air compressor in a safe and dry location, away from any potential hazards or children. Follow the manufacturer’s instructions for proper storage.
By following these steps, you can safely disconnect the air compressor after inflating your bike tire and ensure its longevity and proper functioning for future use.
FAQ:
What is an air compressor?
An air compressor is a device that converts power into potential energy stored in pressurized air. It is commonly used to inflate tires, power pneumatic tools, and operate other air-powered equipment.
Why should I use an air compressor for bike tire inflation?
Using an air compressor for bike tire inflation ensures a quick and efficient process. It allows you to achieve the desired tire pressure easily, reducing the risk of underinflation or overinflation.
What type of air compressor should I use for bike tire inflation?
You can use a portable air compressor with a small tank capacity for bike tire inflation. The ideal type would be a low-pressure compressor that can provide up to 120 PSI (pounds per square inch) of pressure, suitable for most bike tires.
How do I connect the air compressor to my bike tire?
To connect the air compressor to your bike tire, you will need a compatible adapter. Start by removing the valve cap from the bike tire, then attach the adapter securely onto the valve. Once connected, you can begin inflating the tire using the air compressor.
Are there any safety precautions I should take when using an air compressor for bike tire inflation?
Yes, there are several safety precautions you should take when using an air compressor for bike tire inflation. These include wearing safety glasses to protect your eyes from debris, ensuring proper ventilation in the area, and keeping your hands and fingers clear of the moving parts of the compressor. It is also important to read and follow the manufacturer’s instructions for safe and proper use.
Video:


Harrison Clayton
Meet Harrison Clayton, a distinguished author and home remodeling enthusiast whose expertise in the realm of renovation is second to none. With a passion for transforming houses into inviting homes, Harrison's writing at https://thehuts-eastbourne.co.uk/ brings a breath of fresh inspiration to the world of home improvement. Whether you're looking to revamp a small corner of your abode or embark on a complete home transformation, Harrison's articles provide the essential expertise and creative flair to turn your visions into reality. So, dive into the captivating world of home remodeling with Harrison Clayton and unlock the full potential of your living space with every word he writes.


